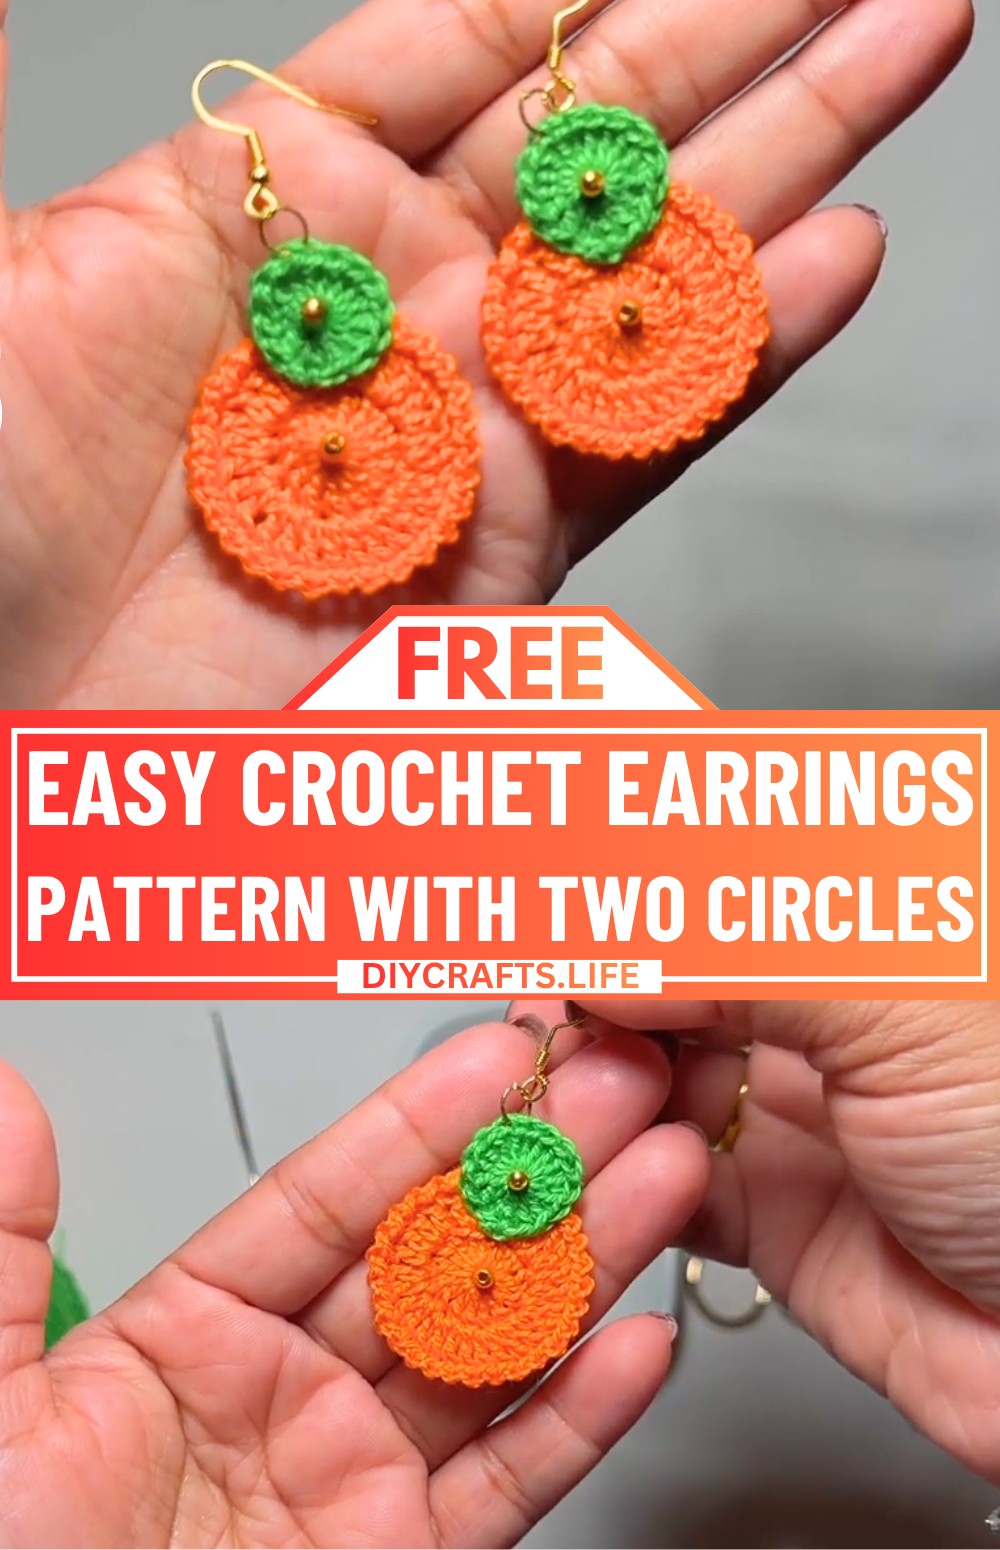
These Crochet earrings beautifully blend handmade creativity and modern style. You can wear them with casual outfits for a pop of charm or dress them up for a special occasion. What's fun about crocheted earrings is how simple and beautiful they are.
Simple Crochet Earrings
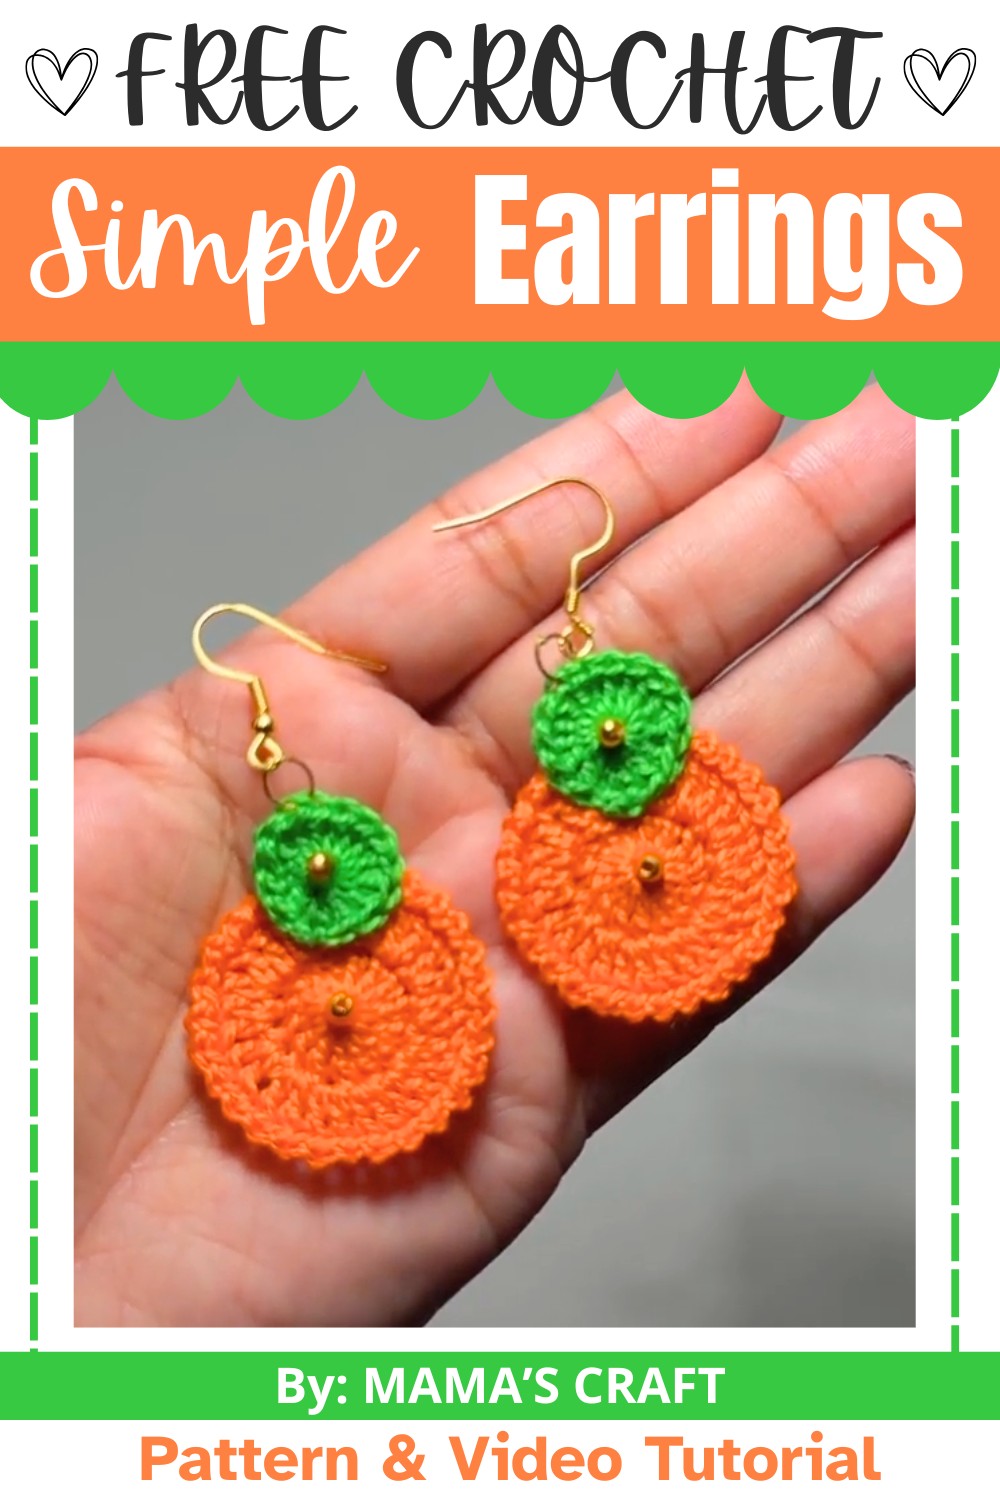
These crochet earrings are surprisingly quick and easy to make, even for beginners. Using just two different yarn colors, a small crochet hook, and a few additional items like beads and earring hooks, you can create this beautiful crochet design. These lightweight and colorful accessories are not just wearable, but they can also make a lovely gift for friends or family.
Credit MAMA’S CRAFT
Materials and Tools Needed
- Yarn – Two different colors of yarn (e.g., orange and green in the tutorial).
- Crochet Hook – 1.25 mm crochet hook.
- Earring Hook – One earring hook for assembling the earring.
- Jump Ring – One jump ring to attach the earring hook.
- Beads – Two small 2 mm golden beads.
- Scissors – For cutting the yarn and thread.
- Glue – To secure threads and beads.
- Pliers – To open and close the jump ring.
Finished Size & Customization Ideas
- The finished earrings are small, lightweight, and stylish, roughly the size of two stacked circles (one larger, one smaller).
- Customization Ideas:
- Use alternate colors of yarn for contrasting designs.
- Incorporate larger beads for a bold look.
- Experiment with metallic or glitter yarn for a festive appearance.
Pattern Abbreviations & Terminology:
- ch – Chain.
- dc – Double Crochet.
- sl st – Slip Stitch.
- MR – Magic Ring.
- st(s) – Stitch(es).
The terminology used is based on US crochet standards.
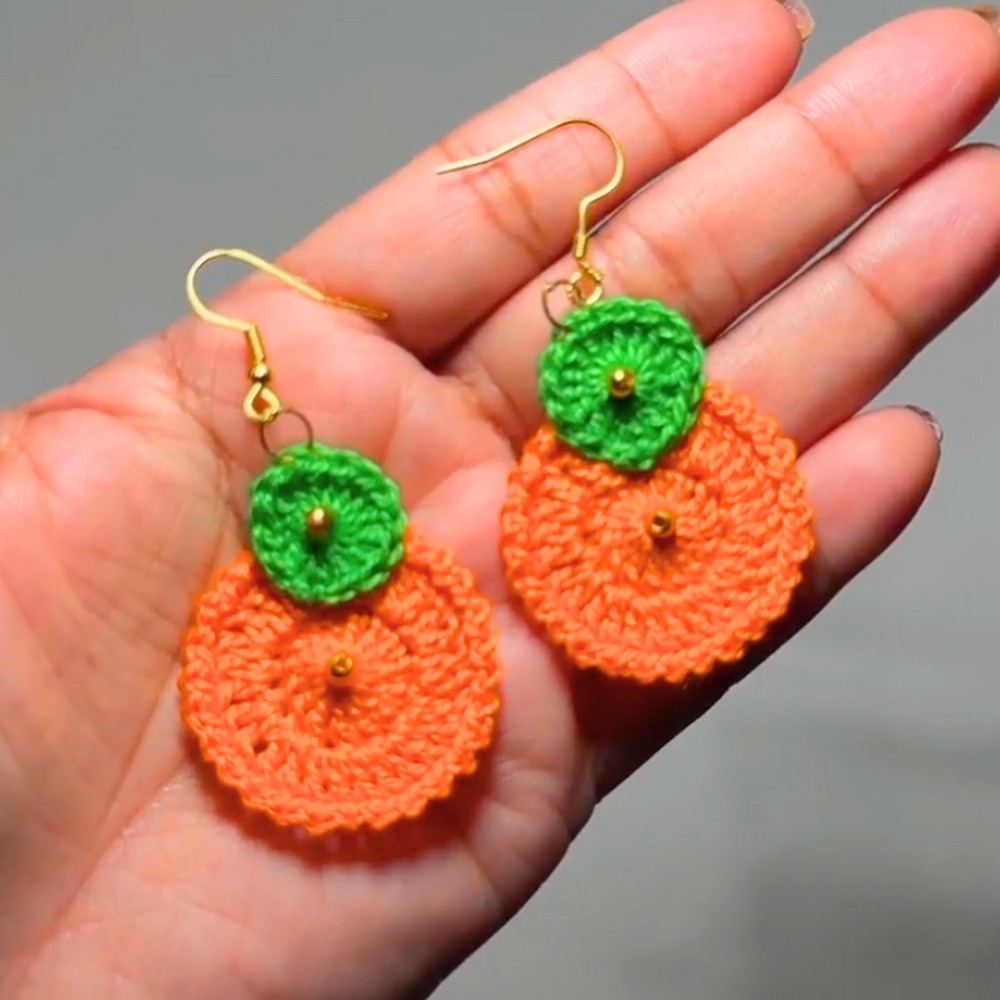
Step-by-Step Detailed Crochet Instructions
Follow these numbered steps for an exact match to the tutorial:
Part 1 – The Big Circle
- Magic Ring:
- Begin with a magic ring.
- Chain 1 (ch 1) to secure the ring.
- Round 1:
- Work 14 double crochets (dc) into the magic ring.
- Join the round by making a slip stitch (sl st) into the first stitch.
- Round 2:
- Chain 1 (ch 1).
- Work 2 dc into each stitch around the ring (increase in every stitch).
- You will have a total of 28 stitches by the end of Round 2.
- Join with a slip stitch (sl st) into the first stitch.
- Round 3:
- Chain 1 (ch 1).
- In each stitch around:
- sl st, then ch 1.
- Continue this slip stitch and chain 1 pattern in each stitch.
- Join with a slip stitch (sl st) into the first stitch.
- Fasten off the yarn and cut the thread.
- Finish:
- Secure the end threads with glue.
- Trim off any extra thread.
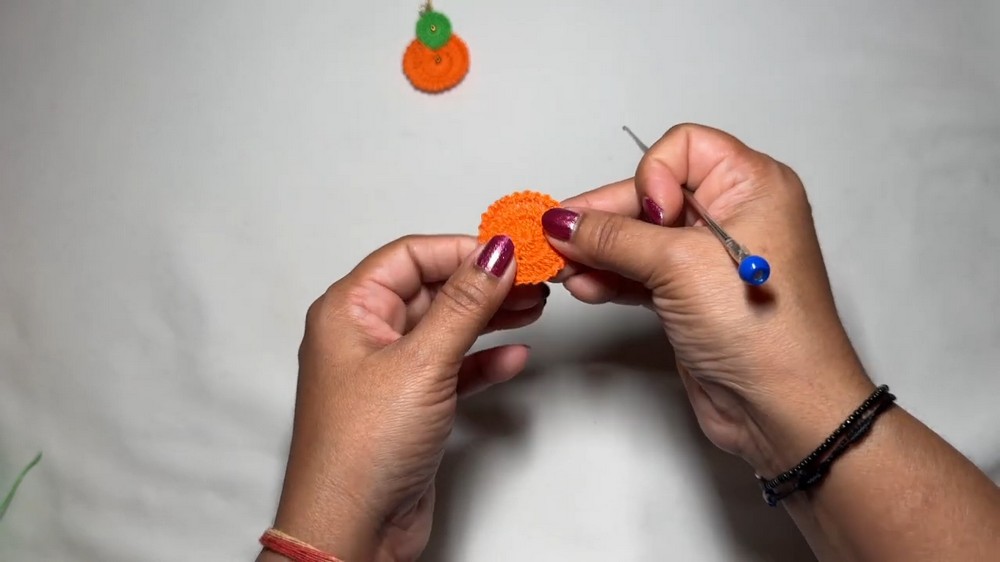
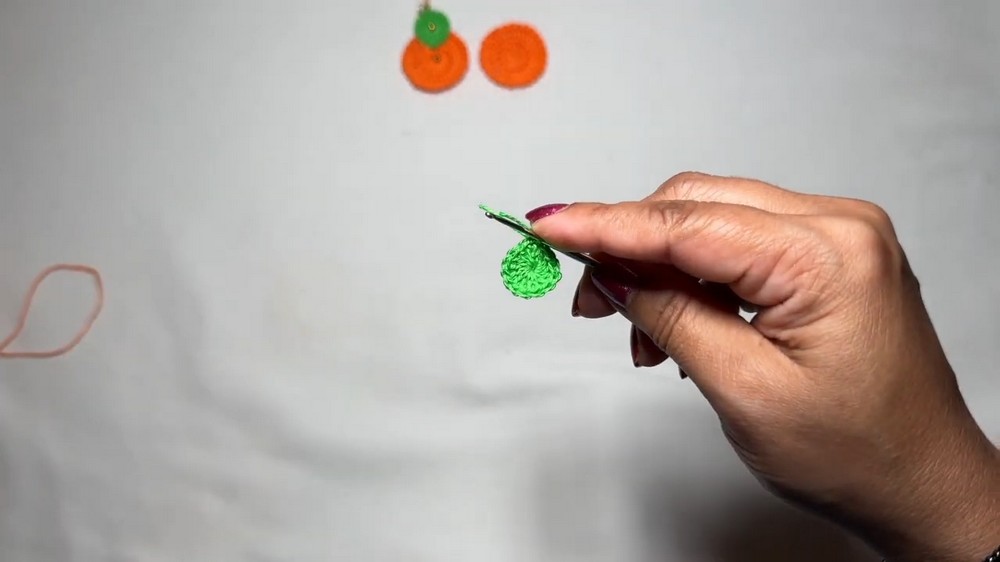
Part 2 – The Small Circle
- Magic Ring:
- Begin with a magic ring.
- Chain 1 (ch 1) to secure the ring.
- Round 1:
- Work 14 double crochets (dc) into the magic ring.
- Join the round by making a slip stitch (sl st) into the first stitch.
- Fasten off the yarn and cut the thread.
- Finish:
- Secure the end threads using glue, trimming any excess yarn.
Part 3 – Assembly
- Attach Circles:
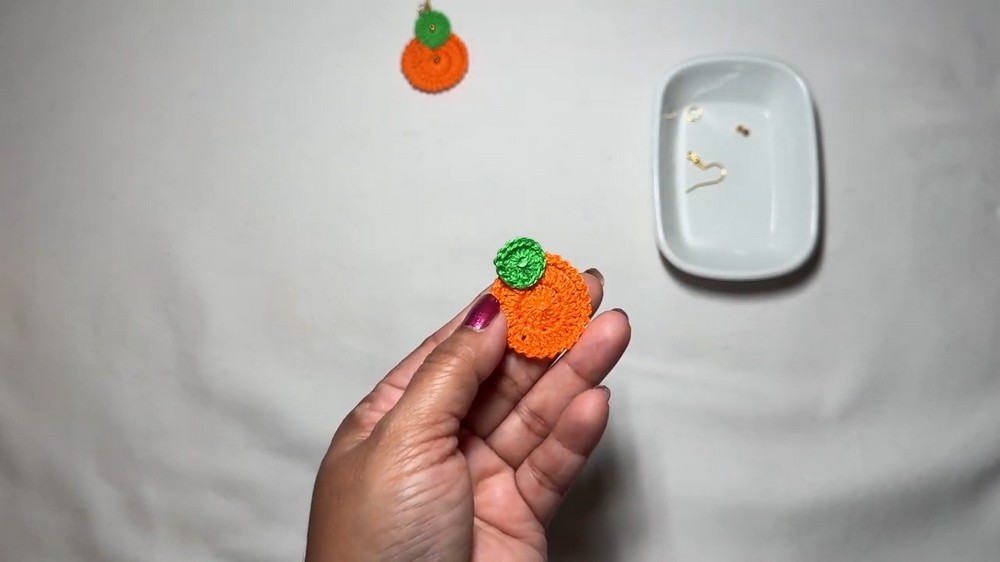
- Apply glue in the center of the large circle (orange) and small circle (green).
- Place the green circle on top of the orange circle to secure them together.
- Let the glue dry completely.
- Add Beads:
- Place a drop of glue in the middle of the top circle (green).
- Attach one golden bead on top of the glue.
- Repeat for the second bead.
- Allow to dry.
- Add the Jump Ring and Earring Hook:
- Open the jump ring using pliers.
- Attach the jump ring through the edge of the assembled circles.
- Hook the earring hook onto the jump ring.
- Close the jump ring securely with pliers.
Finishing Touches
- Ensure all glue is dry before wearing or packaging the earrings.
- Optionally, apply more glue for added durability if needed.