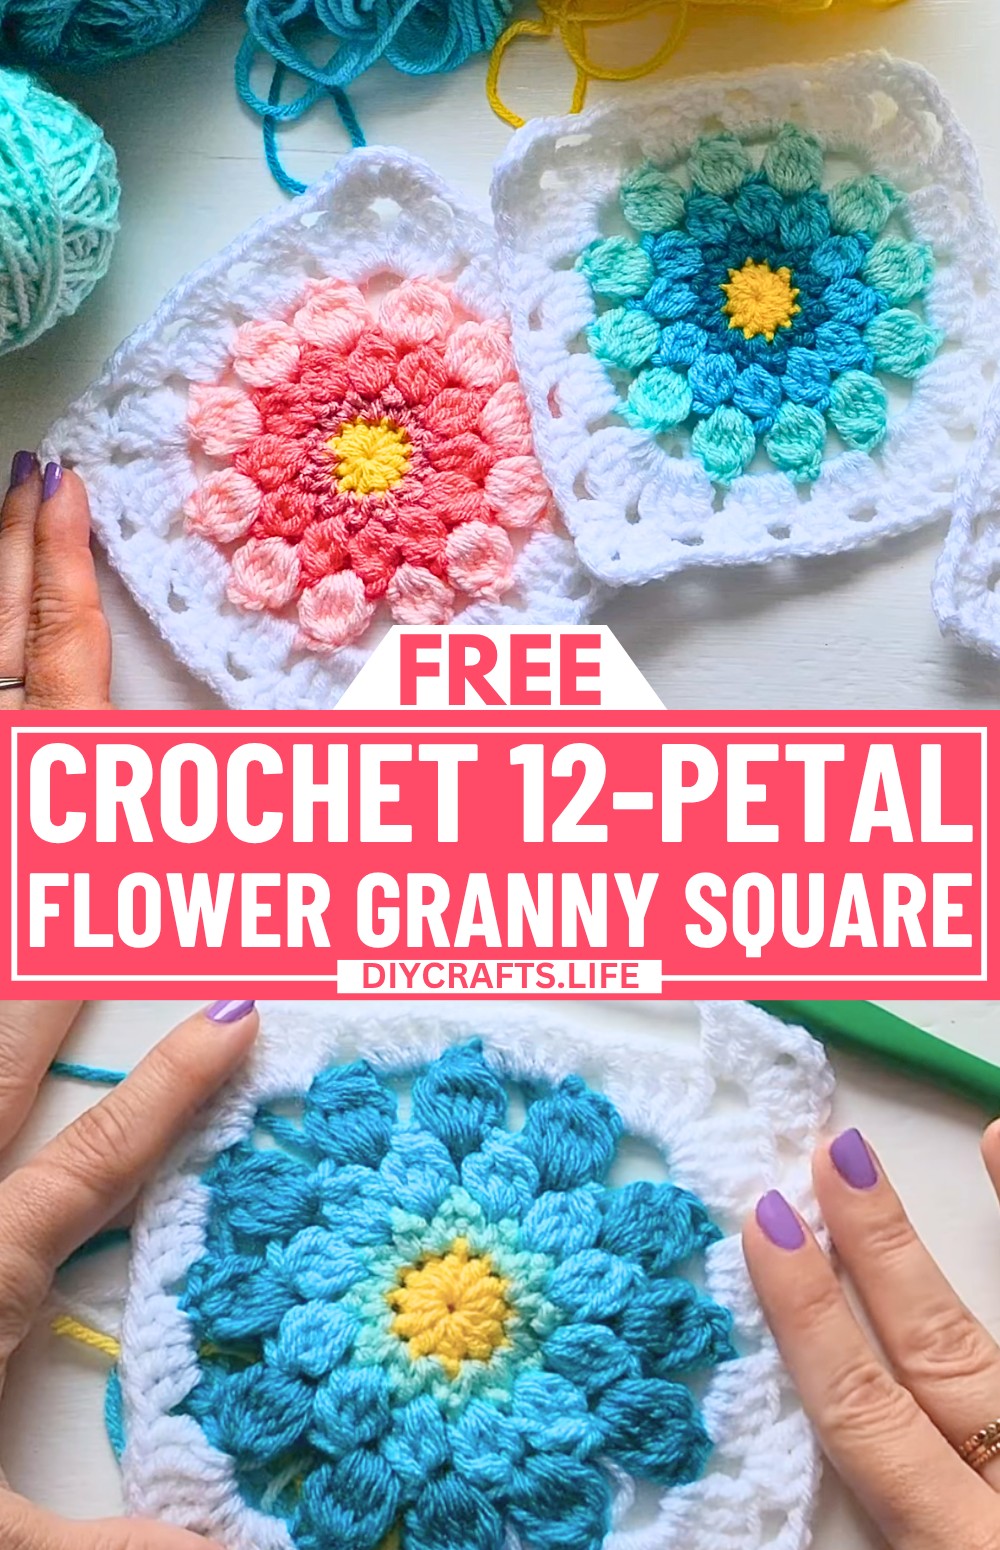
This 12-petal flower granny square is a beautiful and versatile crochet pattern that can brighten up any space or outfit. With its intricate petals and bold design, it’s perfect for creating everything from cozy baby blankets to stylish crop tops. Whether you want something colorful for home décor or a handmade gift for a loved one, this pattern is both eye-catching and practical.
Crochet Flower Granny Square Tutorial
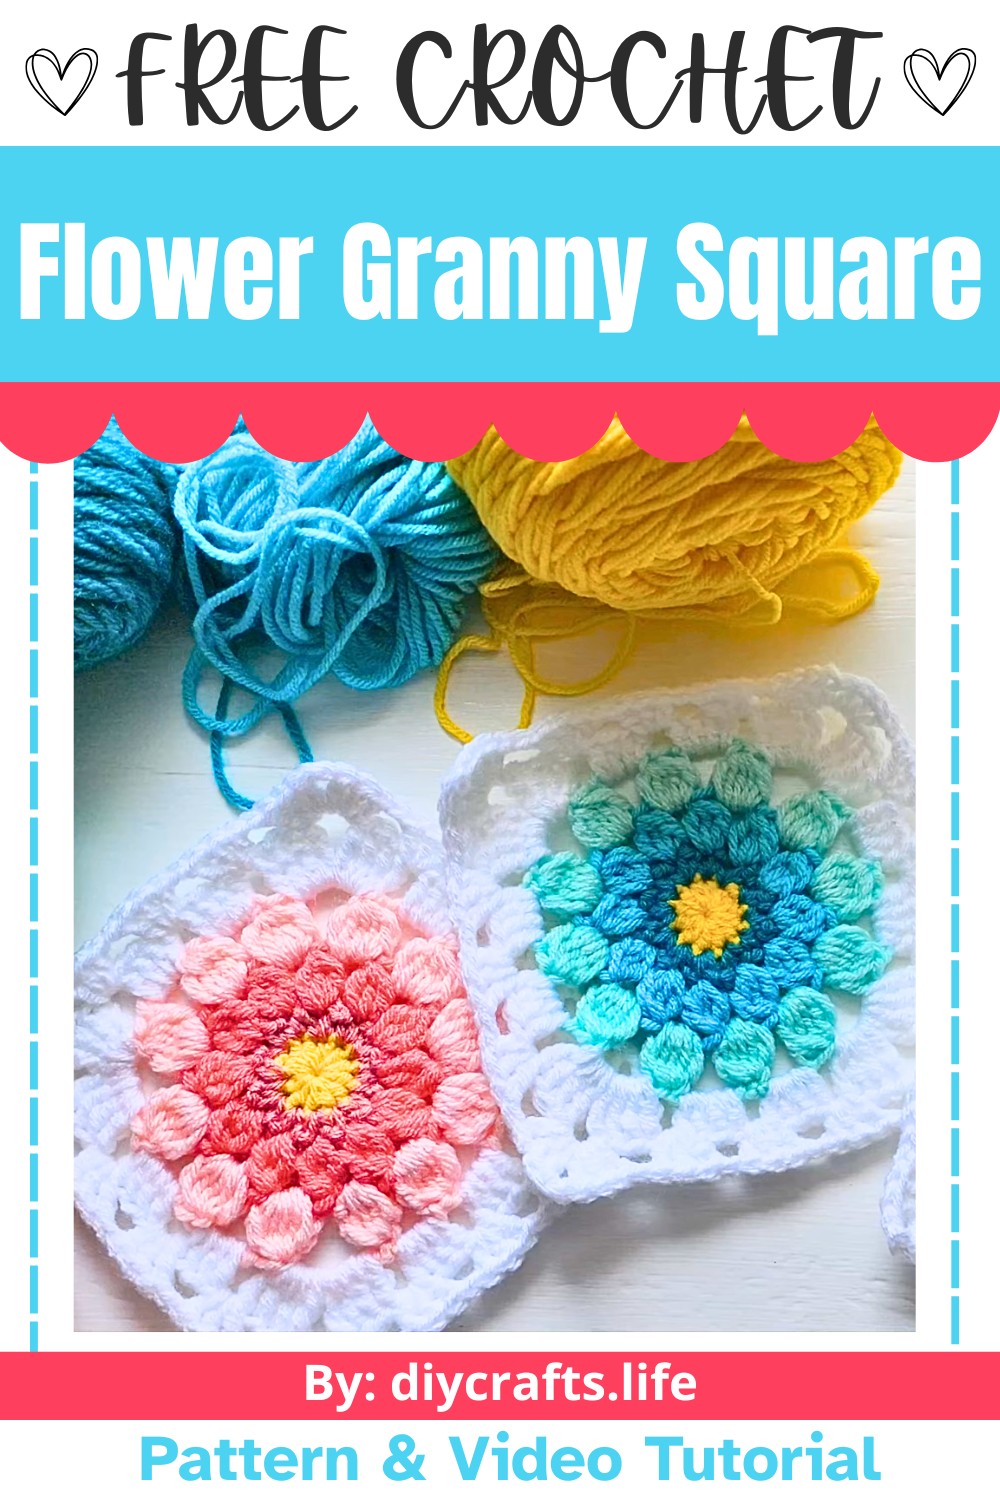
Each square is like a tiny piece of art, blending vibrant flower motifs with a neat border. It’s easy enough for beginners to try and helps hone your crochet skills while making something truly beautiful. You can customize it with your favorite colors, allowing your creativity to shine.
Practical Uses
Once completed, these squares can be sewn together for larger items. Think patchwork blankets, decorative cushions, or even wearable creations like lightweight tops or wraps. Alternatively, one single square could make a perfect coaster or small accent piece. The possibilities are endless when working with granny squares, and they’re fun to experiment with.
Credit By Jenni Designs
Materials & Tools Needed
To crochet the 12-petal flower granny square, you will need the following:
- Yarn: Worst weight yarn in 4 colors for the flower (at least one for each round), plus a fifth color for the outside square (usually white or another contrasting shade).
- Brands used in the tutorial: Red Heart With Love, Big Twist, I Love This Yarn, and Caron.
- Crochet Hook: Size I/5.5mm.
- Scissors: For trimming yarn ends.
- Darning Needle: To sew in the ends.
- Yarn bowl or holder (optional): Helps manage rolling yarn balls.
Finished Size & Customization Ideas
- Standard Finished Size:
- Using the two rounds of white, the square measures approximately 6 inches.
- If you prefer a smaller square, you can work just one round of white, resulting in approximately 5 inches.
- Customization Ideas:
- Crop Tops: Join multiple squares together for a stylish, bohemian crop top.
- Blankets or Throws: Use multiple squares to create baby blankets, throws, or afghans.
- Pillow Covers: Combine the squares into a cushion or decorative pillow cover.
Pattern Abbreviations & Terminology
The tutorial uses standard U.S. crochet terminology:
- ch: Chain
- sl st: Slip Stitch
- sc: Single Crochet
- hdc: Half Double Crochet
- dc: Double Crochet
- tr: Treble (Triple) Crochet
- yo: Yarn Over
- magic circle: A technique to start crochet in the round.
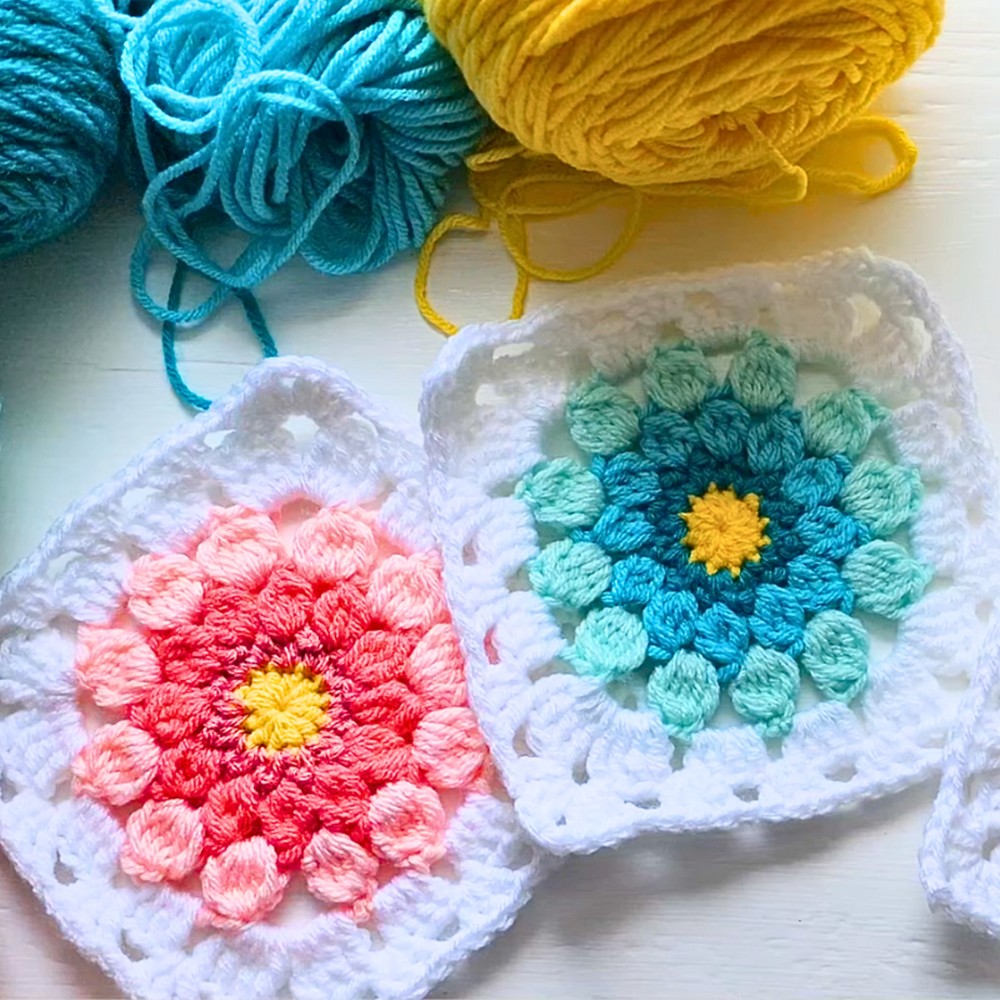
Step-by-Step Detailed Crochet Instructions
The granny square is worked in rounds. Below is a breakdown of each round.
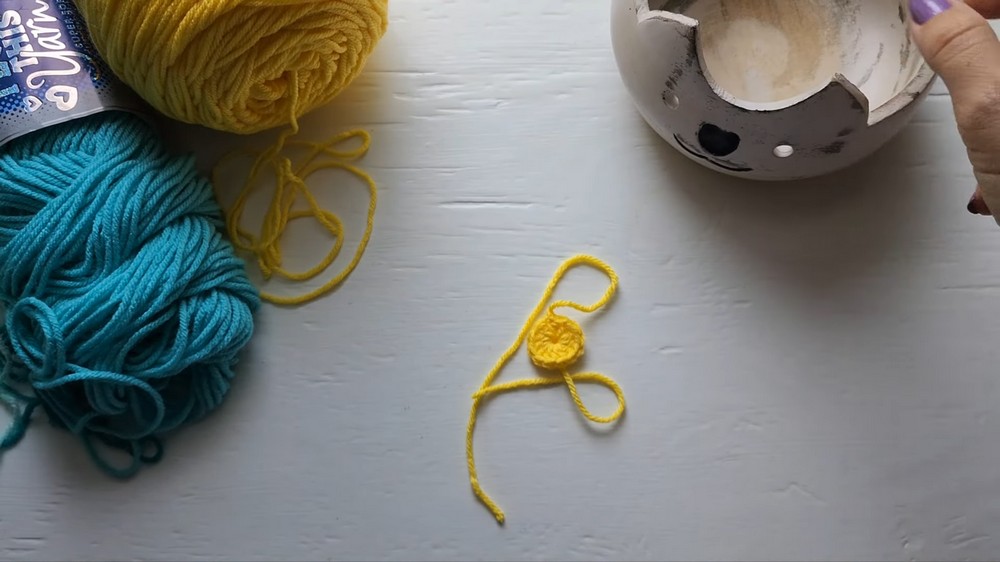
Round 1: Center Circle
- Make a magic circle:
- Hold the yarn in your left hand, wrap it around, and insert your hook into the loop.
- Pull up a loop and ch 1.
- Work 12 hdc into the magic circle.
- Pull the circle tight.
- Count your stitches to ensure you have 12 hdc. Then, join with a sl st to the first hdc.
- Fasten off.
Round 2: Creating 12 Points
- Attach color 2 with a sl st into any stitch.
- Work a sc to join.
- In the same stitch:
- ch 2, then work another sc into the same stitch.
- Repeat this process around:
- sc, ch 2, sc in each stitch.
- You should have 12 points.
- Join to the first sc with a sl st.
- Count to ensure you have 12 points and fasten off.
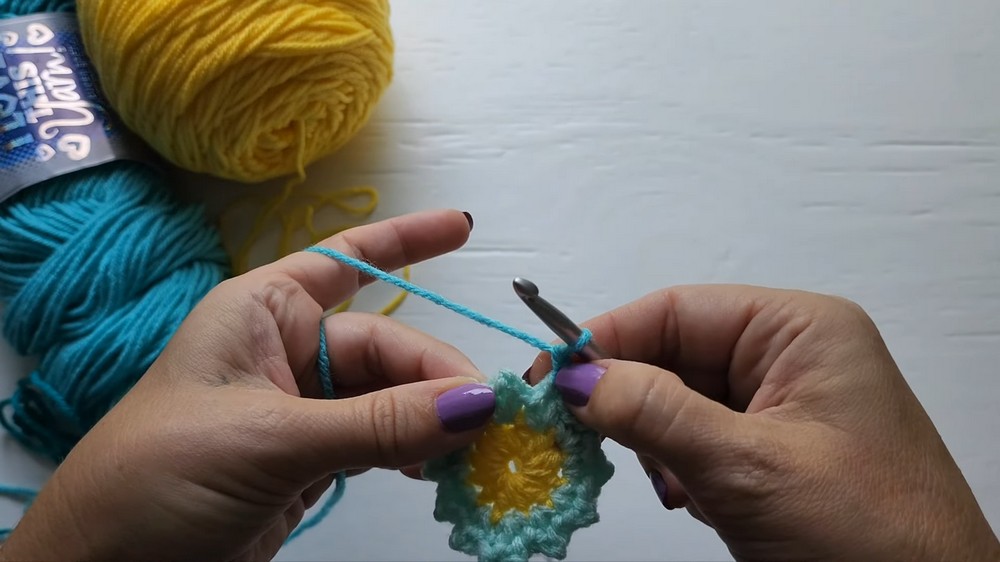
Round 3: Start the Petals
- Attach color 3 with a sl st into any ch-2 space.
- Ch 1, pull the loop up slightly (¾ inch) to create height.
- Work your first petal (counts as 1 stitch-petal):
- Yarn over (yo), insert the hook under the ch-2 space, yo, and pull up a loop (about ¾ inch).
- Yo and pull through 2 loops (you are partially completing a dc).
- Repeat the process for 2 additional partial dcs (you should now have 3 loops on your hook).
- Close the petal: Yo and pull through all loops on the hook.
- Ch 2 (between petals).
- For subsequent petals:
- Work clusters with 3 double crochets into each chain space:
- Yo, insert under the chain space, yo, pull up a loop (keep consistent height).
- Partial dc x3, followed by closing the petal with a yo through all loops.
- Ch 2, repeat in each ch-2 space.
- Work clusters with 3 double crochets into each chain space:
- Ensure you have 12 petals.
- Join with a sl st at the top of the first petal and fasten off.
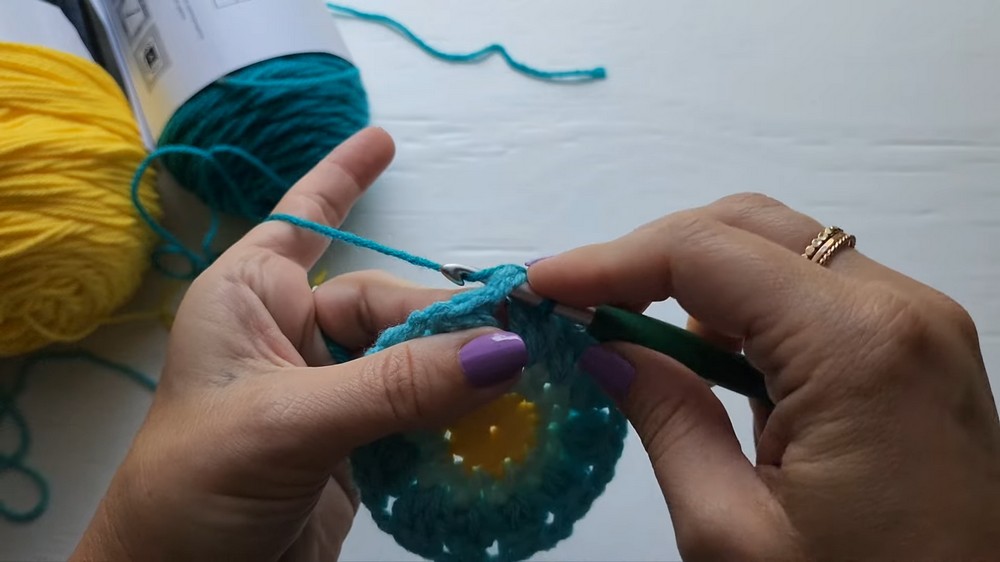
Round 4: Large 12 Petals
- Attach color 4 with a sl st in any ch-2 space.
- Ch 1, pull the loop up slightly (1 inch) to create petal height for this round.
- The first petal (counts as 1 stitch-petal):
- Yarn over (yo), insert the hook under the ch-2 space, yo, and pull up a loop (1-inch height).
- Partial dc and repeat for 4 total partial dcs.
- Close the petal: Yo and pull through all loops on the hook.
- Ch 4 (between petals for this round).
- For subsequent petals:
- Work clusters with 5 double crochets into each chain space:
- Yo, insert under the chain space, yo, pull up a loop (1-inch height).
- Partial dc x5, followed by closing the petal with a yo through all loops.
- Ch 4, repeat in each ch-2 space.
- Work clusters with 5 double crochets into each chain space:
- Confirm you have 12 large petals.
- Join with a sl st at the top of the first petal and fasten off.
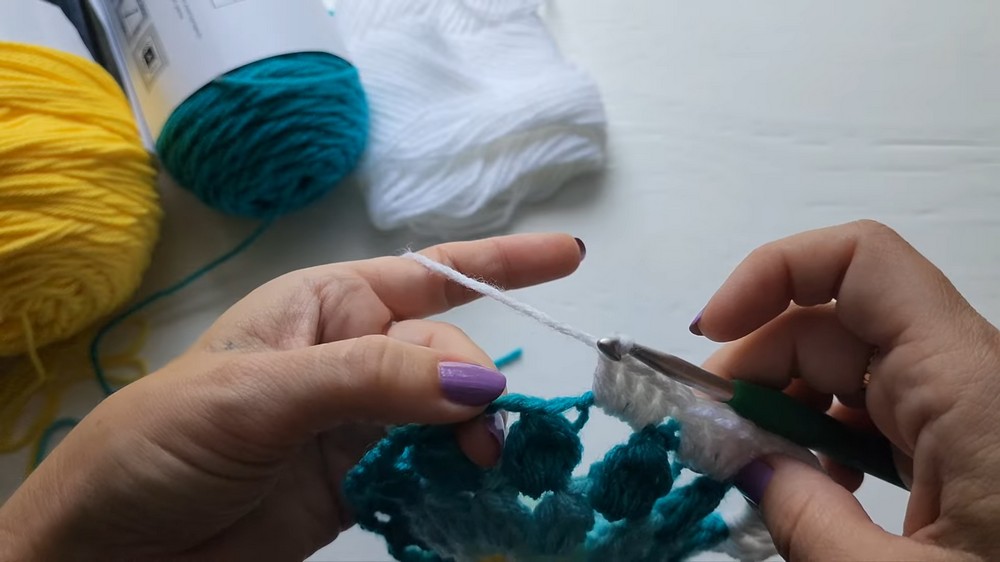
Round 5: Square Corners – Triple Crochet
- Attach the outer color (e.g., white) to any ch-4 space with a sl st.
- Work a corner:
- Ch 3 (counts as a tr).
- Work 3 tr, ch 2, 4 tr into the same chain space.
- Move to the next chain space:
- Work 4 dc.
- Repeat across:
- In corner spaces: 4 tr, ch 2, 4 tr.
- In side spaces: 4 dc.
- Join to the first tr with a sl st and fasten off.
Round 6: Final Round (Square Edge – Double Crochet)
- Slip stitch to the nearest corner space, then ch 2.
- Work a corner:
- 3 dc, ch 2, 3 dc into the corner space.
- Work along the edge:
- Ch 1, then work 3 dc into each gap.
- Repeat around:
- Ch 1 between groups of 3 dc.
- In corners: 3 dc, ch 2, 3 dc.
- Join to the first dc with a sl st and fasten off.
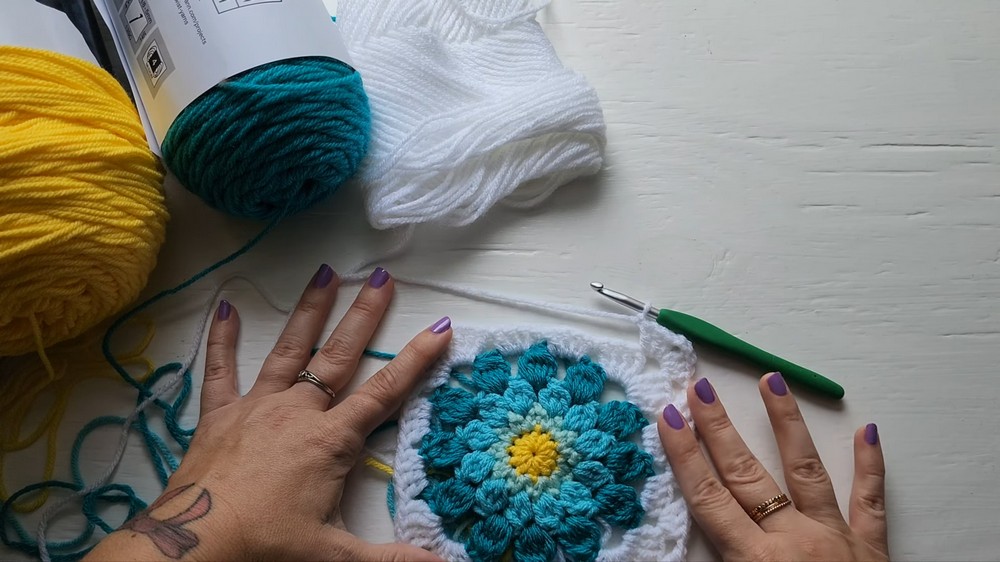
Finishing Techniques
- Weaving Ends: Use a darning needle to weave in the ends:
- Run the yarn back and forth under several stitches to secure it.
- Blocking (Optional): Block your square to ensure it lies flat.