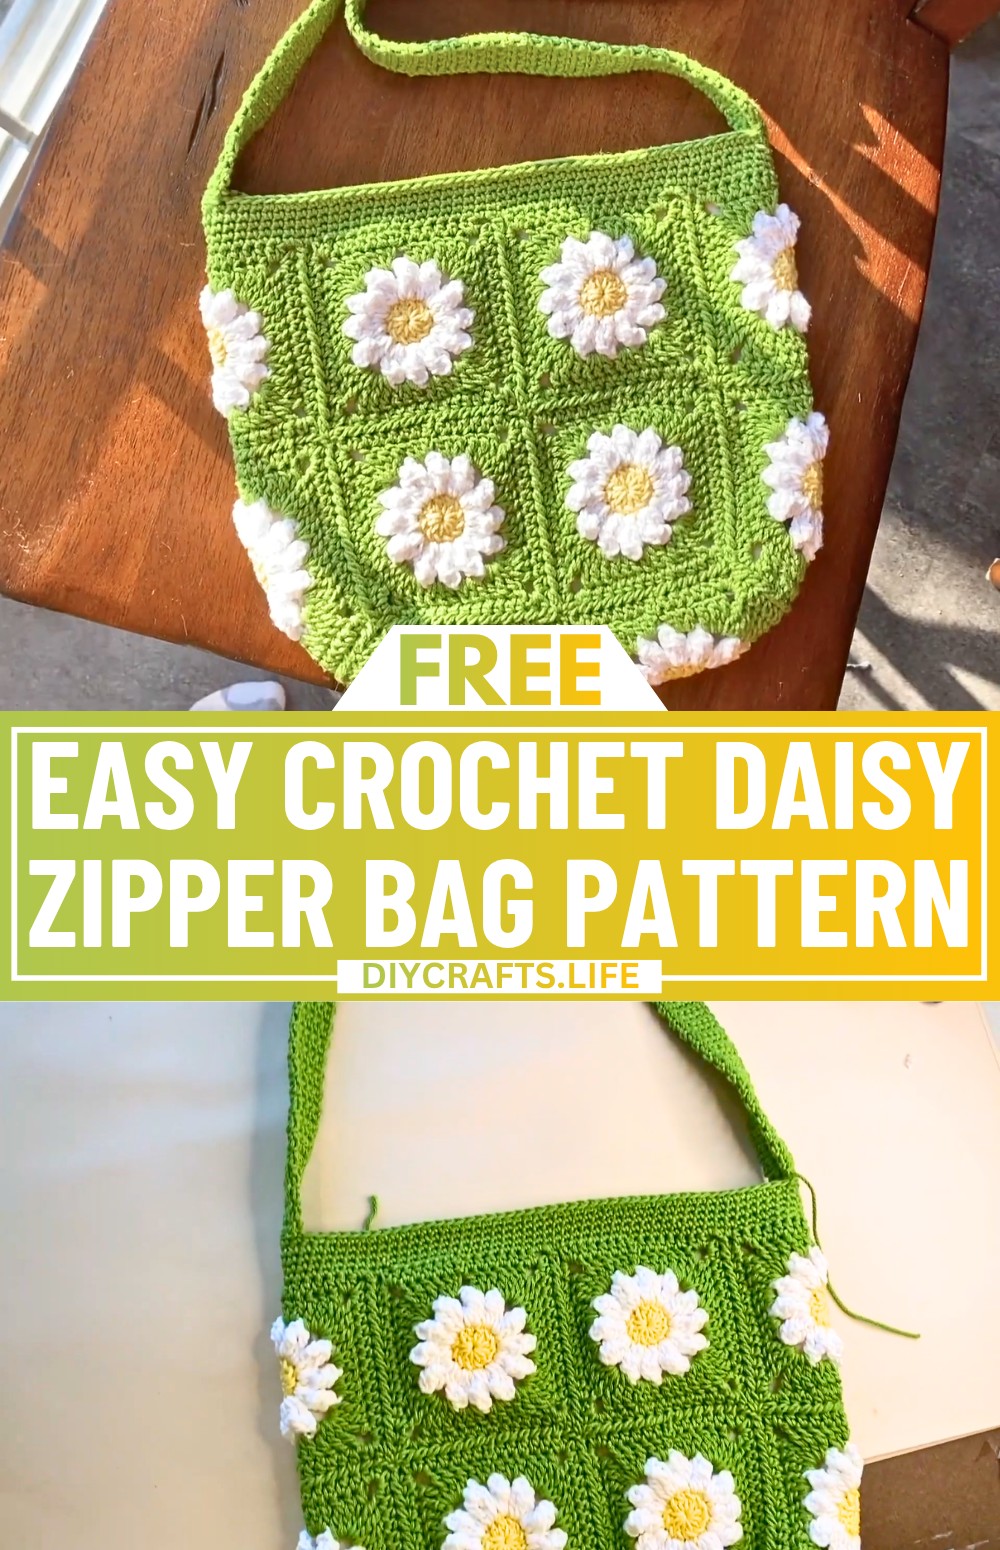
This crochet daisy zipper bag is the perfect mix of charm and functionality. Decorated with adorable daisy patterns, this bag adds a cheerful touch to your day. Its compact size makes it ideal for storing small items like makeup, stationery, or even your crochet tools. You can use it as a zipper pouch, a statement accessory, or a thoughtful handmade gift.
Crochet Daisy Zipper Bag Pattern
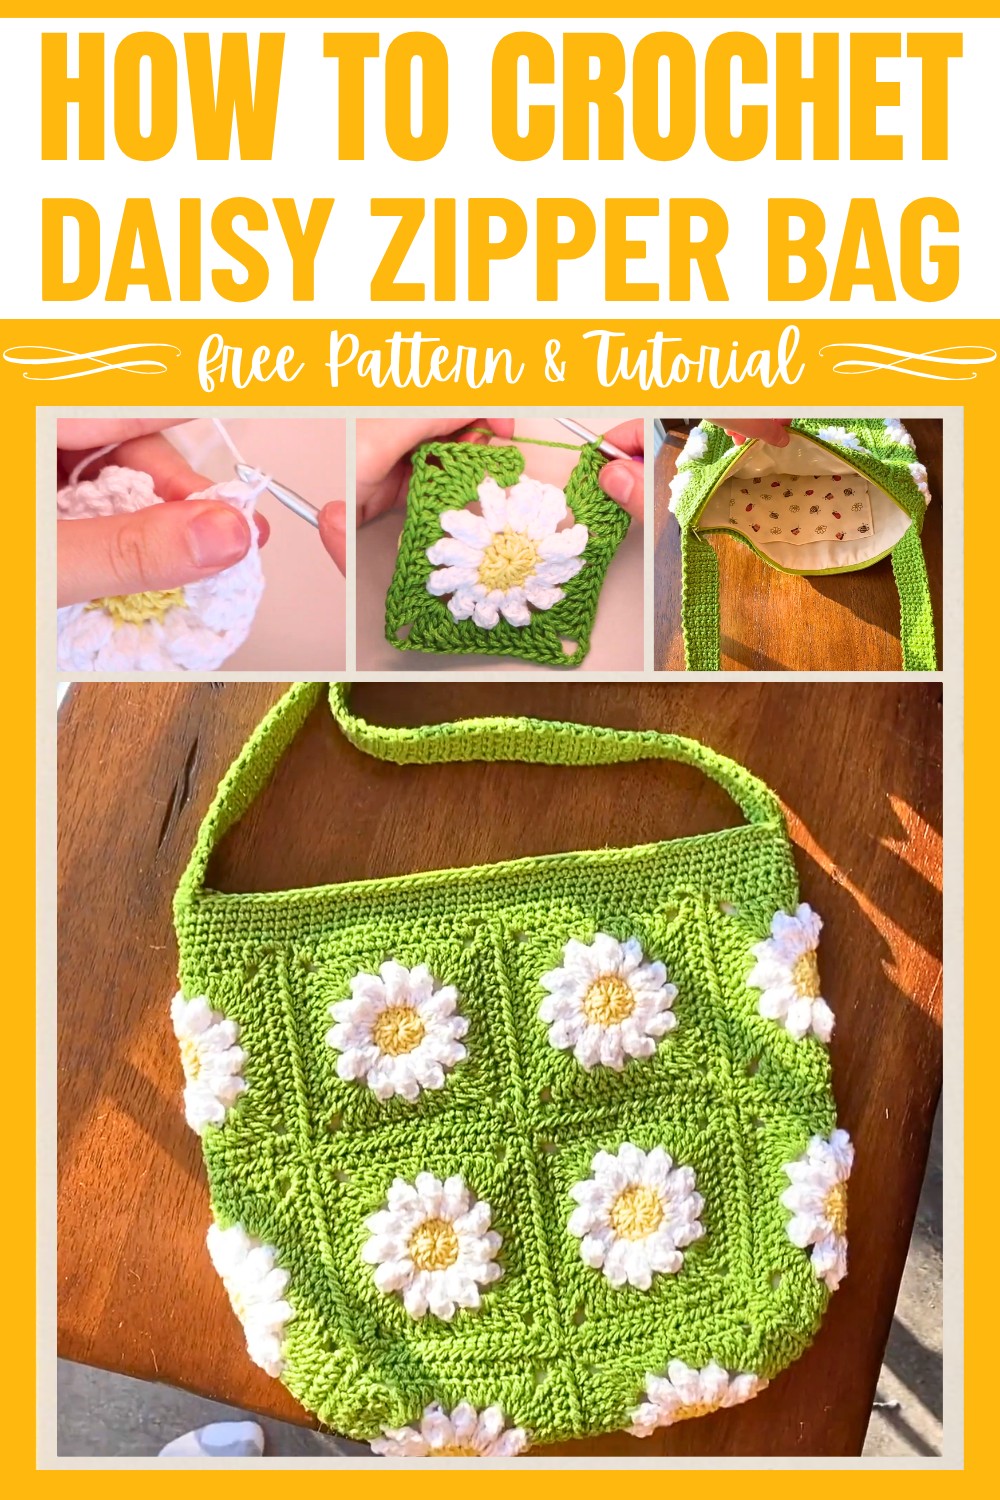
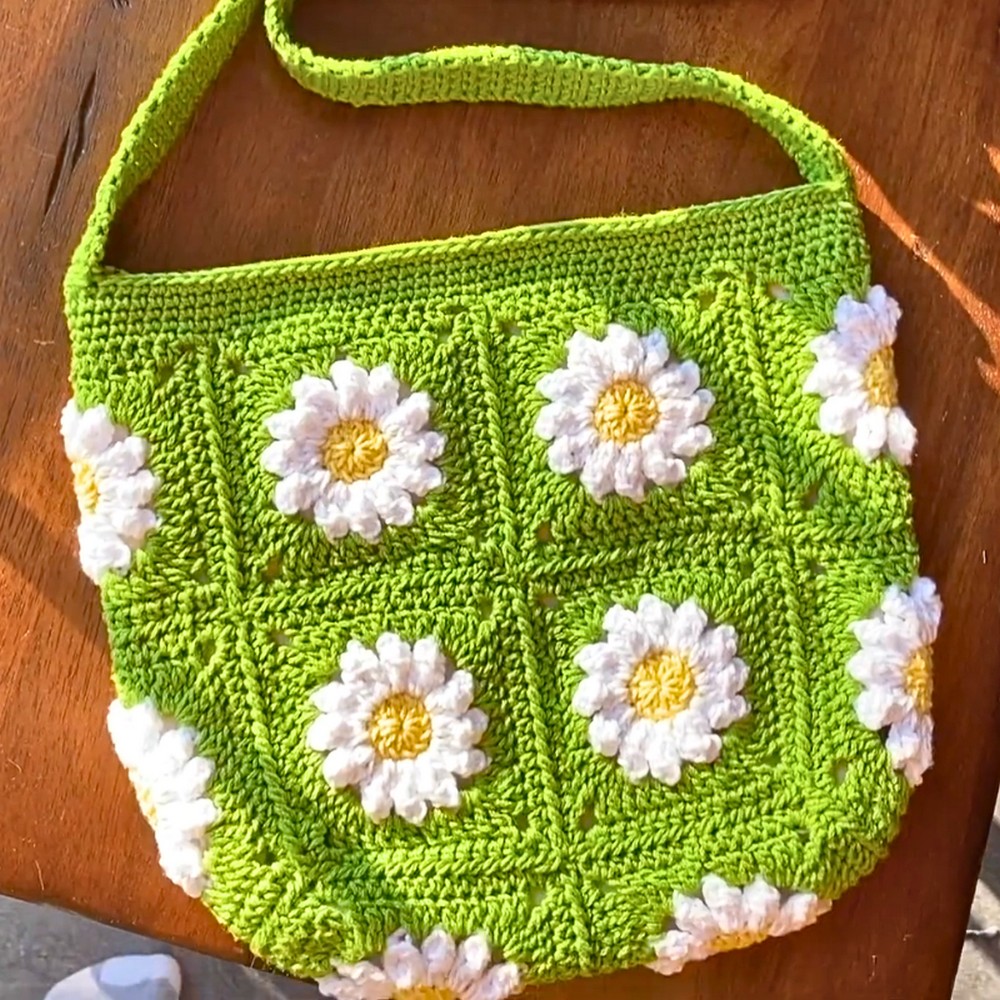
This bag is even more special because it combines crochet and sewing. Using easy stitches, you’ll create cheerful daisy motifs that are joined together to form the structure of the crochet bag. A simple zipper adds functionality, while a neat fabric lining on the inside ensures durability. The strap is sturdy yet stylish, making this crochet bag comfortable to carry on the shoulder or as a crossbody option.
Credit Alyssia Creates
Materials & Tools Needed
- Yarn: Medium weight (e.g., Lion Brand 24/7 Cotton Yarn).
- Colors: White (Daisies), Yellow (Center of the Daisies), and an accent color for the bag structure and edging.
- Crochet Hook: 4 mm hook.
- Additional Tools:
- Stitch marker (optional).
- Scissors.
- Tapestry needle for weaving ends.
- Fabric Lining: Cotton fabric for lining.
- Zipper: 16-inch all-purpose coil zipper.
- Sewing Tools: Sewing pins, sewing machine (or needle for hand stitching), measuring tape, pencil, and shears.
Finished Size
The finished bag measures approximately:
- Width: Around 8 inches.
- Height: Roughly 4 inches without the strap.
- Strap Length: Customizable (about 32 inches for a shoulder bag, longer for a crossbody bag).
Customization Ideas
- Use different color schemes for the daisies and accent yarns for a personalized aesthetic.
- Add pockets inside the lining.
- Adjust the number and layout of granny squares to create larger or smaller bags.
- Make the strap wider or longer to fit your preference (e.g., crossbody bag).
Pattern Abbreviations & Terminology
All abbreviations follow US Standard Crochet Terms:
- ch = Chain.
- sl st = Slip stitch.
- st/sts = Stitch(es).
- sc = Single Crochet.
- hdc = Half Double Crochet.
- dc = Double Crochet.
- tr = Treble/Triple Crochet.
- mc = Magic Circle.
Step-by-Step Detailed Instructions
Part 1: Daisy Granny Squares
You will make 14 Daisy Granny Squares.
Steps to Crochet a Daisy Square
Round 1 – Daisy Center
- Start with a magic circle (mc).
- Chain 3 (counts as your first dc), then work 11 dc into the mc.
- Total: 12 dc.
- Tighten the mc and sl st into the top of the chain-3 to close the circle and fasten off the yarn.
Round 2 – Daisy Petals
- Attach white yarn into any dc stitch from Round 1.
- Chain 4 (counts as the first tr), then work 2 tr into the same stitch.
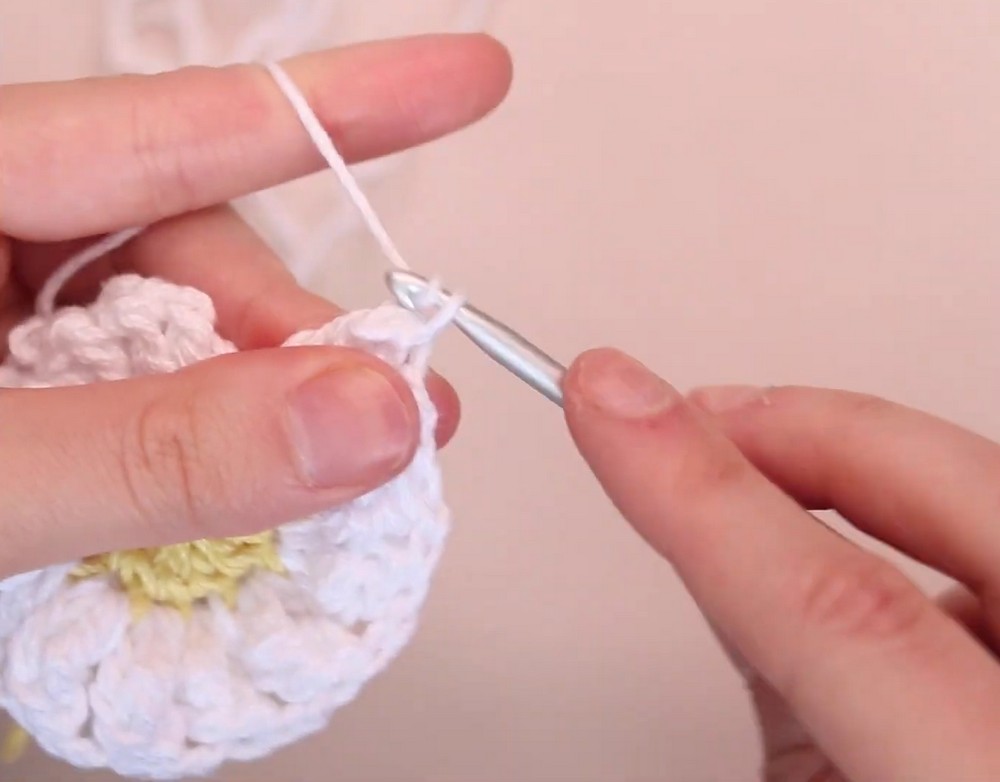
- Petal Formation: Remove your loop from the hook, insert the hook into the top of the chain-4, pull the dropped loop through.
- Chain 2 and move to the next dc stitch in the round.
- In the next dc:
- Work 3 tr (treble crochet), form the petal as described above, and chain 2 to move to the next dc.
- Repeat this process for all 12 stitches (12 petals).
- After the last petal, chain 2 and sl st into the top of the first petal to join.
- Fasten off the yarn.
Part 2: Granny Square Structure
Attach your accent yarn and work three rounds around each Daisy.
Round 3 – Granny Square Base
- In any chain-2 space of the Daisy, attach your accent yarn.
- Ch 3 (counts as the first dc), then work 2 dc into the same space.
- This forms the first corner group.
- Move to the next chain-2 space:
- For a corner, work 3 tr, ch 3, 3 tr into the same space.
- For other spaces, work 3 dc.
- Repeat around until you make a square:
- Alternating corners (3 tr, ch 3, 3 tr) and sides (3 dc clusters).
- Sl st to join to the beginning and do not fasten off.
Round 4 – Square Outer Border
- Ch 2 (counts as the first hdc), then work 5 hdc until you reach a corner.
- In the corner space:
- Work 2 hdc, ch 2, 2 hdc.
- Continue working 11 hdc along each side and repeat the corner sequence.
- After completing the round, sl st back into the starting point and fasten off for the first square.
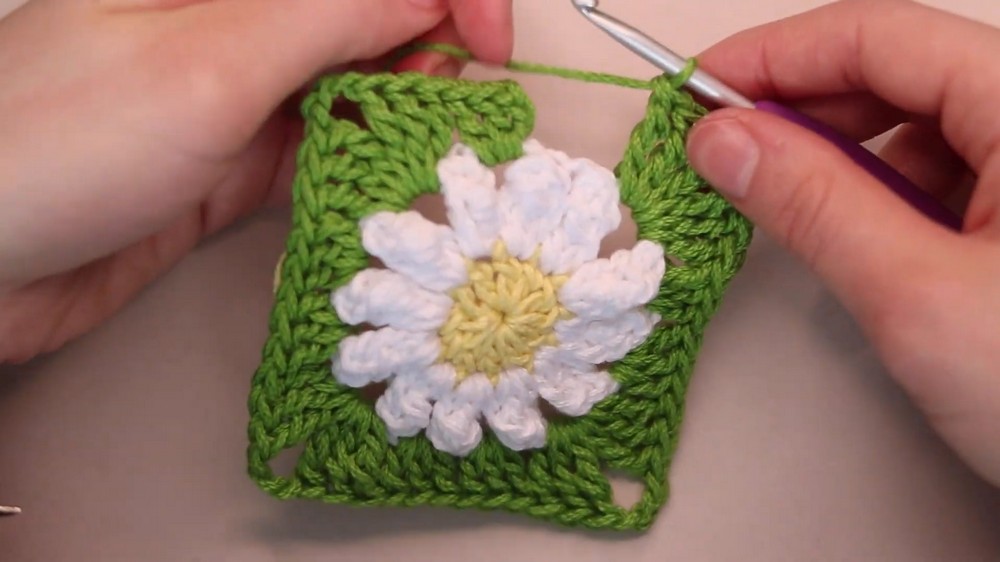
Joining Daisy Squares
You will use the join-as-you-go (JAYGO) method for attaching the squares.
- After completing Round 3 of the second square, begin Round 4 up to the first corner.
- To Join:
- In the first corner of your new square, work 2 hdc, ch 1.
- Remove the loop from your hook, insert the hook into the corner of the already finished square, pull the loop through, and ch 1.
- Work the remaining 2 hdc in the corner space of the current square.
- Continue attaching by inserting your hook into matching stitches of the previous square as you work Round 4.
- Follow the layout diagram in the tutorial for positioning:
- Base = 6 squares.
- Side = 4 squares (each side).
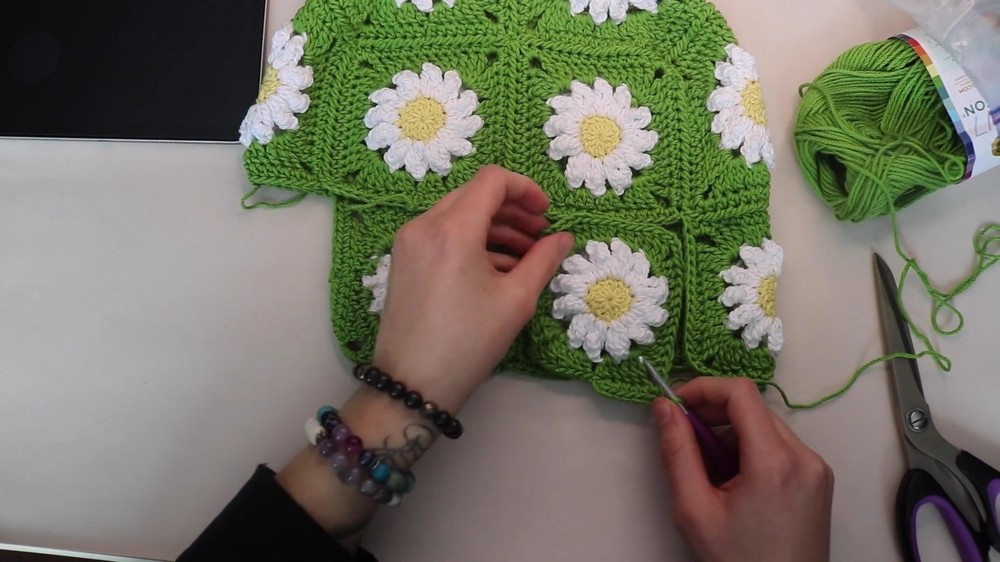
Part 3: Bag Assembly
Edging
- Working in continuous rounds, attach yarn into the top edge of the bag.
- Round 1–5: Work sc evenly across the top edge (5 rounds total). Place stitch markers to join.
Strap
- Find the center stitch along the side of the bag.
- Attach yarn and work a 5-stitch wide single crochet strap:
- Chain 1, sc 5 across, turn.
- Work this until you reach your desired length (about 150–160 rows for a shoulder strap).
- Slip stitch back down the strap to reinforce it and reduce stretching.
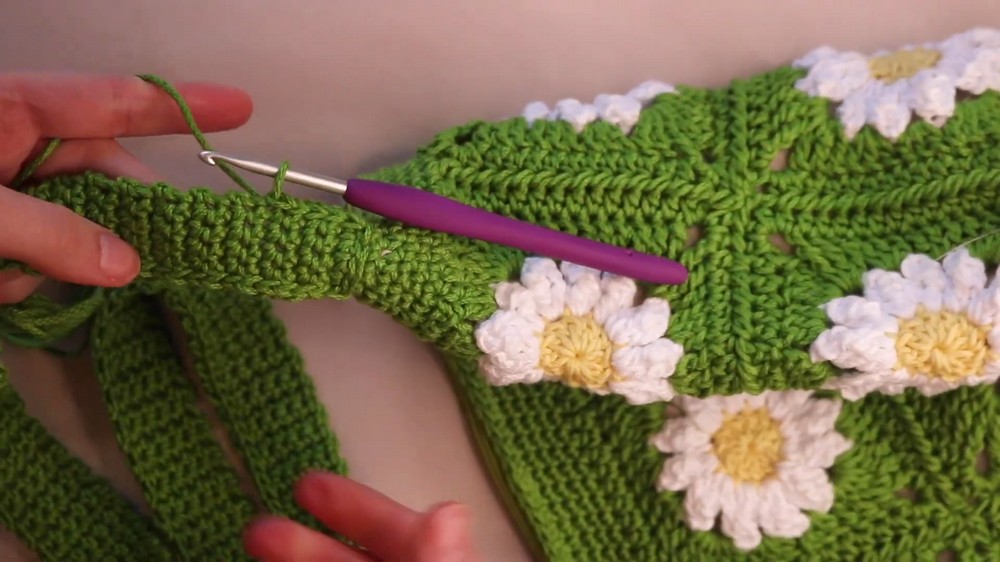
Part 4: Lining & Zipper Installation
- Cut fabric (allowing 0.5-inch seam allowance) to match the bag shape and size.
- Attach a 16-inch zipper along the folded edge of the fabric lining.
- Sew seams for edges and box corners to match the base of the crochet bag.
- Pin and sew the lining into the crochet bag (just below the zipper coil).