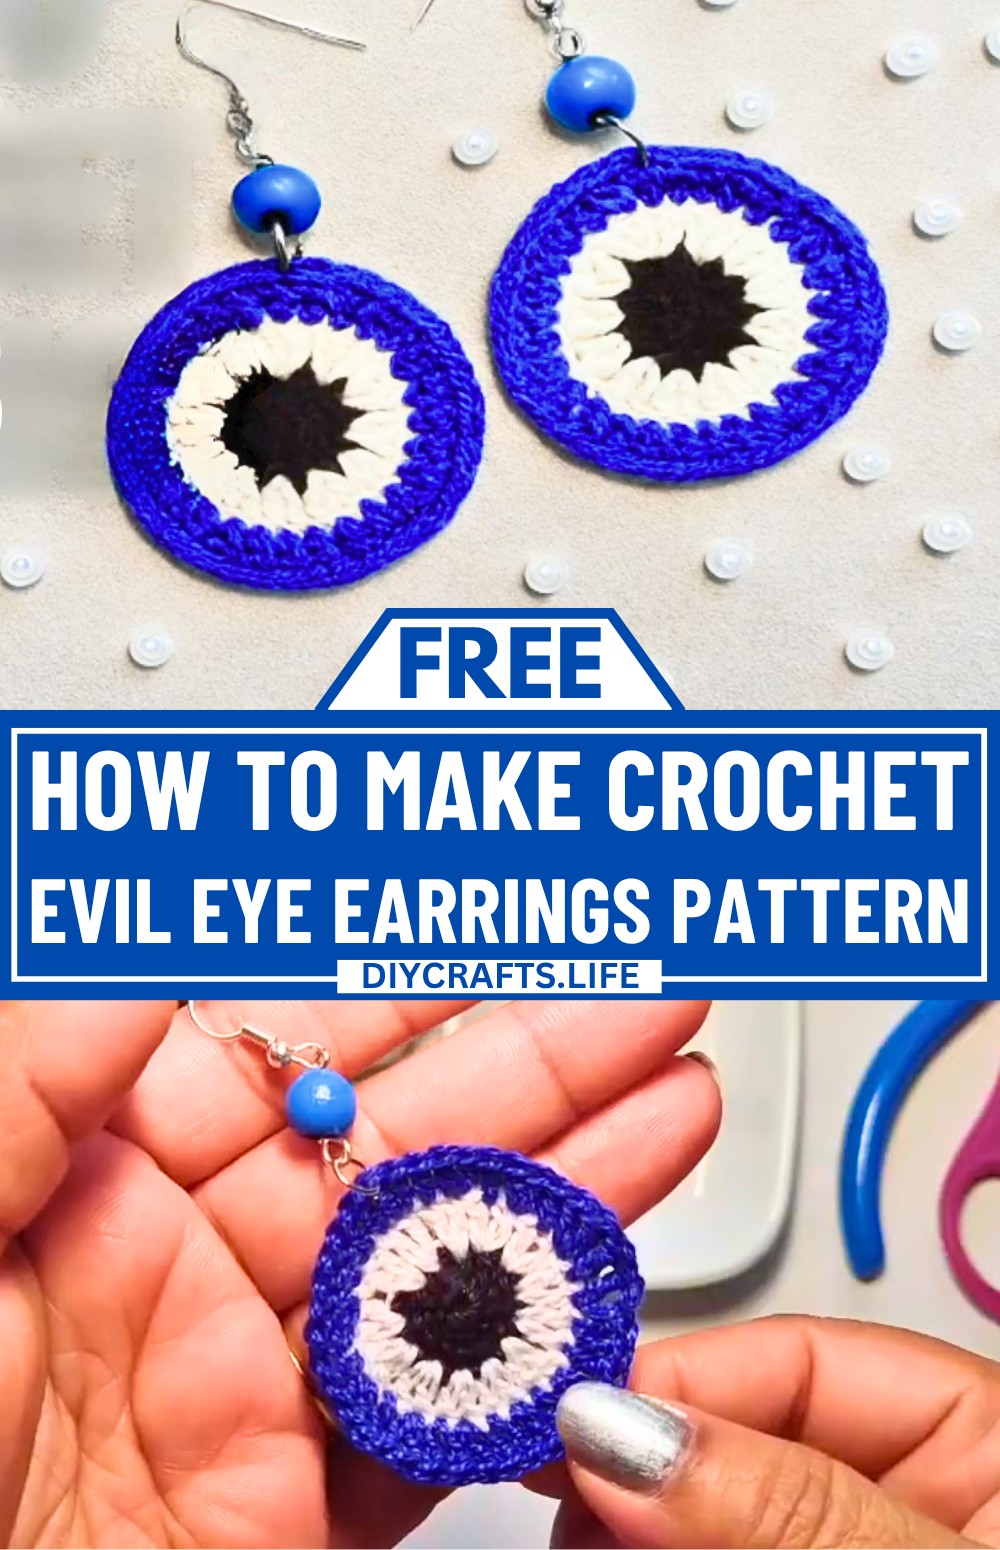
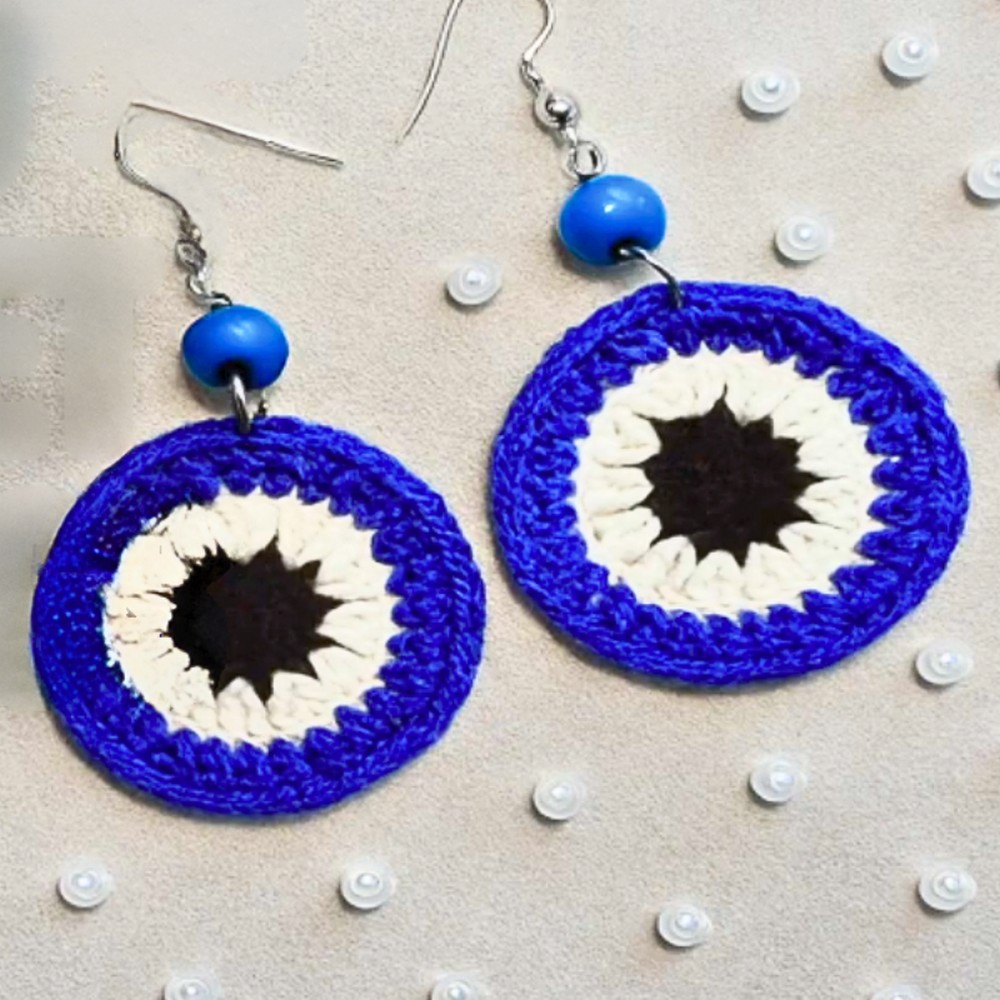
These Evil Eye Earrings are a colorful and stylish accessory that is both meaningful and trendy. These crochet earrings, inspired by the traditional evil eye symbol, are believed to offer protection, making them not just beautiful but special too. They are lightweight, vibrant, and perfect for pairing with casual or festive outfits. You can make them at home with just a few materials.
How to Make Evil Eye Earrings
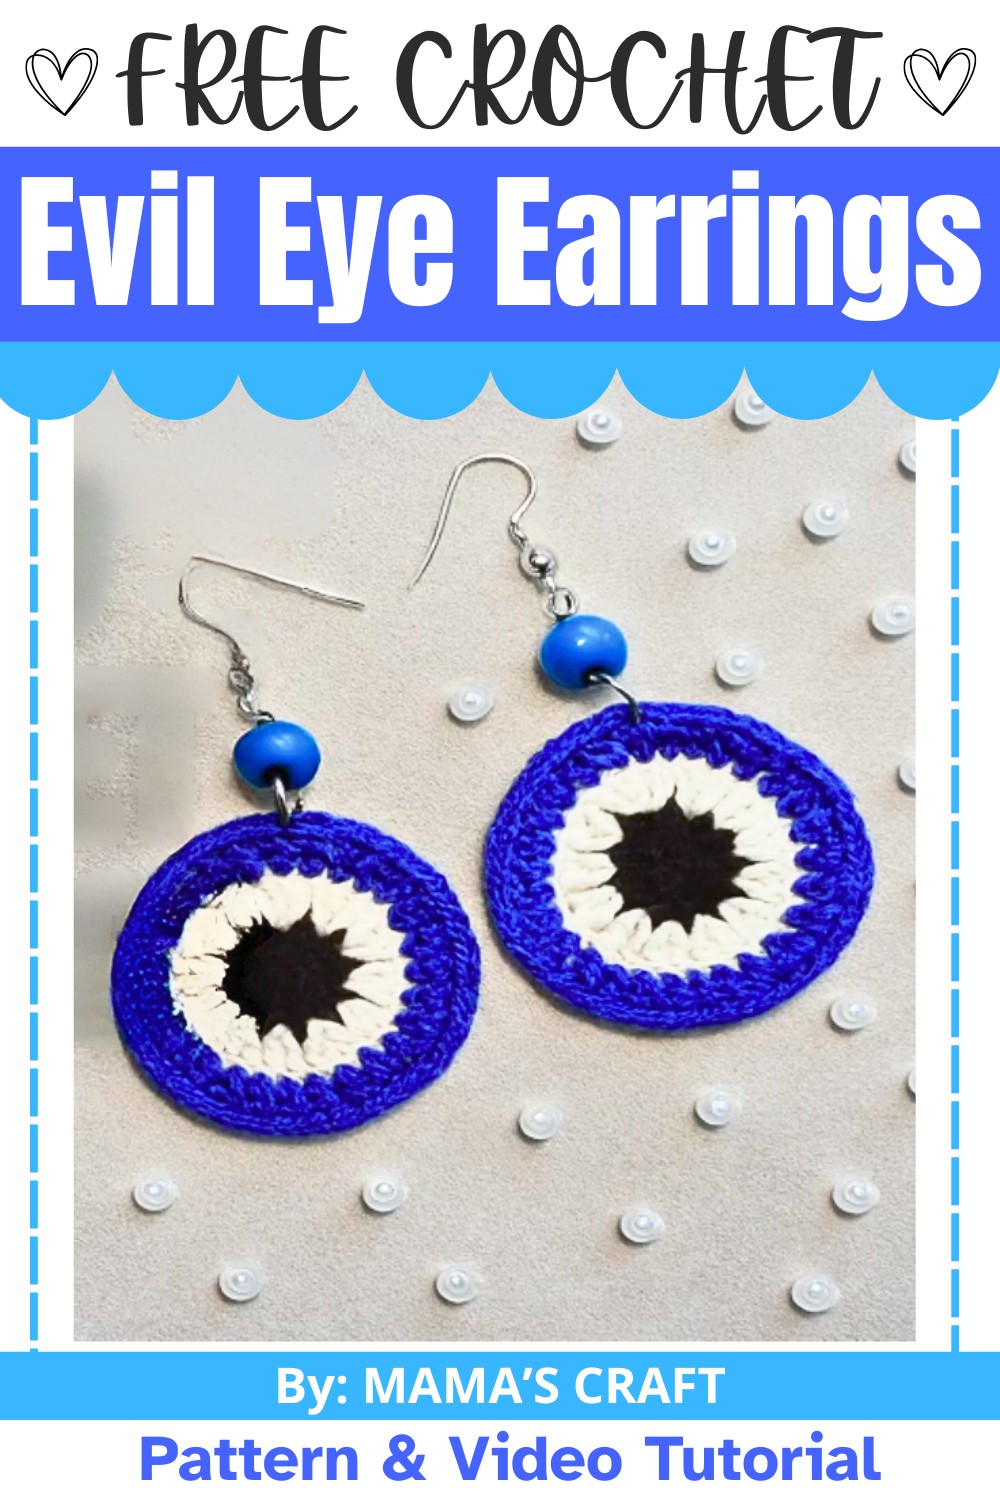
You'll need three yarn colors, a crochet hook, earring hooks, a hanging bead, a jump ring, and scissors. The process starts by crocheting small circles in layers of black, white, and blue to form the iconic evil eye design. Once the crochet piece is complete, you attach it to the earring hook and add a hanging bead for a polished look. These crochet handmade earrings are beginner-friendly and come together quickly, making them a fun and rewarding activity.
Credit MAMA’S CRAFT
Materials and Tools Needed:
- Yarn:
- Black yarn
- White yarn
- Blue yarn
- Crochet Hook: 1.25 mm crochet hook
- Earring Hardware:
- 1 jump ring
- 1 hanging bead
- 1 earring hook
- Additional Tools:
- Plier
- Scissors
Finished Size:
- The size of the earrings depends on your yarn thickness and tension. With the suggested materials, the finished earring size will typically be small and lightweight, perfect for casual wear.
Customization Ideas:
- Experiment with alternative colors to match your outfits or preferences.
- Use metallic or glittery yarn for a sparkly effect.
- Change bead styles for a more personalized look.
Pattern Abbreviations & Terminology:
(The pattern uses US crochet terms.)
- ch: chain
- dc: double crochet
- sl st: slip stitch
- magic ring: adjustable loop to start the round
- st(s): stitch(es)
Step-by-Step Detailed Instructions:
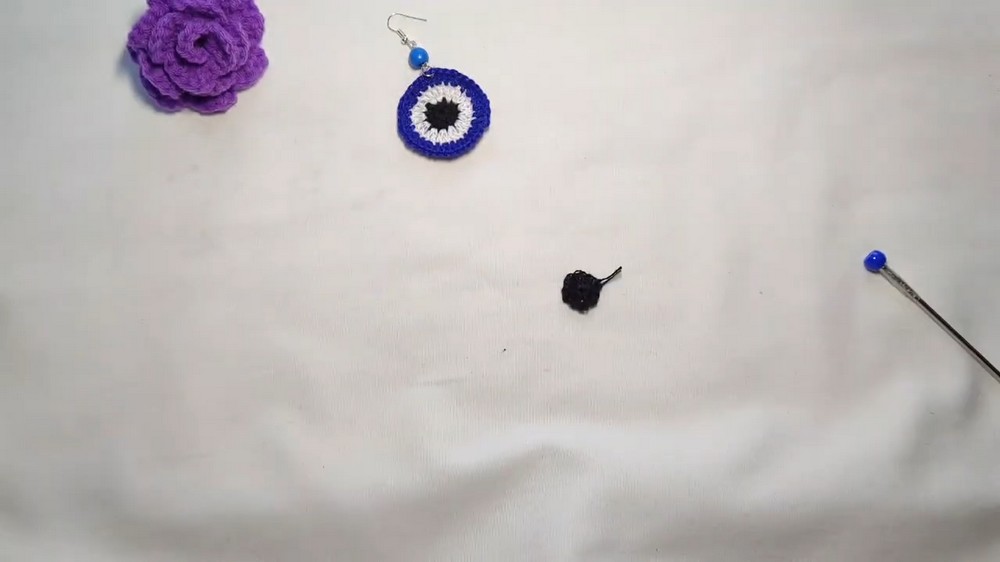
1. Create the Black Center of the Evil Eye:
- Start with a magic ring using black yarn.
- Ch 2 (this will count as your first double crochet).
- Work 12 dc into the magic ring.
- Pull the magic ring tight to close the center.
- Join the last dc to the top of the starting ch-2 with a sl st to form a complete circular shape.
- Secure it by cutting the yarn and making a knot.
2. Add the White Layer:
- Attach the white yarn to any stitch in the black circle.
- Ch 2 (counts as the first dc).
- In the same stitch, work 1 dc (so you now have 2 dc in the first st).
- Work 2 dc in each st around for a total of 24 dc in this round.
- Join the last dc to the top of the starting ch-2 with a sl st.
- Cut the yarn and secure it with a knot.
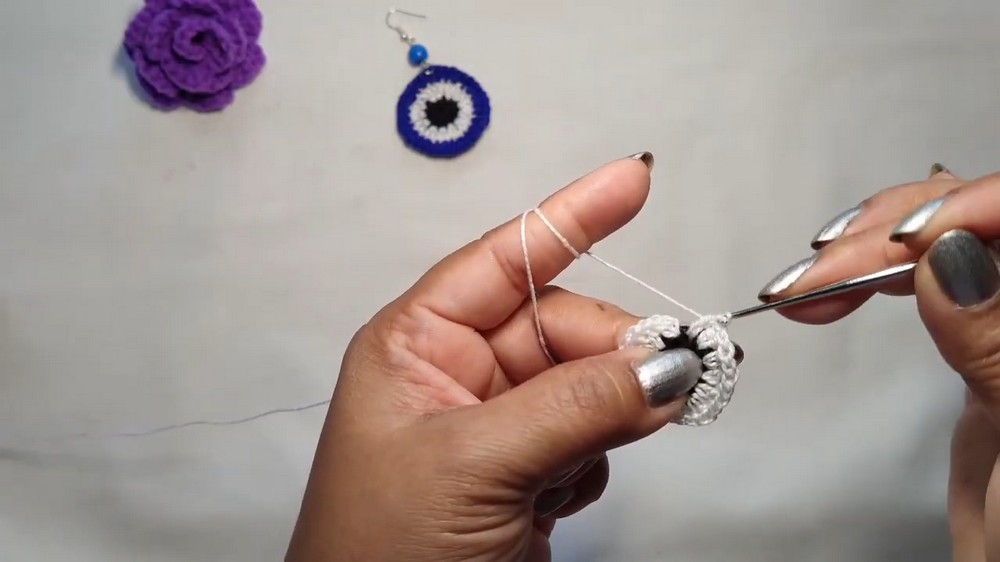
3. Add the Blue Layer:
- Attach blue yarn to any stitch in the white layer.
- Ch 2 (counts as the first dc).
- In the same stitch, work 1 dc (so you now have 2 dc in the first st).
- Work the following pattern across the round:
- [2 dc in next st, 1 dc in next st], repeat until the end of the round.
- This will result in 36 total sts for this round.
- Join the last dc to the top of the starting ch-2 with a sl st.
- Cut the yarn and secure it with a knot.
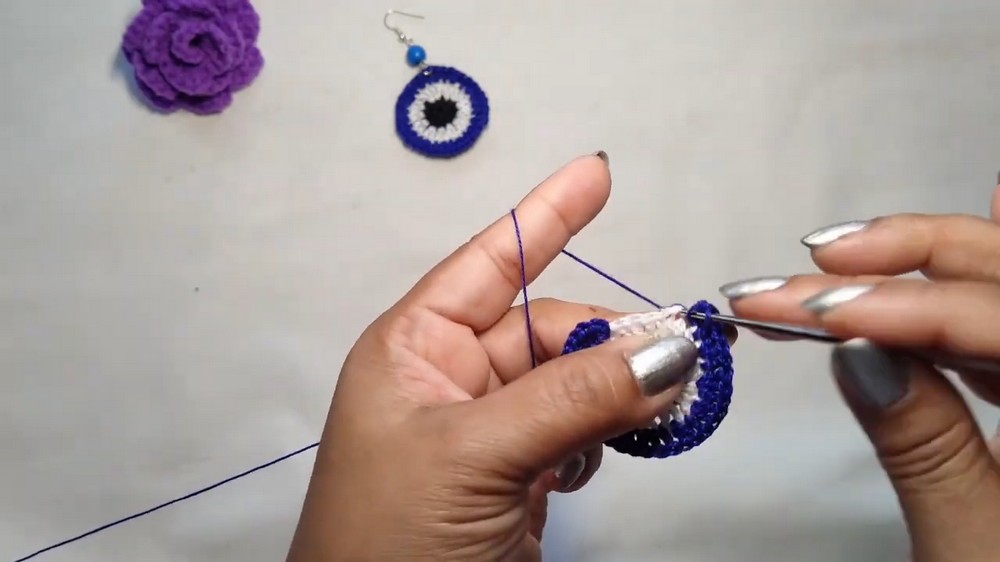
4. Assemble the Earrings:
- Insert a jump ring into the edge of the crocheted circle.
- Add a hanging bead to the jump ring, then use pliers to close the ring securely.
- Take an earring hook, open the loop, and attach it to the jump ring. Close the loop securely with pliers.
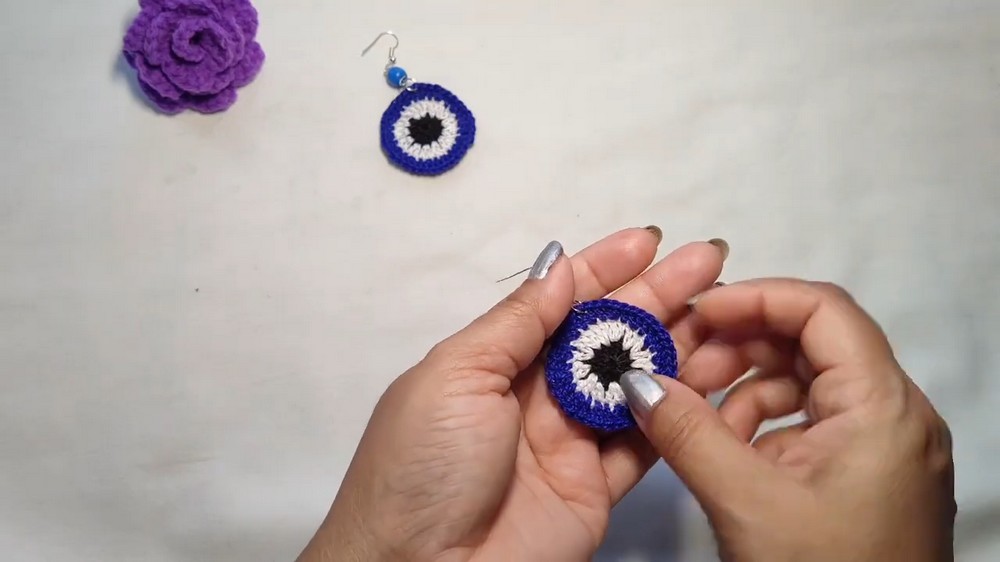
Finishing Steps:
- Trim any excess yarn and weave in all ends on the back of the piece using a yarn needle or scissors.
- Tighten all knots to make sure the earring is secure and durable.