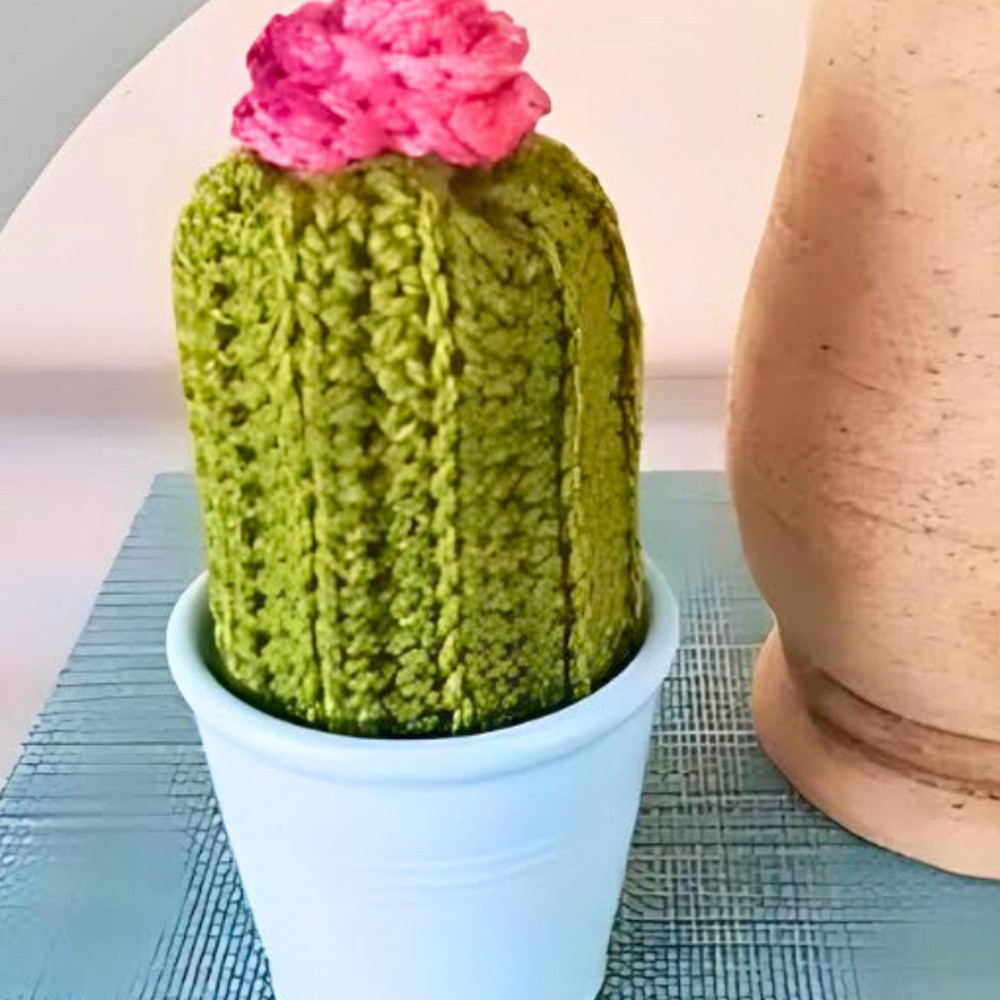
Looking for a creative and functional crochet project? Try making a cute, funky crochet cactus! This 20 cm (8 in) soft sculpture is ideal for décor or gifting. Whether it's its vibrant design, adorable flower topper, or customizable colors, this cactus is sure to brighten any space.
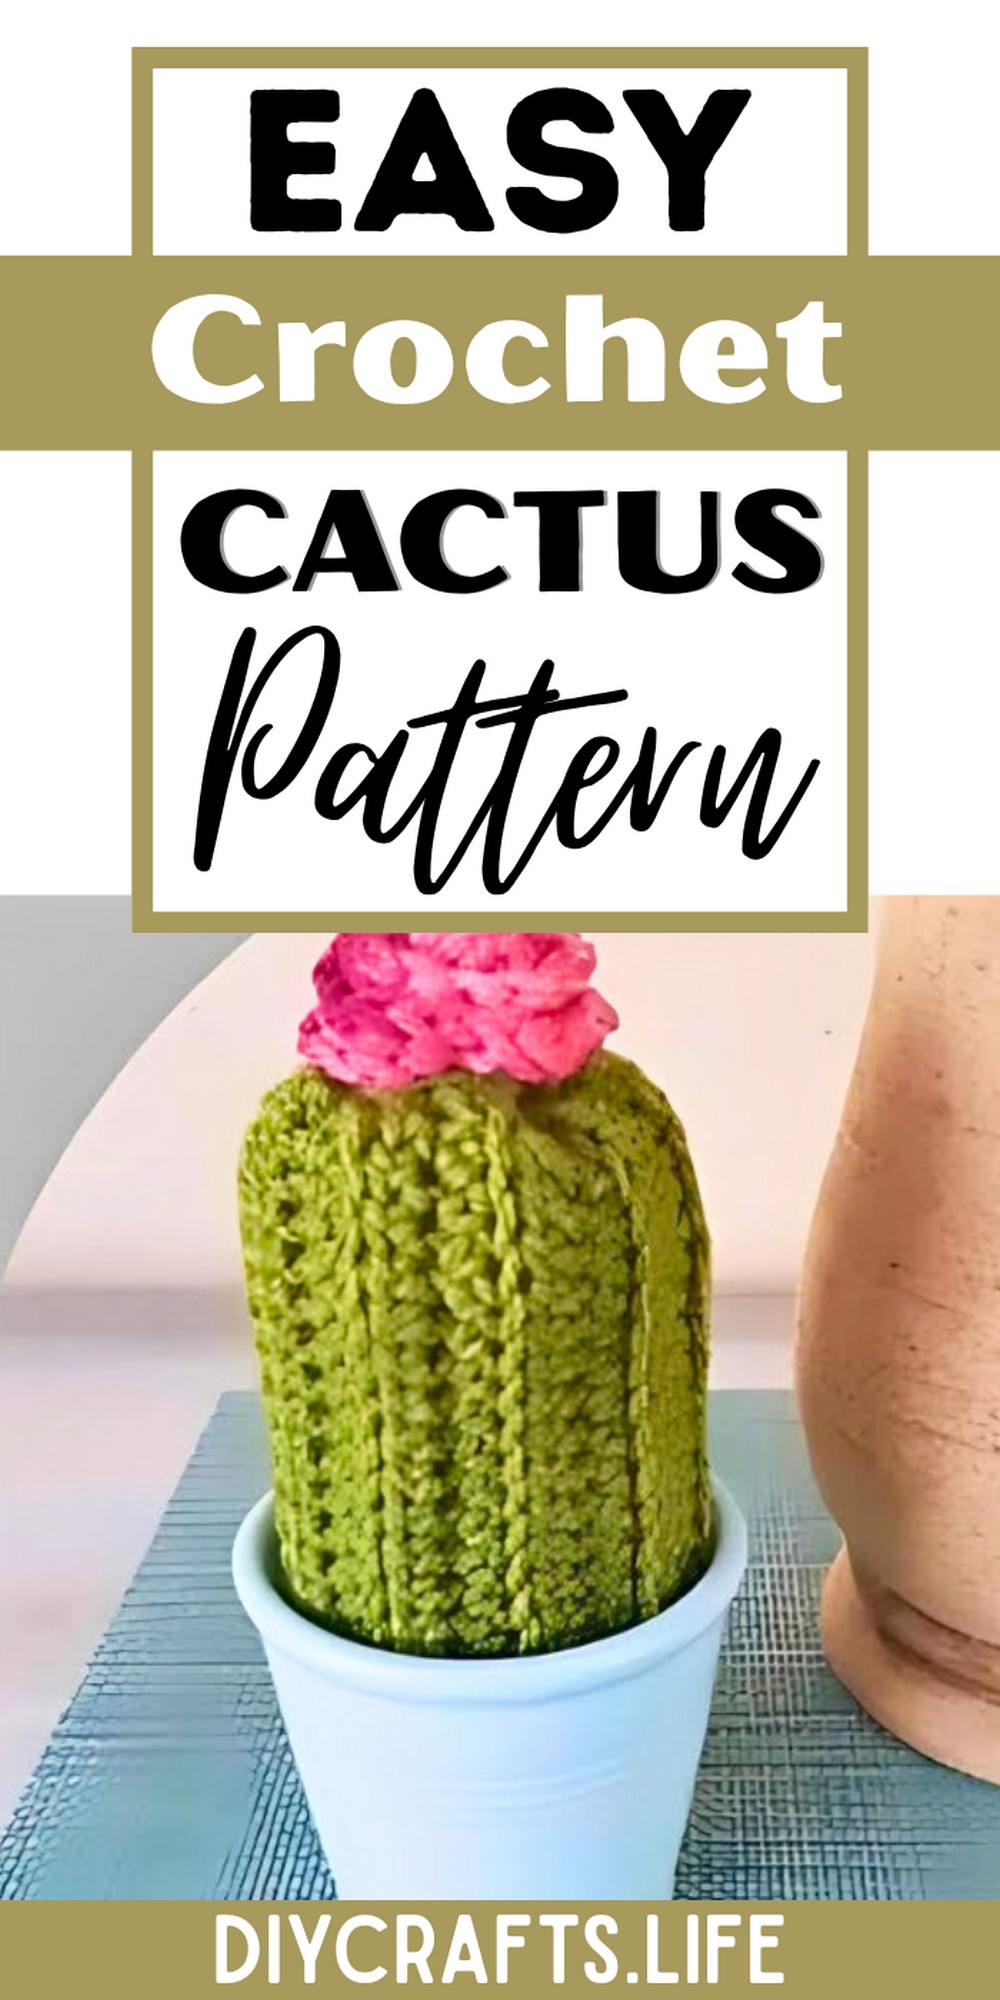
The crochet cactus is perfect as a quirky desk buddy, shelf décor, or a handmade gift for loved ones. Its textured, ridged exterior is sturdy, while its plush interior provides a lifelike appearance. Add your own touches, like different colors or flower styles, to make it unique and versatile!
Crochet Cactus
This crochet cactus is beginner-friendly, yet exciting enough for advanced crocheters to enjoy. With a simple half-double crochet pattern worked in rows, it's both customizable and satisfying to create. No need to perfect every stitch—the end result is a cute plant loved for handmade charm and creativity.
Materials and Preparation
To create this adorable crochet cactus, you will need the following materials:
- Yarn:
- Cactus: Double-knit (DK) yarn in the color Olive (e.g., Charity yarn or any DK yarn).
- Flower: Variegated DK yarn (optional; specific yarn used was not identified, but any colorful DK yarn works).
- Hook:
- Recommended hook size: 4 mm (used in the tutorial: 5 mm hook for a slightly softer texture).
- Additional Tools:
- Yarn needle
- Scissors
- Toy stuffing
- Other Notes:
Leave long yarn tails (approx. 25–30 cm) at several points in the pattern for sewing and closing sections.
Abbreviations and Notes
Abbreviations:
- CH: Chain
- SC: Single Crochet
- HDC: Half Double Crochet
- DC: Double Crochet
- BLO: Back Loops Only
Important Notes:
- This project uses a simple rhythmic pattern, working half-double crochets in back loops only for the main cactus body.
- No gauge swatch is required for this project.
- Ensure long tails are left in critical steps for sewing and shaping.
- The flower consists of one quick and easy row, rolled into shape at the end.
- You can decide the "front side" to be displayed during assembly (personal preference).
Gauge, Approximate Size, and Pattern Notes
- Gauge: Not critical for this project.
- Finished Dimensions: Approximately 20 cm (8 in) tall.
- Special Techniques:
- Using the drawstring method to gather and close the ends of the cactus body.
- Rolling the flower and sewing it securely to the cactus.
Step-by-Step Pattern
Step 1: Creating the Cactus Body
- Foundation Chain:
Create a slip knot on your hook, leaving a long tail (25–30 cm). CH 31. - Row 1:
Start from the second chain from the hook. Work HDC in each chain across. You should have a total of 29 HDCs at the end of this row. - Row 2–20:
- At the end of the row, CH 1 and turn your work.
- Work HDC in BLO across each stitch.
- Repeat this process until you have completed 20 rows.
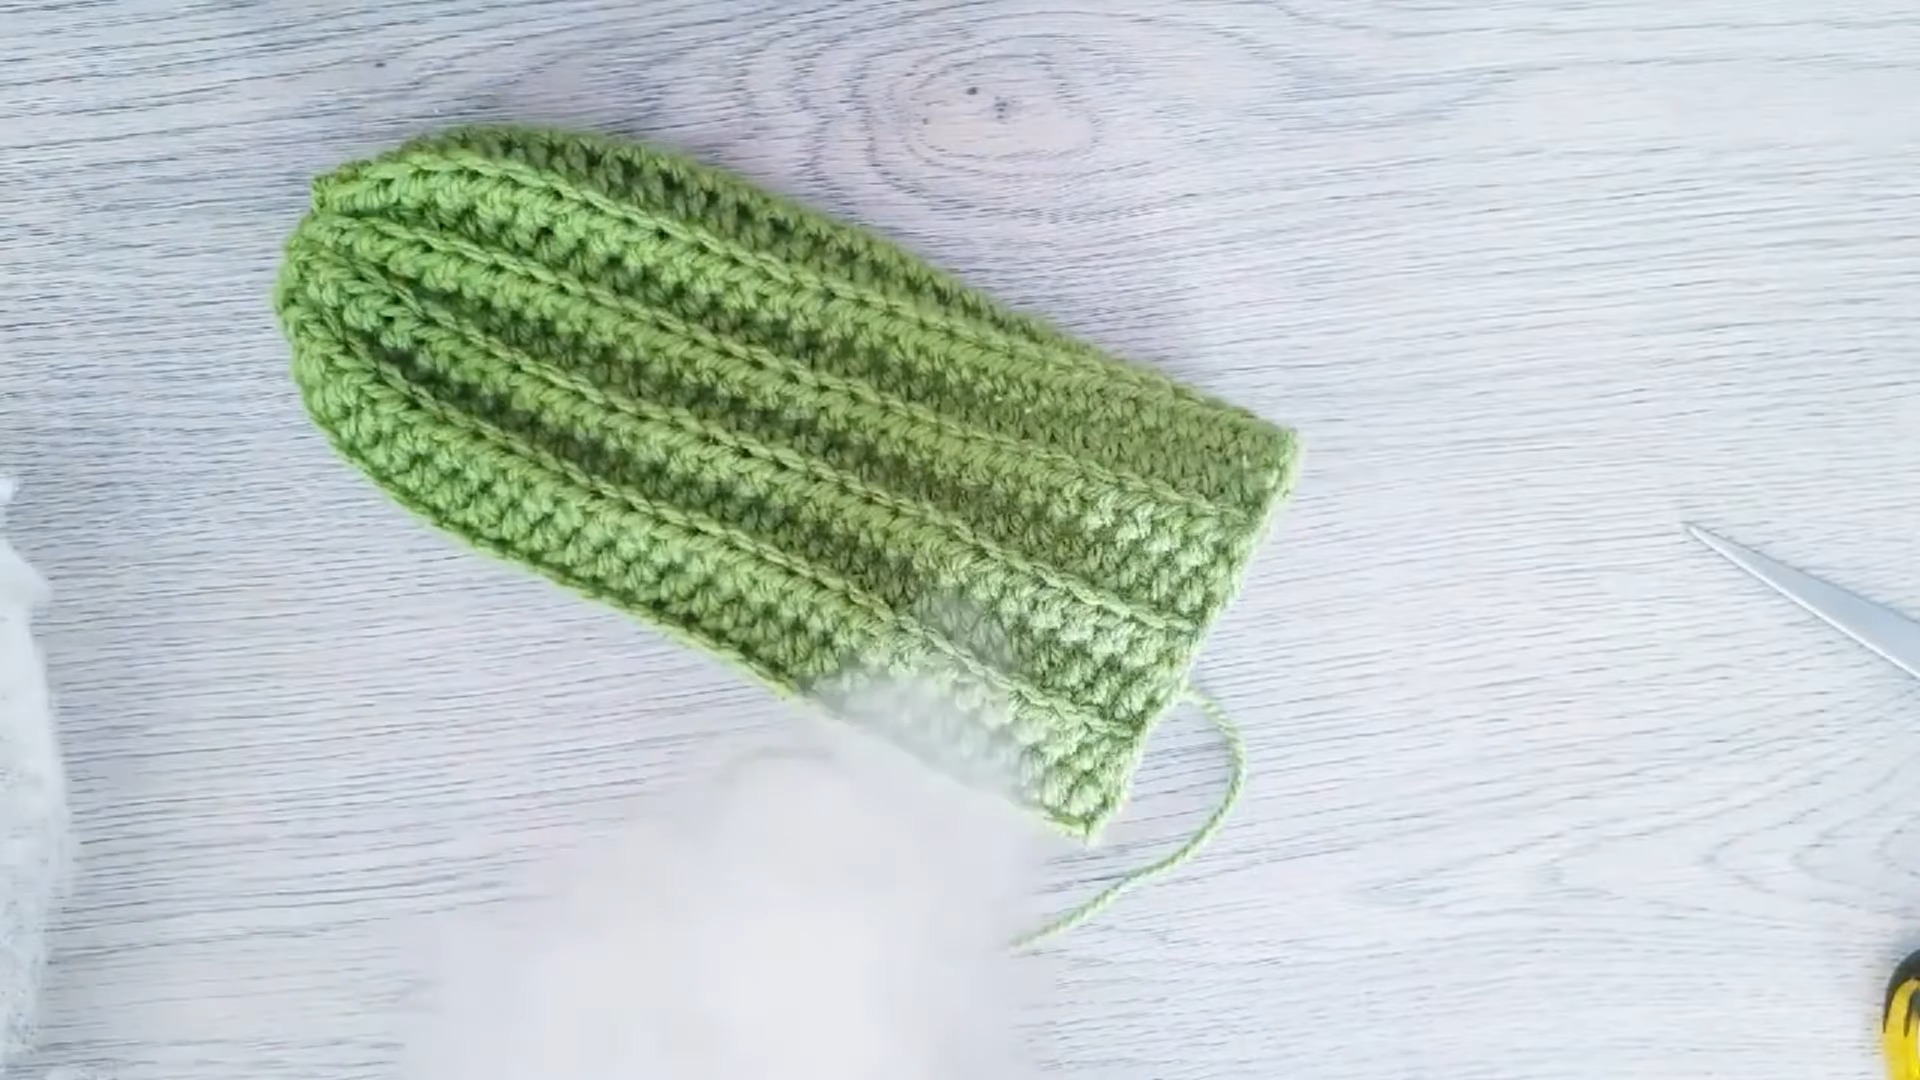
- Finishing the Body:
- At the end of Row 20, CH 1, snip your yarn, pull through, and leave another long tail.
- Use a yarn needle to thread your tail through the gaps on one side of the cactus body, creating a drawstring closure. Pull tight to gather the stitches into a rounded shape.
- Sew the ends together to form a cylinder, closing it securely.
- Stuffing the Body:
- Turn the cactus body inside out to display your preferred side.
- Fill with toy stuffing until firm but not overstuffed.
- Closing the Bottom:
- Using the drawstring method (as above), thread your yarn needle through the gaps on the other open side. Pull tight to close.
- Secure the closure by sewing back and forth as needed.
Step 2: Creating the Flower
- Foundation Chain:
Use a DK yarn of your choice for the flower. CH an even number (e.g., CH 30). - Flower Row:
- Into the second chain from the hook, work SC.
- Into the next chain, work 3 DCs.
- Alternate between 1 SC and 3 DCs in the following stitches.
- Continue this repeat until the end of the row.
- Rolling the Flower:
- Snip your yarn, secure it with a CH 1, and roll the flower strip from one end to the other.
- The petals will naturally fall into place as you roll.
- Sewing the Flower:
- Using a yarn needle and the tail of the flower, sew the rolled flower together from underneath to secure its shape.
- Make sure to stitch through each layer for sturdiness.
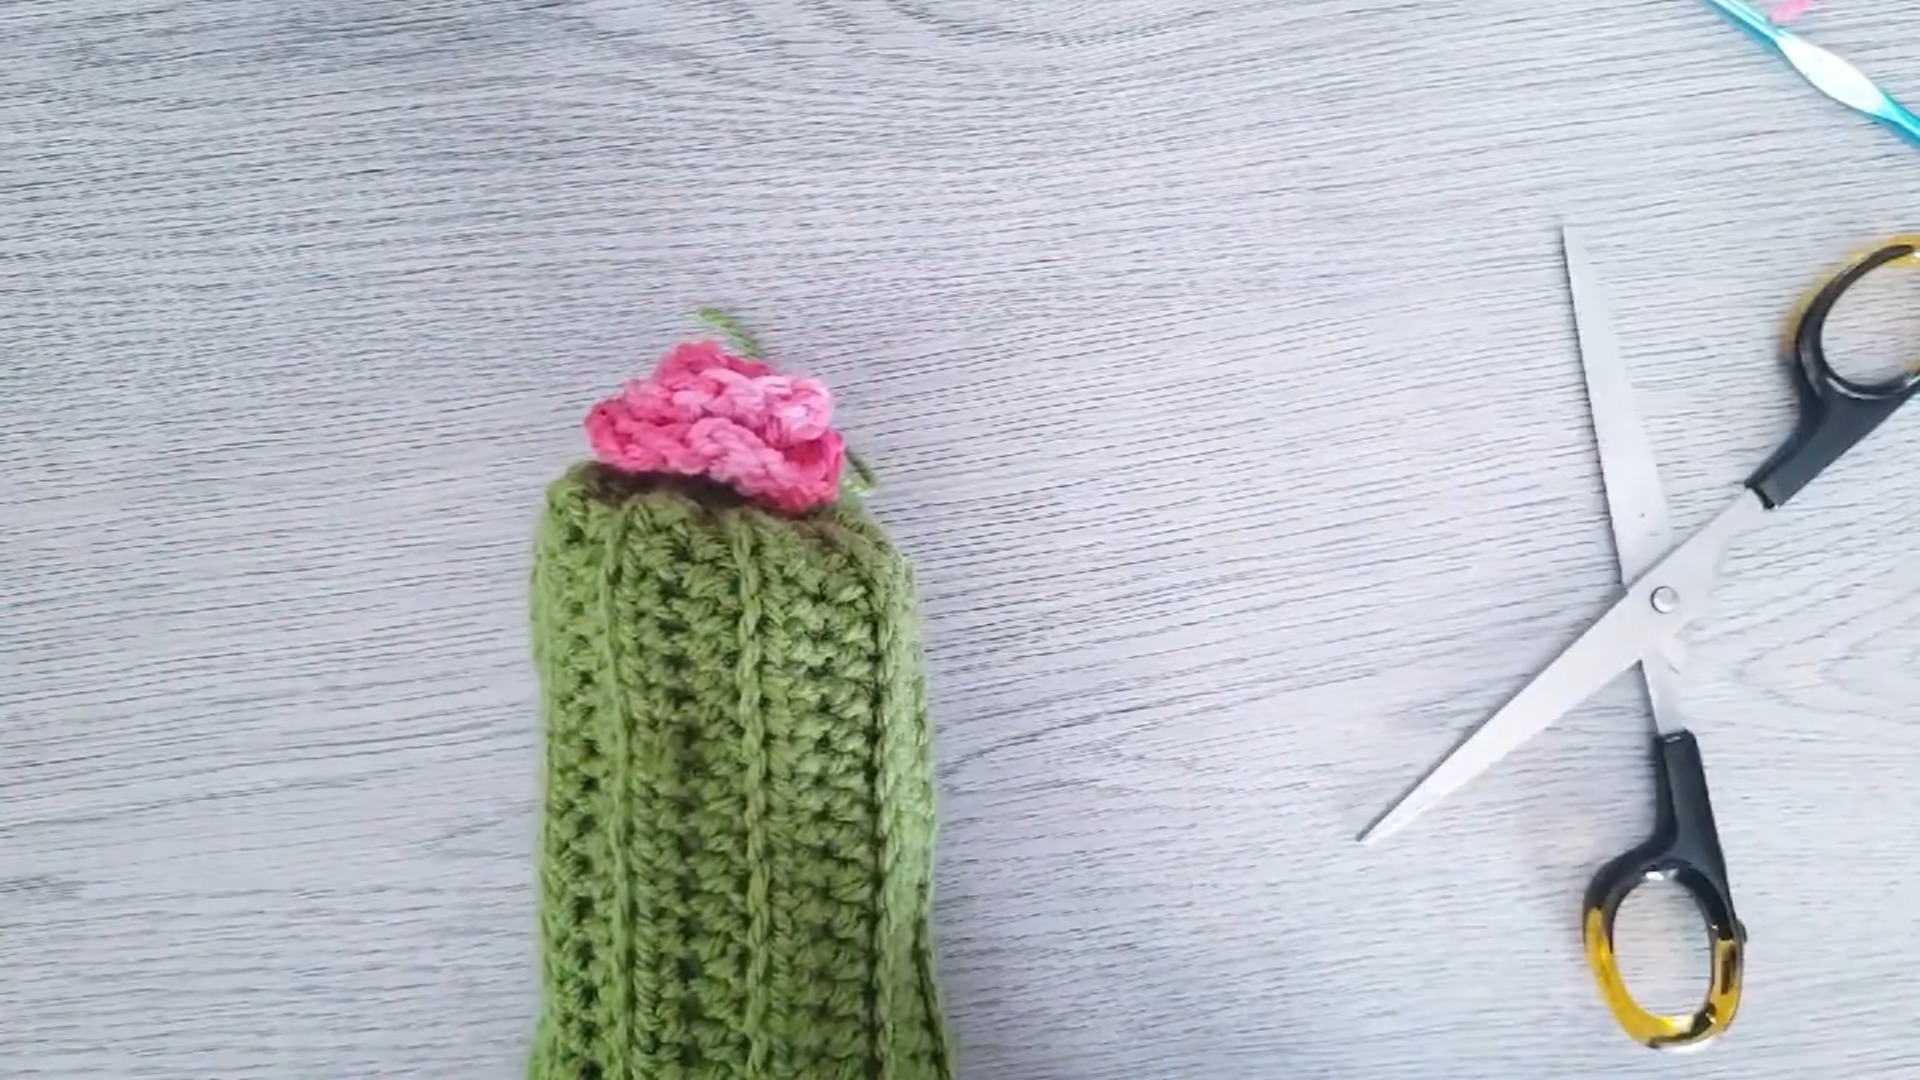
Step 3: Attaching the Flower
- Using a yarn needle and a piece of yarn matching the cactus body, sew the flower to the side you prefer for the "top."
- Stitch securely, grabbing parts of the flower and the cactus body to ensure it stays in place.
- Hide all loose ends inside the stuffed cactus.
Pattern Question:
Q: What do I do if my cactus doesn’t look symmetrical?
A: Don’t worry! Slight imperfections give it a better handmade feel. Take extra care when closing the ends securely and stuffing evenly to help balance the shape.
Conclusion
Crocheting your own cactus is an enjoyable and rewarding experience. With its simplicity and room for creativity, this project is ideal for anyone craving unique handmade décor. Dive into this fun project, and let the charm of your new cactus brighten your day!


