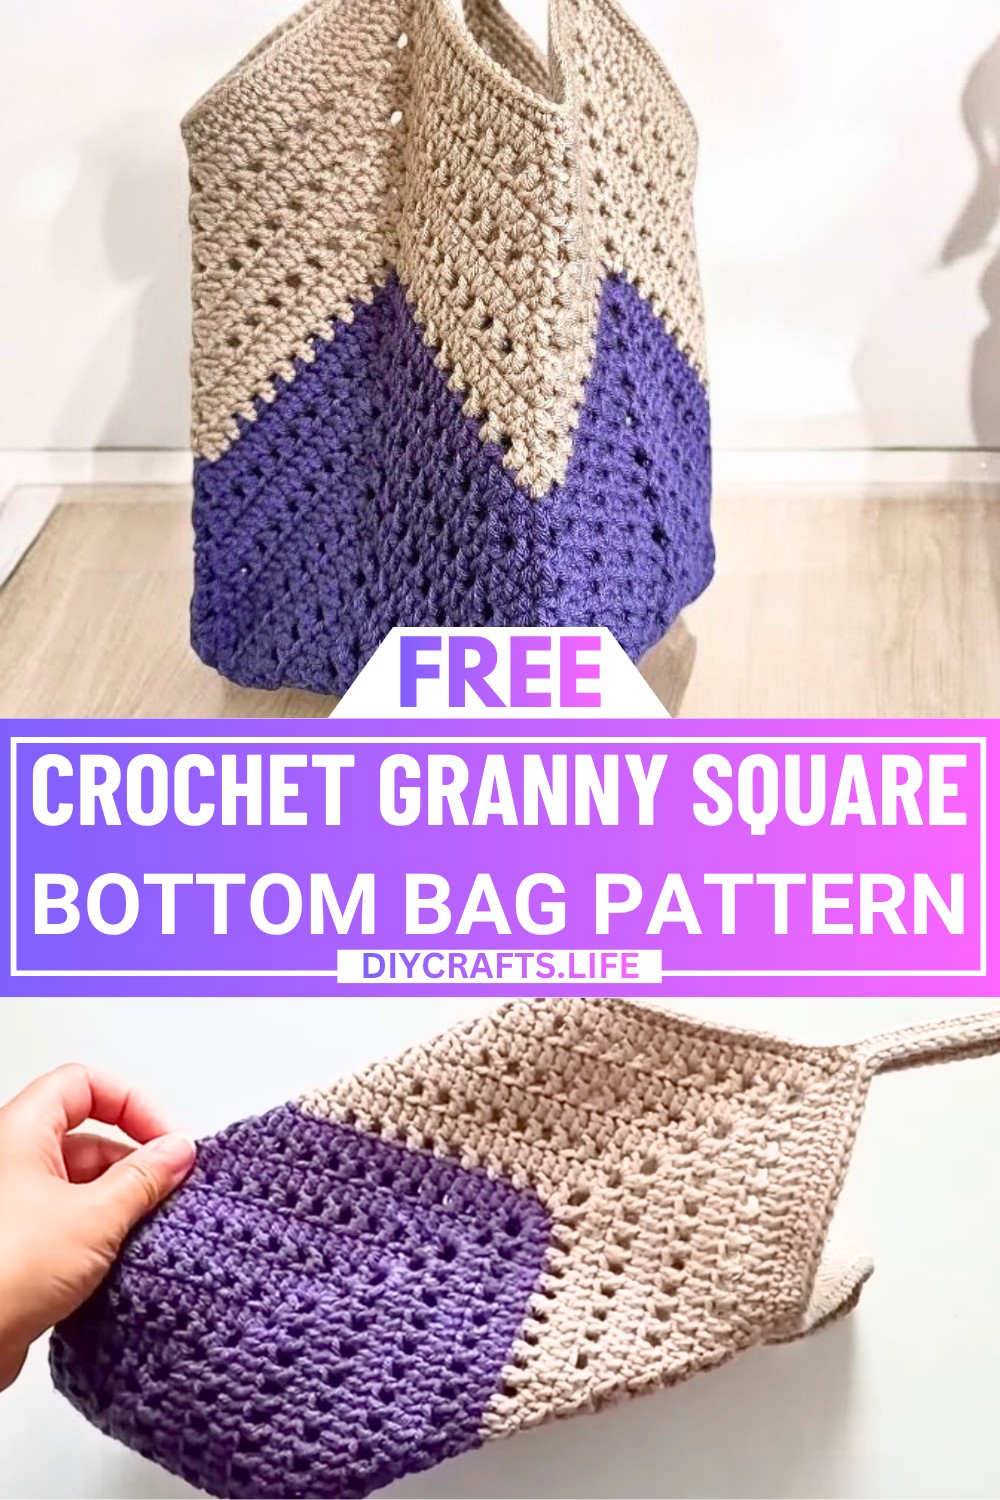
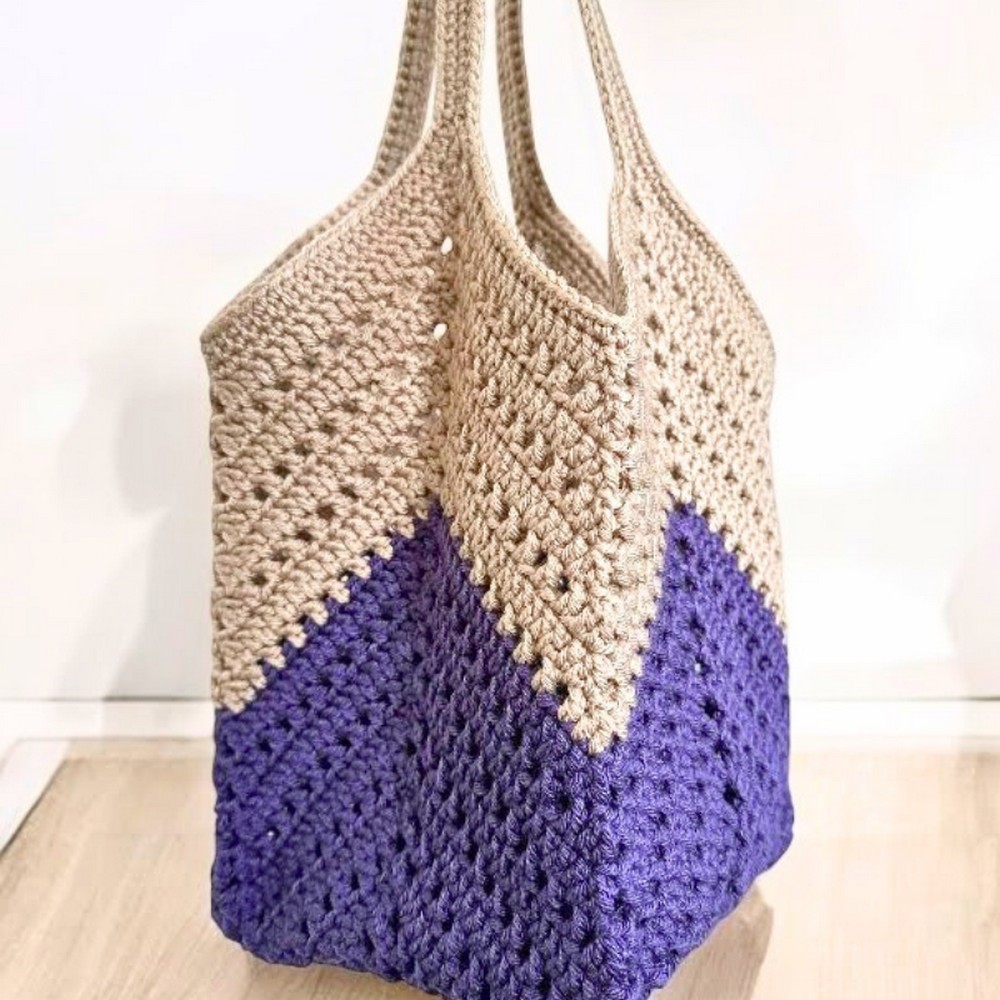
The Crochet Granny Square Bottom Bag is a charming and practical accessory made with love and creativity. Its design starts with the timeless granny square at its base, which is then shaped into a stunning and functional tote. Perfect for carrying daily essentials, this bag is not only stylish but also sturdy, thanks to its tightly woven texture. Whether it's for shopping, a picnic, or just adding a handmade touch to your outfit, this bag effortlessly blends beauty and utility.
What makes this bag even more special is how customizable it is. You can play with different yarn colors, creating a unique design that suits your style. The magic begins with a simple square, and as you follow the rows, the bag takes shape with neat corners and a firm structure. The added straps complete the design, making it comfortable to carry and easy to use.
If you're looking for a creative way to incorporate handmade charm into your daily life, this crochet bag is perfect. It's simple, versatile, and a joy to make—perfect for beginners and experienced crocheters alike.
Materials & Tools Needed
- Yarn: Medium-weight yarn (choose a color combination of your preference).
- Crochet Hook: 3 mm crochet hook (smaller than recommended for the yarn to create tight texture).
- Tapestry needle: For joining and finishing.
- Stitch markers: Four markers to mark center stitches.
- Scissors: For cutting yarn.
Pattern Abbreviations & Terminology
- ch: Chain
- dc: Double crochet
- sc: Single crochet
- sl st: Slip stitch
- sp: Space
- st: Stitch
- tog: Together (used for decreases: 2 dc worked together).
Notes:
- This pattern uses US crochet terminology.
- Always count your stitches to ensure symmetry.
Step-by-Step Detailed Crochet Instructions
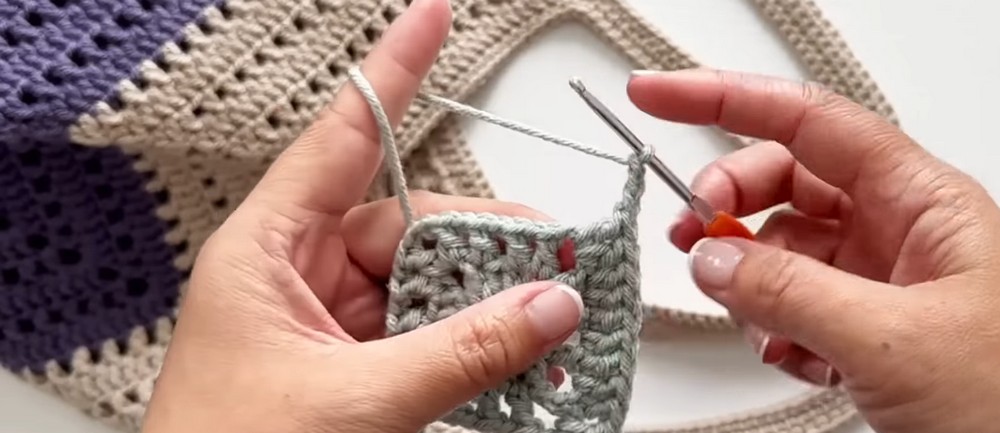
Granny Square Base
Round 1:
- Start with a magic ring.
- Ch 3 (counts as 1 dc).
- Work 2 dc into the ring (total of 3 dc).
- Ch 3, then work another 3 dc into the ring.
- Ch 3, and repeat for two more sets of 3 dc + ch 3 to form four corners.
- Close the round: Ch 1, then work 1 dc into the top of the ch-3 at the beginning. This ensures the yarn stays in the corner for the next round.
Round 2:
- Ch 4 (counts as 1 dc + ch 1).
- Work 1 dc into the 3rd dc from the previous round. Ch 1.
- Continue:
- Skip 1 st, dc into the next st, Ch 1.
- At corners, work 1 dc + ch 3 + 1 dc.
- Repeat this pattern on all sides.
- At the end: Ch 1, and sl st into the 3rd ch of the ch-4 at the beginning to close the round.
Round 3:
- Ch 3 (counts as 1 dc). Work 1 dc into the same corner space (now there are 2 dc in the corner).
- Dc into each dc from the previous round and into each ch-1 space.
- Example: In a side with 3 previous dc and 2 ch spaces, you’ll now have 11 dc.
- At corners, work 2 dc + ch 3 + 2 dc.
- Repeat all around, ensuring symmetry with stitch counts.
- To finish: Sl st into the top of the ch-3.
Round 4:
- Ch 4 (counts as 1 dc + ch 1).
- Work alternate dc + ch 1 across the side:
- Example: Skip 1 st and work 1 dc into the next, followed by ch 1.
- Repeat until the corner.
- At corners, work 1 dc + ch 3 + 1 dc.
- Repeat the dc + ch 1 pattern on every side.
- Finish by sl st into the 3rd ch of the ch-4 from the beginning.
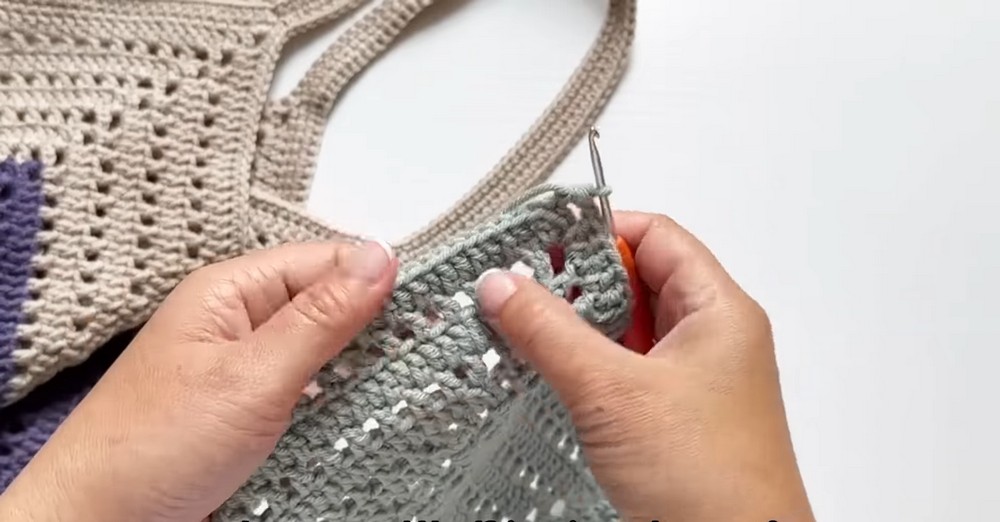
Body of the Bag
Continue alternating solid rows (Round 3) and gap rows (Round 4) until you have 11 total rounds, ending with a solid round. Ensure that stitch counts remain consistent on each side.
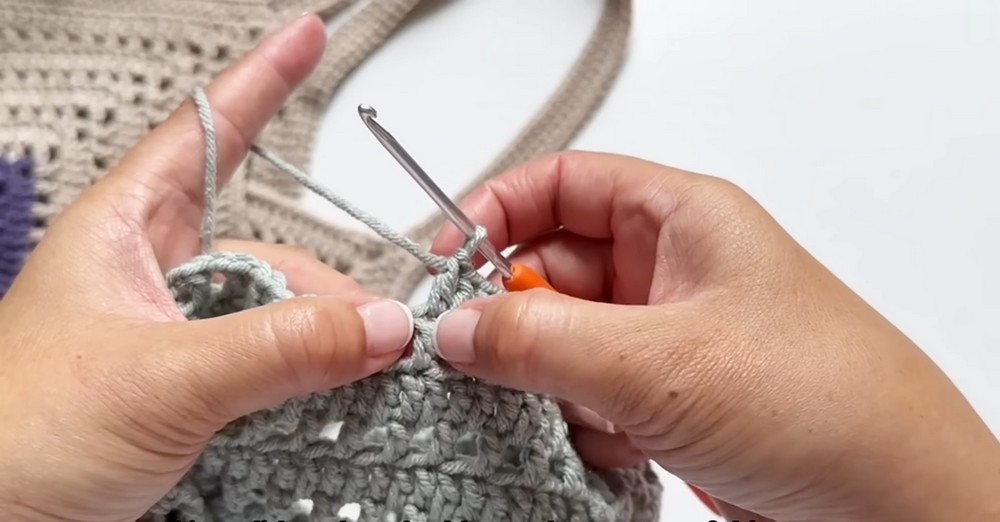
Shaping the Bag
Round 12 (Decreases):
- Mark the center stitch of each side using stitch markers.
- Start with a gap row pattern (dc + ch 1) until you are 4 stitches away from the center.
- Perform dc2tog (double crochet two together) over the next two stitches.
- Skip the center stitch and the next two stitches. Perform dc2tog over the following two stitches.
- Continue the dc + ch 1 pattern until the corner. Work dc + ch 3 + dc at each corner.
- Repeat this method on all sides.
Round 13 (Solid Row):
- Ch 3, and work a solid dc row (dc into every dc and ch space) until you reach the center.
- Perform a decrease by working dc2tog over the last dc and the chain space before the center. Skip the center decreases and repeat dc2tog over the next dc and chain space.
- Continue working solid dc stitches until the corner. At corners, work 2 dc + ch 3 + 2 dc.
- Repeat this pattern for all sides.
Repeat Rounds 12 and 13 alternately until you complete 23 total rows. Ensure you end with a solid row.
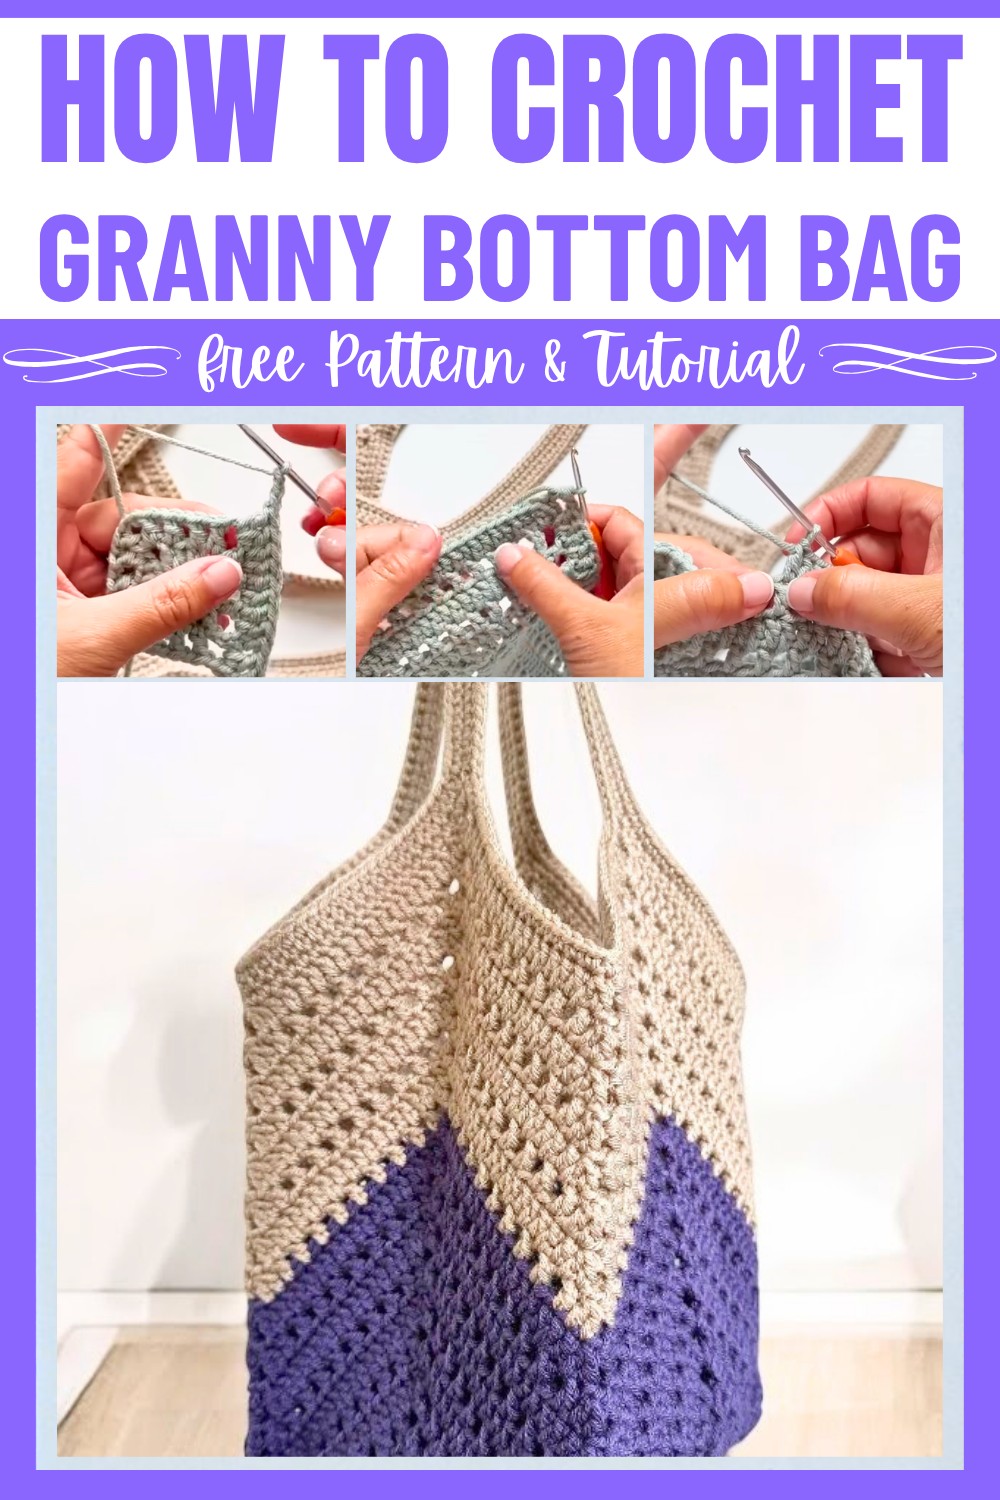
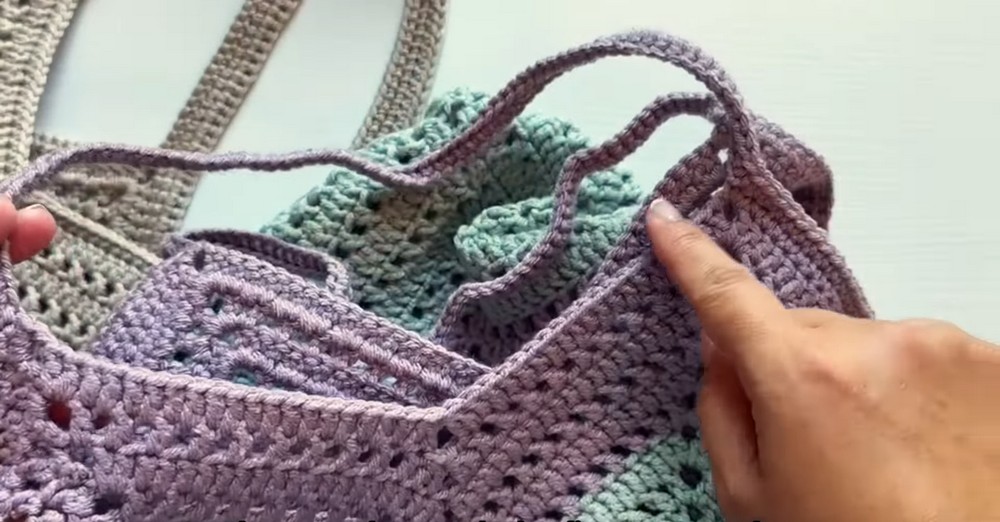
Straps
- At a corner, begin with sc. Place a stitch marker at the corner.
- Work sc across the entire edge until you reach the next corner.
- At the corner, work 70 ch for the strap.
- Connect the strap at the next corner with a single crochet. Continue working sc across the edge until the next corner.
- Repeat another 70 ch for the second strap, attaching it at the final corner.
Strengthen the Straps
- Work an additional row of sc across both straps to make them sturdier.
- Finish off neatly using an invisible join method for a seamless finish.
Finishing Techniques
- Use a tapestry needle to weave in ends.
- Add lining or embellishments as desired.
- Block your bag by lightly dampening and shaping it to ensure it holds well.