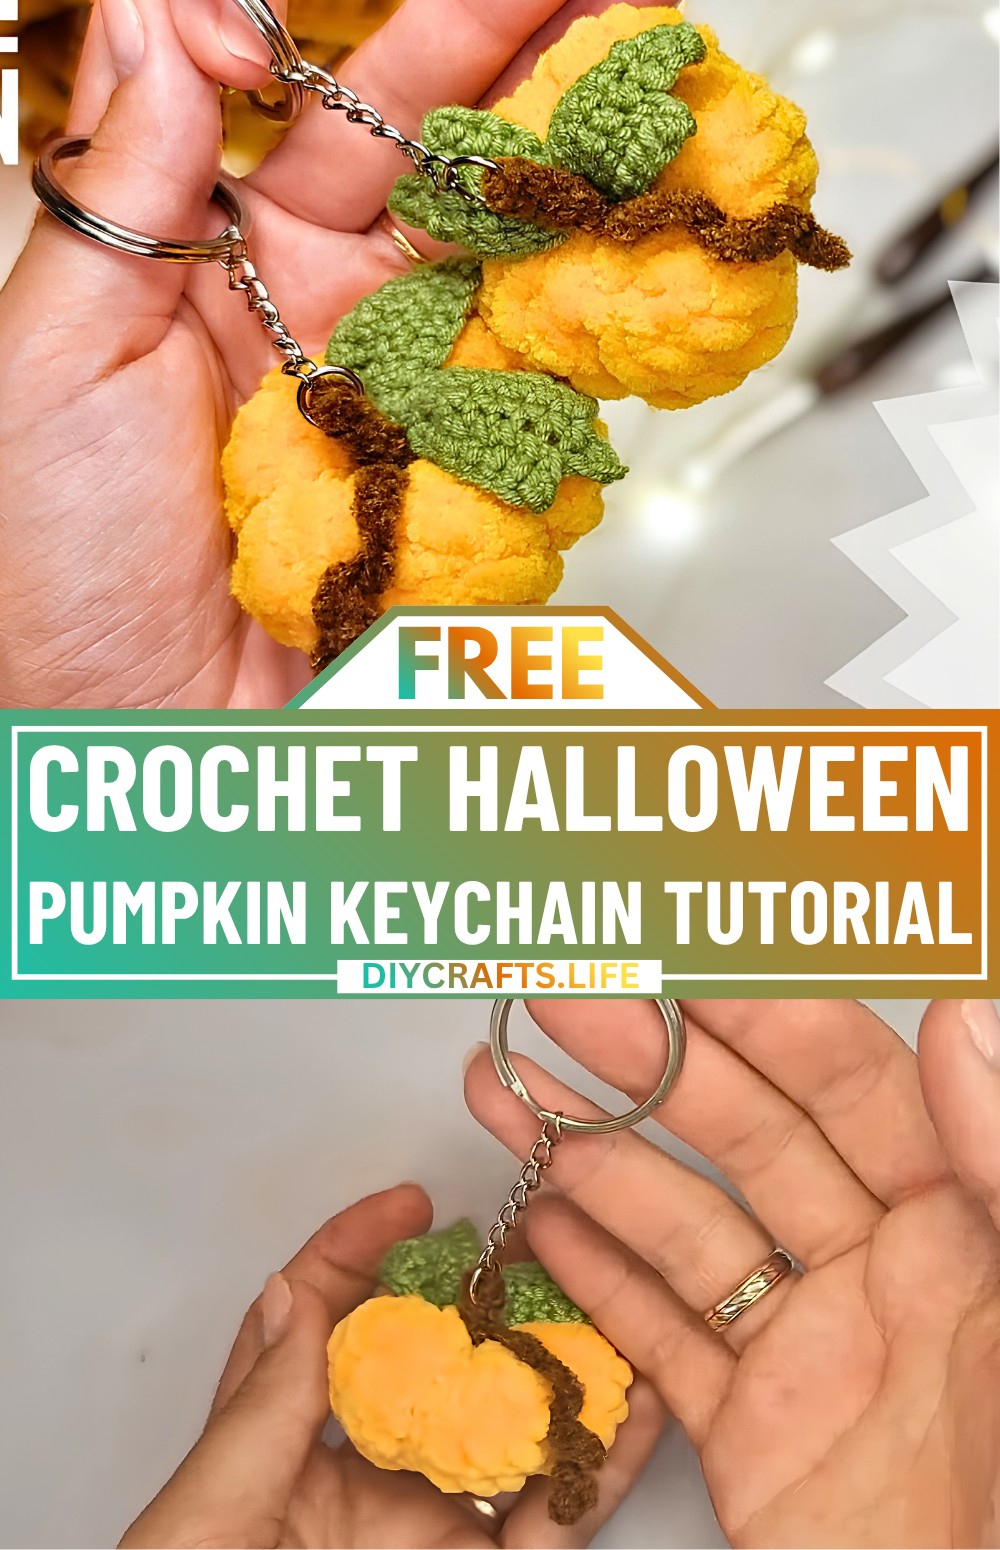
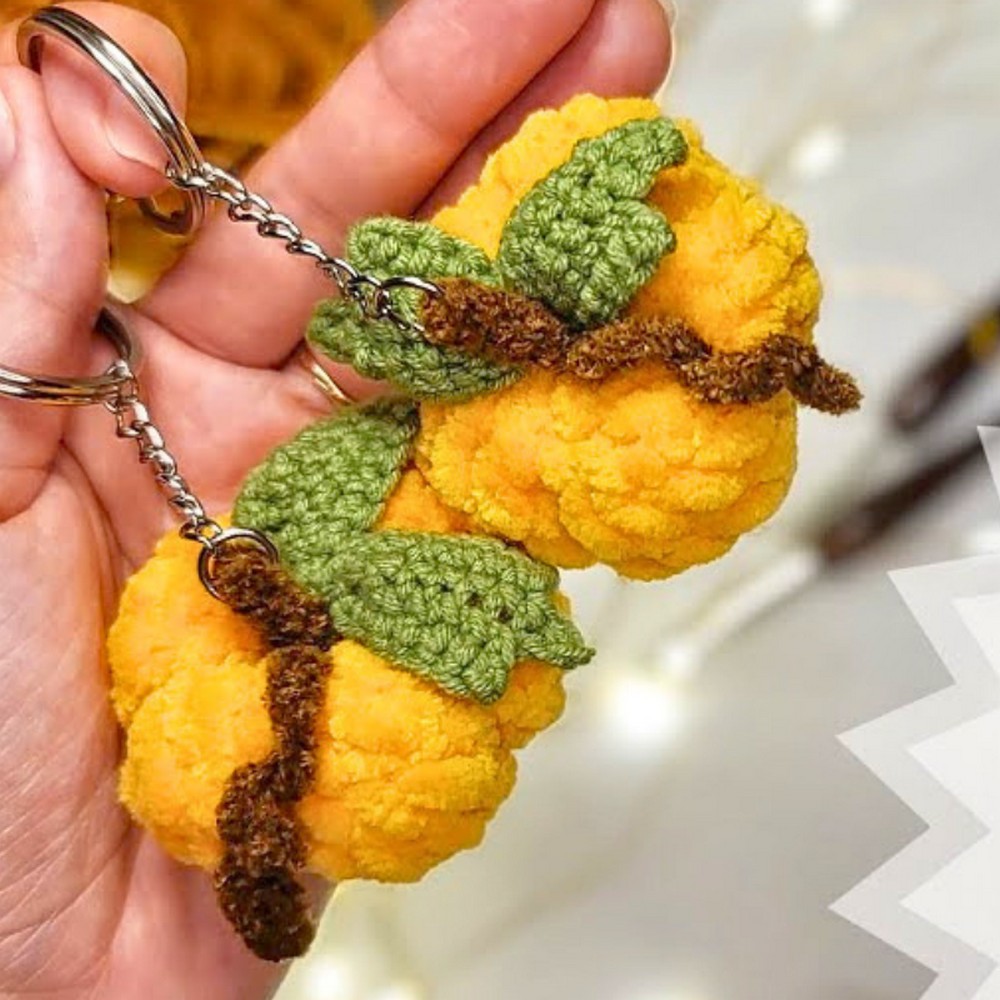
This Halloween crochet keychain shows you how to make a small, squishy pumpkin keychain that looks cute on any bag or set of keys. It is soft, round, and finished with tiny leaves, a stem, and a curly vine on top. You can keep it as a keychain, hang it on a backpack, use it as a simple room decoration, or give it as a small gift to friends or kids. Its small size makes it a great accessory or accent piece for the spooky season.
Crochet Halloween Pumpkin Keychain
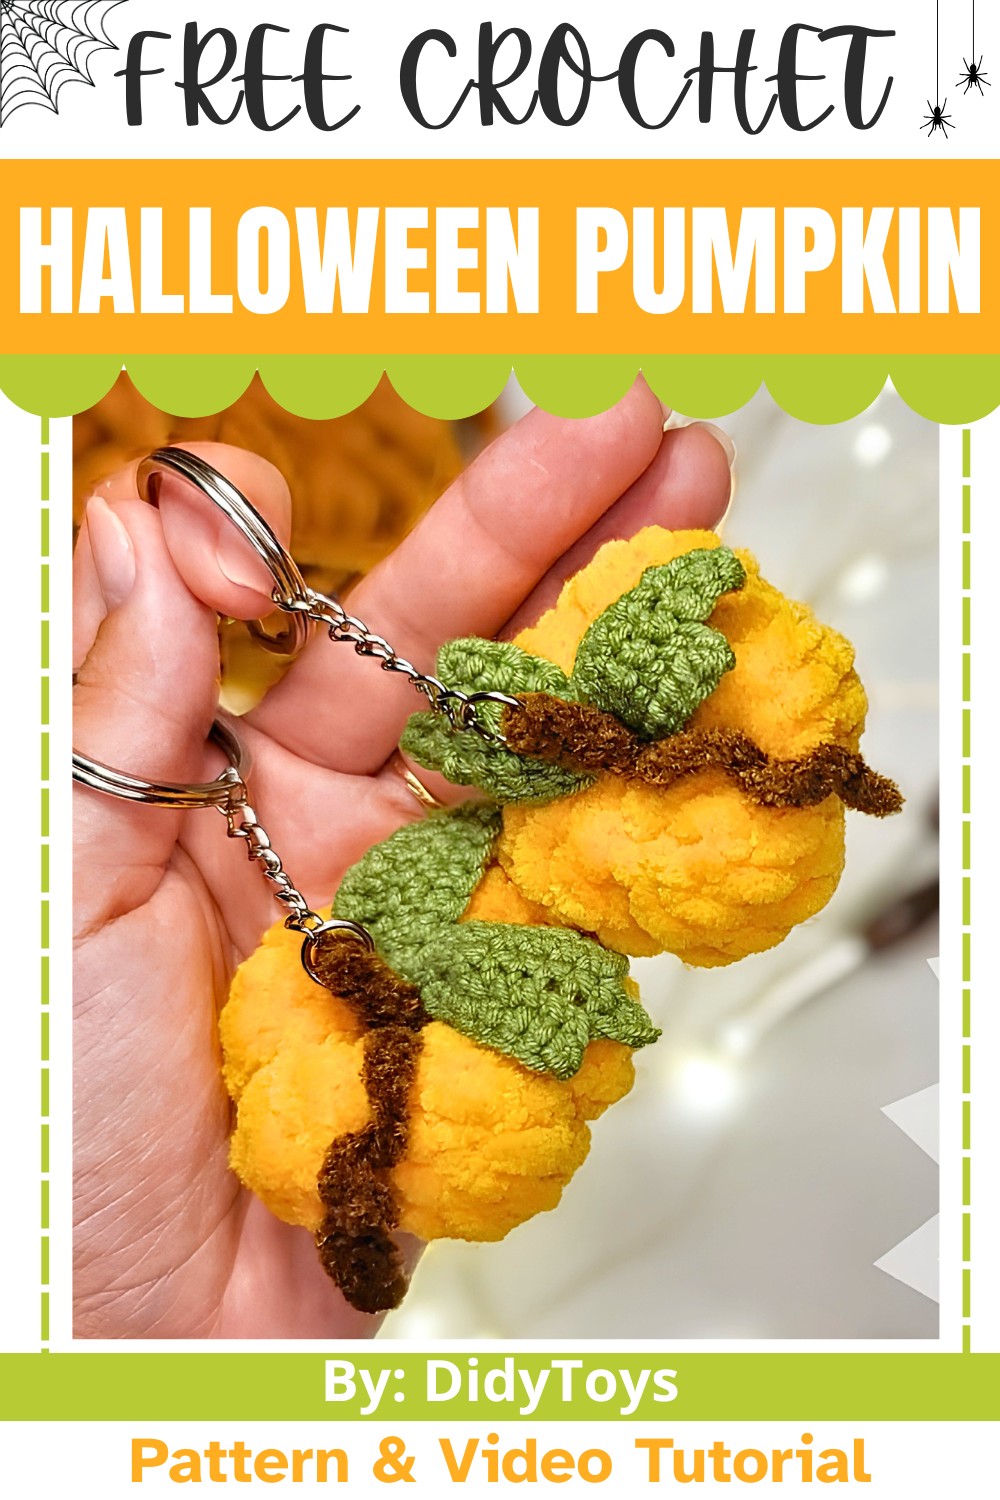
This crochet pumpkin keychain pattern stands out because it’s quick, easy to follow, and results in a useful item for Halloween or everyday use. Just follow along with Didy Toys for tips and tricks to make this sweet crochet design easily. It takes about 30 minutes to create, and you can use leftover yarn to complete it. It’s easy, uses soft plush yarn, and is so simple you’ll love the process. Once finished, you can use your adorable pumpkin as a keychain, a cozy Halloween decoration, or even a small toy for kids.
Credit DidyToys
Materials & Tools Needed
- Yarn:
- Pumpkin: Himalaya Dolphin Baby plush yarn, color code 368 (use any plush yarn or leftovers).
- Leaves: YarnArt Jeans green (medium-weight yarn).
- Sculpting: YarnArt Jeans yellow (for shaping stripes).
- Stem/Vine: Thin Italian velour yarn (brown). Thin yarn is recommended for better contrast with leaves.
- Crochet Hooks:
- 4mm crochet hook for plush yarn.
- 2mm crochet hook for YarnArt Jeans.
- 1.10mm crochet hook for thin velour yarn.
- Additional Tools:
- Fiberfill to stuff the pumpkin.
- Scissors.
- Plastic needle for weaving plush yarn tails.
- Sewing needle for joining details.
- Keychain base (optional, for keychains).
- Pliers to attach keychain parts.
Finished Size & Customization Ideas
- Size: Approximately 2–3 inches in diameter, depending on yarn/hook used.
- Customization Ideas:
- Make pumpkins in different colors (orange, white, green) for variety.
- Use glitter yarn for a sparkling effect.
- Add beads or embroidery to the pumpkin for an extra decorative touch.
- Skip the keychain base if you plan to use this as a standalone decoration or toy.
Pattern Abbreviations & Terminology
- SC: Single Crochet
- CH: Chain
- INC: Increase (two single crochets in one stitch)
- DEC: Decrease
- MC: Magic Circle
Step-by-Step Detailed Crochet Instructions
Pumpkin Body
- Round 1:
Start with 2 chains OR a Magic Circle. Crochet 6 single crochets (SC) into the circle.- Total stitches: 6
- Round 2:
Increase (INC) in each stitch by crocheting 2 single crochet into each stitch from Round 1.- Total stitches: 12
- Round 3:
Crochet 1 SC, followed by INC, repeat this pattern 6 times.- Total stitches: 18
- Round 4:
Crochet 2 SC, followed by INC; repeat this pattern 6 times.- Total stitches: 24
- Rounds 5 & 6:
Work 1 SC in each stitch around without increases or decreases.- Total stitches: 24 (Remains the same for both rounds.)
- Round 7:
Crochet 2 SC, followed by DEC, repeat this pattern 6 times.- Total stitches: 18
- Round 8:
Crochet 1 SC, followed by DEC, repeat this pattern 6 times.- Total stitches: 12
- Round 9 – Final Round:
Crochet 1 DEC in every stitch for the last round.- Total stitches: 6
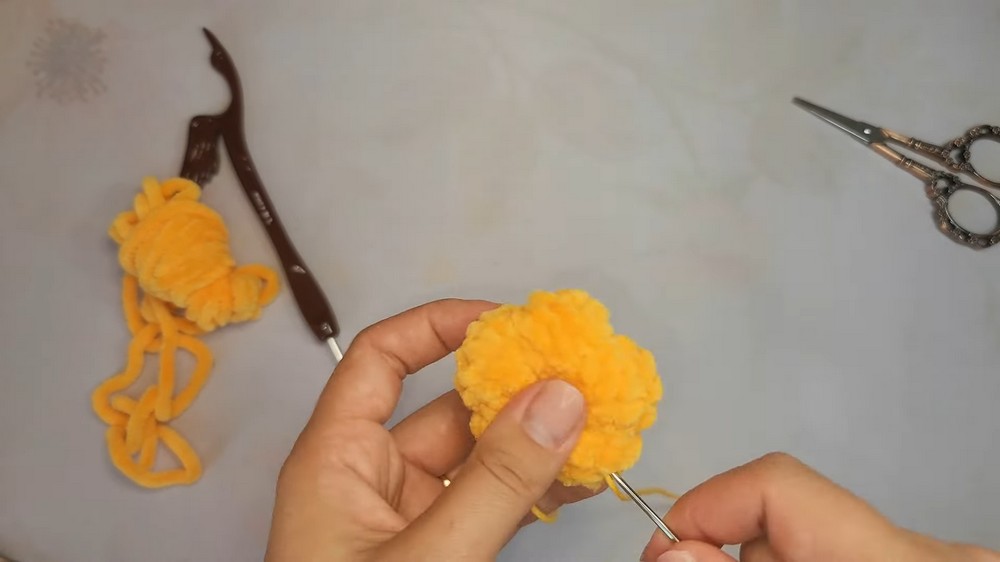
Once finished, cut the yarn, fasten off, and weave in the tail. Use a plastic needle to secure by threading through front loops only around the final opening. Insert the needle into the center and pull to close the hole tightly.
- Stuffing:
Add fiberfill to lightly stuff the pumpkin (do not overstuff as it needs to be shaped later).
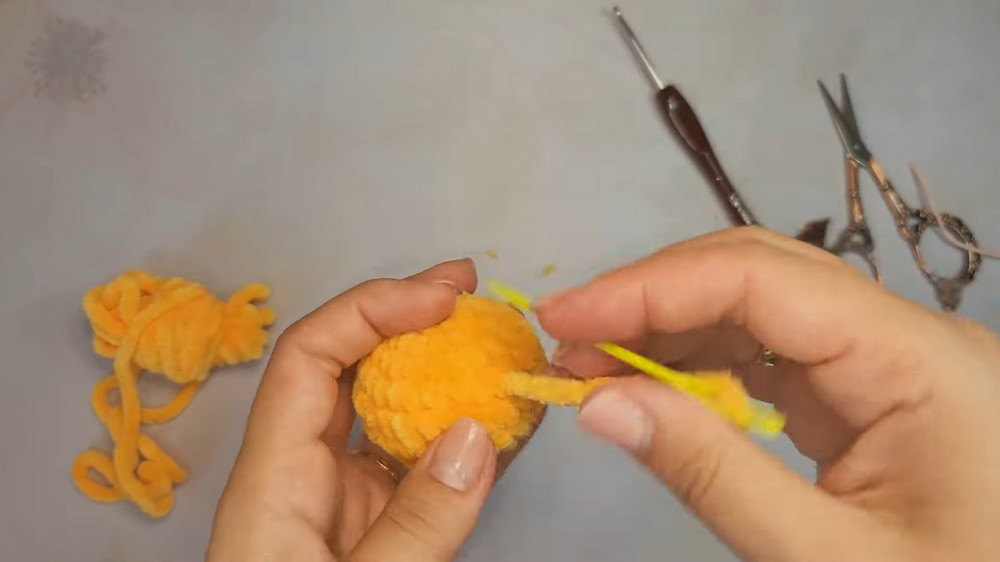
Pumpkin Sculpting
- Use yellow yarn and a sewing needle to sculpt the pumpkin. Insert the needle through the top and bottom center several times to create as many stripes as you like. This will shape the pumpkin into segments.
- Fasten and weave in the yarn tail.
Leaves (Make 2)
- Step 1: Start with 9 chains (CH).
- Step 2: Begin crocheting in the second chain from the hook. Work 7 SC across the chain.
- Step 3: Work 3 SC into the last chain.
- Step 4: Turn the work. Crochet 5 SC across the opposite side of the chain.
- Step 5: 2 CH, turn.
- Step 6: Crochet 6 SC across, followed by an INC in the next stitch.
- Step 7: Crochet 6 SC, followed by 2 CH, turn.
- Step 8: Work 7 SC and then stop. Cut the yarn, leaving a tail for sewing.
Repeat for the second leaf.
Stem
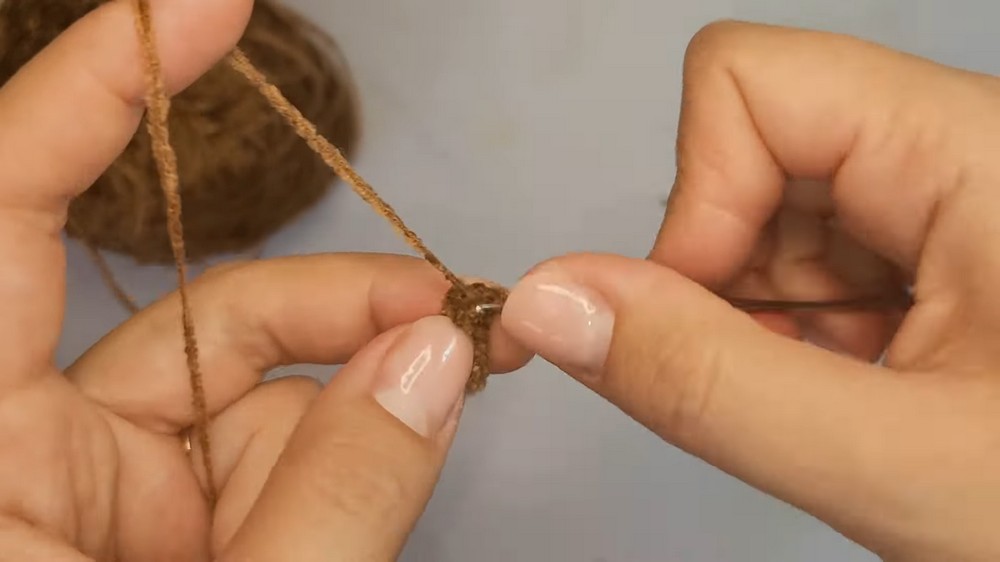
- Step 1: Start with 2 chains (CH) OR a Magic Circle.
- Step 2: Crochet 5 SC into the circle/stitch.
- Rounds 2-4: Work 1 SC in each stitch around.
- You can adjust the length by crocheting more or fewer rounds.
Fasten off, leaving a tail for sewing.
Vine
- Step 1: Start with 20 chains (CH).
- Step 2: Crochet 2 SC into each chain for the first 17 stitches (INC in every chain).
- For the last 3 chains, crochet 1 SC into each (no increases).
- Shape the vine as desired.
Fasten off, leaving a tail for sewing.

Assembly
- Step 1: Sew the leaves to the top of the pumpkin first.
- Step 2: Attach the stem to the center of the leaves.
- Step 3: Sew the vine close to the base of the stem for a natural look.
- Step 4: Weave in all yarn tails securely.
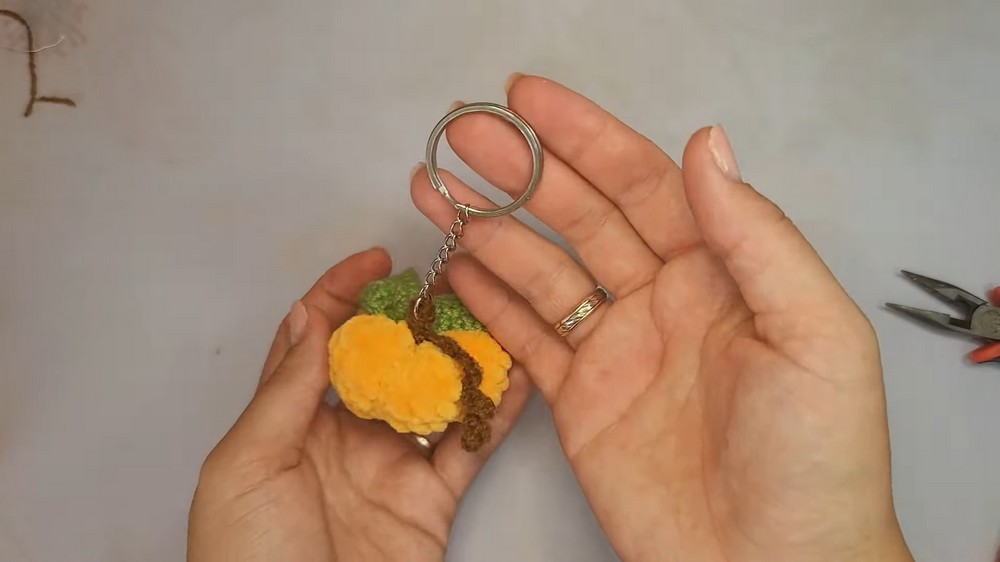
Keychain Attachment
- Use pliers to attach the keychain base to the pumpkin.
- Ensure it’s attached firmly, especially if used as a keychain.