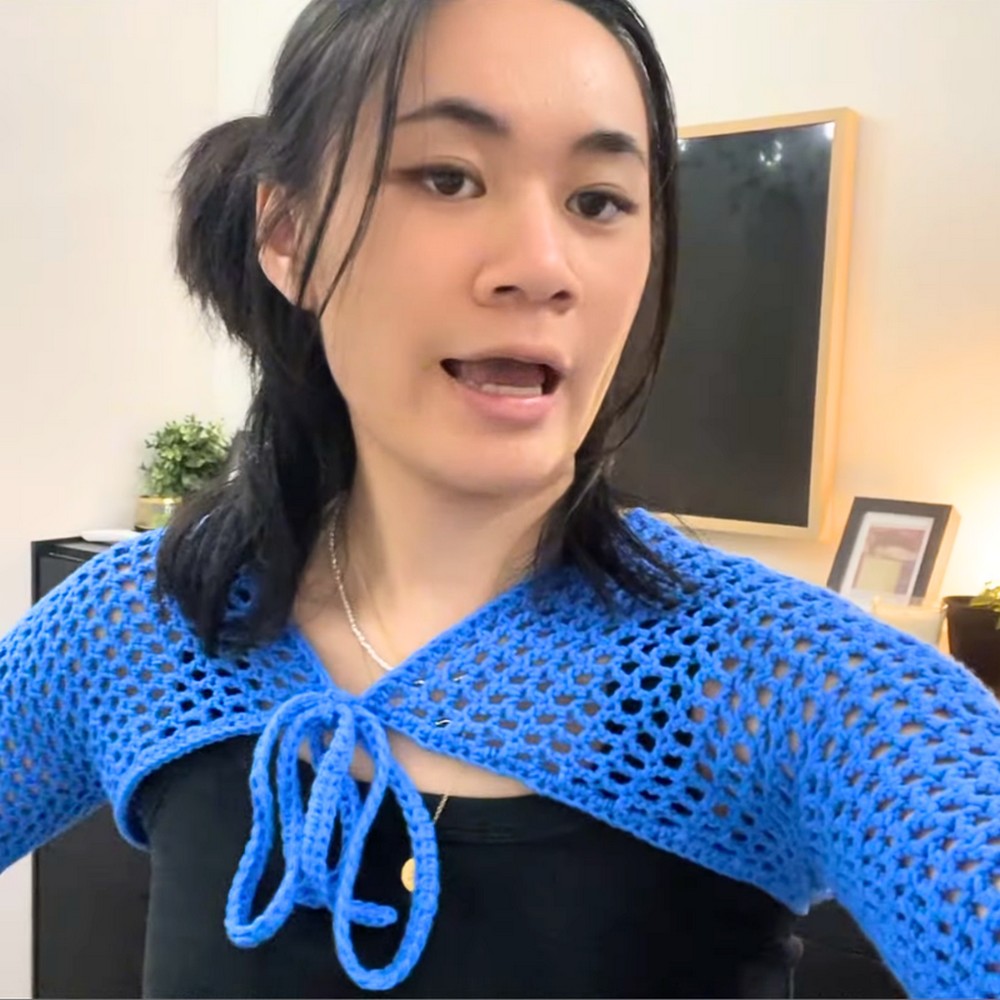
A crochet shrug with a tie is a lightweight and versatile handmade piece that pairs easily with a variety of outfits. It can be worn casually over a tank top or layered for added warmth on cooler evenings. Available in both short and long-sleeve styles, this crocheted mesh shrug offers different options to match your preferred look. The tie detail adds a thoughtful finishing touch while also allowing an adjustable and secure fit. What makes this crochet design even more appealing is how simple steps come together to create a beautiful and unique shape.
Free Crochet Mesh Shrug Pattern

Made using simple crochet techniques such as double crochet stitches and chains, this mesh shrug design is beginner-friendly and enjoyable to create. The main panel forms both the body and sleeves, which are then joined to shape the final structure. Finishing details enhance the overall look and give the crocheted shrug a more polished and complete appearance. With flexible sizing and customization options, you can easily create a crochet piece that feels uniquely your own.
Credit Jessica Ho
Materials & Tools Needed
- Yarn: Medium-weight (Milk Cotton was used in the tutorial, but any medium-weight yarn will work)
- Approximately 1–2 skeins depending on sizing and customization.
- Crochet Hook: 5mm (adjust to your preference for a looser or tighter look).
- Stitch Markers: For marking the middle of the shrug.
- Scissors: For cutting the yarn.
- Darning Needle: For weaving in ends.
Finished Size & Customization Ideas
- Finished Size: The example in the video creates a shrug that fits a small–medium size.
- The finished sleeves are approximately 38 rows long, and 15 rows are worked for the front piece before creating the back panel.
- Sleeve Length and Width: Completely customizable.
- Chain an even number that wraps comfortably around the fullest part of your arm and adjust rows to achieve the desired sleeve length.
- Tie Length: Chain 61 stitches (or desired length).
Pattern Abbreviations & Terminology
(U.S. Terminology)
- ch: Chain
- dc: Double Crochet
- hdc: Half Double Crochet
- sl st: Slip Stitch
- st: Stitch
- yo: Yarn Over
- rep: Repeat
Step-by-Step Detailed Crochet Instructions
1. Make the Sleeves
- Foundation Chain:
Begin with a slip knot. Chain a multiple of 2 (e.g., 52 chains) that fits comfortably around your upper arm. - For a looser fit, chain more; for a snug fit, chain less.
- Row 1 - Half Double Crochet (HDC) Border Round:
- Ensure the chain is not twisted, and join the chain into a loop with a slip stitch into the first ch.
- Chain 1, then half double crochet (hdc) into each chain around.
- You should have 52 hdc (or the number of chains you made) at the end of the row.
- Connect the row with a sl st at the top of your first hdc.
- Row 2 - Start the Double Crochet (DC) Mesh Pattern:
- Chain 3 (counts as your first dc stitch), turn your work.
- Skip 1 stitch, dc in the next stitch, chain 1.
- Repeat this pattern around.
- At the end of the round, finish with a chain 1 and slip stitch into the second chain of your starting chain 3.
- Rows 3–38:
- Repeat the dc mesh pattern by chaining 3 (counts as dc), turning your work, and continuing the dc, chain 1, skip 1 pattern.
- For the final stitch, always slip stitch into the second chain of the turning chain from the previous row.
- Work as many rows as desired to achieve the sleeve length.
Tip: Try the sleeve on periodically to ensure the fit and length.
You can also steam block as you go to avoid overcrocheting.
2. Create the Extended Front Panels
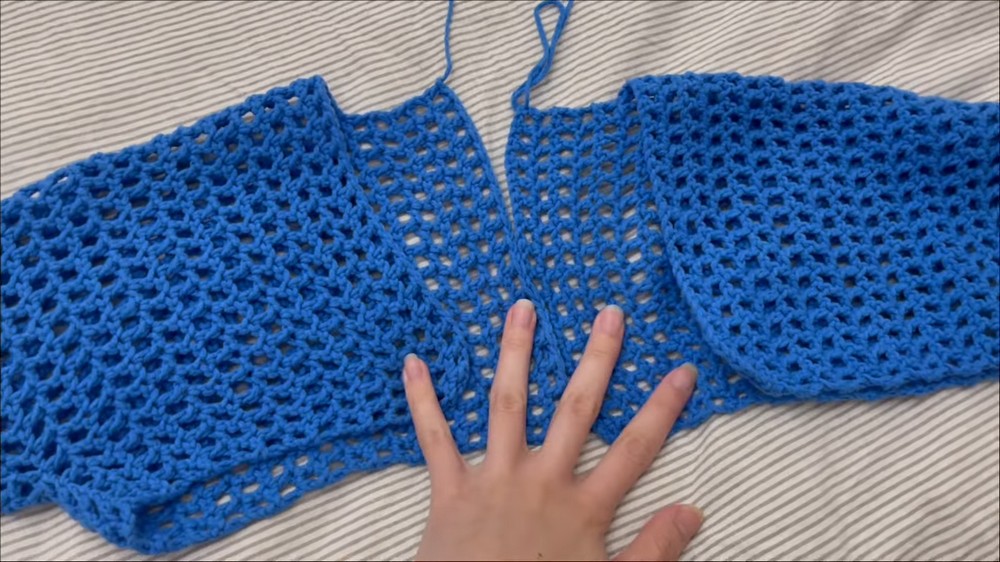
- Chain for Front Panels:
- At the end of the last row of the sleeve, chain 8 stitches (or adjust the number for more or less extension).
- Add 3 more chains to act as your first double crochet for the next row.
- Row 1 – Work Along the Chain:
- Yarn over, insert into the 6th chain from your hook, and make a dc.
- Chain 1, skip 1 stitch, and dc into the next chain. Repeat across the chain.
- When you reach the sleeve, continue the established mesh pattern along the sleeve as before: dc in the top of the previous dc, chain 1.
- Row 2 and Beyond:
- When you finish a row, chain 3, turn your work, and continue the dc mesh pattern across the entire length.
- Continue working back and forth for the desired panel width. In the video, 15 rows are worked for the panels.
Optional: Measure the width of the front panel.
When stretched, ensure it will touch the middle of your body when worn for proper fit.
3. Create the Back Panel
To create the back, you’ll fold the two front panels inward and add rows across the back.
- Mark the Center Back Stitch:
- Locate and mark the center double crochet at the top of the back edge of the extended panels.
- Work Half a Panel:
- Continue the mesh pattern as above, but stop at the marked stitch to create half the back panel.
- Work 5 rows or enough to cover half the back width.
- Repeat for the Other Side:
- Do the same on the opposite side to create the second half of the back panel.
When finished, the two halves should meet in the center of the back.
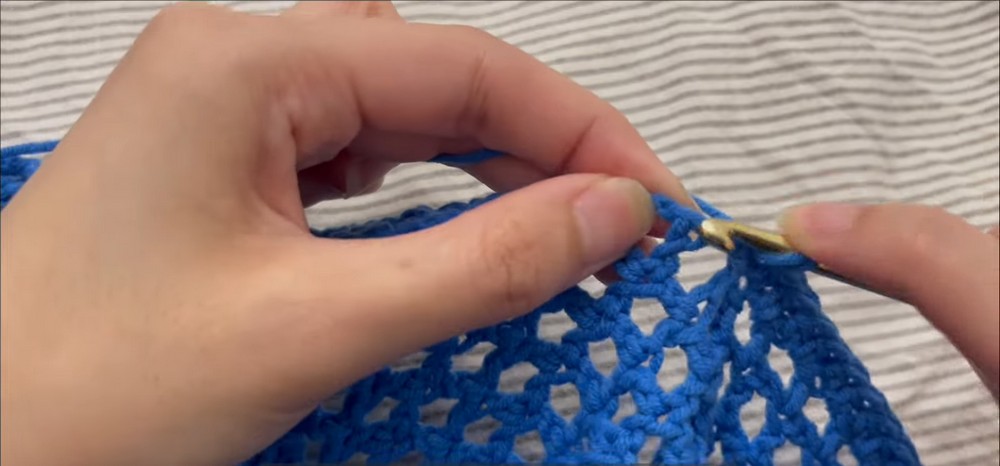
4. Assemble the Shrug
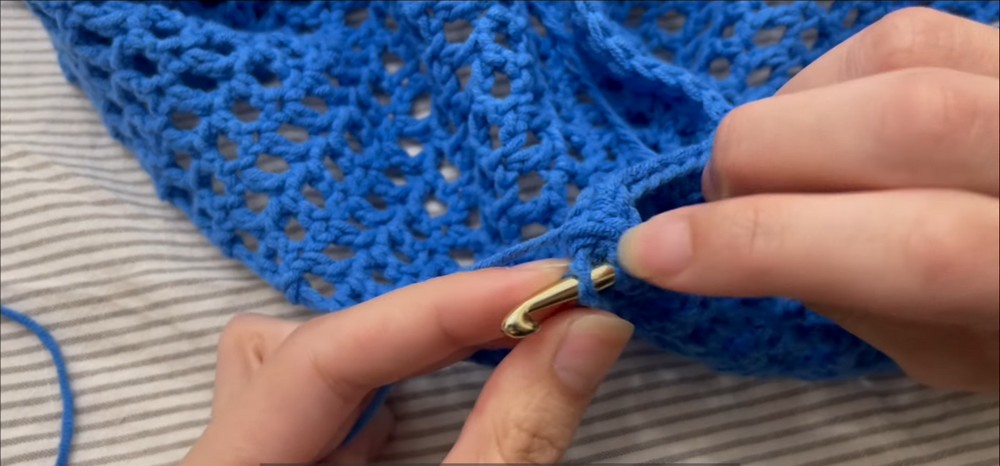
- Fold & Seam the Back:
- Fold the two halves of your shrug so that the edges of the back panels align.
- Using the same yarn and hook, align the stitches of the back panels.
- Work half double crochets through both panel edges, seaming them together.
- Stop when you reach the bottom of the cardigan.
5. Add a Tie and Trim
- Create the Trim:
- Start at the bottom of your seam. Work half double crochet stitches around the bottom edge of the shrug, continuing across the front panels and around the neck.
- At corner turns, add extra stitches to keep the edges smooth.
- Make the Tie (First Side):
- When you reach the front corner of the shrug, chain 61 stitches (or desired length) for the first tie.
- Work back along the chain with hdc stitches in each chain.
- Reattach to the shrug and continue the trim.
- Second Tie:
- At the opposite front corner, repeat the tie-making process (chain 61, hdc back along the chain).
- Finish the Trim:
- Continue working hdc stitches until you reach the bottom.
- Finish with a slip stitch to close the round and fasten off.
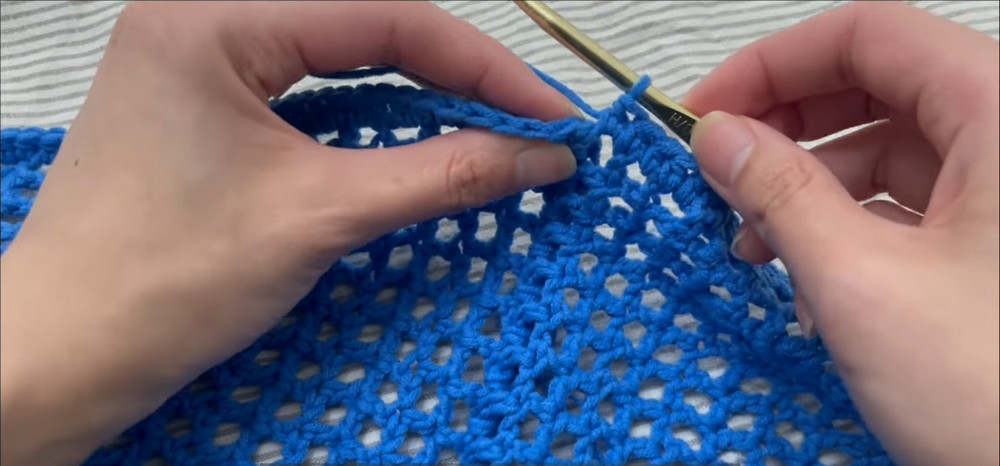
6. Finishing
- Weave in all loose ends with a darning needle.
- Steam block the shrug to shape it evenly and soften the fabric.
- The shrug is now ready to wear!
Customization Ideas
- Short-Sleeve Version: Reduce the number of sleeve rows (e.g., instead of 38 rows, stop at around 25).
- Longer Shrug: Add more rows to the front panel or increase the chain count when extending the panel.
- Tie Length: Adjust the chain count to make longer or shorter ties.
- Yarn Substitutions: Use lighter-weight yarn for a more delicate fabric or thicker yarn for a cozier shrug.