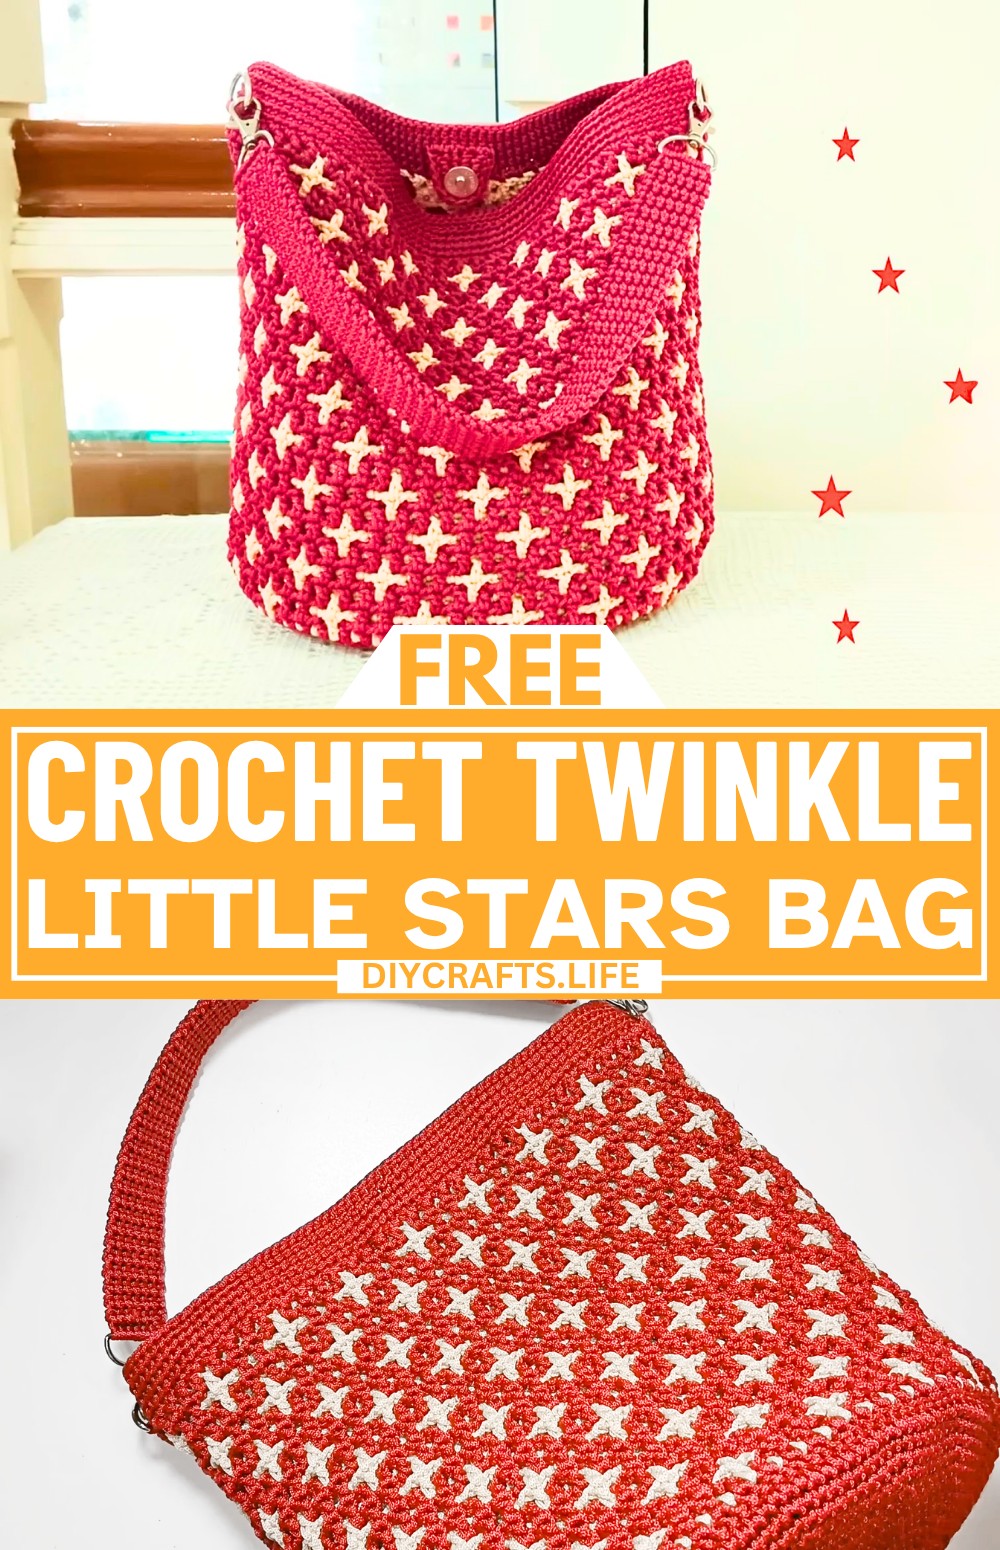
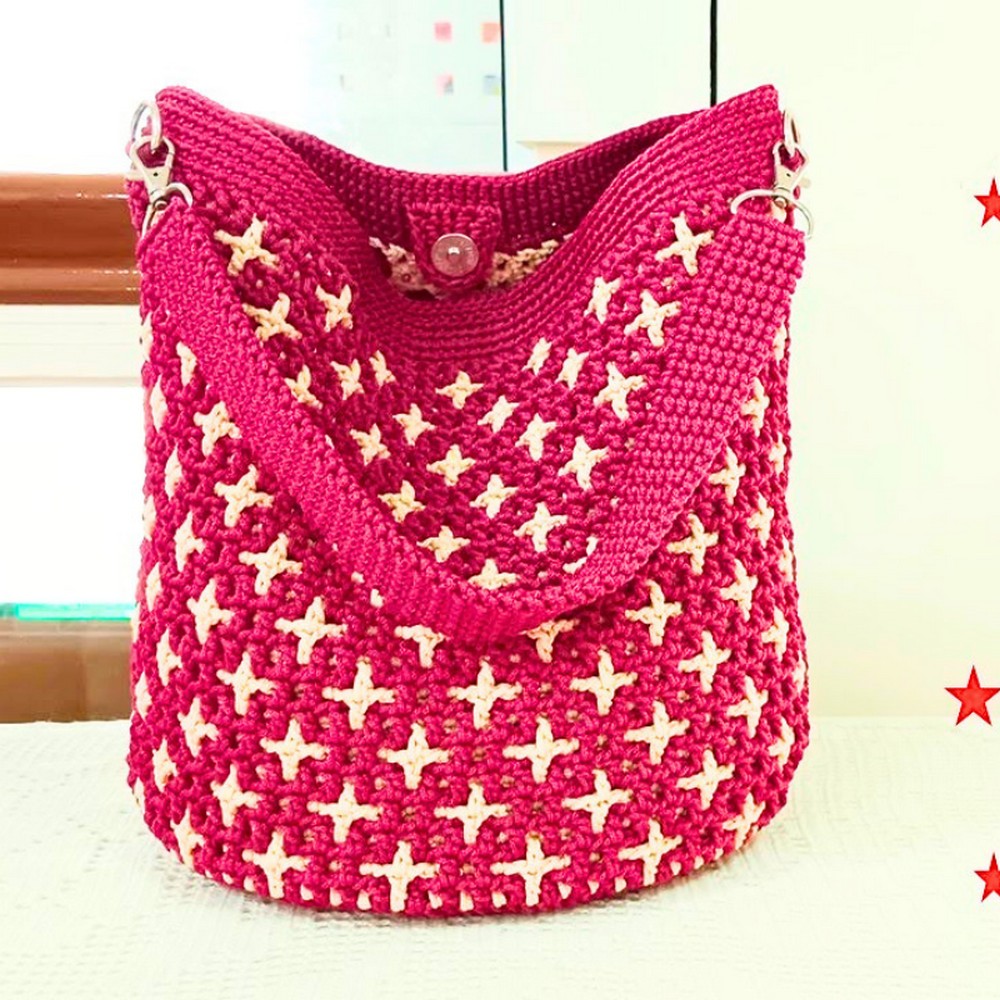
This beautiful "Twinkle Little Stars" crochet bag is both stylish and practical. Shaped like a bucket with a flat, round base, it features a stunning star-like pattern that shines throughout the design. This bag is perfect to carry on shopping trips, outdoor outings, or even to brighten up your usual look. With its cute yet functional design, it can easily be your go-to accessory.
Crochet Twinkle Little Stars Bag
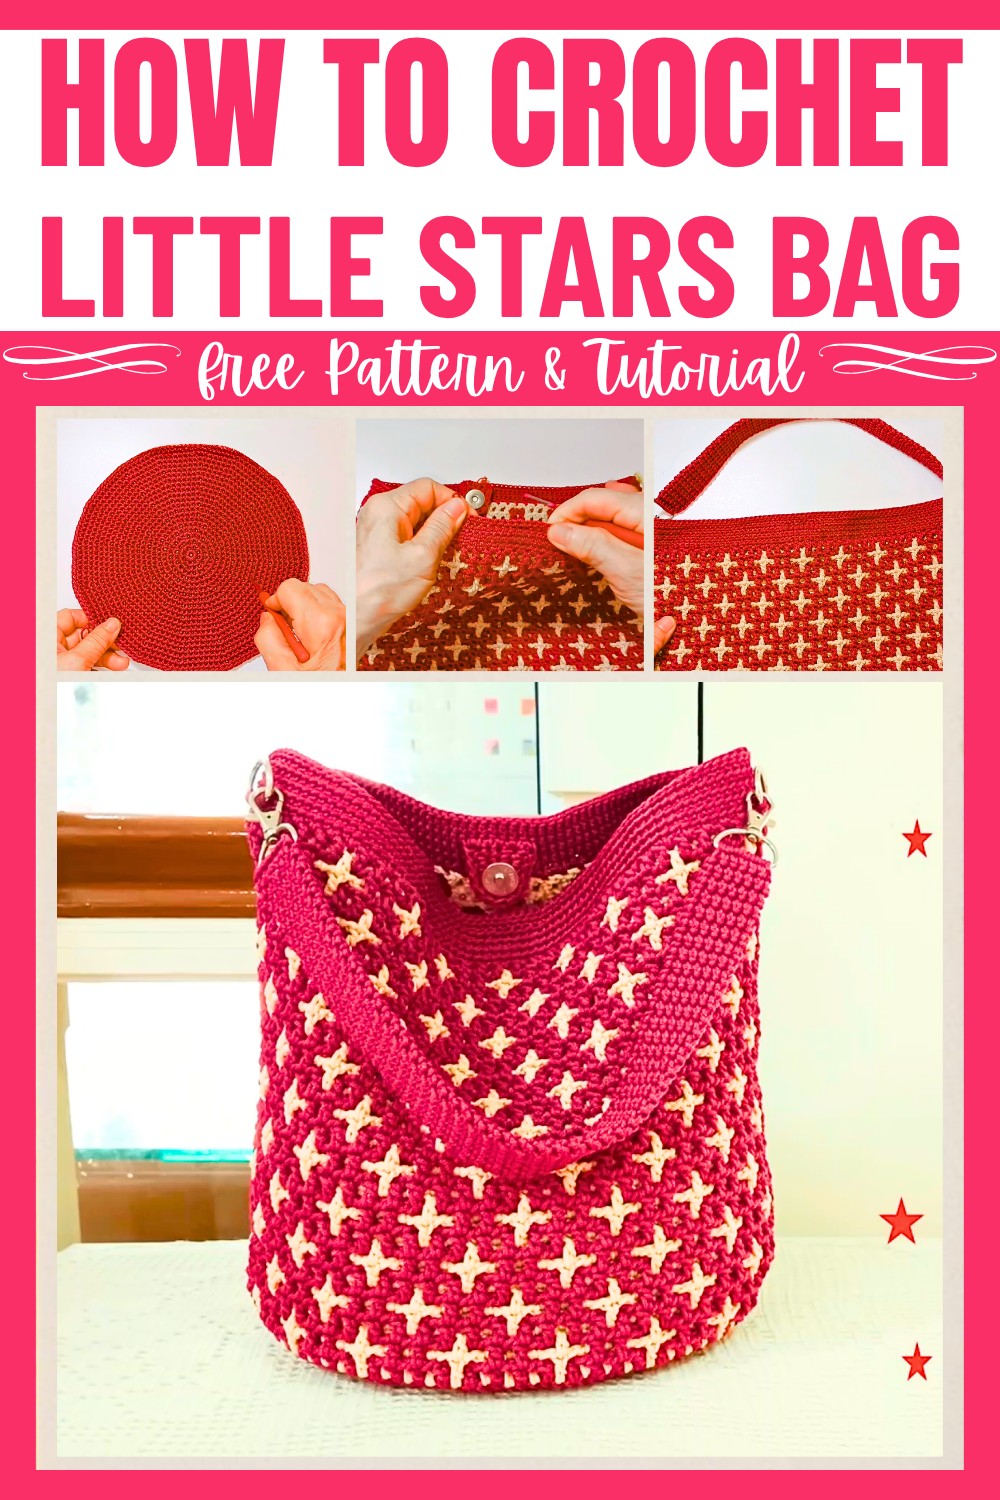
Crocheting this bag is easier than it looks. Made with umbrella rope yarn and a simple crochet technique, the star pattern appears as you work it. The star bag features a magnetic button closure for convenience and a thick, sturdy strap for comfort. If you’re looking to make a fashionable bag for yourself or as a gift, this bag tutorial offers a fun way to create something unique and functional.
Credit Naree Handmade
Materials & Tools Needed
- Umbrella Rope (1.8 mm):
- Crimson Red: ~320 grams
- Base Color (for star design): ~120 grams
- Total: 440 grams
- You can use alternative materials like polyester or cotton rope, based on preference.
- Crochet Hook: Size 4/0
- (Recommended size for umbrella rope; adjust as needed for different materials.)
- Magnetic Buttons: 18 mm (1 pair, with backing)
- Bag Strap Hooks & Rings (optional for removable straps)
- Lighter: To secure the ends of the rope (if using umbrella cord).
- Scissors: For cutting yarn.
- Sewing Needle (optional if attaching straps).
Finished Size
- Bag Dimensions:
- Mouth Opening: ~12 inches wide
- Height: ~10 inches
- Base Diameter: ~8.75 inches (after 18 rounds of increase).
- Bag Strap (Adjustable):
- Length: ~13.5 inches (thick braided strap, customizable).
Customization Ideas
- Color: Use contrasting colors for the stars and the background to enhance the "twinkle" effect.
- Size: To make a larger or smaller bag, adjust the bottom diameter (increase rounds) or height (add/remove star pattern repeats).
- Strap Style:
- Sew the strap directly as a permanent feature.
- Use hooks and rings for a removable strap.
- Add a crossbody strap for versatility.
- Closure: If you prefer, add a zipper or button closure instead of magnetic buttons.
Pattern Abbreviations & Terminology
| Abbreviation | Meaning |
|---|---|
| ch | Chain |
| st | Stitch |
| sl st | Slip Stitch |
| sc | Single Crochet |
| dc | Double Crochet |
| V-st | Increase (2 dc into the same st) |
| BLO | Back Loop Only |
- Terminology: US crochet terms are used.
Step-by-Step Crochet Instructions
Part 1: Bottom of the Bag (Round Base)
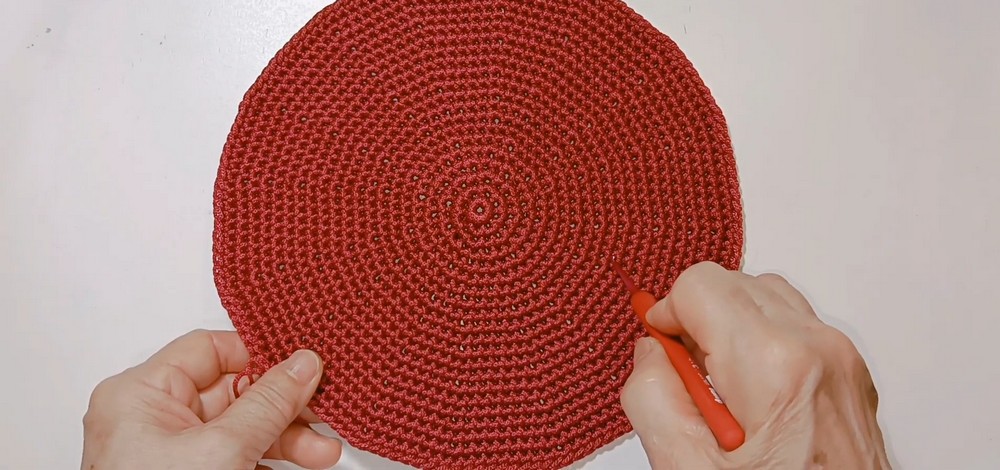
The base is worked in rounds with a continuous increase.
- Foundation Ring: Make a magic ring, work 8 sc into the ring. Pull tight to close.
- (8 sts)
- Round 2 (Increase): Work 2 sc in each st around.
- (16 sts)
- Round 3 (Increase): Work 1 sc, 2 sc in next st. Repeat around.
- (24 sts)
- Round 4-14 (Continue Increasing): Follow the standard increase pattern:
- Round 4: 1 sc in next 2 sts, 2 sc in next st. (32 sts)
- Round 5: 1 sc in next 3 sts, 2 sc in next st. (40 sts)
- Continue this formula, increasing the gap between increases by 1 sc in each round. Stop at Round 14 or when the diameter measures ~8.75 inches.
- Rounds 15-18: Work additional rounds as needed, adjusting increases:
- Round 17: 15 sc, 2 sc in next st...
- Round 18: Half the section involves 16 sc, 2 sc in next st to even out the stitch count.
- Final total: (144 sts)
Part 2: Twinkle Little Stars Pattern
This bag's body follows a star pattern in alternating colors with staggered rows.
Set up Rows for the Star Pattern
- Round 1 (dc setup row): Use red for the setup row. Work 1 dc in each st around, separating each dc with ch 1. Join with a sl st to the top of the ch-3.
- (144 sts total: 72 dc and 72 ch spaces)
- Round 2 (Start Base Color):
- Attach base color. Chain 3 to start.
- Alternate: Back-post dc around 3 sts, front-post dc around 1 st. Separate each with ch 1.
- Continue this pattern: Back 3, Front 1, ch-1.
- Join with a sl st to the 3rd chain of the starting ch-3.
- Round 3 (Crimson Red):
- Switch to crimson red. Chain 3, ch 1 as a step chain.
- Work a complementary pattern: Back-post dc around 2 sts, front-post dc for 2 sts. Separate each with ch 1.
- Round 4 (Base Color):
- Alternate 1 front-post and 3 back-post again, ensuring stars stagger between rows.
Continue Star Pattern
- Repeat Rows 1-4 to maintain the star design.
- For this bag, complete 11 blocks of the pattern, totaling ~9 inches in height.
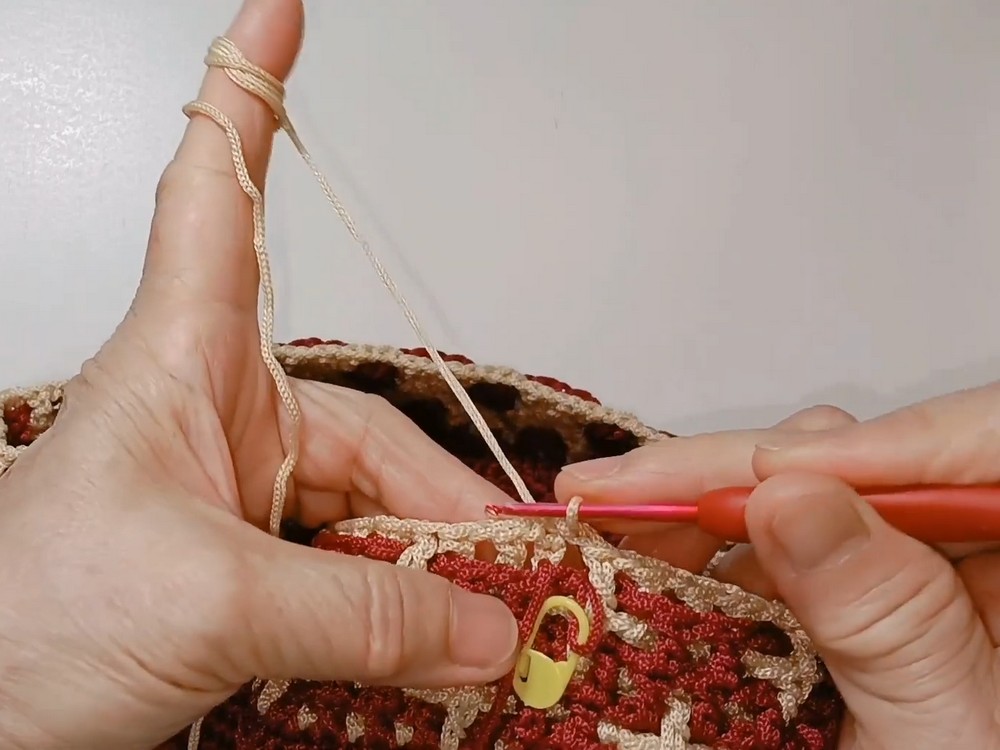
Part 3: Top Trim
- After completing the star pattern, switch to crimson red.
- Rows 1-4 (Regular Crochet Trim):
- Work sc in each st around. Use BLO on Rows 2-4 to create a ribbed effect.
- Insert magnetic closures before finishing Row 3. Align the closures symmetrically, leaving 3 sts on each side of the flap.
- Row 5 (Edge Decoration): For a neat finish, work sl st or front-loop sc around the top edge.
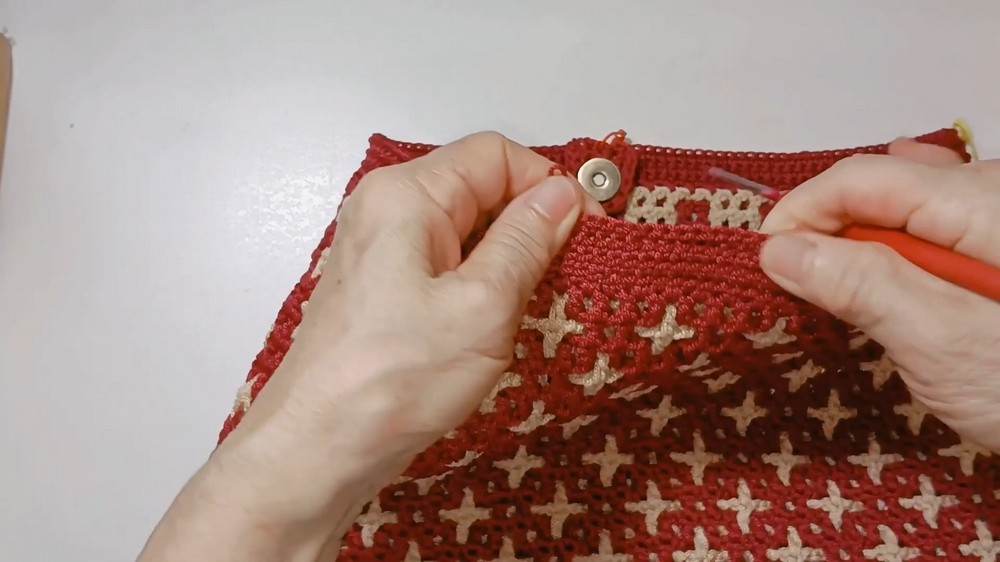
Part 4: Bag Strap (Thick Braided Design)
- Foundation: Chain 7 for a medium-width strap (adjust to preference).
- Row 1: Start normal sc, working into BLO for extra thickness.
- Subsequent Rows: Repeat, always working into BLO. Continue until the strap is approx. 13.5 inches or desired length.
- Attachment:
- Sew the strap directly onto the bag sides OR attach using D-loops and hooks for a removable strap.
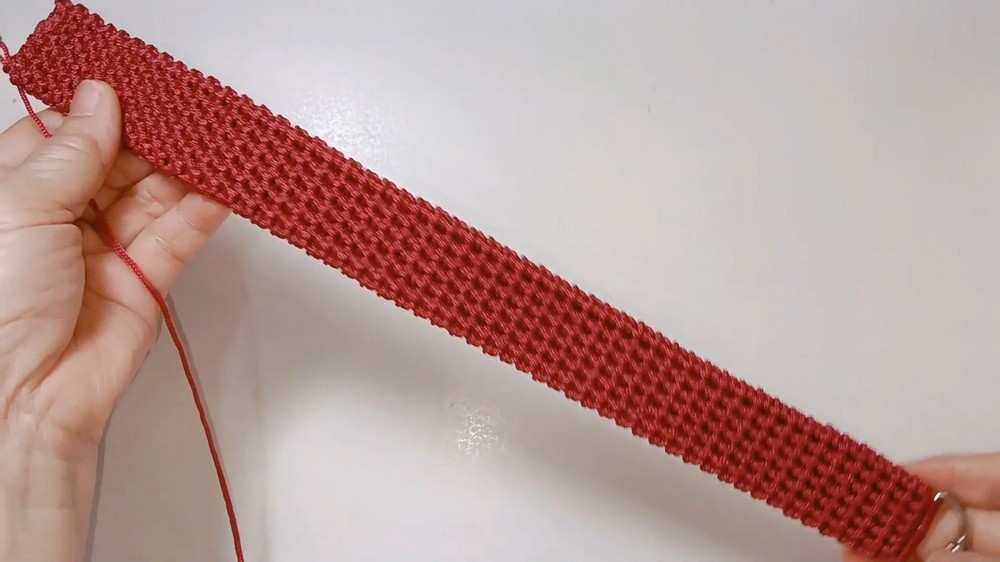
Finishing Techniques
- Securing Ends: Use a lighter (if using umbrella rope) to seal the ends of all yarn and prevent fraying.
- Hidden Stitches: Weave in all loose ends securely and trim the excess.
- Attach Magnetic Buttons: Ensure closure backing is firm and aligned.