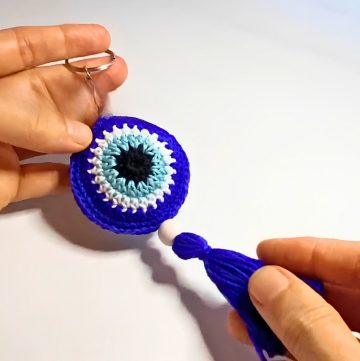
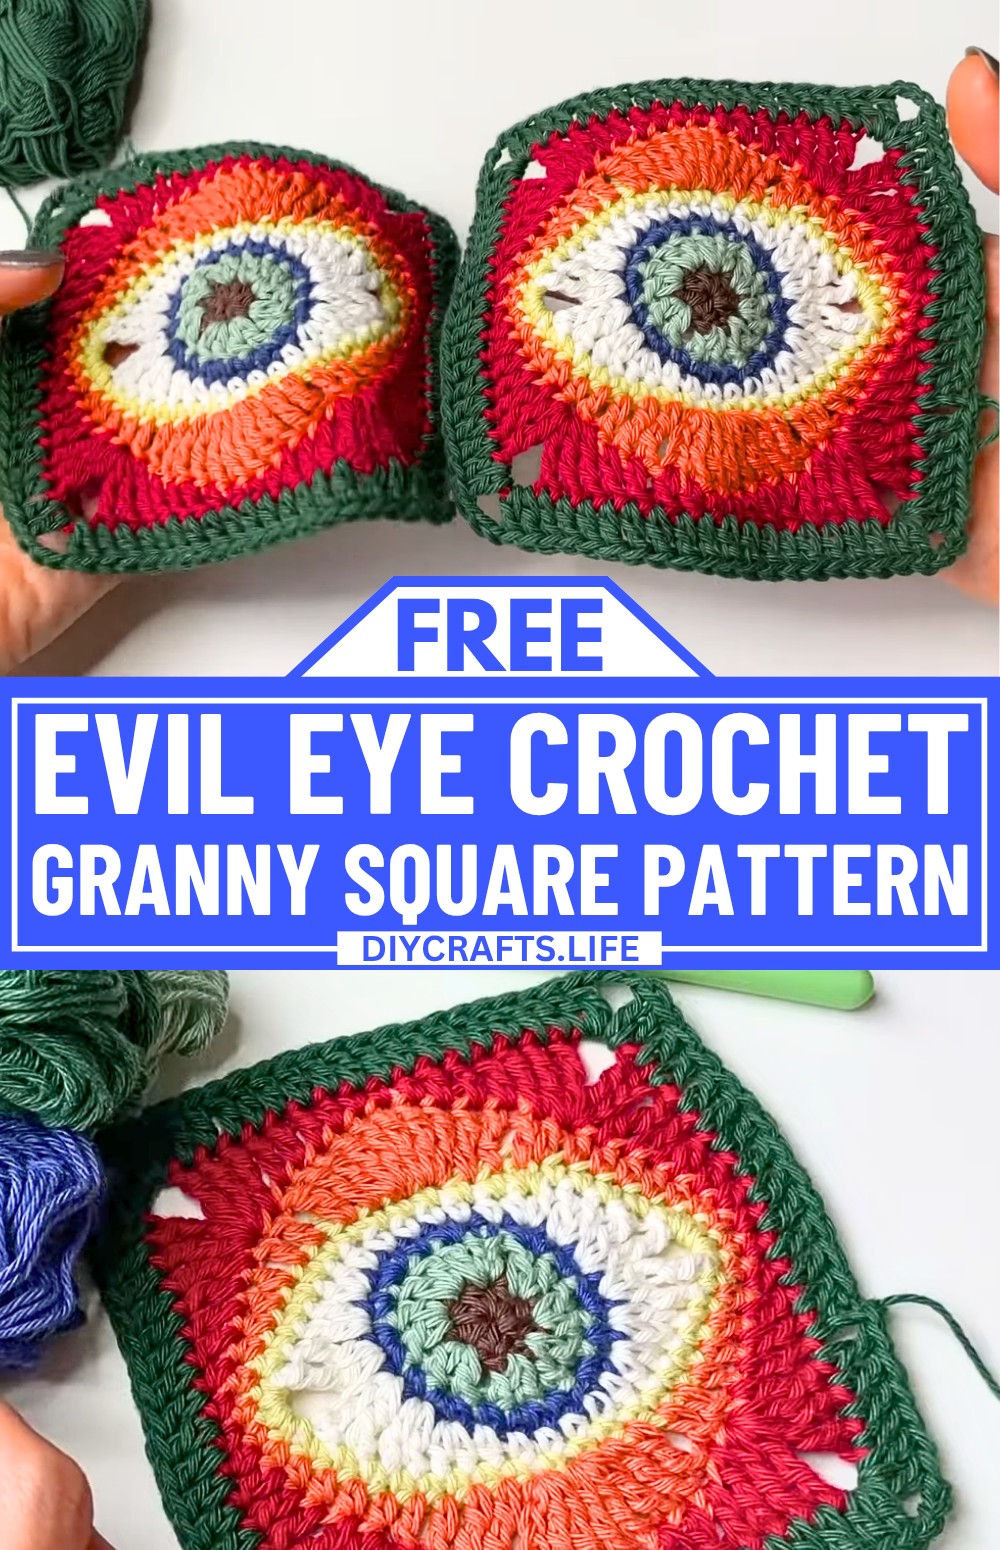
The eye crochet granny square instantly stands out with its bold colors and artistic design, making it a piece that is hard to overlook. This vibrant piece adds a creative touch to bags, tops, blankets, pillow covers, and many other handmade accessories, allowing each square to bring personality and charm to your work. At first glance, its bold crocheted granny square design catches the eye, but the creative structure behind it tells an even more interesting story.
Free Evil Eye Crochet Granny Square Pattern
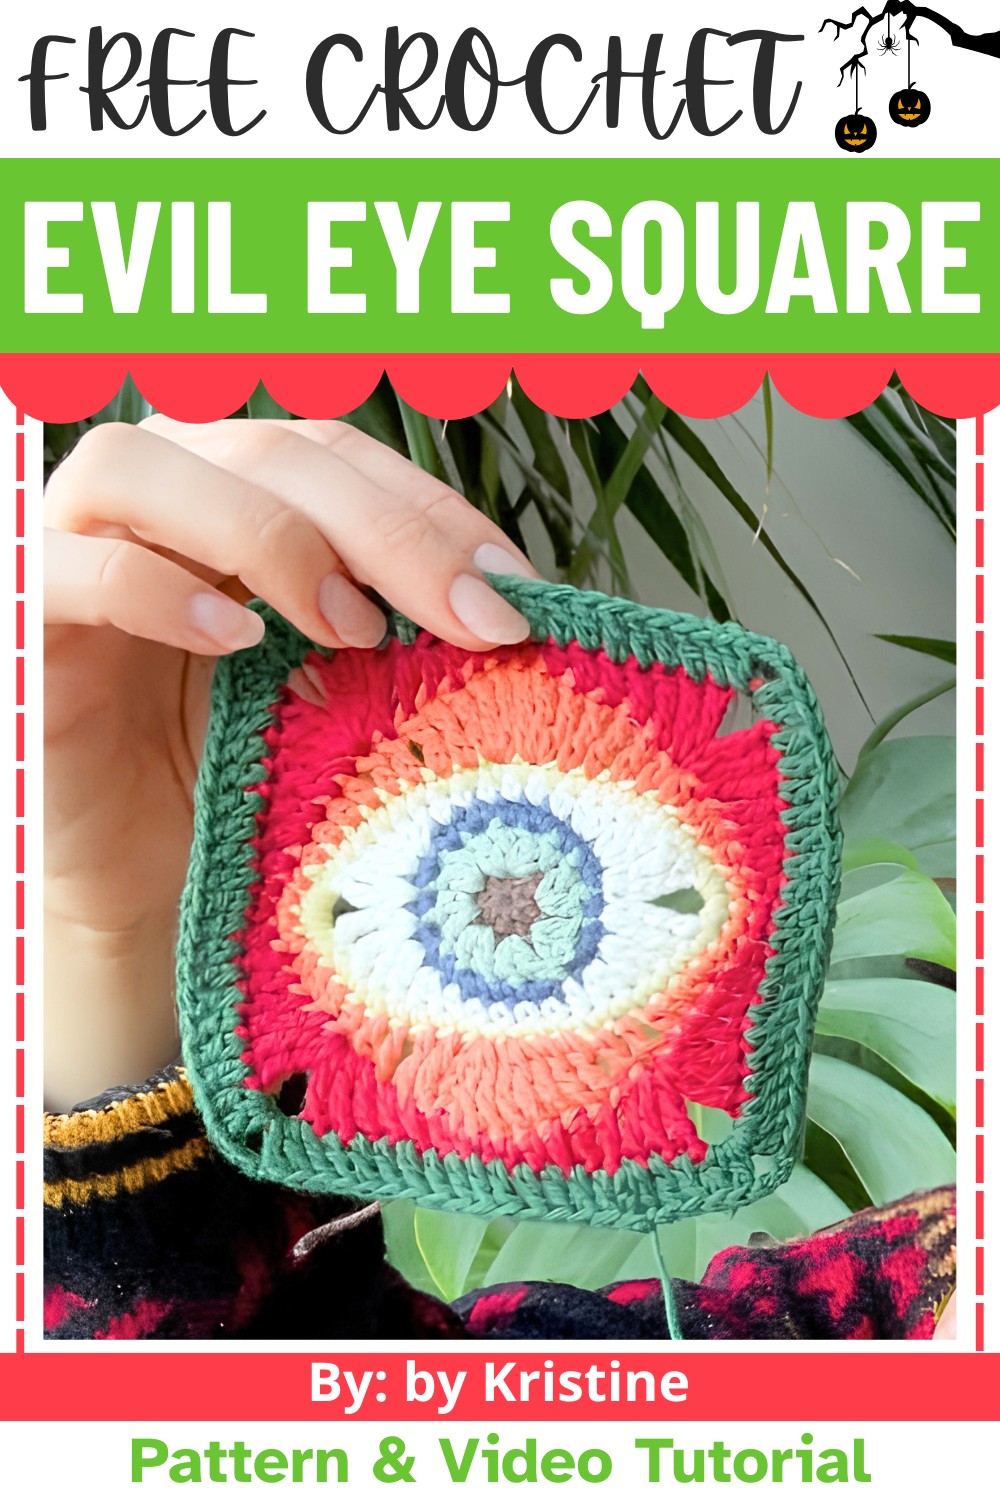
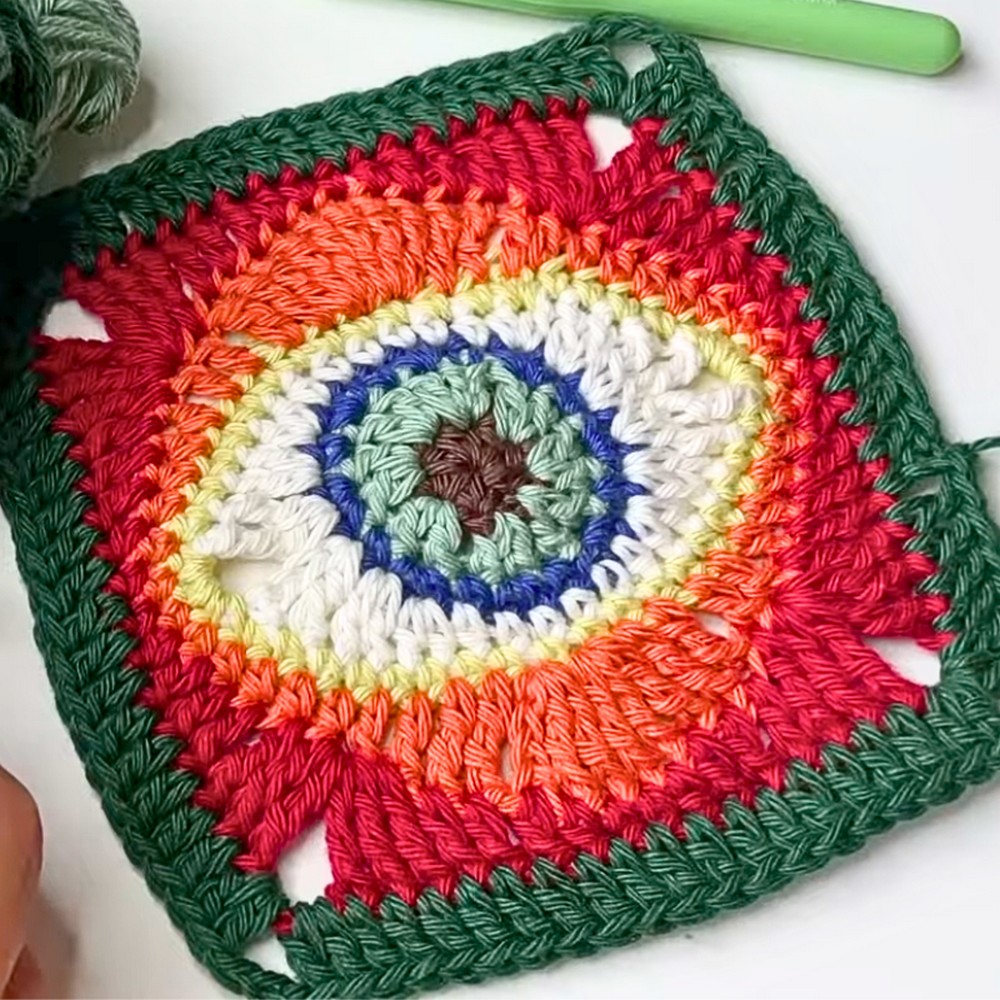
The crochet granny square pattern features eight rounds, each worked in a different color to create a good and lively effect. The finished square measures approximately 10 cm, but you can easily adjust its size by changing the yarn or hook. You can join multiple squares for a larger piece or showcase a single one as a striking statement piece. Whether you are an experienced crocheter or a beginner exploring new techniques, this pattern offers a joyful and rewarding challenge.
Credit by Kristine
Materials & Tools Needed
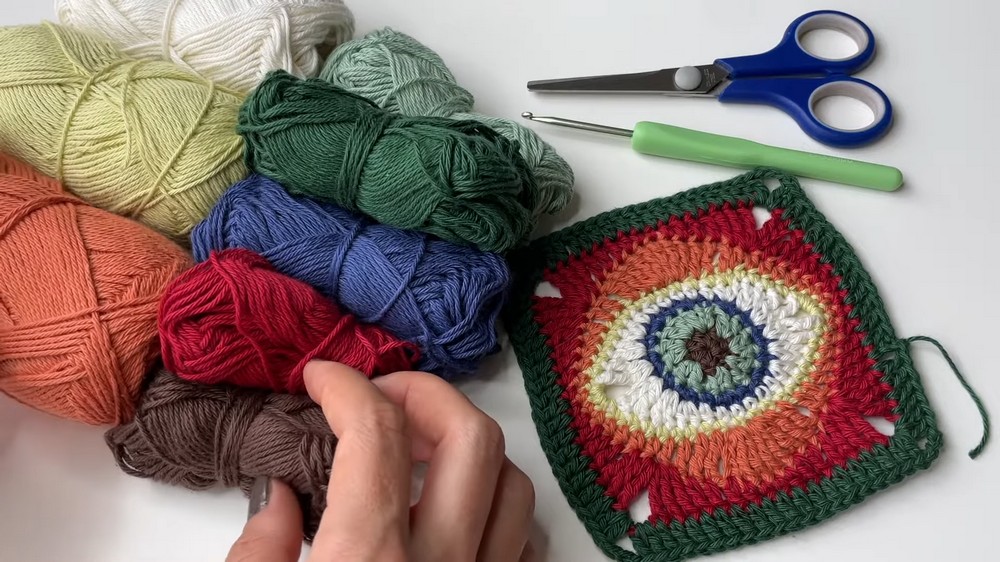
- Yarn: Multiple colors of 4-ply cotton yarn (8 total colors, one per round).
- Crochet Hook: 3.5mm hook.
- Scissors (for cutting yarn).
- Stitch Markers (optional, for marking corners).
Finished Size
The completed Eye Crochet Granny Square will measure 12 cm.
You can customize the size by adjusting the hook size or yarn weight.
Customization Ideas
- Color Variations: Mix and match yarn colors for unique designs or a more cohesive look.
- Projects: Assemble multiple squares to create cardigans, tops, bags, or blankets.
- Size Adjustments: Use thicker yarn and a larger hook for bigger squares, or thinner yarn and a smaller hook for smaller squares.
Pattern Abbreviations & Terminology
(Note: All terms are in US crochet terminology.)
- ch: Chain.
- sc: Single Crochet.
- hdc: Half Double Crochet.
- dc: Double Crochet.
- tr: Treble Crochet (or Triple Crochet).
- dtr: Double Treble Crochet.
- sl st: Slip Stitch.
- yo: Yarn Over.
Step-by-Step Detailed Crochet Instructions
Round 1: Center of the Eye
- Color Used: Brown.
- Create a magic ring.
- Wrap the yarn around your fingers, cross it to make an "X".
- Insert your hook under the top yarn layer, grab the bottom yarn layer, pull it through, and chain 2.
- Crochet 7 hdc into the magic ring.
- Yarn over, insert your hook through the ring, pull up a loop (3 loops on the hook), yarn over, pull through all 3 loops.
- Repeat for 7 stitches.
- Pull the tail of the magic ring tight to close the center.
- Sl st to the top of the 2nd chain made at the beginning.
- Fasten off by chaining 1, cutting the yarn, and pulling tight.
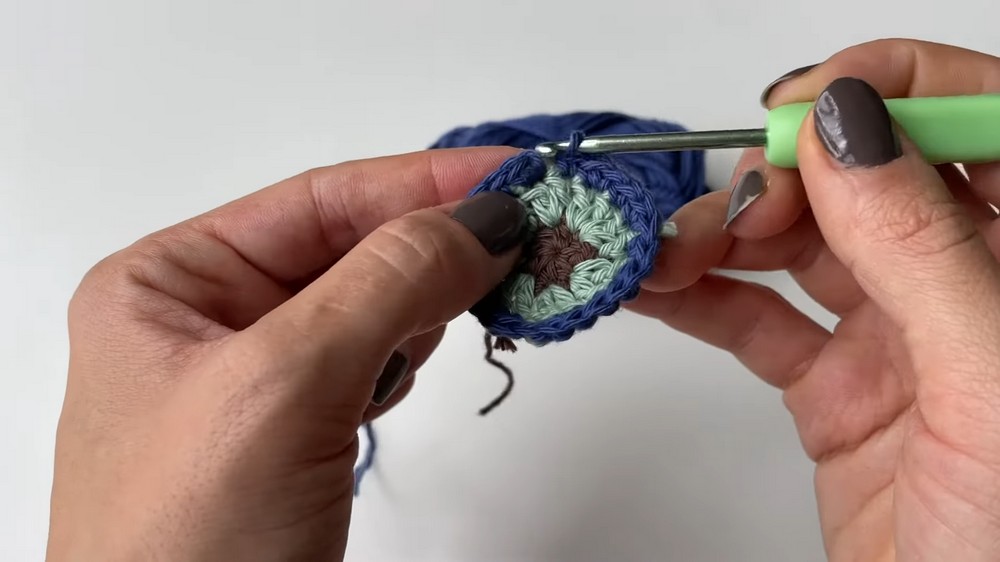
Round 2: Expanding the Circle
- Color Used: Light Green.
- Attach the yarn with a knot to any stitch from Round 1.
- Chain 3 (counts as the first dc).
- Crochet 2 dc into each stitch from Round 1 (increasing in every stitch).
- You should have 16 stitches in total.
- Sl st into the top of the 3rd chain created at the start.
- Fasten off and weave ends securely.
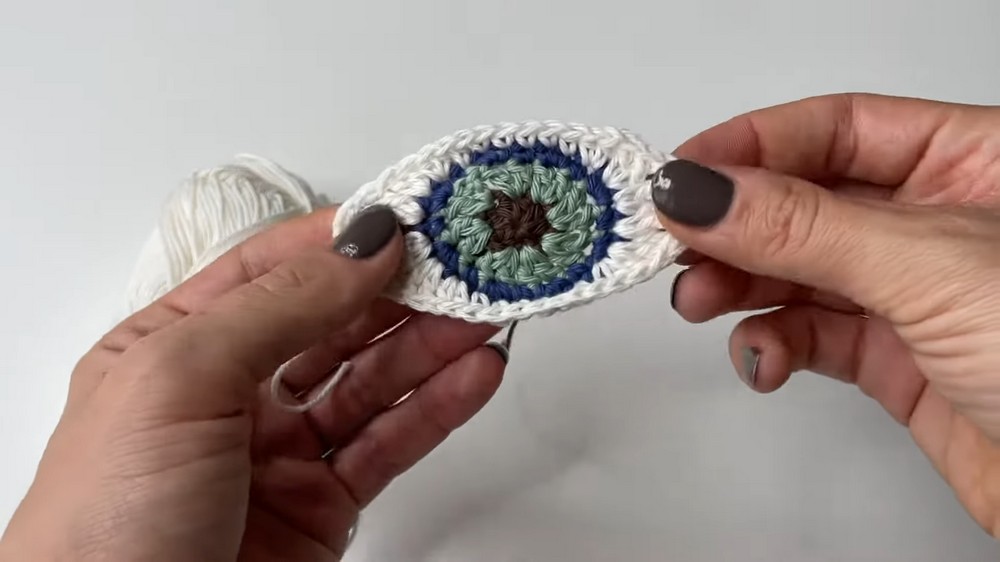
Round 3: Adding Single Crochets
- Color Used: Blue.
- Attach the blue yarn to any random stitch from Round 2 with a knot.
- Chain 1 and sc into the same space.
- Begin the stitch pattern:
- 1 sc into the next stitch.
- 2 sc into the following stitch.
- Repeat until the end of the round.
- Sl st into the top of the starting chain.
- Fasten off and cut the yarn.
- Stitch Count: 24.
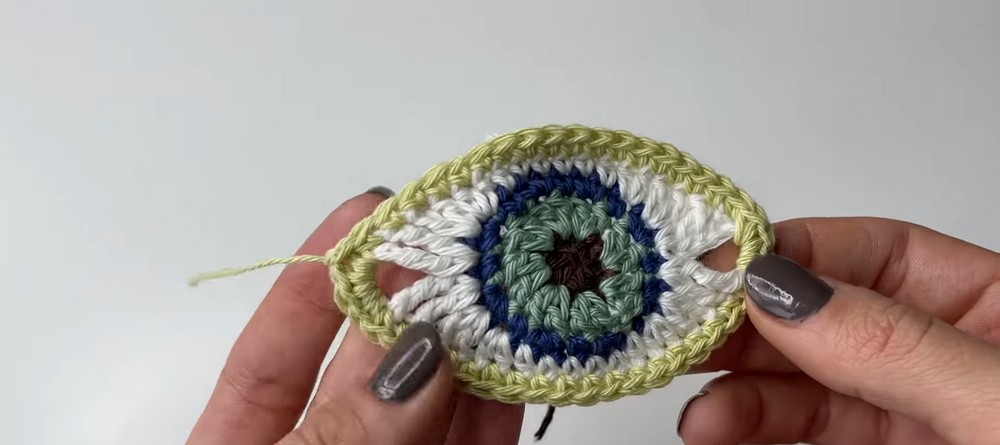
Round 4: Shaping the Eye
- Color Used: White.
- Attach the white yarn to any random stitch from Round 3 with a knot.
- Chain 5.
- Do the following sequence:
- 1 tr into the same space.
- 2 dc into the next space.
- 2 hdc into the next space.
- 1 hdc into the next space.
- 4 sc, one in each of the next 4 spaces.
- 1 hdc into the next space.
- 2 hdc into the next space.
- 2 dc into the next space.
- 1 tr and 1 dtr into the last space of this half.
- Chain 1. Mirror the stitches to complete the other half of the eye.
- Stitch Count: 36 (excluding chains).
Round 5: Building the Corners
- Color Used: Greenish Yellow.
- Count 18 stitches from each curved side of the eye.
- Place stitch markers at the 9th stitch from both corners for reference.
- Attach yarn to one marker.
- Chain 1 and 4 sc into the same corner space. Mark other stitches as follows:
- 18 sc along the curve.
- 4 sc into the next corner space.
- Repeat for the remaining sides.
- Sl st into the first sc.
- Fasten off and cut yarn.
- Stitch Count: 44.
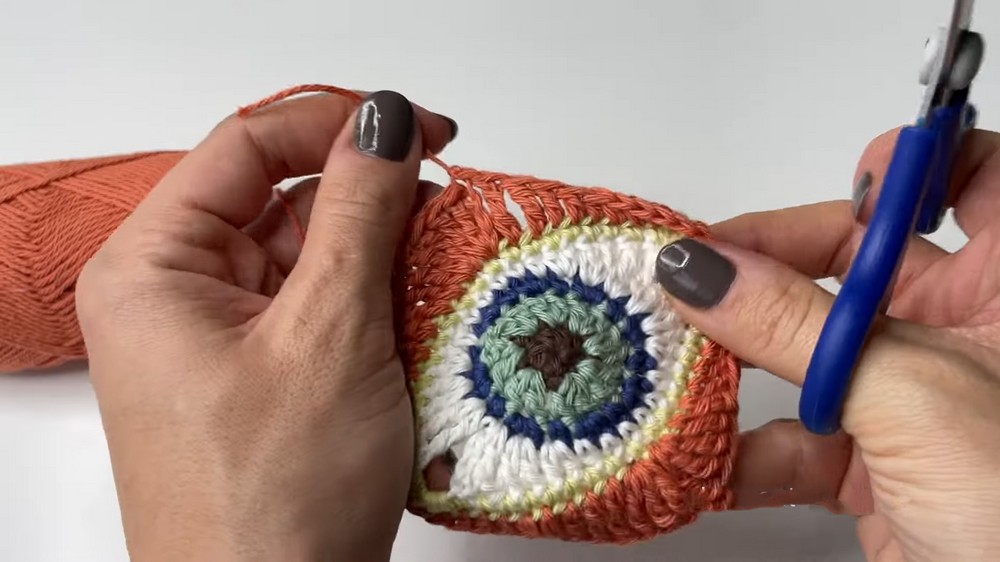
Round 6: Creating Shape and Depth
- Color Used: Orange.
- Place markers to divide into halves, with 26 stitches on each side.
- Attach orange yarn to the corner stitch.
- Start the corner:
- Ch 4, 2 tr, ch 3, 2 tr.
- Continue with:
- 1 tr, 3 dc, 1 hdc, 2 sc, 1 hdc, 3 dc, and 1 tr per side, ending in the corner marker.
- Repeat for all sides.
- Finish with sl st, ch 1, and fasten off.
- Stitch Count: 52.
Round 7: Square Formation
- Color Used: Red.
- Count 13 stitches per side and place markers at the corner points.
- Attach yarn where a marker is placed. Begin with the corner:
- Ch 4, 1 tr, ch 3, 2 tr.
- Continue along the side:
- 1 tr, 3 dc, 1 hdc, 2 sc, 1 hdc, 3 dc, 1 tr.
- Repeat on all sides, completing corners similarly.
- Sl st, ch 1, and fasten off.
- Stitch Count: 64.
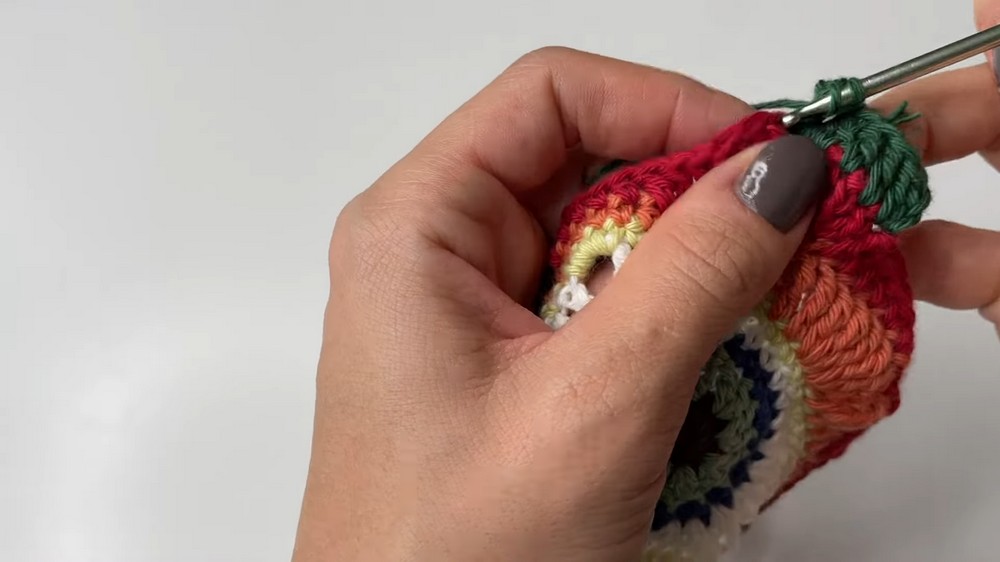
Round 8: Final Border
- Color Used: Green.
- Attach yarn anywhere along the square edge.
- Chain 2. Begin placing dc into every stitch. For corners:
- 2 dc, ch 3, 2 dc.
- Work around the square.
- Sl st, ch 1, cut yarn, and weave in all remaining ends.
Video Tutorial