

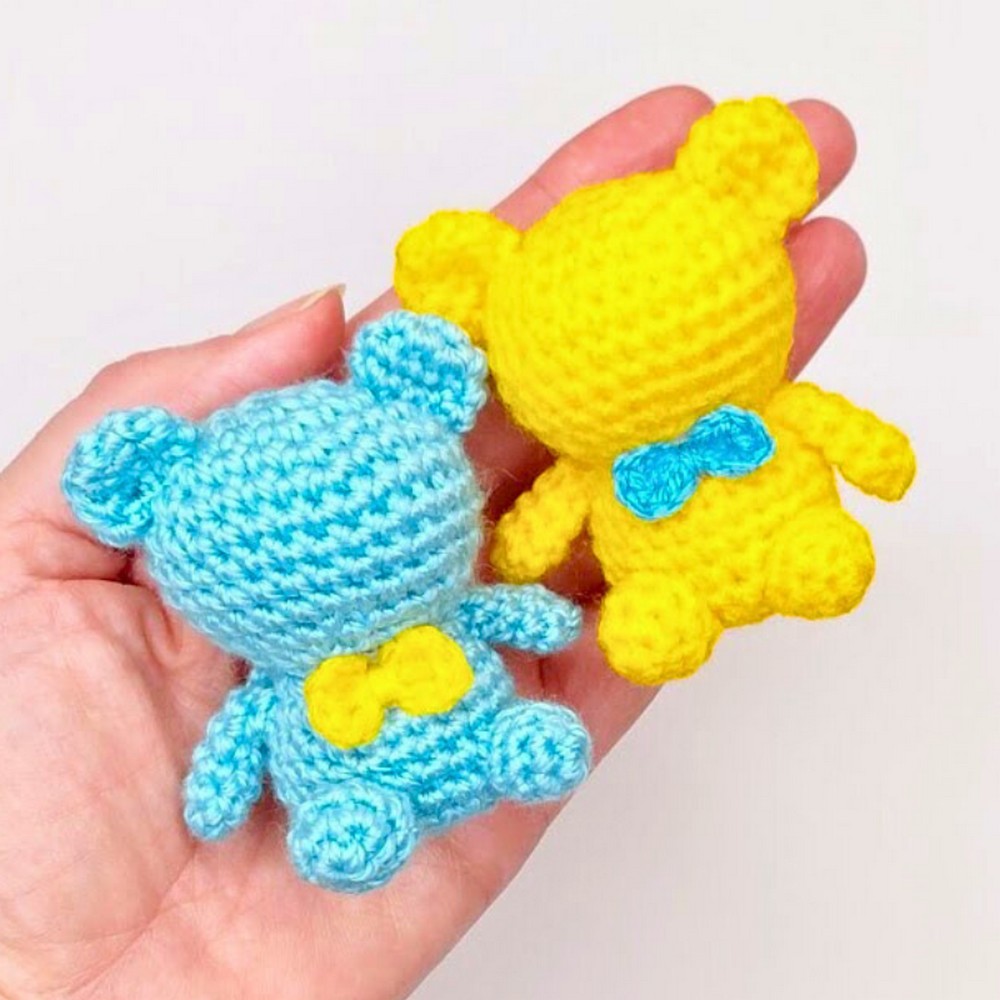
Crocheting a little bear is a simple and fun way to create something lovable and useful. This small, handmade bear, measuring about 7–8 cm, is the perfect blend of cuteness and creativity. It’s great for kids and adults alike and can be used as a keychain, a pendant, or even a cute decor piece for your space. Best of all, it’s a heartwarming gift idea to share with friends and family.
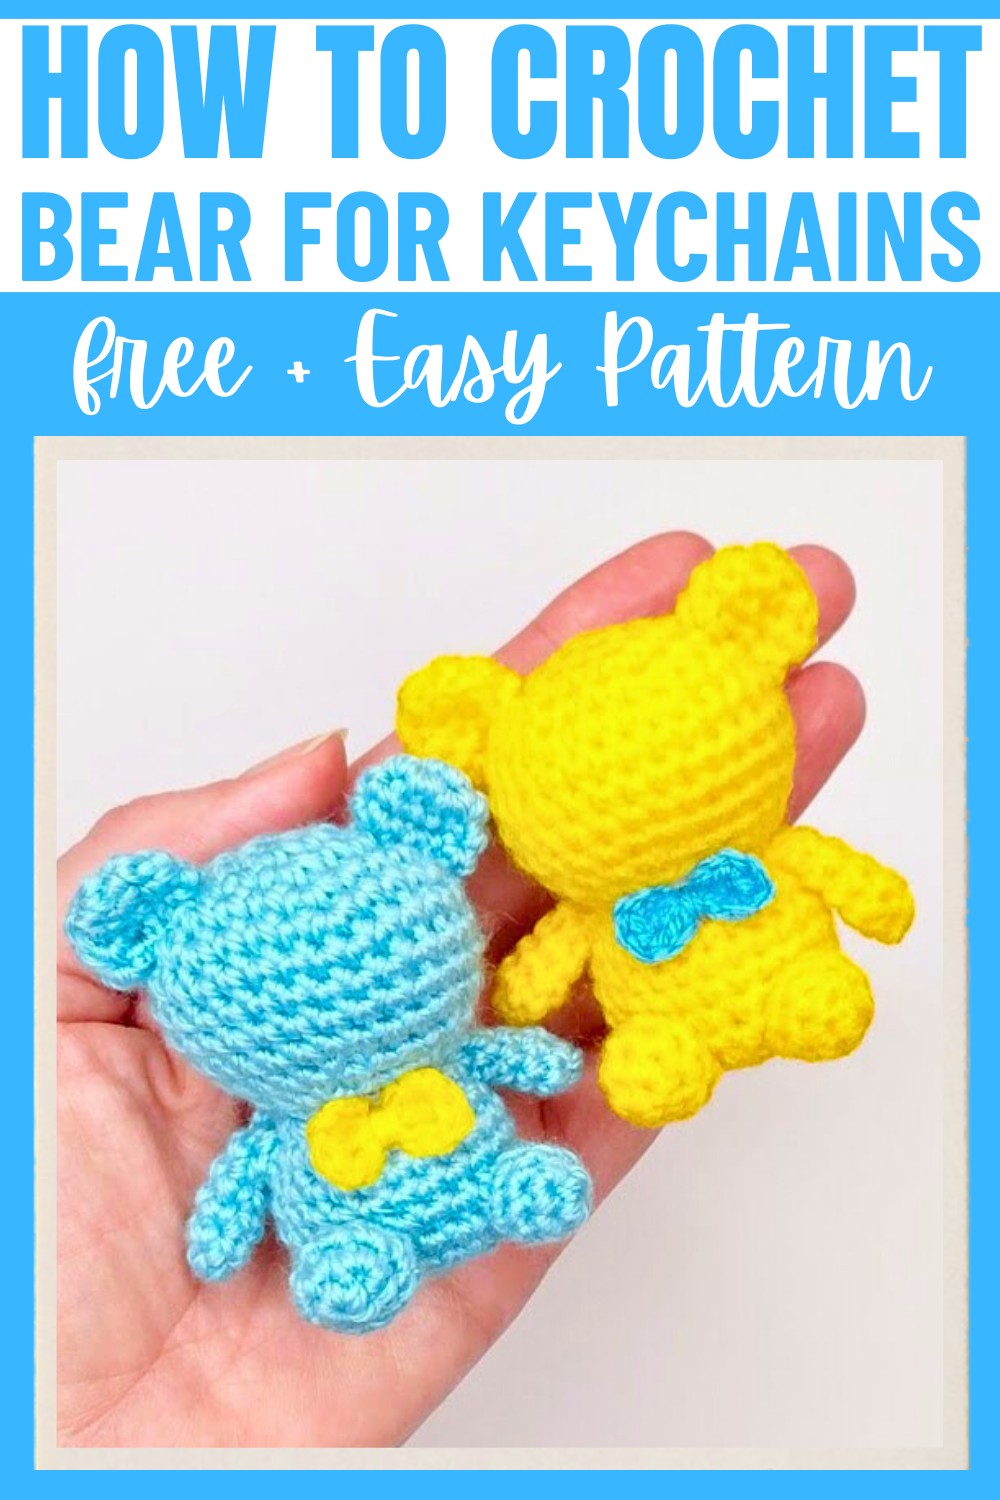
The process of making this bear involves crocheting individual parts like the paws, ears, body, and head, and then stitching them together. You can add soft filling inside to give it a cuddly look. Adding small details such as a bow helps make your creation even more special. While simple stitches are used throughout, watching it all come together into a finished bear is the most exciting part of the process. It’s a wonderful handmade item you’ll enjoy making and sharing.
Credit Olga Garkusha
Materials & Tools Needed
- Yarn: Use soft yarn in any desired color for the body, and a contrasting color for accessories (like the bow).
- Crochet Hook: Match the hook size to your yarn (commonly 2.0 mm–2.5 mm for amigurumi thread).
- Stuffing: Holofiber or polyester fiberfill (for stuffing the bear).
- Sewing Needle: For assembly and finishing touches.
- Scissors
- Optional: Safety eyes or black yarn/thread for the face, and glue (if attaching instead of sewing).
Finished Size & Customization Ideas
- Finished Size: Approximately 7-8 cm tall.
- Customization Ideas:
- Change yarn colors to make a multi-colored bear.
- Add embellishments like a bow in a different style.
- Use embroidery thread to add a tiny mouth or nose.
Pattern Abbreviations & Terminology
- sc: Single crochet
- /: Increase (2 single crochets into the same stitch)
- /: Decrease (single crochet two stitches together)
- ch: Chain stitch
- sl st: Slip stitch
- rnd(s): Round(s)
- Numbers in parentheses indicate the number of stitches at the end of the round.
Step-by-Step Detailed Crochet Instructions
Lower Paws (Make 2)
- Row 1: Start with a magic ring. Crochet 6 sc into the ring. (6 stitches)
- Row 2: 1 sc, /, repeat 3 times. (9 stitches)
- Rows 3-4: 1 sc in each stitch around. (9 stitches)
- Fasten off and weave in ends for each paw.
Upper Paws (Make 2)
- Rows 1-5: Crochet 6 sc per round. (6 stitches per round)
- Do not increase the stitch count. Fasten off and weave in ends.
Ears (Make 2)
- Row 1: Start with a magic ring. Crochet 6 sc into the ring. (6 stitches)
- Row 2: 6 / increases. (12 stitches)
- Row 3: 1 sc in each stitch around. (12 stitches)
- Row 4: **4 sc, /**, repeat 2 times. (10 stitches)
- Fasten off and weave in ends.
Body (One Continuous Piece)
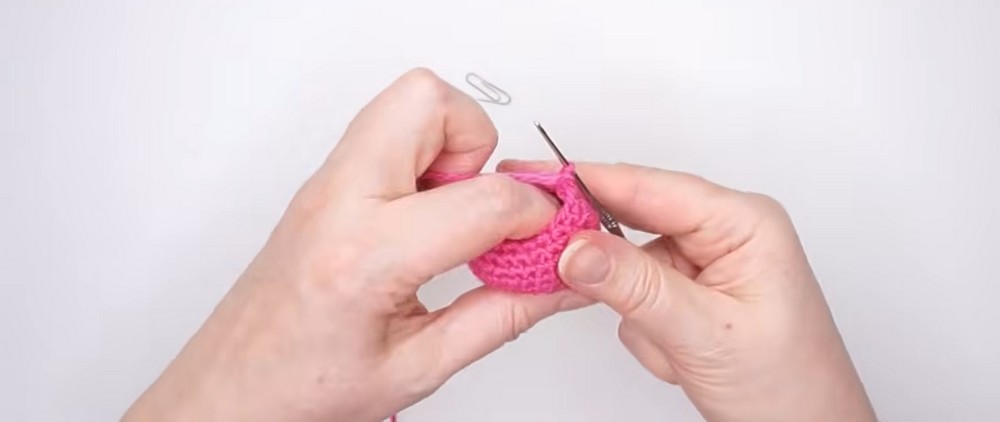
- Row 1: Start with a magic ring. Crochet 6 sc into the ring. (6 stitches)
- Row 2: 6 / increases. (12 stitches)
- Row 3: 1 sc, /, repeat 6 times. (18 stitches)
- Row 4: 2 sc, /, repeat 6 times. (24 stitches)
- Row 5: 3 sc, /, repeat 6 times. (30 stitches)
- Rows 6-9: 1 sc in each stitch around (no increases). (30 stitches)
- Row 10: 3 sc, /\, repeat 6 times. (24 stitches)
- Row 11: 2 sc, /\, repeat 6 times. (18 stitches)
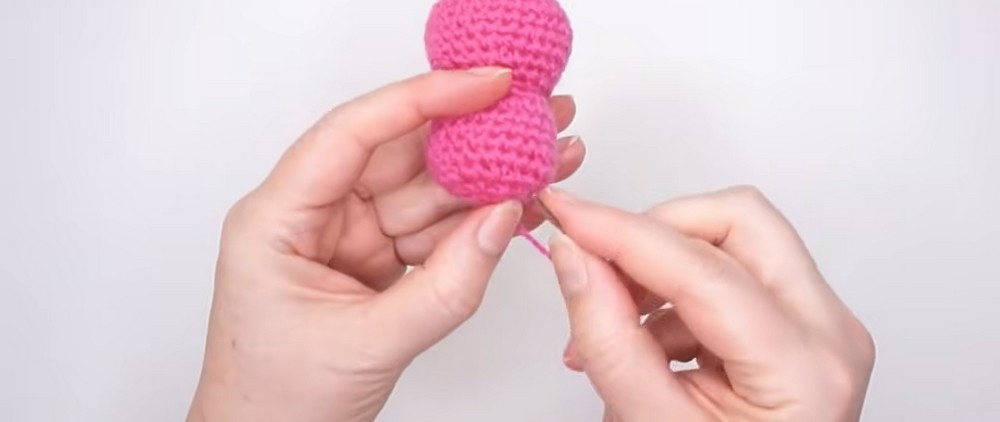
- Stuff the head with holofiber or stuffing at this stage.
- Row 12: 1 sc, /\, repeat 6 times. (12 stitches)
- Row 13: 6 / increases. (24 stitches)
- Rows 14-18: 1 sc in each stitch around. (24 stitches)
- Row 19: 2 sc, /\, repeat 6 times. (18 stitches)
- Row 20: 1 sc, /\, repeat 6 times. (12 stitches)
- Row 21: 6 /\. (6 stitches)
- Fill the body again with more stuffing before closing.
- Pick up the front loops, pull through, make a knot, and hide the thread.
Assembly Instructions
- Attach the Paws:
- Position the upper paws on the sides of the body. Mark the placement, then sew them on.
- Position the lower paws at the base of the body. Sit the bear down to ensure symmetry, mark the placement, then sew them on.
- Attach the Ears:
- Step back 3 rows from the starting ring on the head. Mark the placement of the ears.
- Position the top of each ear between the third and fourth rows. Sew securely.
- Add Facial Features:
- Embroider or attach safety eyes in place.
- Use black thread or yarn to add a small nose and mouth.
Crochet the Bow
- Step 1: Chain 3 stitches.
- Step 2: In a magic ring, crochet 1 double crochet, chain 3, then slip stitch to the ring.
- Step 3: Repeat the pattern: chain 3 stitches, crochet 1 double crochet, chain 3 stitches, and slip stitch.
- Step 4: Wrap yarn around the center several times to define the bow.
- Step 5: Sew or glue the bow to the bear.
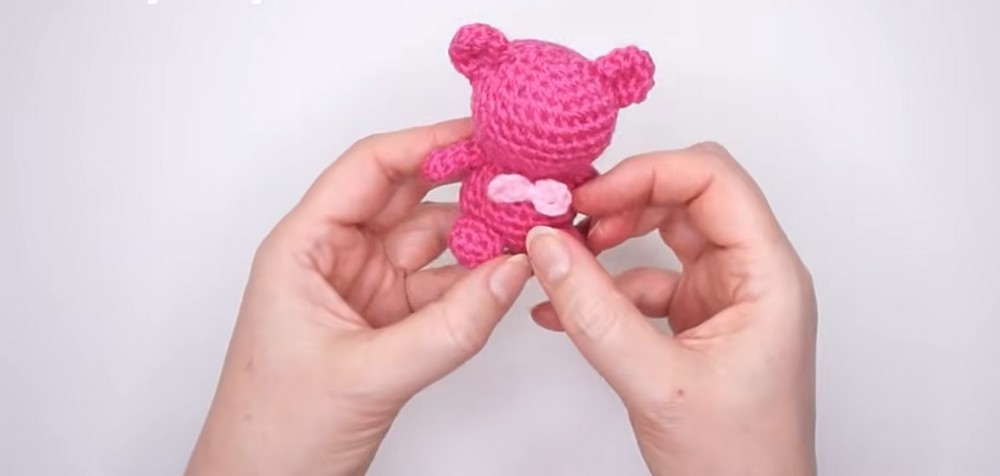
Finishing Touches
- Ensure all parts are securely sewn together.
- Hide any extra threads inside the bear.
- Shape the stuffing to make the bear symmetrical.


