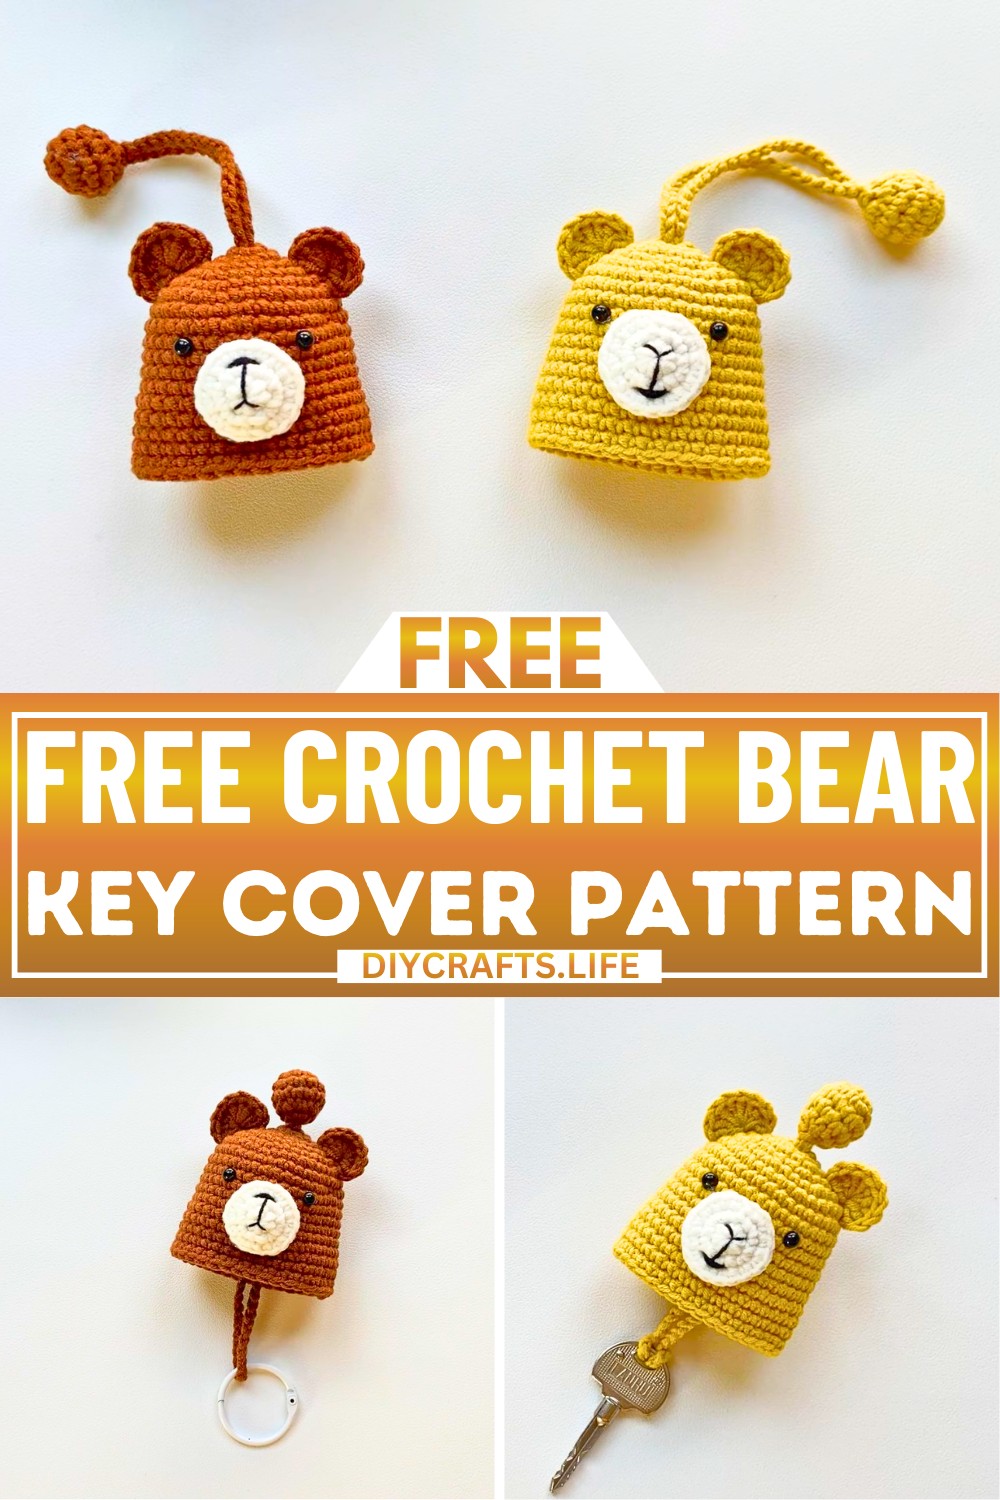
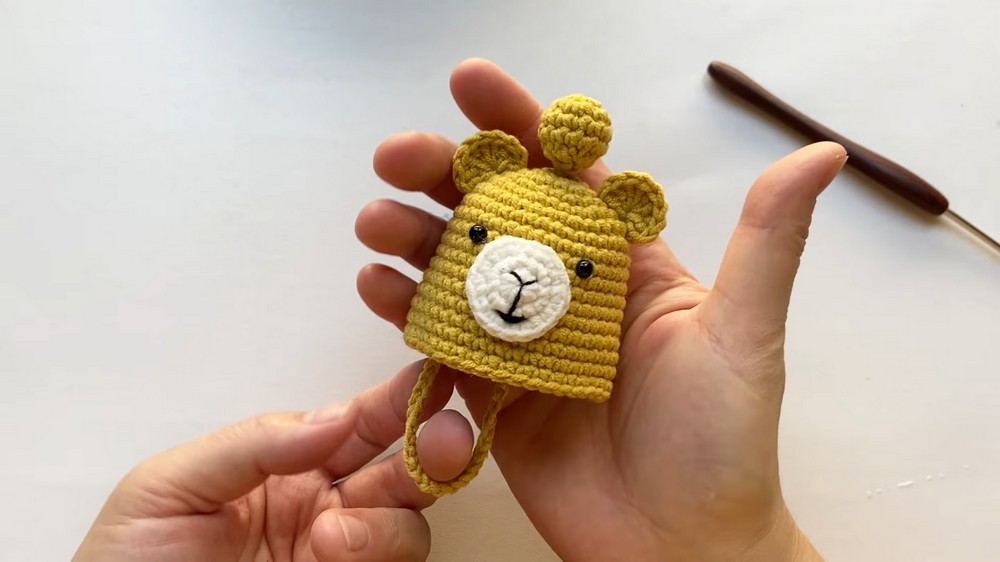
Add some charm to your everyday life with a cute crochet bear key cover! This practical accessory is perfect for anyone who loves a touch of creativity in their daily essentials. Designed to fit over your key snugly, it transforms simple keys into something fun and unique. Plus, it can help prevent scratches on other items in your bag!
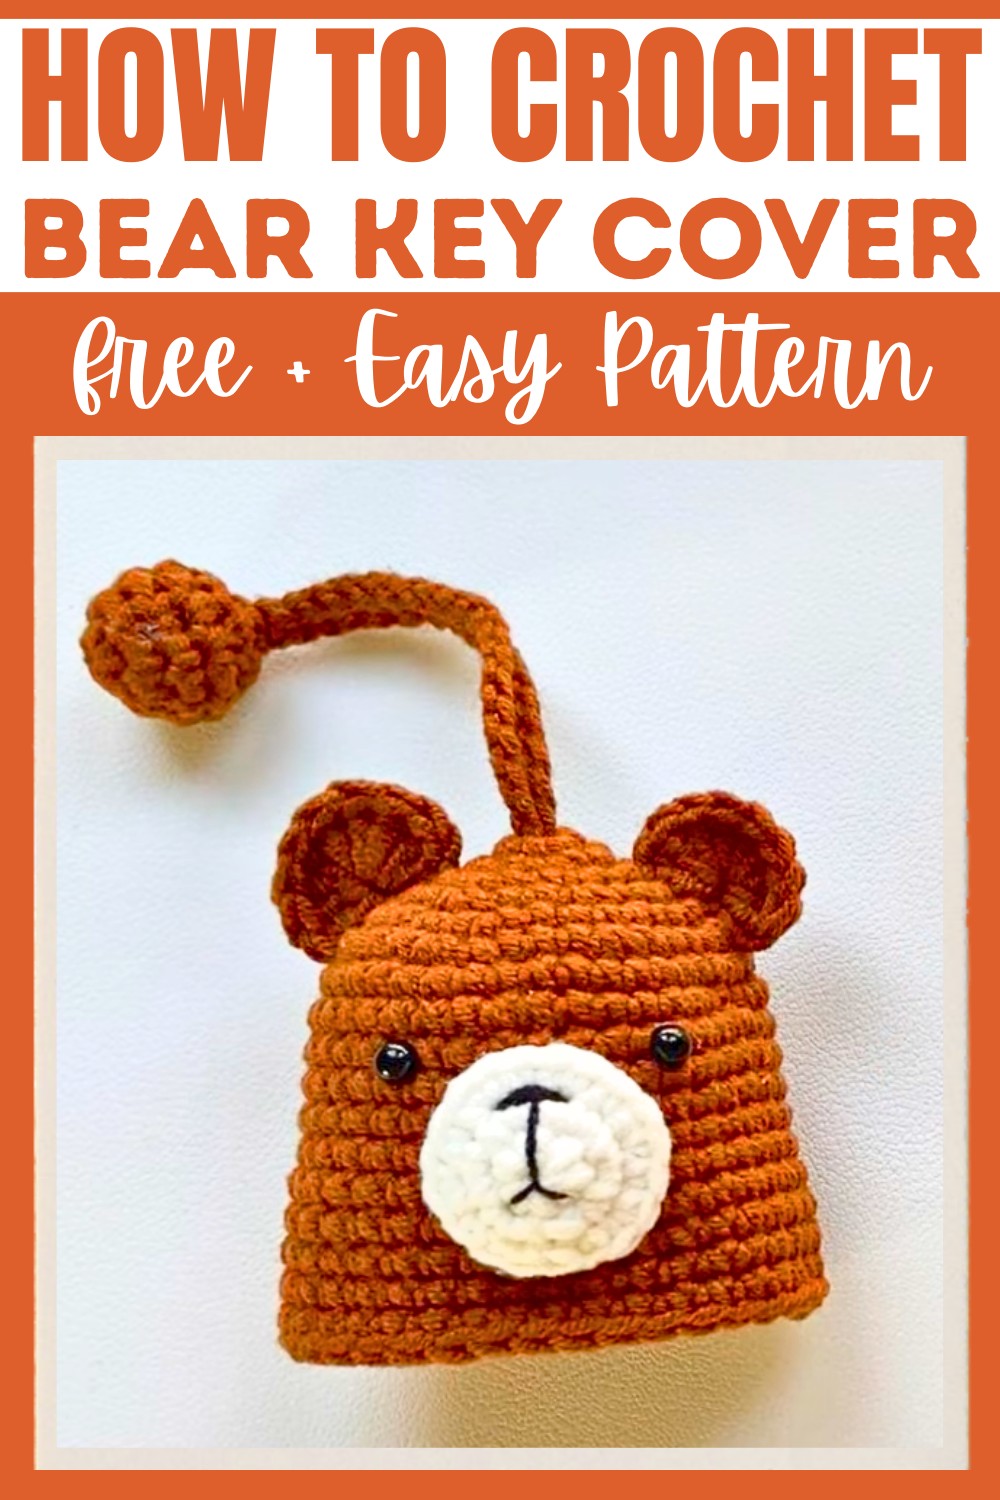
Making this bear key cover is simpler than it looks. With a little crochet magic, you’ll create a small bear design to wrap around your key securely. It’s compact, easy to carry, and great for gifting to friends and family. Whether you’re a beginner or someone with experience, this fun-to-make piece is an enjoyable way to add personality to something you use every day.
Credit Ada's Handmade
Materials & Tools Needed
- Yarn: 4-ply cotton yarn in desired colors (e.g., brown for the bear body, pink for details, black for facial features).
- Hook: 2.5 mm crochet hook.
- Other Tools:
- Scissors
- Yarn needle for sewing components together
- Stitch markers (optional, to keep track of rounds)
- Stuffing (if a small puffy nose is desired)
Pattern Abbreviations & Terminology
- sc: Single Crochet
- ch: Chain
- sl st: Slip Stitch
- inc: Increase (2 sc in the same stitch)
- dec: Decrease (combine 2 sc into 1)
- st: Stitch
- (X): Number of stitches in the round
- ×N: Repeat the sequence N times in the round
Note: Pattern uses US terminology.
Step-by-Step Crochet Instructions
This project is broken down into three sections:
- Main Cover (Bear Head)
- Ears
- Face Details
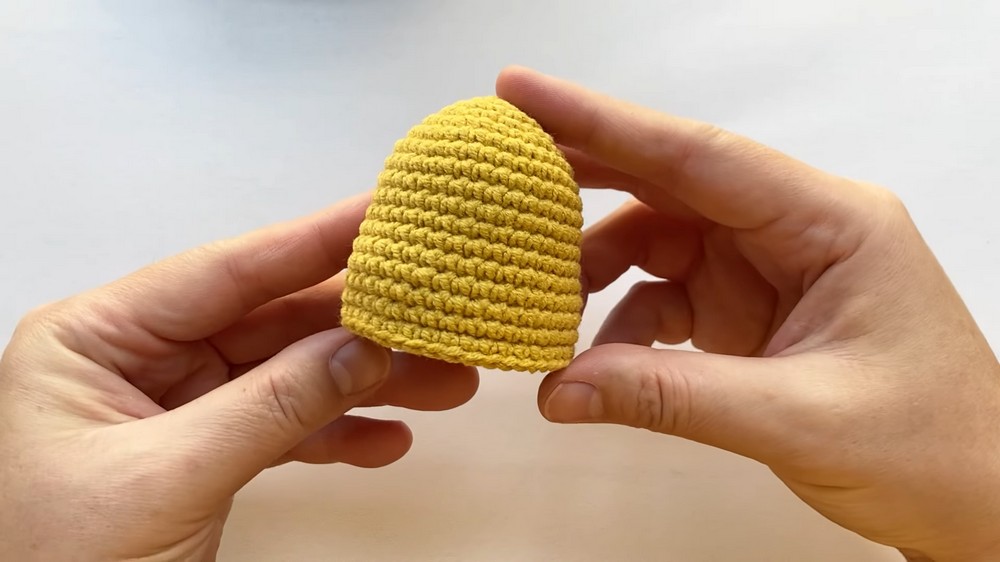
1. Main Cover (Bear Head)
- Foundation Round (R0):
- Chain 4 (ch4).
- Slip stitch (sl st) into the first chain to form a loop.
- Chain 1 (ch1).
- Round 1 (R1):
- Work 6 single crochets (sc) into the loop.
- Sl st into the first stitch of the round.
- Ch1.
(6 stitches)
- Round 2 (R2):
- Work 1 increase (2sc in the same stitch) in each stitch around.
- Sl st into the first stitch of the round.
- Ch1.
(12 stitches)
- Round 3 (R3):
- (1 sc, 1 inc) – Repeat around for 6 sets.
- Sl st into the first stitch of the round.
- Ch1.
(18 stitches)
- Round 4 (R4):
- (1 sc, 1 inc, 1 sc) – Repeat around for 6 sets.
- Sl st into the first stitch of the round.
- Ch1.
(24 stitches)
- Round 5 (R5):
- (3 sc, 1 inc) – Repeat around for 6 sets.
- Sl st into the first stitch of the round.
- Ch1.
(30 stitches)
- Round 6 (R6):
- (2 sc, 1 inc, 2 sc) – Repeat around for 6 sets.
- Sl st into the first stitch of the round.
- Ch1.
(36 stitches)
- Rounds 7-17:
- Work 1 sc in each stitch around.
- Sl st into the first stitch of the round after completing each round.
- Ch1.
(36 stitches per round)
- Finish Off:
- After Round 17, slip stitch into the first st.
- Fasten off and cut the yarn.
2. Ears
Make 2 Ear Pieces
- Foundation Round (R0):
- Chain 3 (ch3).
- Use the loop created by the ch3.
- Round 1 (R1):
- Work 6 single crochets (sc) into the loop.
- Sl st into the first stitch.
- Ch1.
(6 stitches)
- Round 2 (R2):
- Inc in each stitch around (2 sc in each st).
- Sl st into the first stitch.
- Ch1.
(12 stitches)
- Rounds 3-4:
- Work 1 sc in each stitch around.
- Ch1 at the end of each round.
- Decreasing (Round 5):
- Dec in every stitch around (6 decreases).
- Leave a long tail for sewing.

3. Face Details
- Create the nose/muzzle by crocheting a small circle:
- R1: Start with 6sc in a loop.
- R2: Inc in each st (12 sc).
- Use black thread to embroider details for the nose and mouth on this circle.
- Sew the muzzle onto the bear head, centered near the bottom.
- Add safety eyes or embroider eyes above the muzzle.
- Sew the ears securely to the top of the bear head.
Finishing Instructions
- Weave in all yarn ends using the yarn needle.
- Slip your key into the cover to ensure it fits snugly. Adjust as needed.
- Optionally, attach a keyring at the top or sew a small chain loop for easy attachment.
Tips
- Use a stitch marker to track the beginning of each round if needed.
- Experiment with facial details to make your bear unique.
- This pattern can be easily adapted for other animal shapes by modifying the ear and face designs.