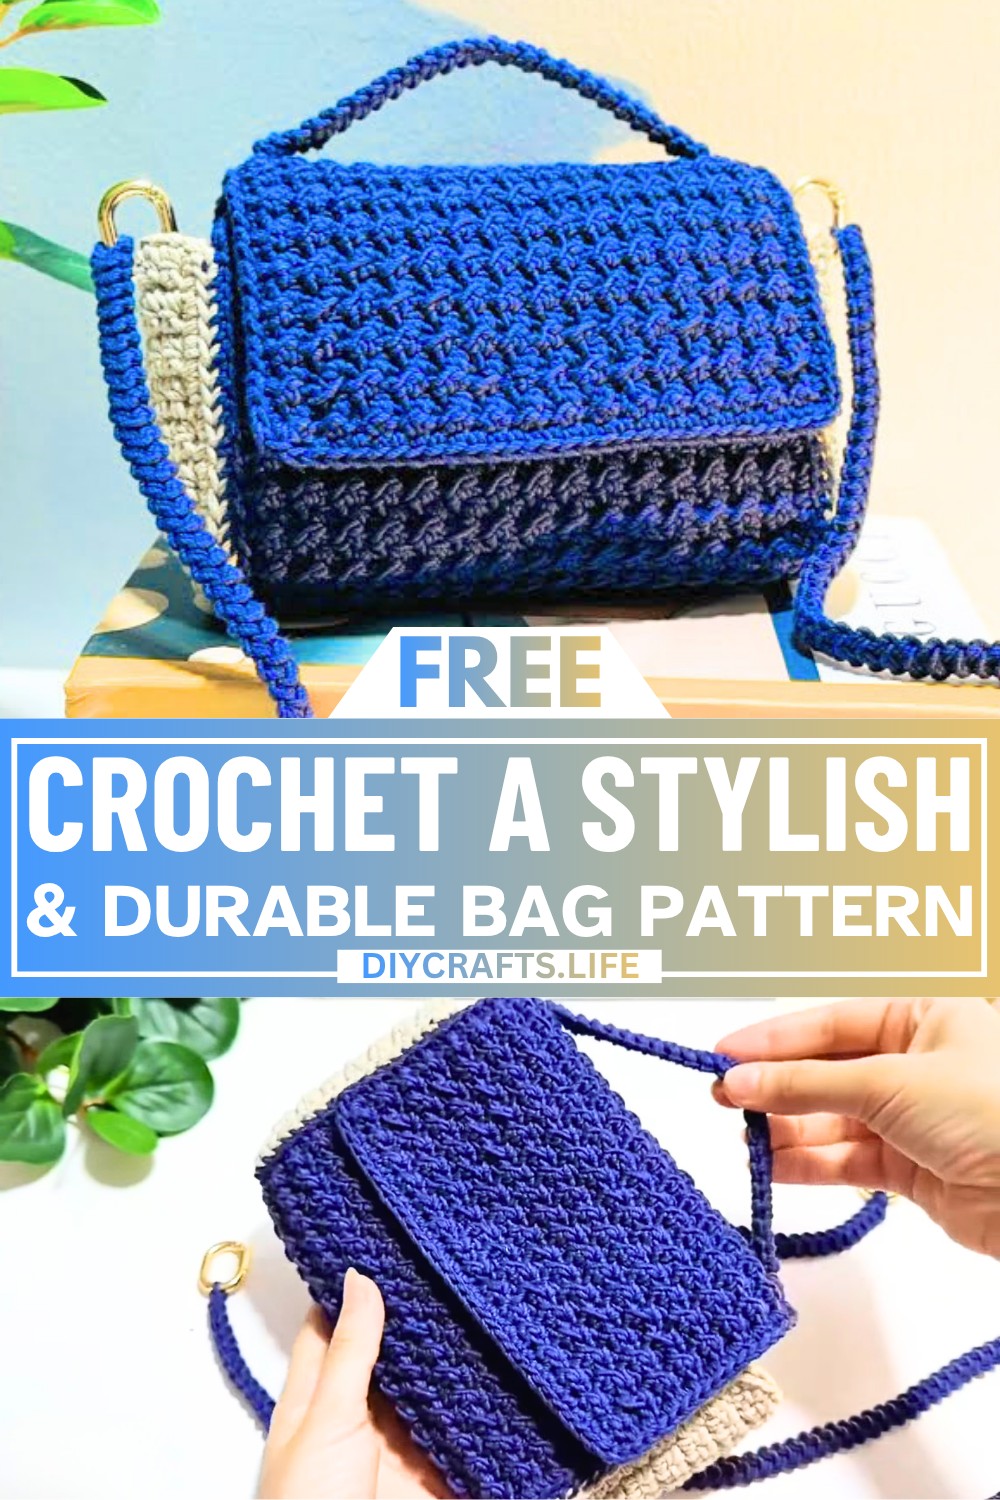
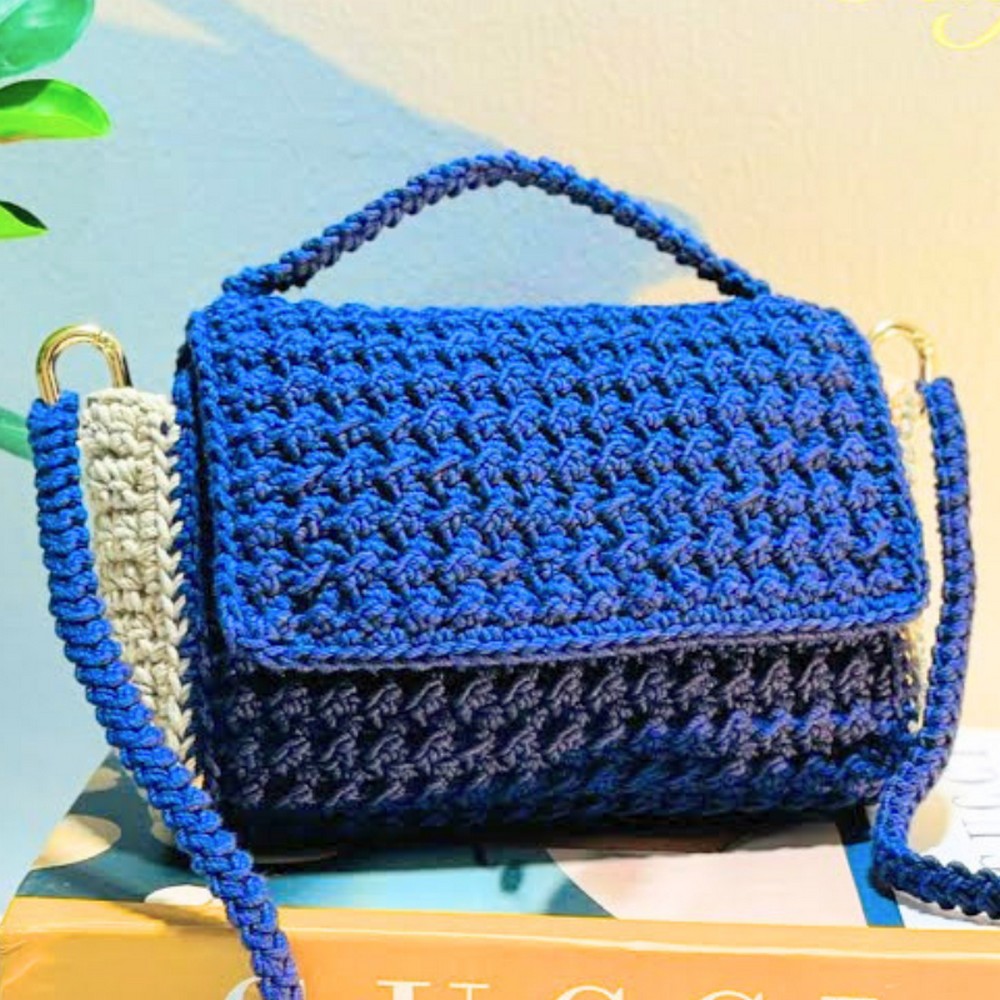
This crochet bag is both fashionable and practical! Whether you're heading out for errands, a picnic, or just need a cute accessory, this bag is perfect for everyday use. Simple yet elegant, it’s designed with a neat texture that’s sturdy enough to hold your essentials while looking great at the same time.
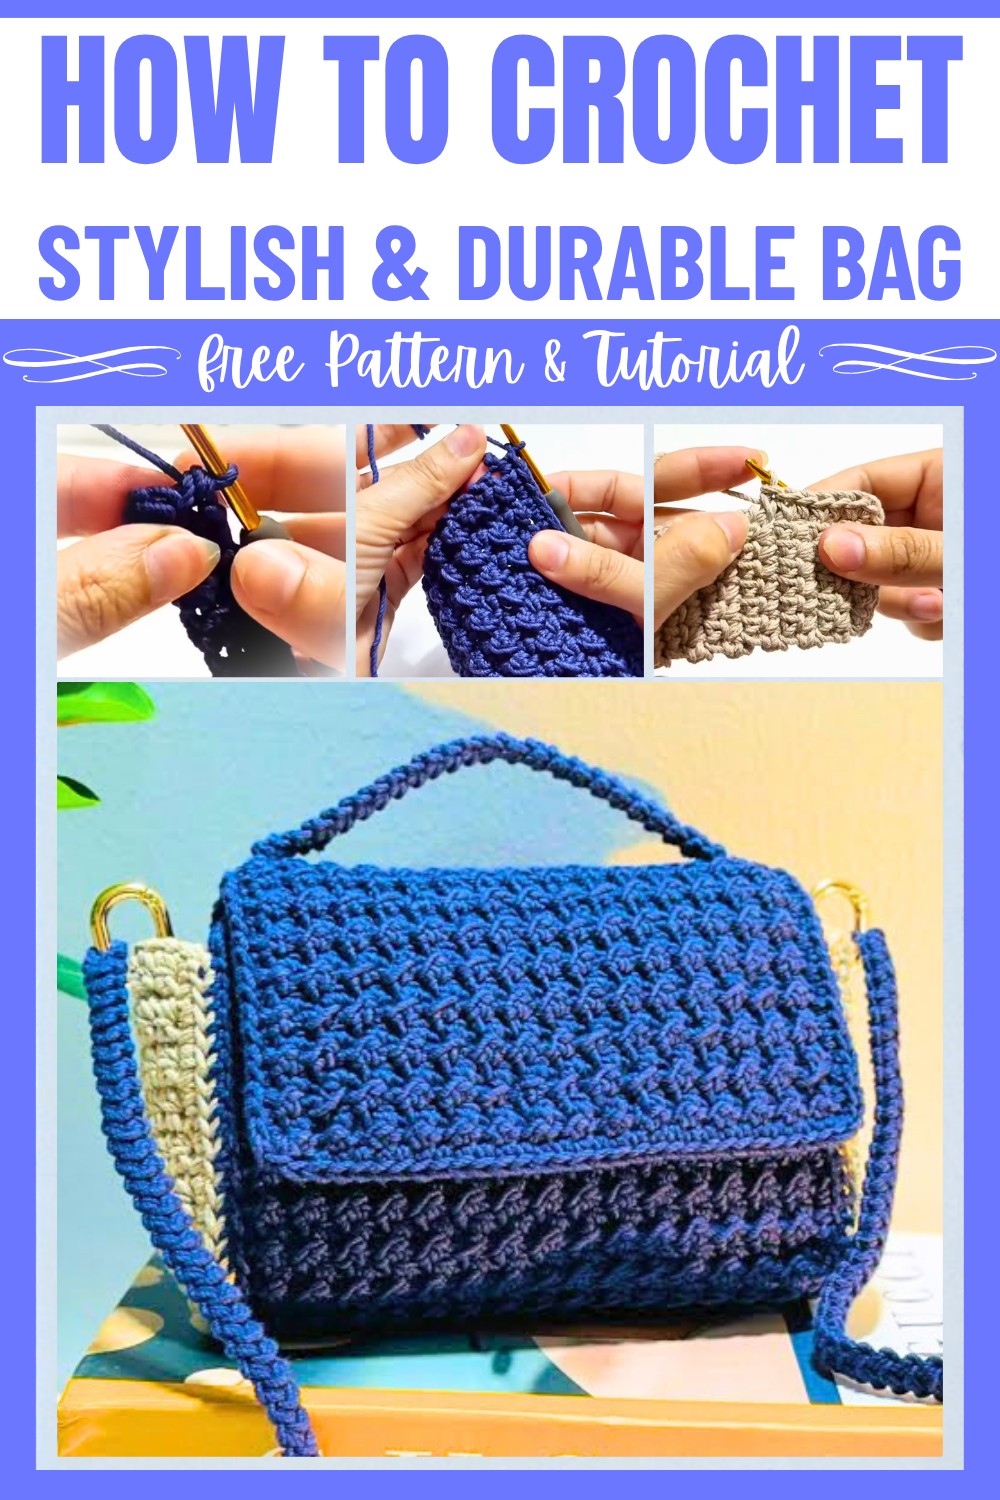
What makes this bag special is its versatility—you can choose any yarn you'd like as long as it matches the size of your hook. The stitching is easy to follow, using a mix of half double crochet and slip stitches to create a beautiful pattern. Beginners can jump in with confidence, and experienced crocheters will find it a relaxing and rewarding way to make something functional. You’ll also learn to add lovely finishing details, such as handles, for the final polished look!
Credit Tayla Handmade Crochet
Materials & Tools Needed
- Macrame Thread: Approximately 250 grams (2mm thickness was used in the tutorial; you can adjust based on availability, ensuring a similar size).
- Crochet Hook: 3.5mm hook.
- Scissors
- Tapestry Needle (for weaving in ends and assembling).
- Magnetic Closure: For securing the bag.
- Optional Handles: Pair of bag handles or you can crochet them as shown.
Finished Size
- Bag Body Dimensions:
Length: ~40 cm (after completing 70 rows)
Width: ~15 cm - Sides of the Bag:
Approximately 10 cm in height with dimensions derived from 7 stitches over 15 rows. - Optional Handle/Strap Length:
Approximately 103 cm (if crocheted) or according to desired length if attaching pre-made handles.
Customization Ideas
- Color Changes: Change yarn colors every few rows for stripes.
- Length/Width Adjustments: To make a wider or taller bag, adjust the chain foundation length or rows.
- Textured Look: Substitute the slip stitch sections for other stitches (e.g., single crochets) for variation.
Pattern Abbreviations & Terminology
- ch: Chain
- sl st: Slip Stitch
- hdc: Half Double Crochet
- sc: Single Crochet
- rep: Repeat
- st(s): Stitch(es)
US Terminology is used.
Step-by-Step Crochet Instructions
Bag Body
- Foundation Row:
- Chain 30 (or adjust if you want to customize the width).
- This should measure ~15 cm.
- Row 1:
- Chain 1 (does not count as a stitch).
- Starting in the first chain, alternate 1 half double crochet (hdc), followed by 1 slip stitch (sl st) across the row.
- Important: Start and end with a half double crochet.
- Row 2:
- Turn your work. Chain 1.
- Hdc into the first stitch. Then, sl st into the next stitch. Repeat the pattern (hdc, sl st) across the row.
- End with a slip stitch.
- Rows 3-70:
- Repeat the same instruction as Row 2 for a total of 70 rows, or until your piece measures ~40 cm.
- Be consistent with always starting the row with an hdc and ending with a sl st.
- Add Edging:
- To give the bag edges structure, work a round of single crochet along the perimeter of the rectangular piece:
- In each corner, work 1 single crochet (sc) + chain 1 + 1 single crochet (sc) to create the corners.
- When you return to the starting point, finish with a slip stitch to join and fasten off.
- To give the bag edges structure, work a round of single crochet along the perimeter of the rectangular piece:

Bag Sides
(Two pieces required for the left and right sides)
- Chain 7 (this should measure about 3.50 cm).
- Work the following rows:
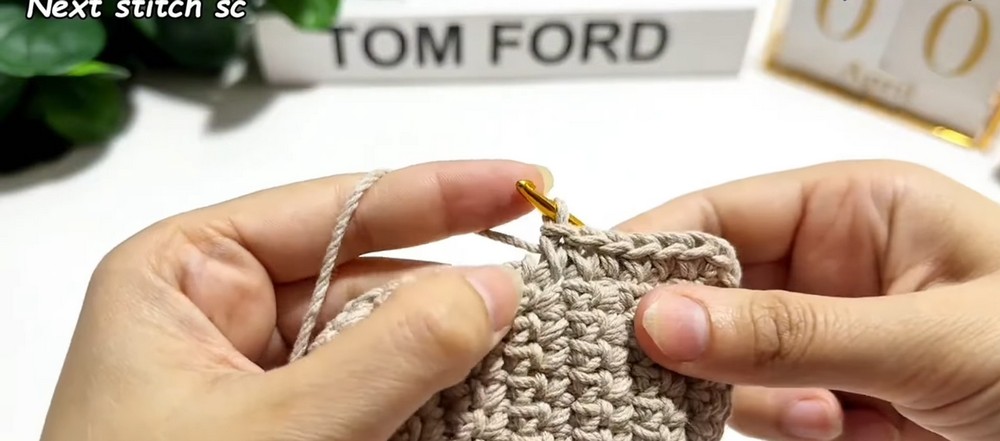
- Row 1: Chain 1. Work 1 single crochet (sc) in each of the 7 stitches. Turn.
- Row 2: Chain 1. Work 1 sc in each stitch. Turn.
- Repeat for a total of 15 rows (this creates a piece approximately 10 cm high).
- Add Edging for Structure:
- Work a single crochet (sc) edging around the rectangular side panels.
- At each corner, work 1 sc + chain 1 + 1 sc.
- Join and fasten off.
Repeat the above instructions to create the second side panel.
Assembly of the Bag
- Position the Side Panels:
- Place the two side panels on the sides of the main body and make sure the edges align.
- Attach Panels:
- Use slip stitches or single crochet to systematically attach the side panels to the front and back of the bag body.
- Be sure to align stitches evenly to avoid puckering.
- Finishing Touches:
- Weave in any loose ends.
- Secure a magnetic closure to the inner upper center for a clean closure.
Optional Handle/Strap
- Crochet a Strap (Optional):
- Chain 103 to create a long strap that measures ~16.5 cm wide.
- Slip stitch back across the chain to thicken the strap. Fasten off and attach securely to the bag or rings.
- Attach Pre-Made Handles:
- If preferred, add store-bought handles with rings or stitches.

Finishing the Bag
- Ensure all ends are woven in neatly.
- Secure the magnetic closure to make the bag functional.
- Add embellishments or decorations as desired (e.g., tassels, beads).