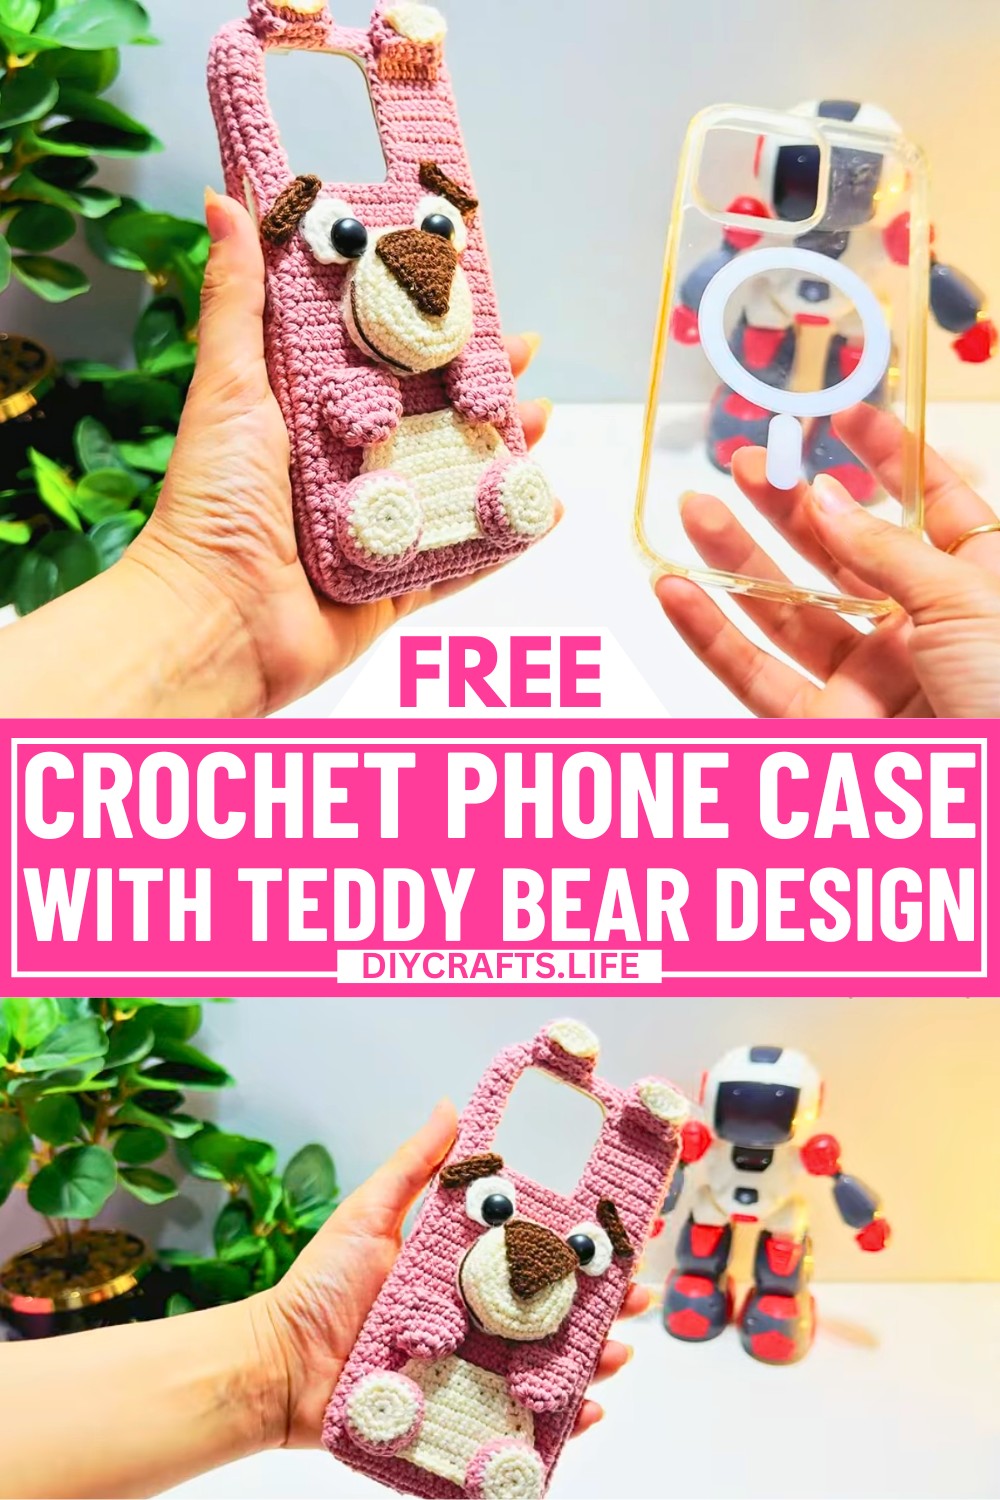
Looking for a fun way to keep your phone safe while adding a personal touch? This crochet phone case is the perfect blend of style and practicality. With its adorable teddy bear embellishments, this case does more than just protect your phone—it becomes a charming accessory. It’s lightweight, easy to carry, and makes keeping your phone safe feel extra special.
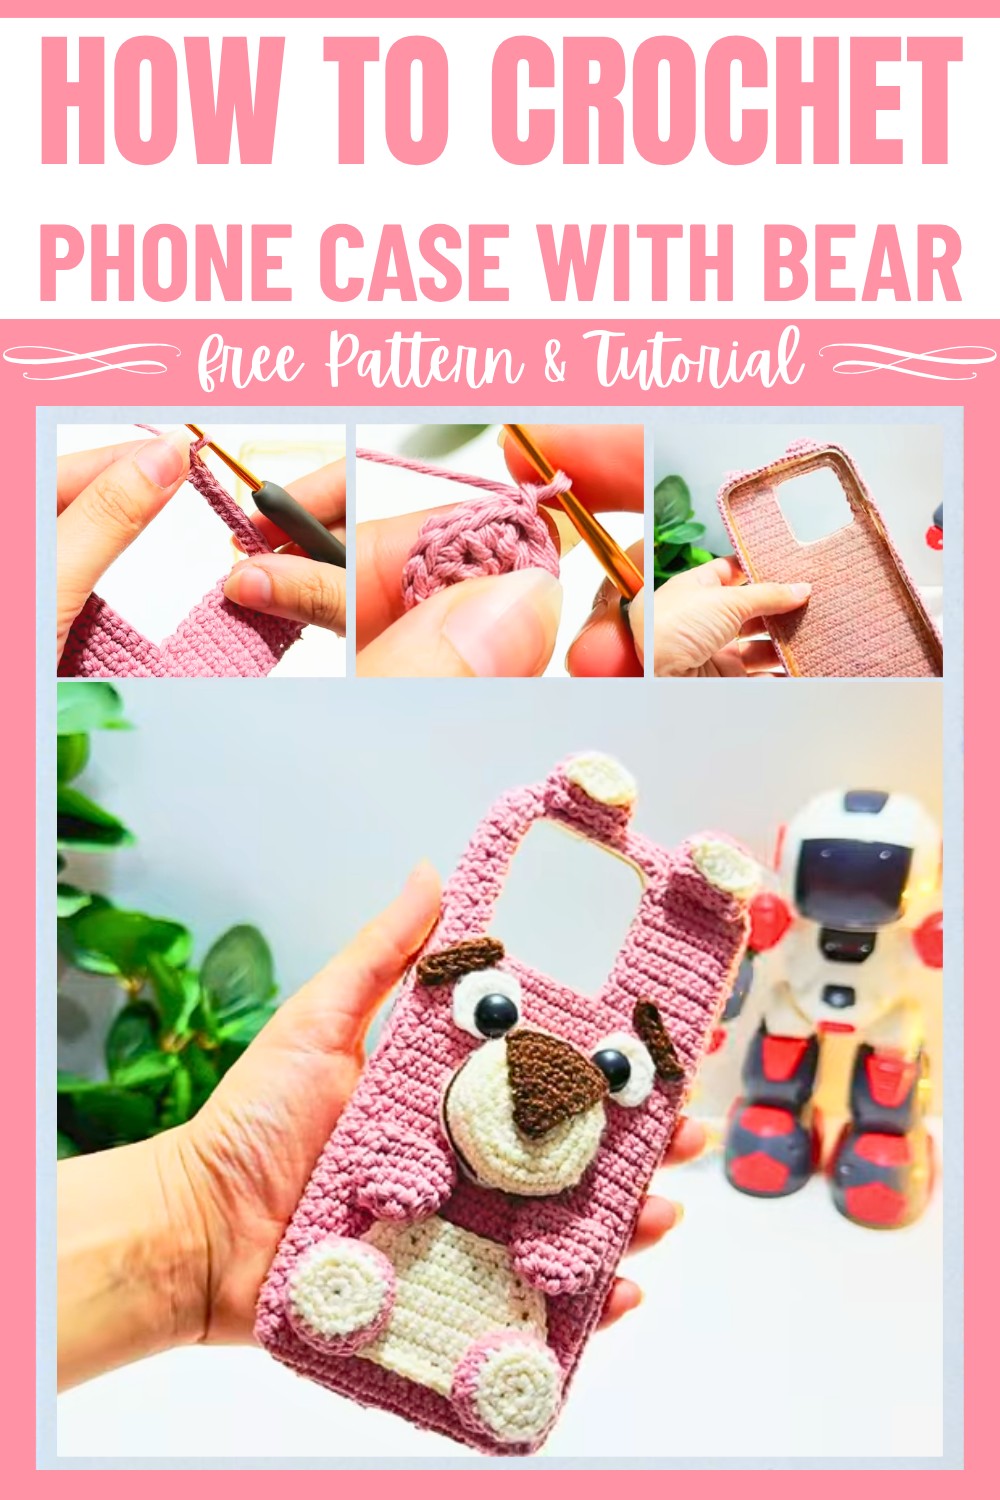
The making process is simple and beginner-friendly, using soft cotton yarn and a 3mm crochet hook. What makes this phone case pattern stand out is the creative bear design, including its ears, face, and sweet little details like eyes, a nose, and even a smile. Each piece is added with care, transforming the mobile case into a mini work of art. Whether you're sticking or sewing the teddy bear onto the case, the end result is delightful and functional.
Perfect for everyday use, gifting, or even decorating your workspace, this pattern combines creativity and usability in one neat package. Try it out and turn your phone into a cute companion!
Credit Tayla Handmade Crochet
Materials & Tools Needed
- Yarn: Cotton yarn (choose your favorite color or combination of colors).
- Hook: 3mm crochet hook.
- Button(s): Small, appropriate-sized buttons for securing the case.
- Scissors: For trimming yarn.
- Stitch Markers: Optional, for marking specific stitches.
- Glue (optional): For sticking embellishments.
- Fiber Fill (optional): For lightly stuffing the embellishments if desired.
Finished Size & Customization Ideas
Size:
- Final size is based on the phone measurements. The tutorial uses 21 chains as the starting chain for a standard phone size. Adjust the number of chains based on your phone’s width.
Customization Ideas:
- Embellishments:
- Add decorative appliques such as a teddy bear, flowers, or stars.
- Customize the bear’s facial features using different yarn colors.
- Color Changes:
- Incorporate stripes or color blocks by switching yarn colors at specific rows.
- Button Placement:
- Adjust button placement based on personal preference and phone width.
- Personalized Size:
- Alter the base chain and total row count for other phone sizes or larger objects.

Pattern Abbreviations & Terminology
- SC: Single Crochet
- CH: Chain
- ST: Stitch
- INC: Increase (2 single crochets in the same stitch)
- DEC: Decrease (combine two stitches into one)
- SL ST: Slip Stitch
- Magic Circle: Loop used to create a tightly closed ring of stitches.
- Fasten Off: Cut yarn and pull through the final loop to secure.
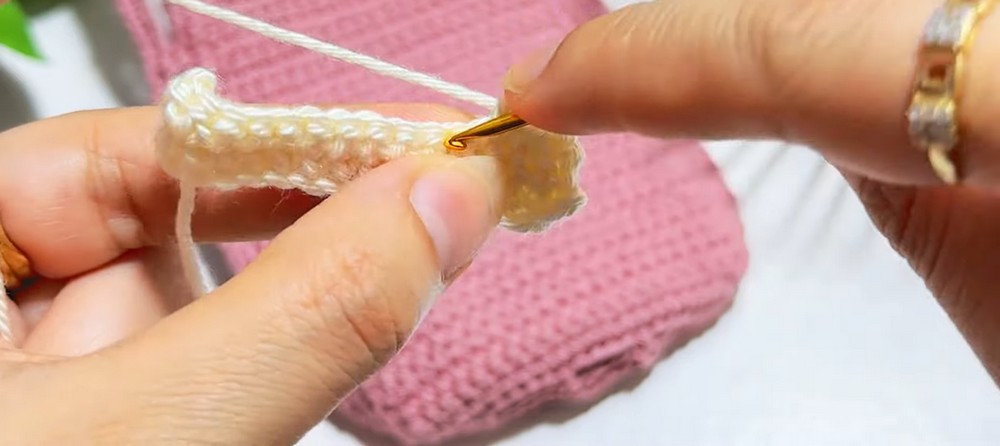
Step-by-Step Detailed Crochet Instructions
Follow this pattern exactly as presented in the provided tutorial.
Step 1: Crochet the Phone Case Base
- Start with a slip knot and chain 21 stitches (adjust if necessary for your phone’s width).
- Row 1: Chain 1 (turning chain), then single crochet (SC) across the entire chain (21 stitches).
- Row 2 onward: Chain 1, continue to make 21 SCs in each row.
- Repeat row-by-row until the phone case length reaches just below the camera area of your phone.
- Tip: Regularly measure your progress against your phone to ensure the fit.
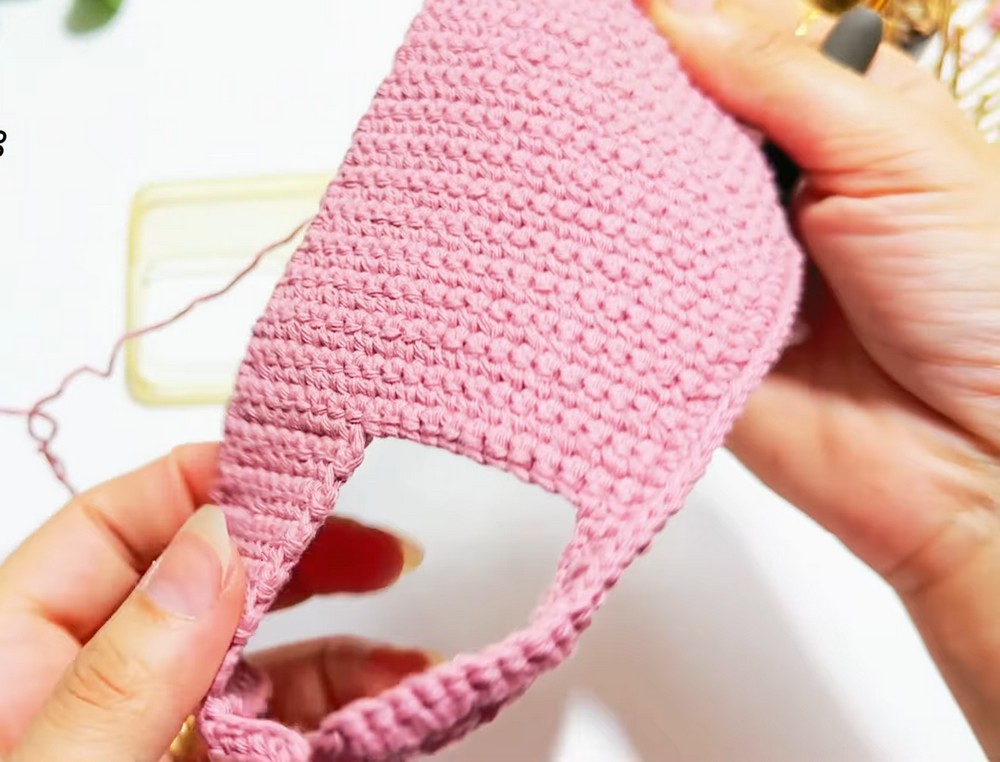
Step 2: Work the Side Panels
- Locate the camera opening position on your phone.
- Side Panel 1:
- Chain 1, make 9 SC stitches along one side.
- Continue for 12 rows (one SC per stitch, chain 1 at the start of each row).
- Side Panel 2:
- Repeat instructions for the second side to ensure both panels are equal (chain 12 rows of 9 SC stitches).
- Joining Panels:
- Count stitches to ensure balance and attach with slip stitches if necessary.
- Chain 10 stitches between the two panels to connect them across the sides.
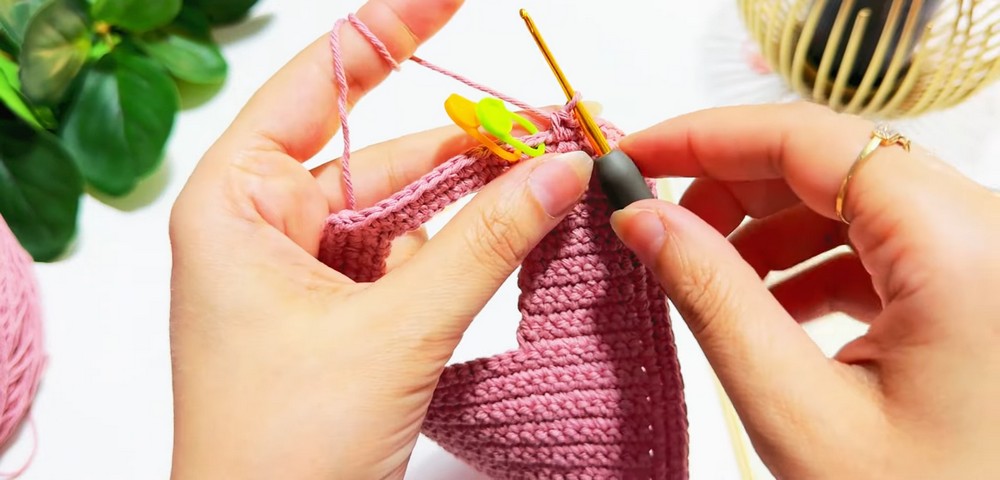
Step 3: Add a Border Around the Case
- Work single crochets around the edges of the case.
- At each corner, make:
- 1 SC, chain 1, then another SC in the same stitch.
- Once you’ve completed a full round, slip stitch to join and secure the edge.
Step 4: Placement for Buttonholes
- Measure and mark the positions for button slots using stitch markers:
- Skip 7 stitches, mark the 8th.
- Skip 5 stitches, mark the 6th.
- Continue marking button positions similarly based on the tutorial guidance.
- For each marked spot:
- Create spaces by chaining (e.g., CH 7, then skip to the 8th stitch and SC).
Step 5: Embellishments
Teddy Bear Head
- Start with a magic circle and make 6 SC inside the ring.
- Row 2: Increase each stitch (INC), creating 12 stitches.
- Rows 3-4: Make 12 SC in each row (no increases).
- Slip stitch, fasten off, and leave a long tail for sewing, or simply glue.
Teddy Bear Ears (Make 2)
- Start with a magic circle and make 6 SC.
- Row 2: Increase each stitch (INC), ending with 12 stitches.
- Row 3: Make 1 SC, INC repeatedly to end with 18 stitches.
- Row 4: Work 18 SC evenly.
- Change colors professionally if necessary.
Other Features for Bear:
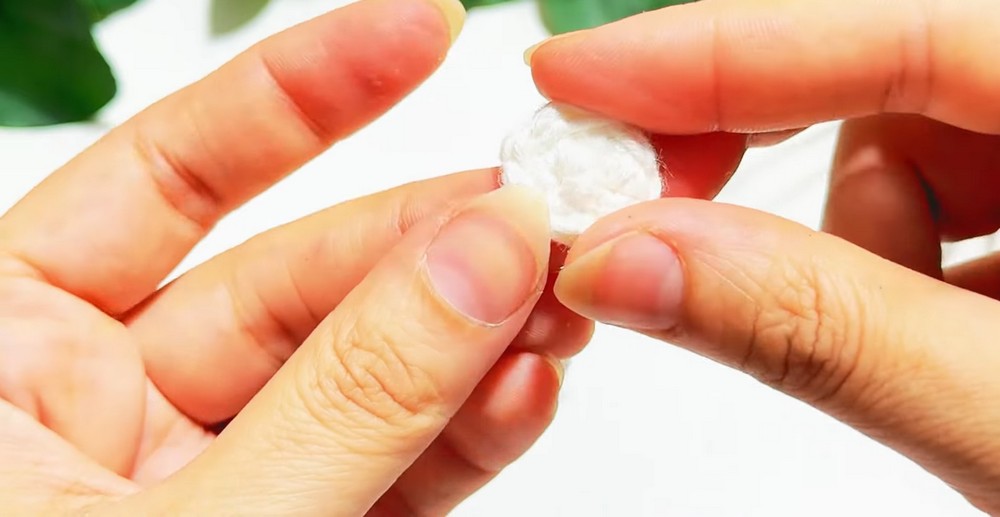
- Eyes: Magic circle, 6 SC. Slip stitch after 4 SC, fasten off.
- Eyebrows: Chain 6, make SC in each chain.
- Mouth:
- Follow a sequence to work up to 30 stitches: start with 6 SC in row 1, increasing gradually.
Bear Belly:
- Chain 15 and SC across.
- Decrease 1 stitch at the beginning of each row until you reach 8 SC.
- Single crochet around the piece, working corners as 1 SC + CH 1 + 1 SC.
Step 6: Attach the Embellishments
- Use either glue or sewing methods to secure the teddy bear's features (eyes, nose, ears, belly) to the front of the phone case.
Step 7: Finishing
- Check for loose threads and weave them in securely.
- Stick or sew the bear design atop the phone case.
- Attach the buttons to their designated holes.
- Optional: Add fiberfill to make the bear shape slightly puffy.