Looking to elevate your hair accessories? The crochet beaded bow hair tie is a charming, functional piece that combines elegance and creativity. Perfect for gifts or personal use, it’s versatile, durable, and stylish enough for any occasion. Let your skills shine with this fun project!
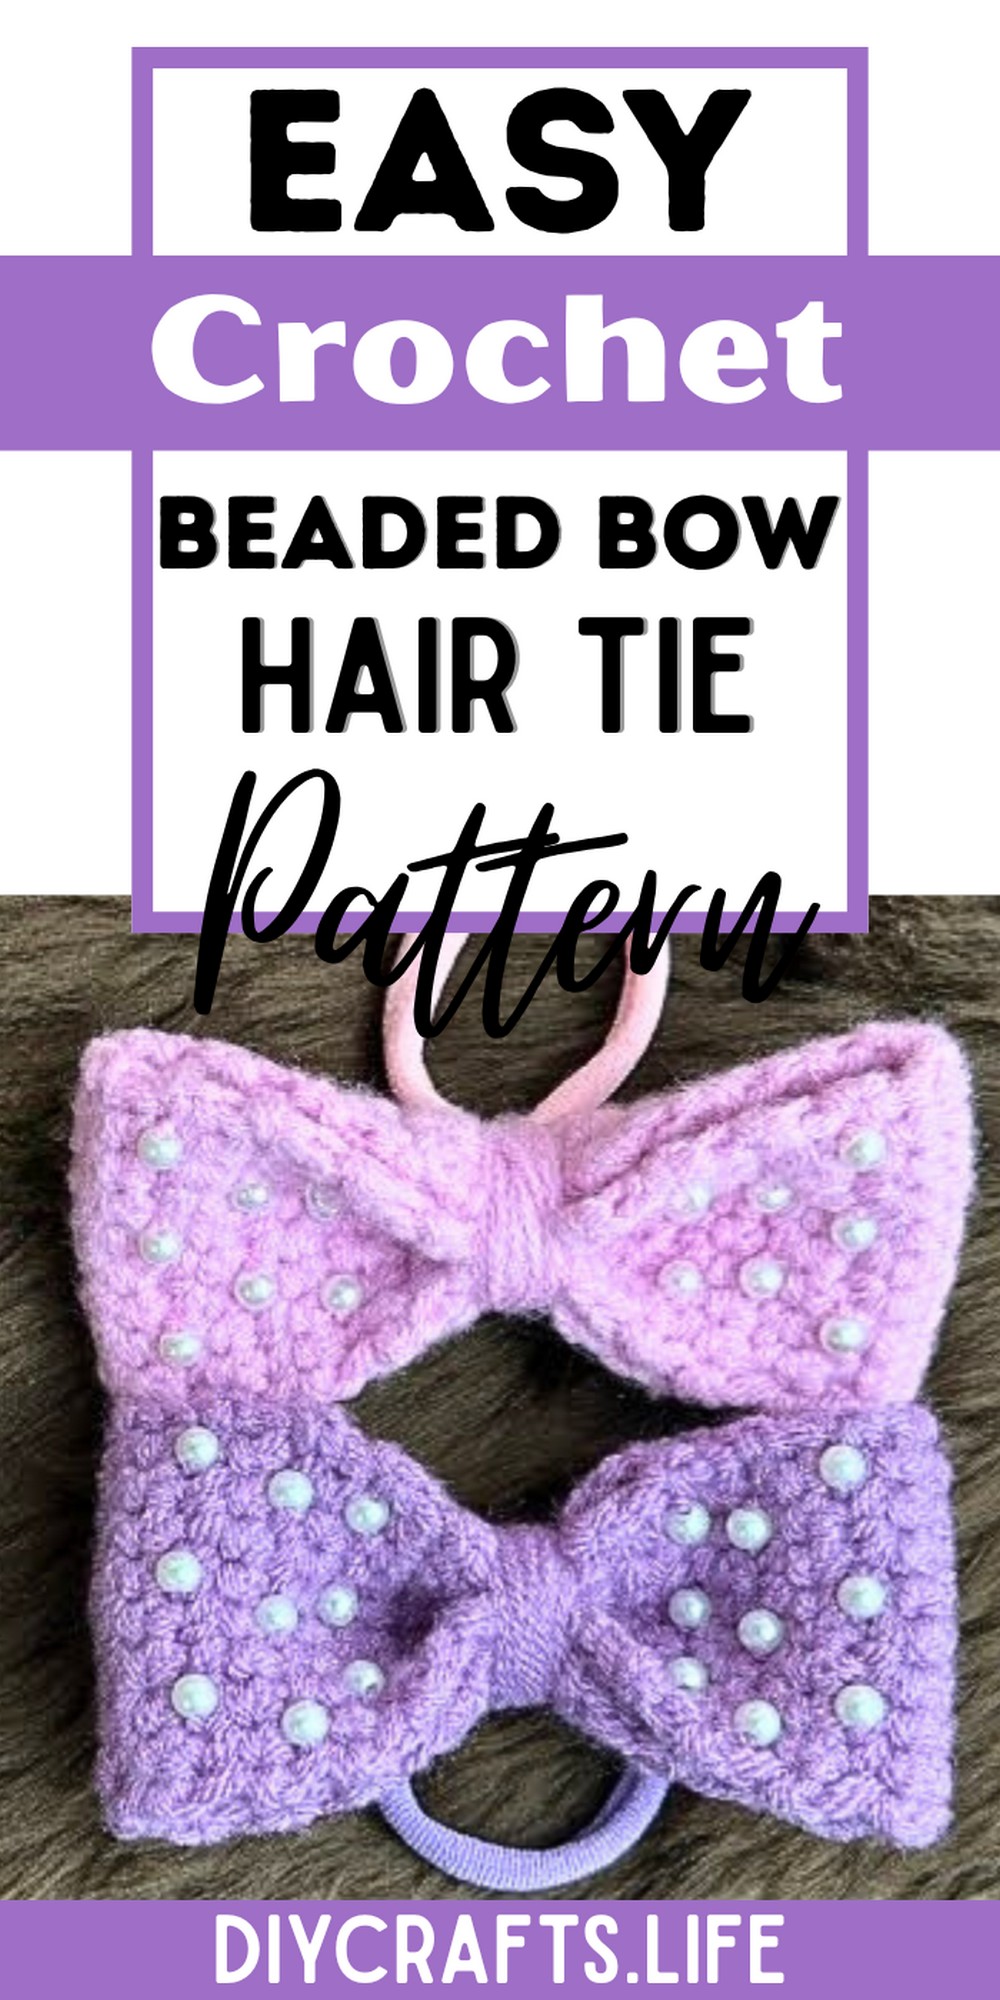
This beaded bow hair tie isn’t just visually appealing—it’s practical, too! Its durable design ensures long-term wear, making it perfect for busy days or formal events. The customizable beads and bow allow you to match any outfit, making it a must-have in your accessory collection.
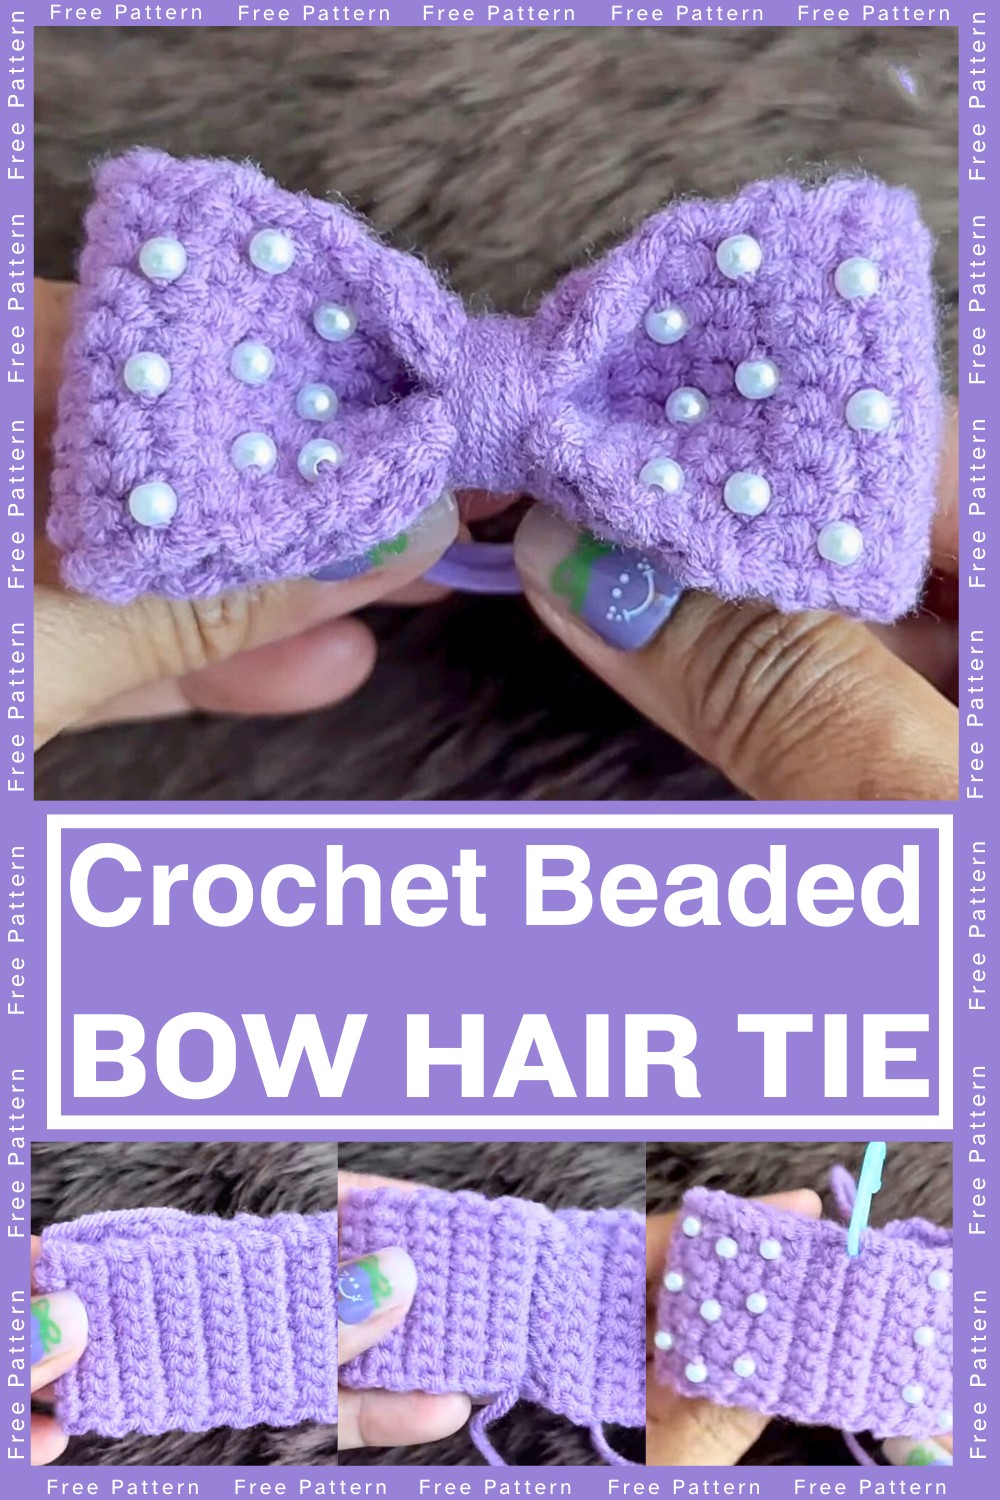
Crochet Beaded Bow Hair Tie Tutorial
Crafting this crochet bow is both exciting and beginner-friendly. With clear steps, you can tailor it to your style, experimenting with beads, colors, and sizes. Its versatility makes it perfect for all skill levels, and the creative possibilities are boundless. Let your imagination lead the way!
Materials and Preparation
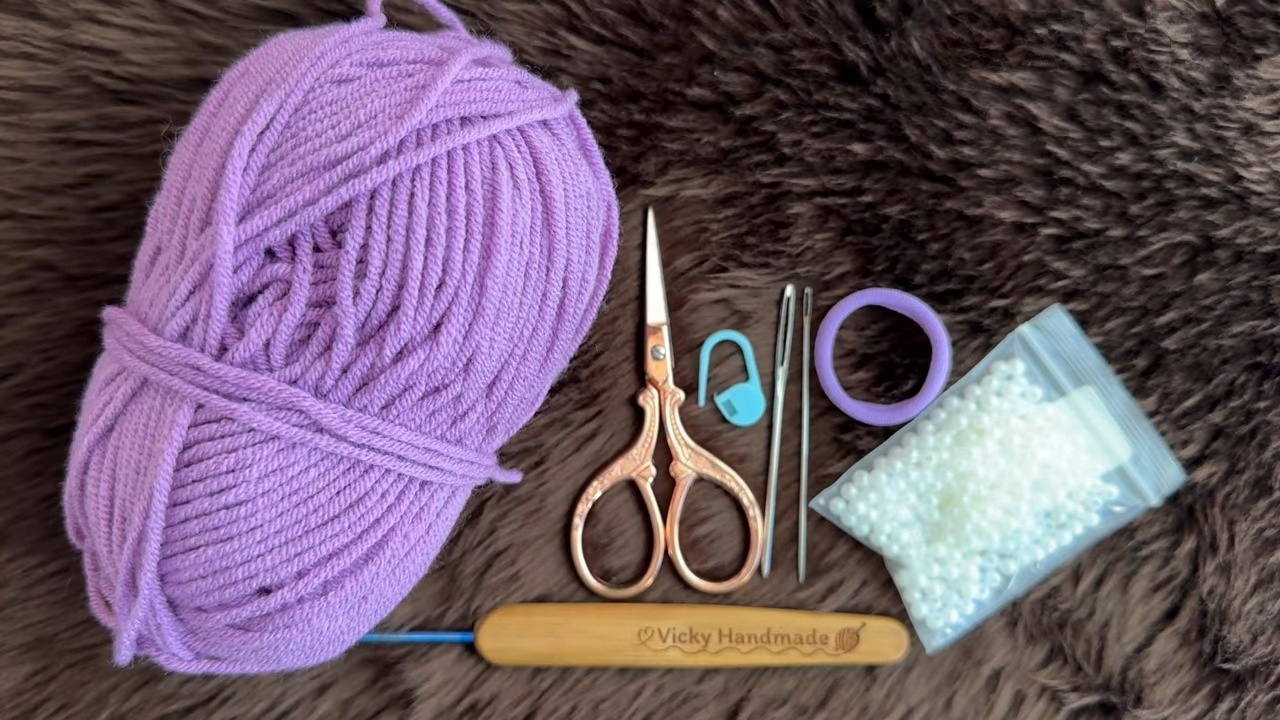
To create the Crochet Beaded Bow Hair Tie, you will need the following materials:
- Yarn: Choose a lightweight or DK weight yarn (Size 3)
- Hook Size: 3.5 mm crochet hook
- Additional Tools:
- Beads suitable for your yarn choice
- A yarn needle for weaving in ends
- Scissors
- Elastic hair tie band
- Other Requirements: Ensure that your beads are large enough to thread onto your yarn.
Abbreviations and Notes
Below are the common crochet abbreviations used in this pattern:
- SC: Single Crochet
- DC: Double Crochet
- CH: Chain
- SL ST: Slip Stitch
Pattern Notes:
- The pattern uses basic crochet stitches, suitable for beginners.
- Make sure your beads are threaded onto the yarn before starting the project.
- Keep tension consistent for a neat finish.
Gauge, Approximate Size, and Pattern Notes
Gauge: Gauge is not crucial for this project, but to ensure the bow is not too large or too small, check your tension as you start.
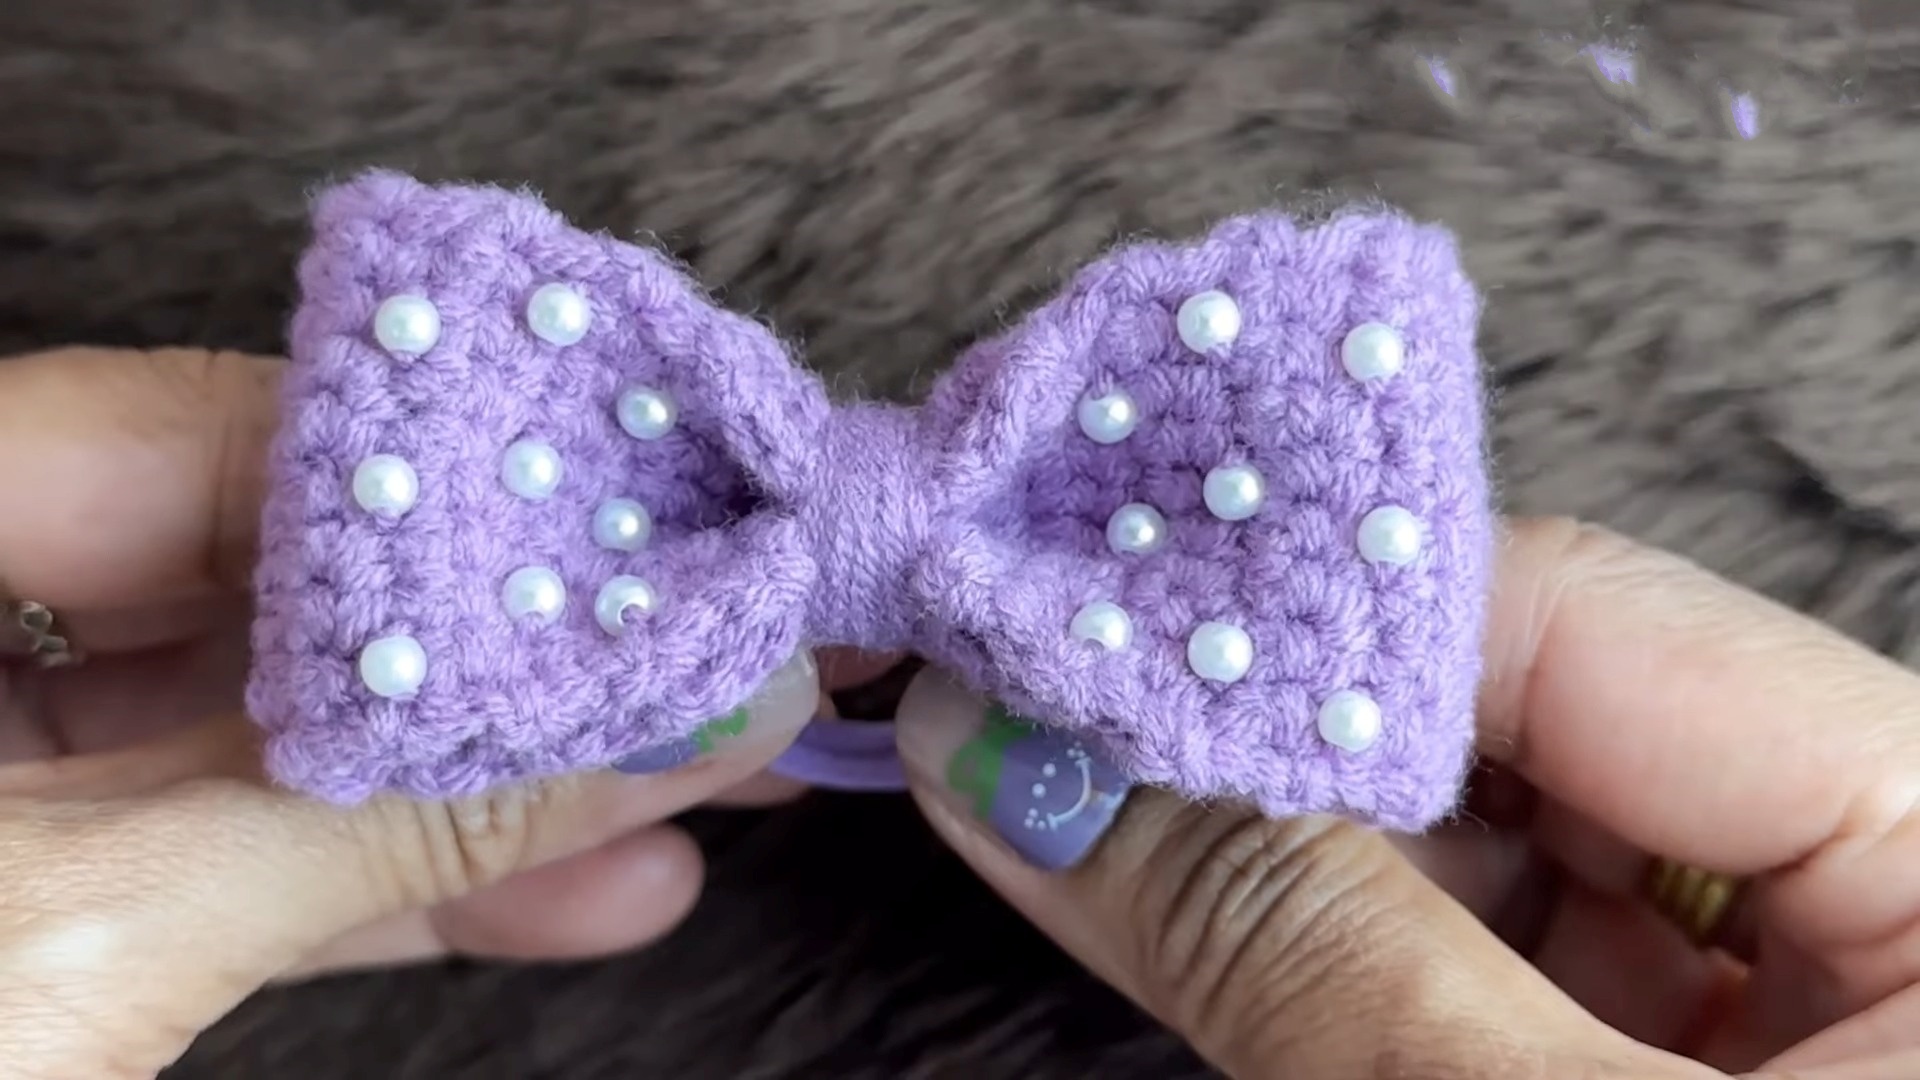
Approximate Size: The finished bow measures approximately 3 inches in width and 1.5 inches in height.
Pattern Notes:
- A gauge swatch is not necessary for this project.
- Special techniques: Threading beads onto yarn before starting.

Step-by-Step Pattern
Follow these steps to crochet the beaded bow hair tie:
Step 1: Preparing Yarn and Beads
- Thread beads onto your yarn before starting. You can decide the number of beads based on your preferences.
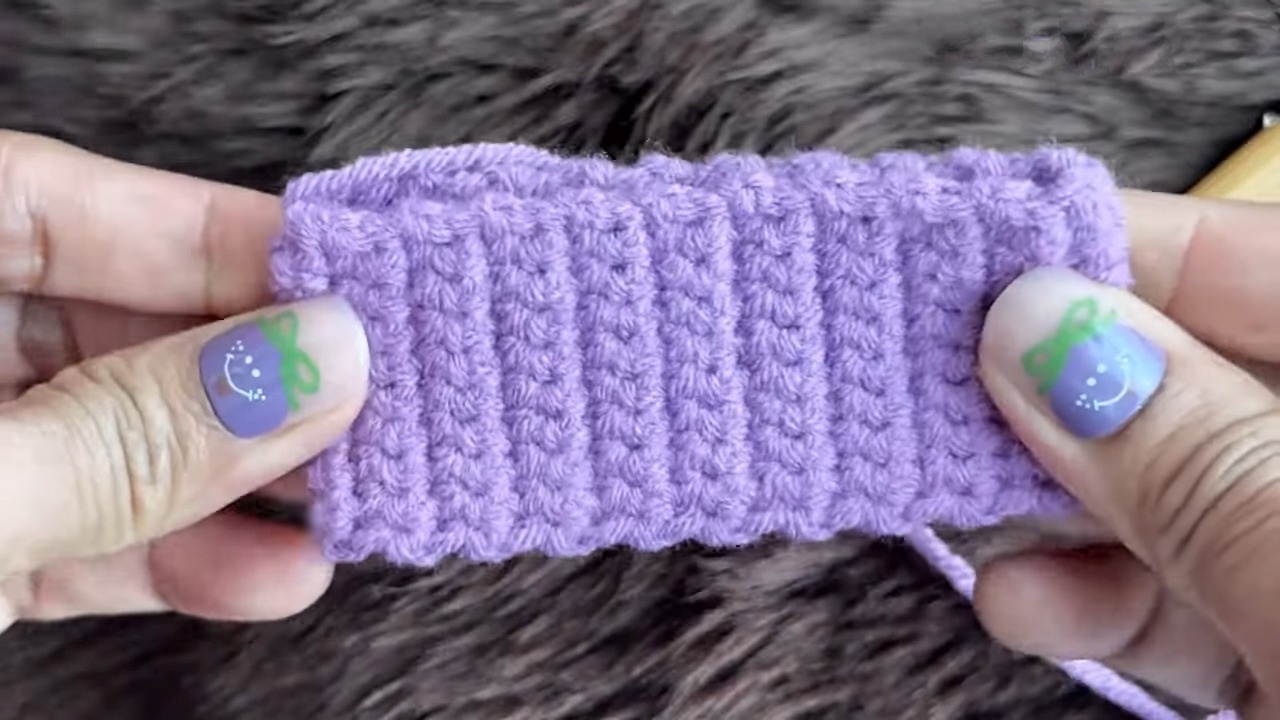
Step 2: Creating the Bow
- Create a slip knot and chain (CH) 4.
- SL ST into the first chain to create a ring.
- CH 1 (counts as 1 SC), work 10 SC into the ring, SL ST into the first SC to close round.
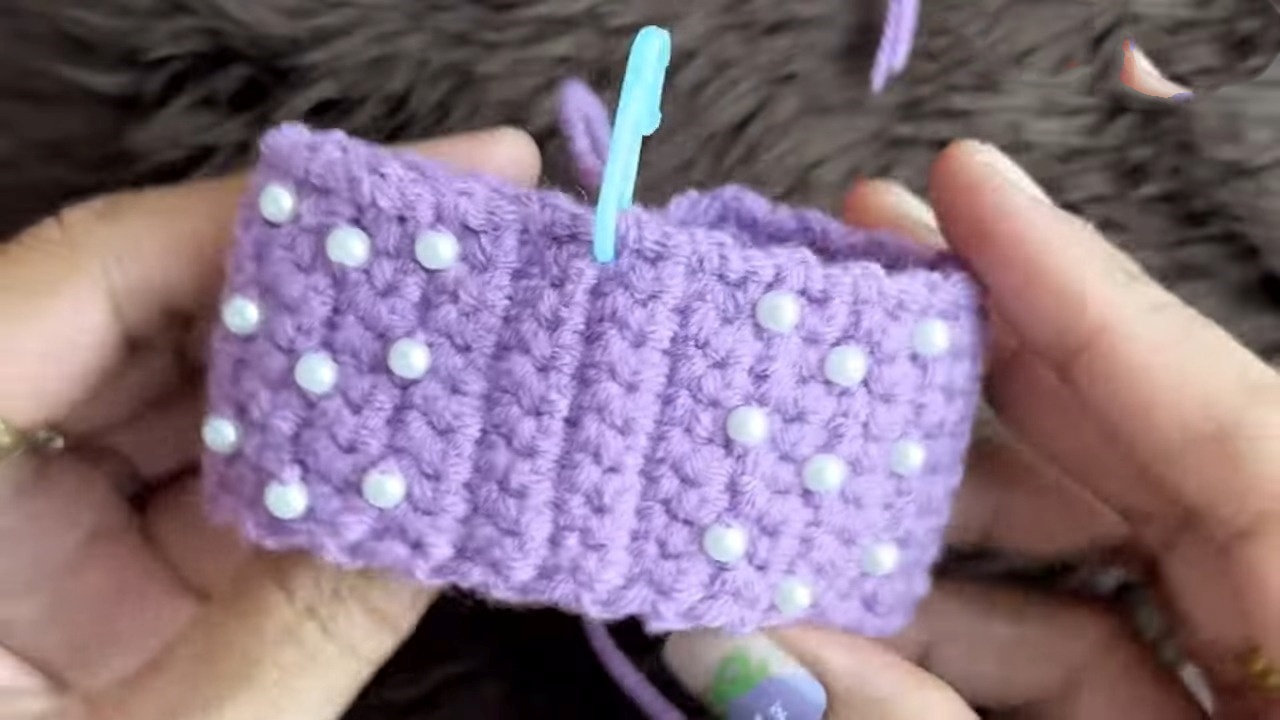
Step 3: Adding Beads
- CH 1, work SC in next stitch and slide a bead close to your hook, repeat this process in every stitch around.
- SL ST to close the round.
Step 4: Bow Sides
- CH 1, work 2 SC in each stitch around, SL ST into the first SC to close round.
- CH 1, work 1 SC in each stitch around, SL ST to close the round.
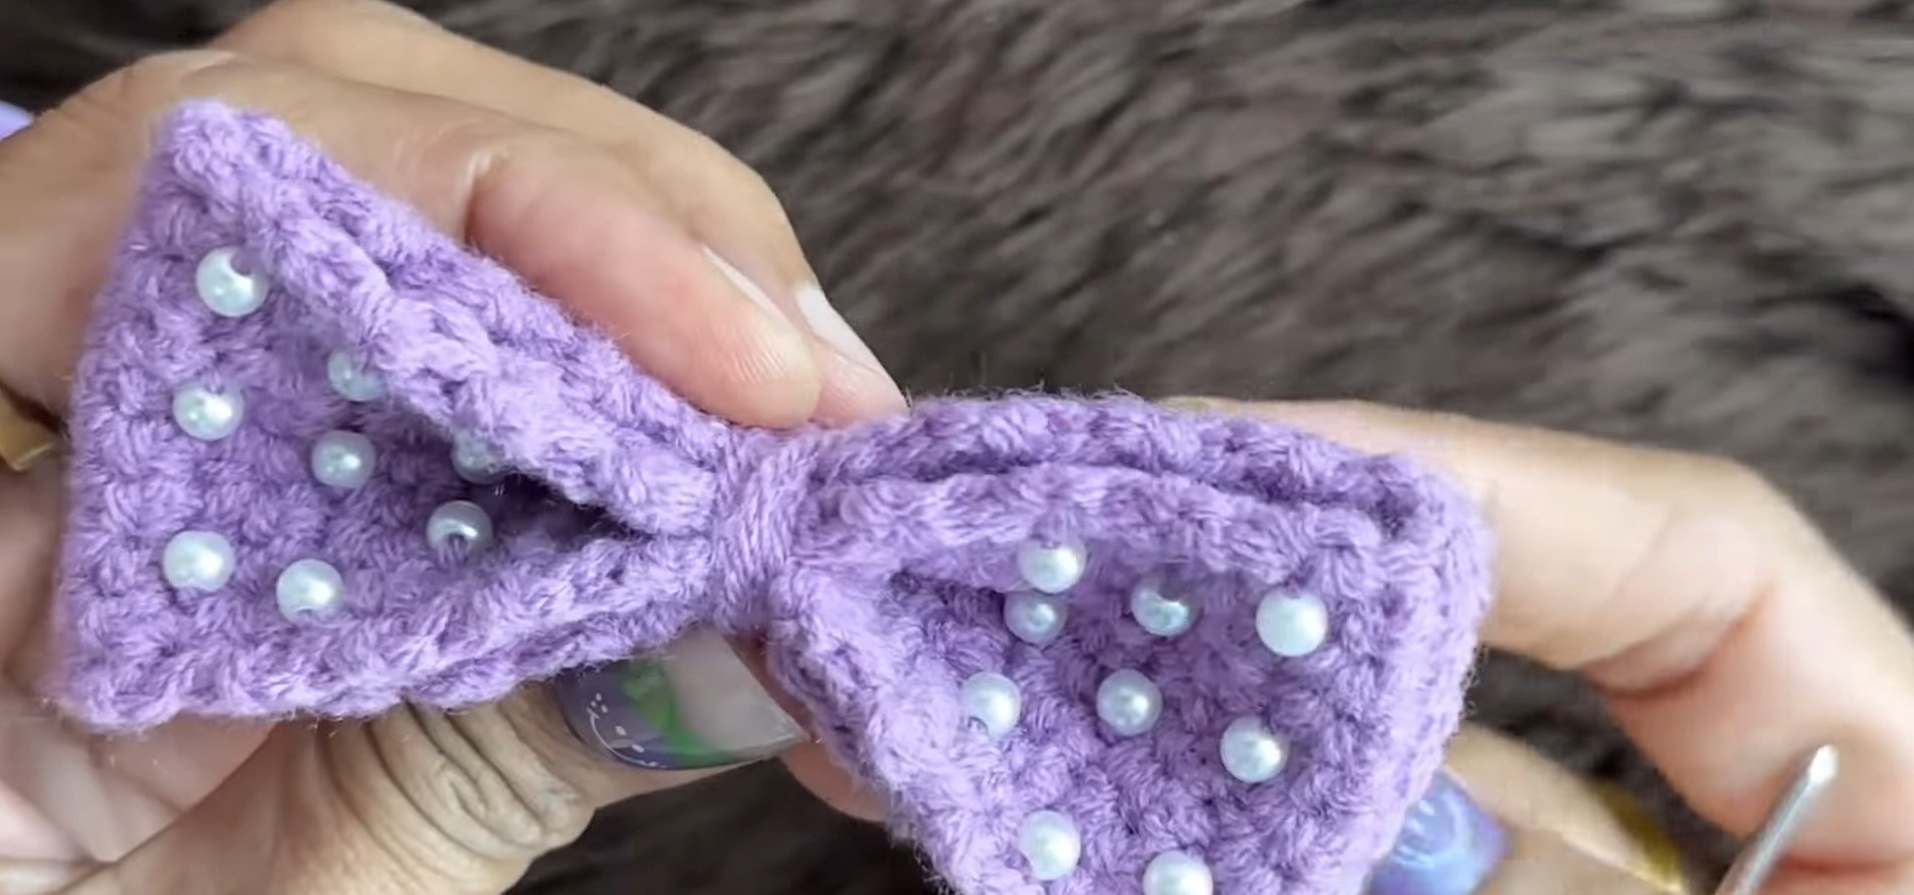
Step 5: Shaping the Bow
- Fold the work to create a bow shape and tie the yarn in the middle to form the bow’s center.
- Wrap yarn around the center multiple times for added structure and secure with a tight knot.
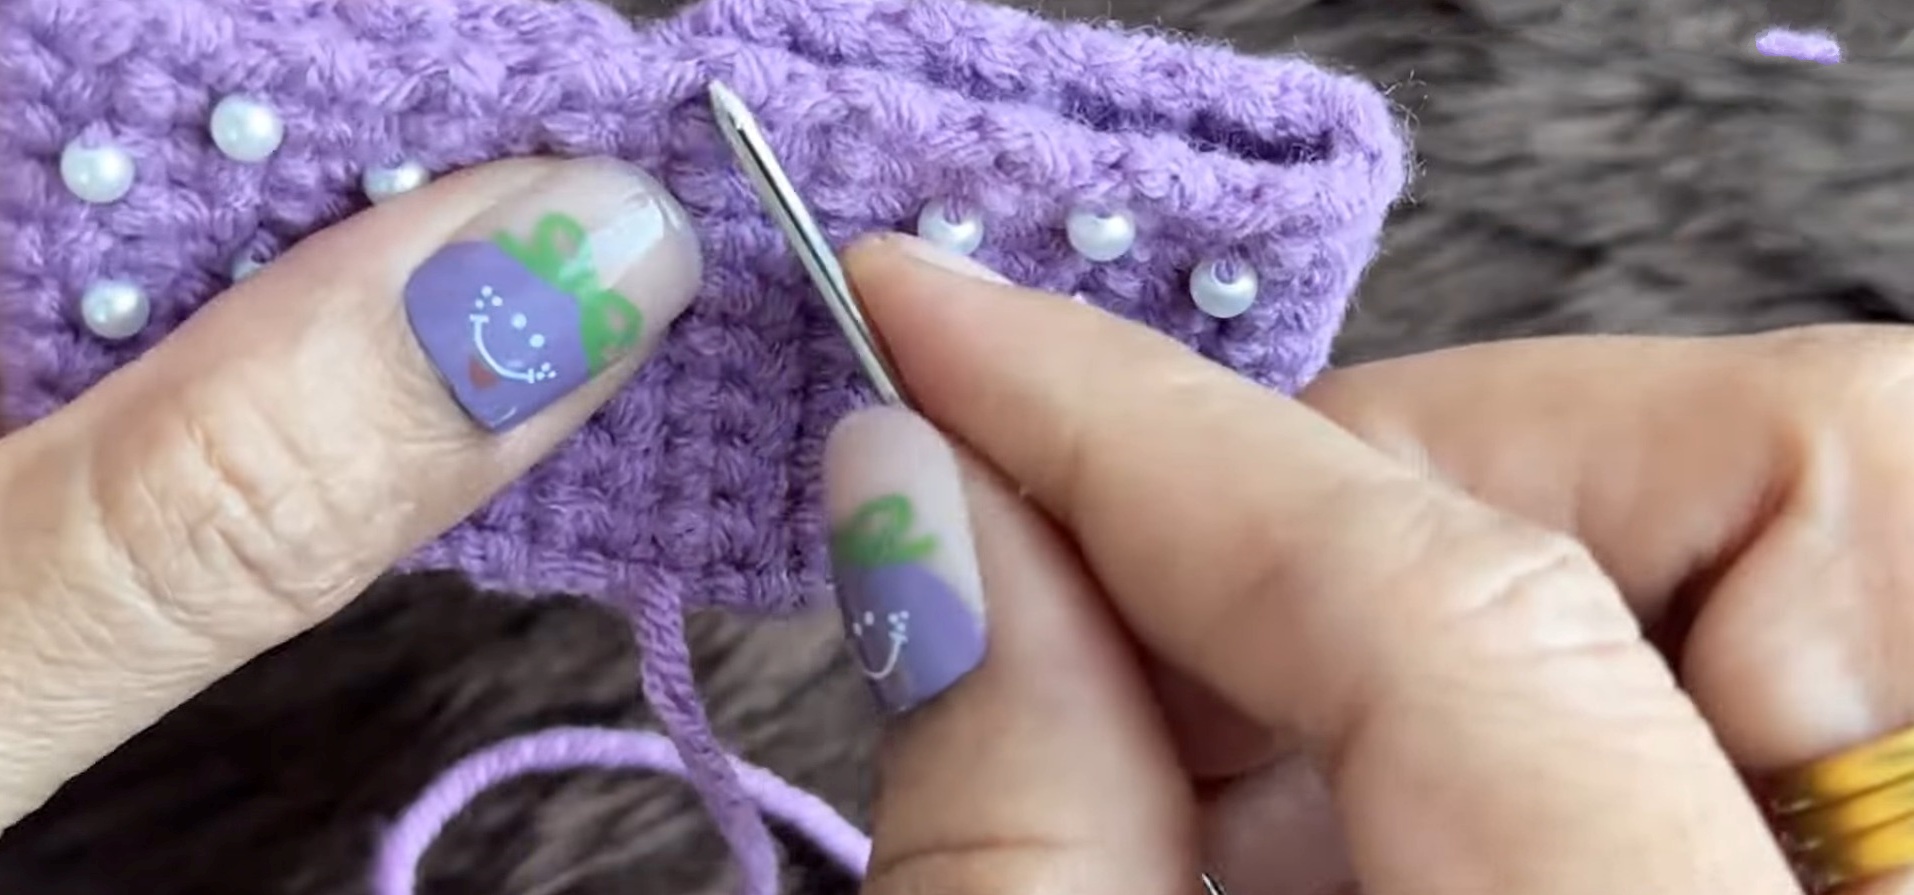
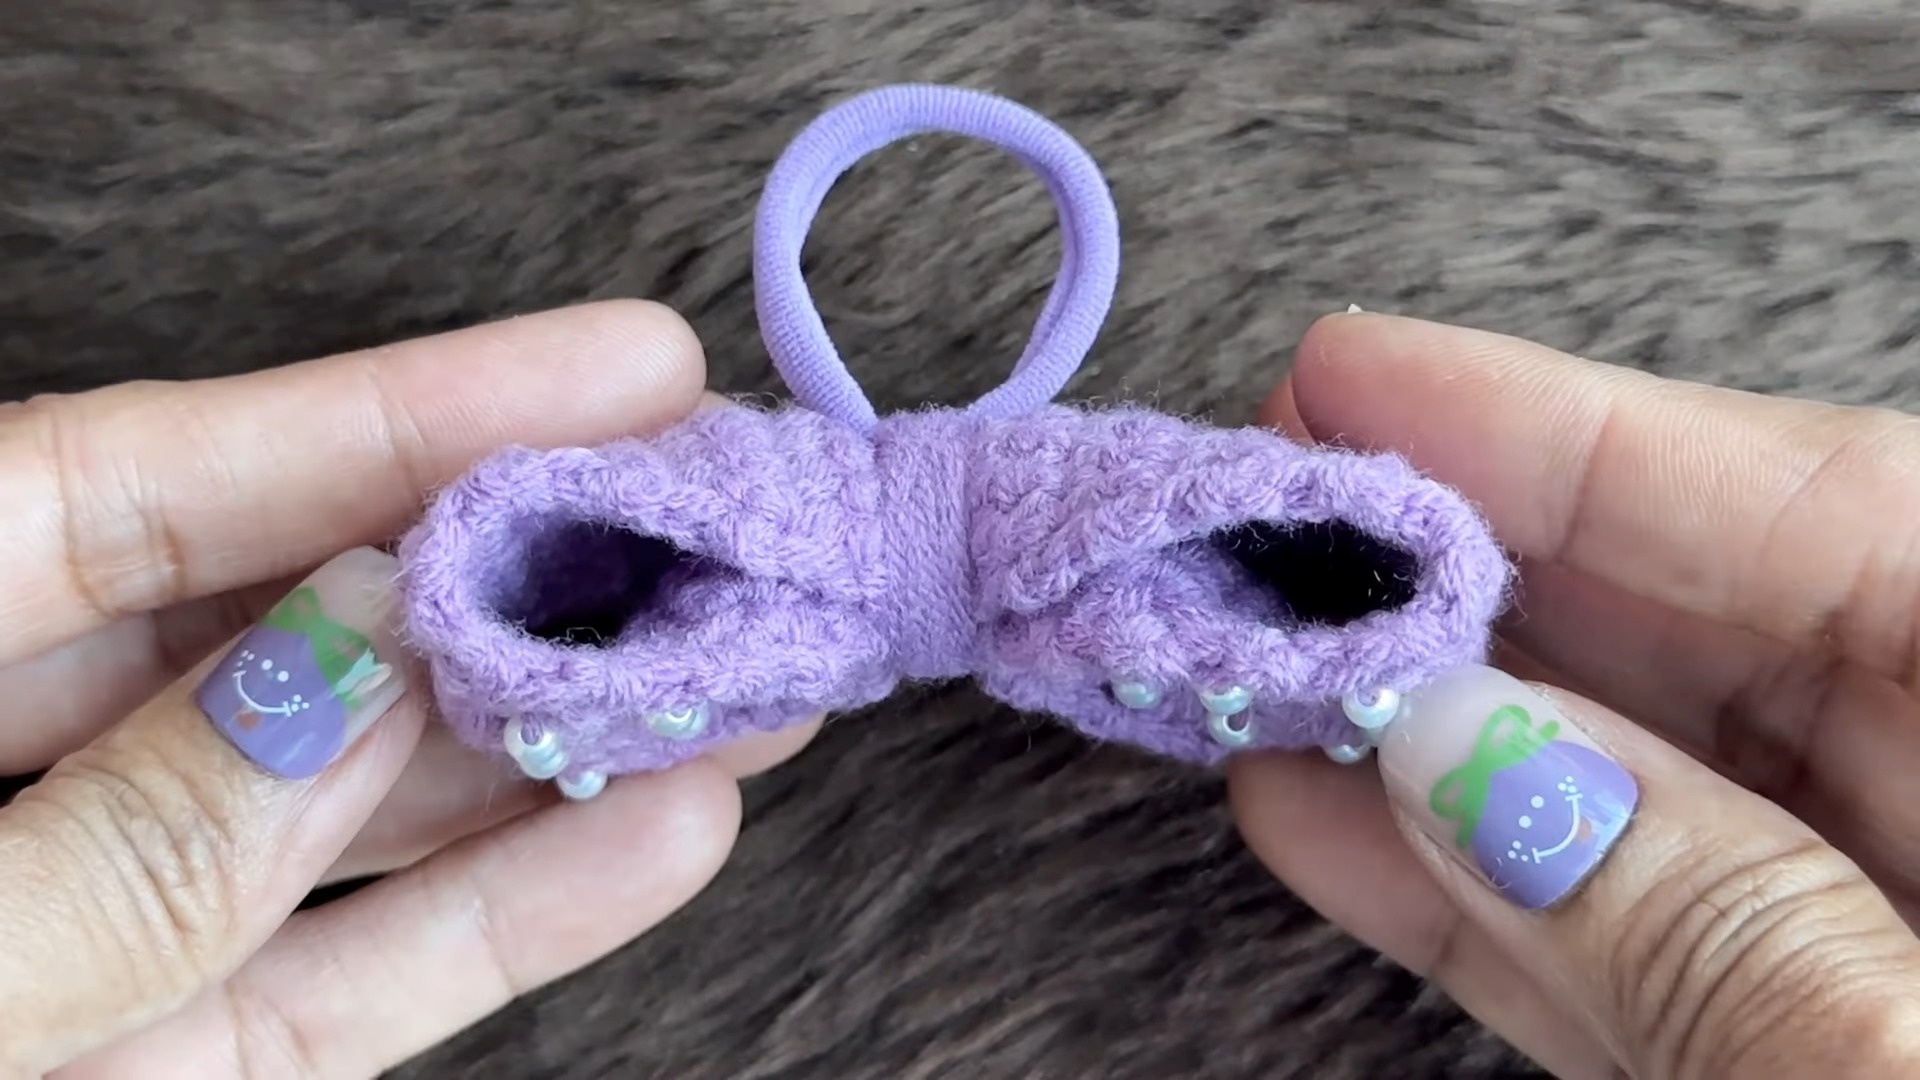
Step 6: Attaching the Hair Tie
- Use a yarn needle to sew the bow onto an elastic hair tie band securely.
Finishing Touches
- Weave in any loose ends with a yarn needle.
Pattern Question
Q: What type of beads work best for this project?
A: Lightweight and smooth beads, such as glass or plastic ones, work best as they won’t weigh down the bow and will maintain its elegant structure.
Conclusion
This stunning beaded bow hair tie is the perfect blend of creativity and functionality. It’s a joy to make, effortlessly stylish, and endlessly adaptable. Whether crafting for yourself or as a thoughtful gift, this project is sure to brighten your day. Give it a try and enjoy the process!


