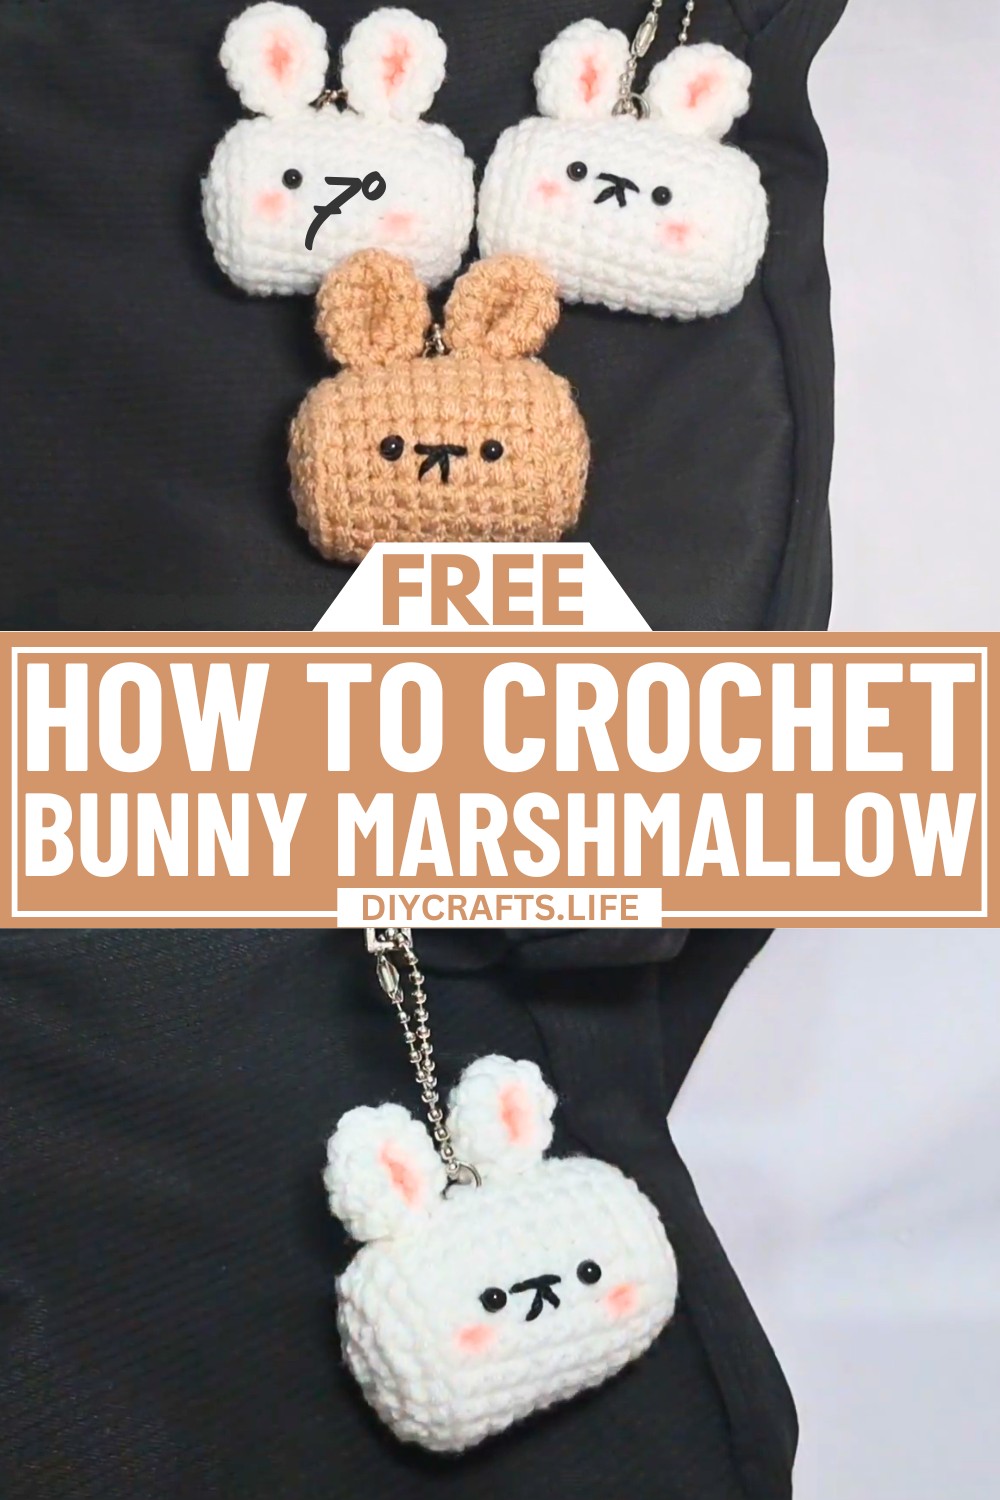
The crochet bunny marshmallow is a delightful little creation that’s perfect as a gift, decoration, or a playful companion for kids. With its rounded shape and adorable details like floppy ears and a cheerful face, it’s sure to bring smiles wherever it goes! You can use it to decorate your desk, add charm to your shelf, or even tuck it into your child’s toy collection.
Crochet Bunny Marshmallow Pattern

Making this bunny marshmallow is easy and beginner-friendly. You’ll start with a basic circular shape that gives it its marshmallowy body. Then, simple techniques like stitching and attaching create its cute ears and face. No need to overthink it—just grab your yarn, crochet hook, and get creative!
Credit from littlespot
Materials & Tools Needed
- 3.0mm hook
- 5ply milk cotton yarn (2mm thickness)
- thin polyester yarn for the nose (1mm thickness)
- 4mm safety eyes
- needle
- stitch marker
- scissors
- stuffing

Step-by-Step Detailed Crochet Instructions
1. Bunny Base
Round 1
- Start with a magic ring (MR): Wrap the yarn around your fingers, hook under the first loop, hook into the second, and create a chain.
- Make 8 single crochets (sc) into the MR.
- Pull the yarn to close the ring.
Round 2
- Begin with a sl st into the first stitch.
- Make a ch, then inc in each stitch. (2 sc per stitch: total of 16 sc in this round.)
Round 3
- Start with sl st, and make a ch.
- Follow the pattern: 3 sc, 1 inc. Repeat until the end of the round.
Round 4
- Start with sl st, make a ch, and work BLO (back loop only).
- 1 sc in each stitch all the way around.
Rounds 5–12
- Continue 1 sc in each stitch for 8 rounds. This creates the body of the bunny.
Round 13
- Begin with sl st and ch. Work BLO again for this round only.
- 1 sc in each stitch (defines the base more strongly).
Round 14
- Start with sl st, make a ch, and follow the pattern: 3 sc, 1 dec (decrease created by inserting hook into the front loop of two consecutive stitches and crocheting them together). Repeat until the end of the round.
Round 15 (Final Round)
- Begin with sl st and ch, and work dec (decreasing each stitch for the entire round).
- Insert stuffing to fill the body right before finishing the round.
Closing the Bunny Base
- Once decreasing is complete, use a sl st to join the last stitch.
- Cut the yarn, leaving a tail. Secure the hole by stitching through the front loops of each stitch, pulling tightly to close, and FO (fasten off).

2. Bunny Ears
Round 1
- Create a magic ring (MR) and make 6 sc into the ring.
Round 2
- Begin with sl st and ch, then inc in each stitch. (Total: 12 sc.)
Rounds 3–5 (Shape the Ear)
- Start with sl st, make a ch, and 1 sc for each stitch to work up the ear.
Finish the Ears
- After Round 5, sl st into the first stitch. Leave a long yarn tail for sewing.
- Repeat the above steps to create 2 ears.
Attach the Ears
- Fold each ear’s base slightly and sew the bottom part together for a puffy ear finish.
- Position the ears on the bunny’s head and sew them in place securely.

3. Facial Features
- Use black yarn and a tapestry needle to embroider the eyes, nose, and other facial details (such as blush circles or a small smile). Position them evenly for a cute, symmetrical look.
Finishing Touches
- Add accessories like a bow or blush using felt or embroidery.
- Ensure no loose threads by knotting and weaving in all ends.