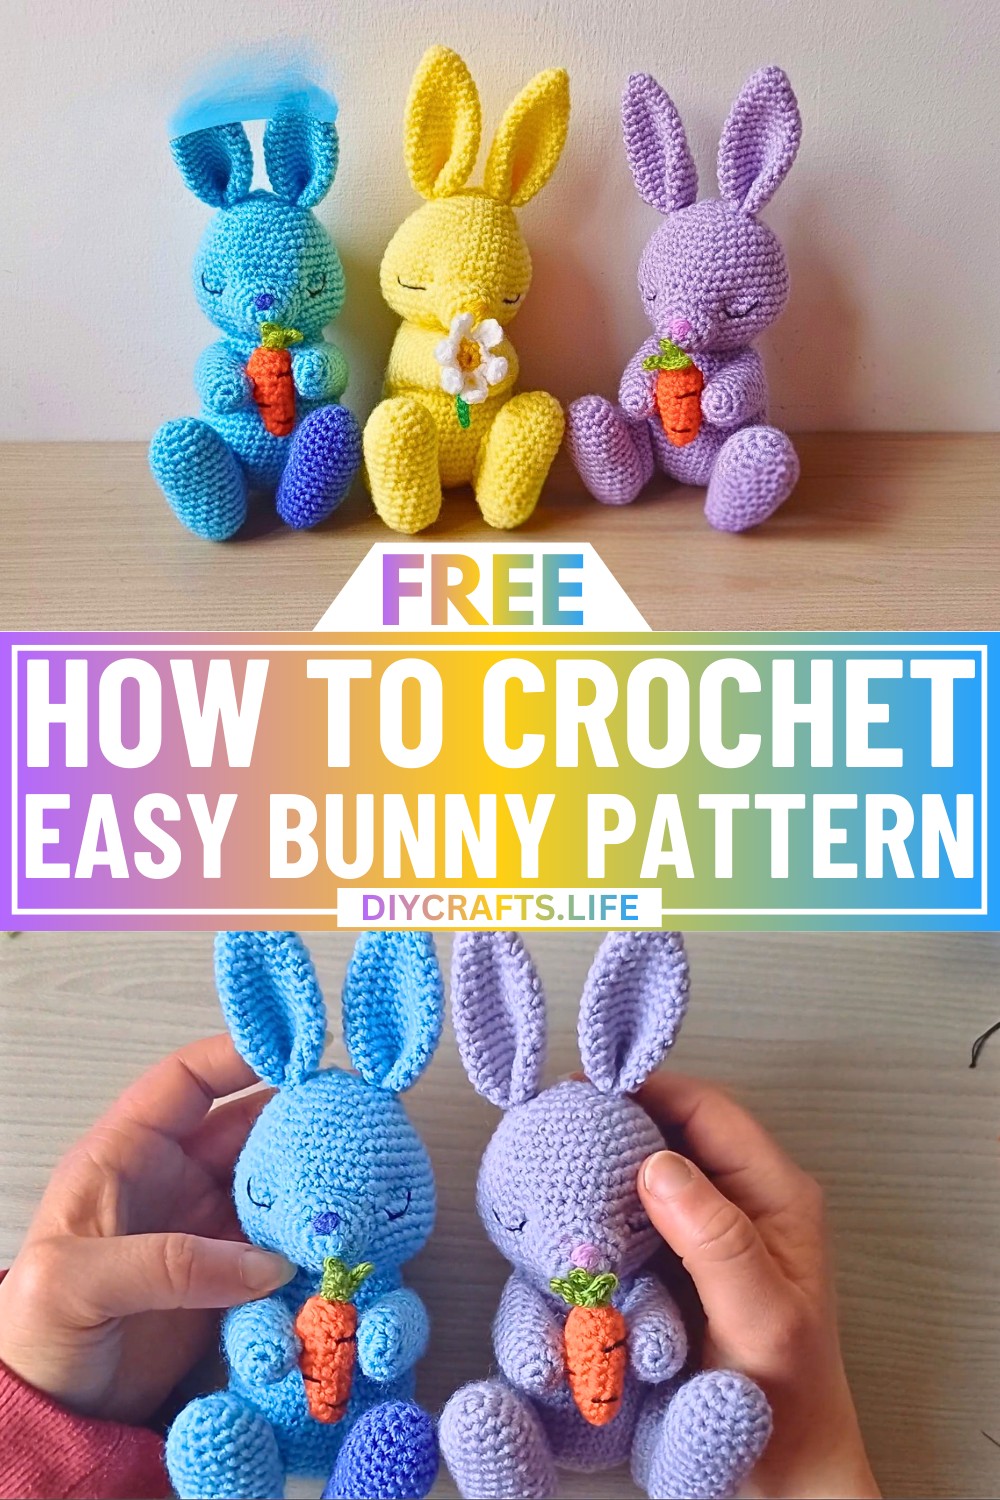
Let’s make an adorable crochet bunny with colorful details, perfect for spring and Easter! This bunny is soft and huggable, making it great as a toy for kids or even as a cute decoration for your home. You can place it in an Easter basket, use it as a centerpiece, or gift it to loved ones for a cheerful surprise.
Crochet Bunny for Spring & Easter

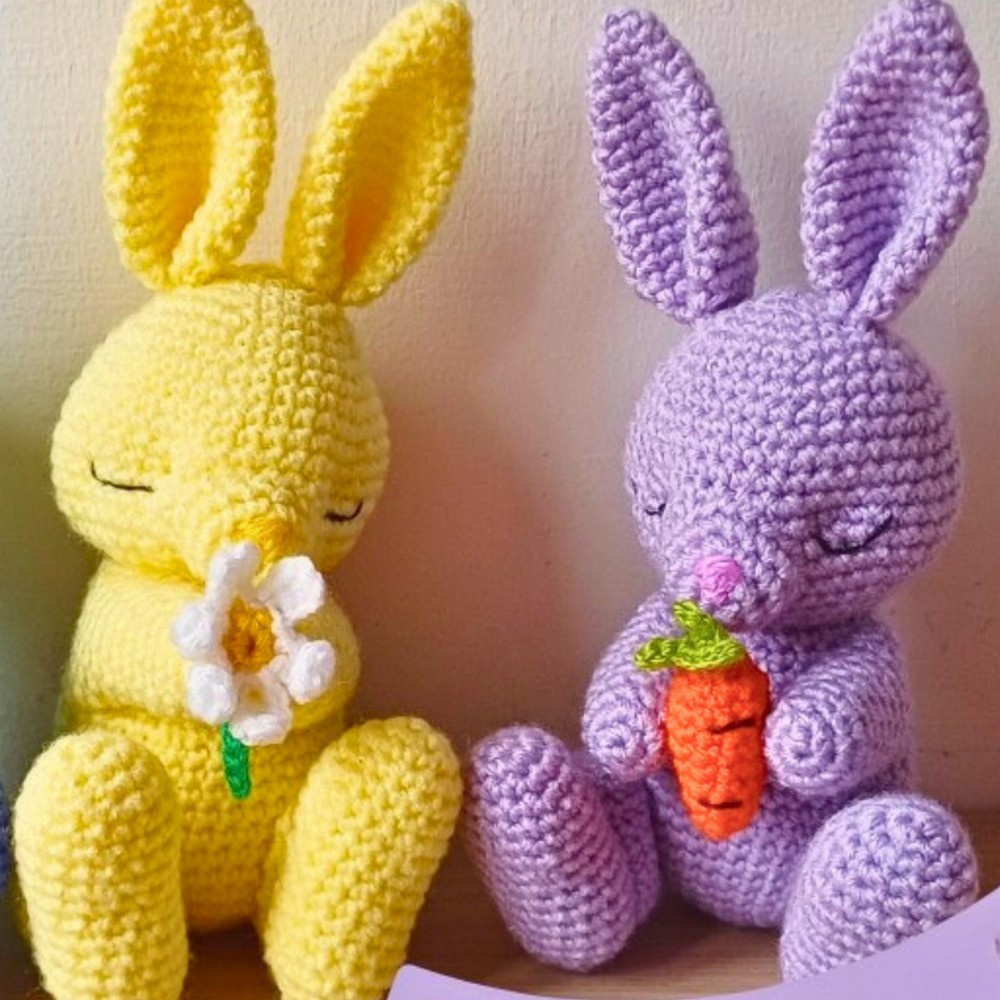
Crocheting this bunny is simple and rewarding. You’ll pick your favorite yarn colors to create its body, nose, and a cute carrot it can hold. While you’ll need to do basic crocheting steps like single crochet and shape its head, body, and ears, everything comes together without overwhelming details. Beginners can enjoy taking their time making each piece to form the bunny’s adorable look. Add final touches like embroidered eyes or safety eyes to give it personality.
Crocheting the bunny isn’t just fun—it’s a wonderful way to share handmade memories during festive seasons!
Credit Ambros Crochet
Materials & Tools Needed
- Yarn
- Main bunny body: Choose a soft, spring-colored yarn.
- Bunny nose: Contrasting color (e.g., pink or pastel).
- Carrot: Orange (for the body) and green (for the leaves).
- Crochet hook: 3 mm (or the size recommended for your yarn weight).
- Scissors
- Tapestry needle: For sewing and finishing.
- Embroidery needle and thread: To embroider the bunny’s nose and eyes (use black thread for eyes and pink for the nose).
- Alternatively, you can use safety eyes.
- Toy stuffing: To fill the bunny and carrot.
Finished Size
- The finished bunny should measure approximately 10-15 cm tall, depending on the yarn weight, hook size, and personal tension.
- Customization ideas:
- Experiment with yarn colors for a personalized bunny (e.g., pastel shades for spring).
- Add embellishments like a small flower crown or ribbon around the neck.
Pattern Abbreviations & Terminology
US Crochet Terms:
- MR: Magic Ring (or Magic Circle)
- sc: Single Crochet
- inc: Single Crochet Increase (2 sc in a single stitch)
- dec: Single Crochet Decrease (combine 2 stitches into 1)
- ch: Chain
- sl st: Slip Stitch
- sts: Stitches
- (...): Repeat instructions within parentheses as required.
- [ ]: Total stitch count for the round.
Step-by-Step Crochet Instructions
Below is a breakdown of the bunny's components into detailed steps.
1. Bunny Head
- Round 1: Start with a Magic Ring (MR); make 6 sc into the ring. [6]
- Round 2: Inc in each stitch around. [12]
- Round 3: (1 sc, inc) repeat 6 times. [18]
- Round 4: (2 sc, inc) repeat 6 times. [24]
- Round 5: (3 sc, inc) repeat 6 times. [30]
- Round 6: Sc in each stitch around. [30]
- Round 7: (4 sc, inc) repeat 6 times. [36]
- Round 8: Sc in each stitch around. [36]
- Round 9: (5 sc, inc) repeat 6 times. [42]
- Rounds 10-11: Sc in each stitch around. [42]
- Round 12: (6 sc, inc) repeat 6 times. [48]
- Rounds 13-15: Sc in each stitch around. [48]
- Round 16: (6 sc, dec) repeat 6 times. [42]
- Round 17: (5 sc, dec) repeat 6 times. [36]
- Round 18: (4 sc, dec) repeat 6 times. [30]
- Round 19: (3 sc, dec) repeat 6 times. [24]
- Round 20: (2 sc, dec) repeat 6 times. [18]
- Begin stuffing the head as you decrease.
- Round 21: (1 sc, dec) repeat 6 times. [12]
- Round 22: Dec 6 times. [6]
- Finish stuffing the head. Slip stitch and cut the yarn, leaving a tail for sewing.
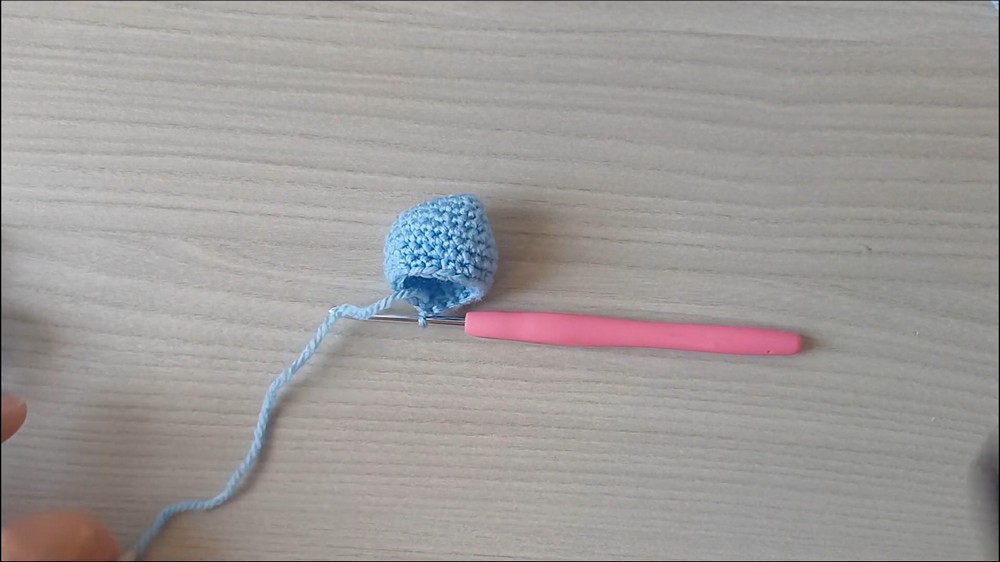
2. Bunny Ears (Make 2)
- Round 1: MR; make 6 sc into the ring. [6]
- Round 2: (1 sc, inc) repeat 3 times. [9]
- Round 3: Sc in each stitch around. [9]
- Round 4: (2 sc, inc) repeat 3 times. [12]
- Round 5: Sc in each stitch around. [12]
- Round 6: (3 sc, inc) repeat 3 times. [15]
- Round 7: Sc in each stitch around. [15]
- Round 8: (4 sc, inc) repeat 3 times. [18]
- Rounds 9-10: Sc in each stitch around. [18]
- Round 11: (5 sc, inc) repeat 3 times. [21]
- Rounds 12-14: Sc in each stitch. [21]
- Round 15: (5 sc, dec) repeat 3 times. [18]
- Round 16: (1 sc, dec) repeat 6 times. [12]
- Flatten the ear and sew the edges together. Leave a long tail for attaching to the head.
3. Muzzle
- Round 1: MR; make 6 sc into the ring. [6]
- Round 2: Inc in each stitch around. [12]
- Round 3: (3 sc, inc) repeat 3 times. [15]
- Round 4: (4 sc, inc) repeat 3 times. [18]
- Slip stitch, finish off, and leave a long tail for sewing to the head.
Embroider the nose:
- Use pink thread or yarn and form a small triangle in the center of the muzzle (aim for a slightly flat side).
4. Bunny Body
- Round 1: MR; make 6 sc into the ring. [6]
- Round 2: Inc in each stitch around. [12]
- Round 3: (1 sc, inc) repeat 6 times. [18]
- Round 4: (2 sc, inc) repeat 6 times. [24]
- Round 5: (3 sc, inc) repeat 6 times. [30]
- Round 6: (4 sc, inc) repeat 6 times. [36]
- Round 7: (11 sc, inc) repeat 3 times. [39]
- Round 8: (12 sc, inc) repeat 3 times. [42]
- Rounds 9-12: Sc in each stitch around. [42]
- Round 13: (12 sc, dec) repeat 3 times. [39]
- Round 14: Sc in each stitch around. [39]
- Round 15: (11 sc, dec) repeat 3 times. [36]
- Round 16: Sc in each stitch around. [36]
- Round 17: (10 sc, dec) repeat 3 times. [33]
- Round 18: Sc in each stitch around. [33]
- Round 19: (9 sc, dec) repeat 3 times. [30]
- Round 20: Sc in each stitch around. [30]
- Round 21: (8 sc, dec) repeat 3 times. [27]
- Round 22: Sc in each stitch around. [27]
- Slip stitch, finish off, and leave a long tail for attaching to the head.
5. Arms & Legs
Arms (Make 2):
- Round 1: MR; make 6 sc into the ring. [6]
- Round 2: Inc in each stitch around. [12]
- Rounds 3-13: Sc in each stitch. [12]
- Slip stitch, stuff lightly, and leave a long tail for sewing.
Legs (Make 2):
- Round 1: MR; make 6 sc into the ring. [6]
- Round 2: Inc in each stitch. [12]
- Rounds 3-13: Sc in each stitch. [12]
- Slip stitch, stuff lightly, and leave a long tail for sewing.
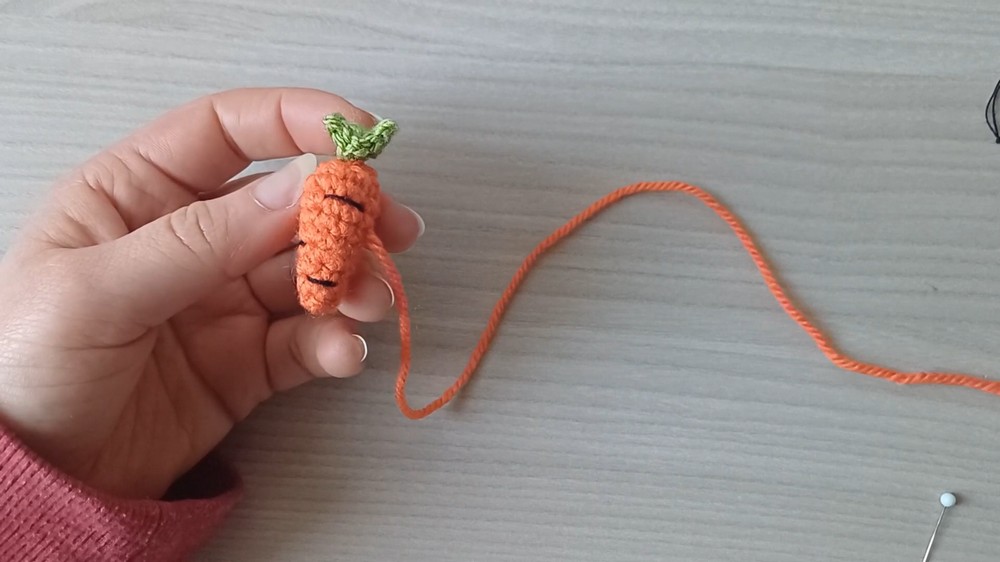
6. Carrot
- Round 1: MR; make 6 sc into the ring. [6]
- Round 2: Sc in each stitch. [6]
- Rounds 3-7: Increase progressively every other row to form the carrot shape.
- Attach a green leafy top by chaining 2-3 loops for detail.
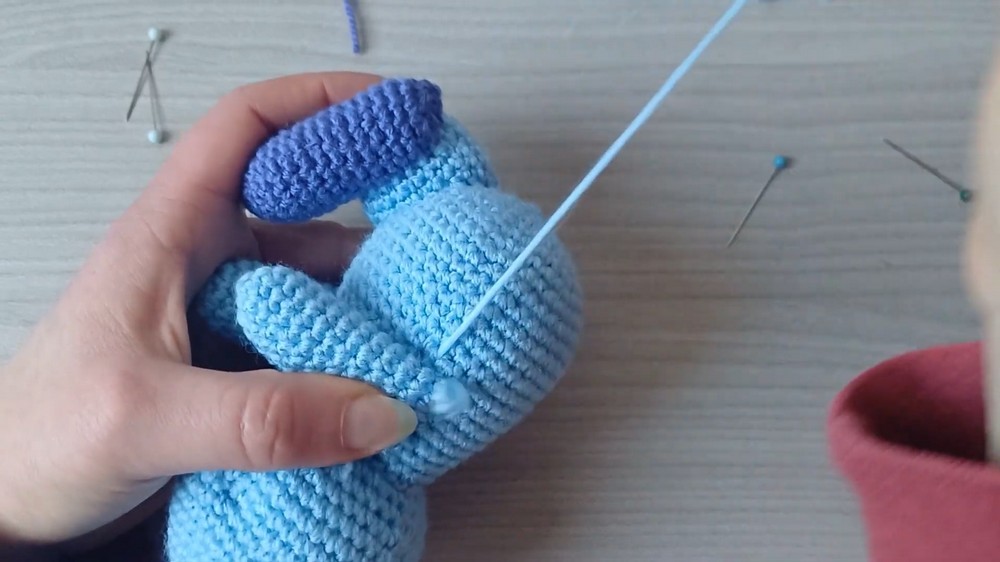
Assembly
- Sew the head to the body.
- Attach the ears to the top of the head.
- Sew the arms and legs to the body at the appropriate placement (use pins to position first).
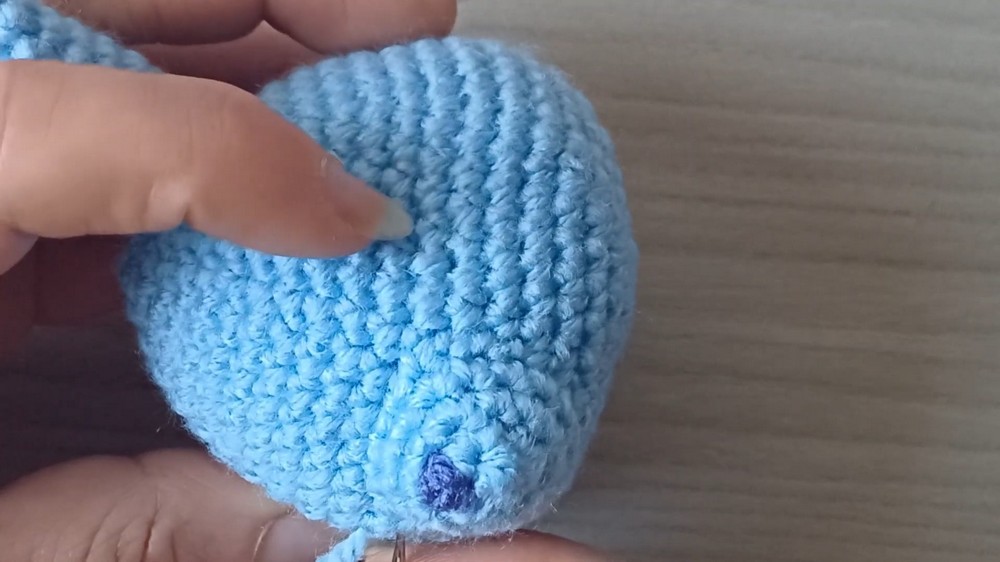
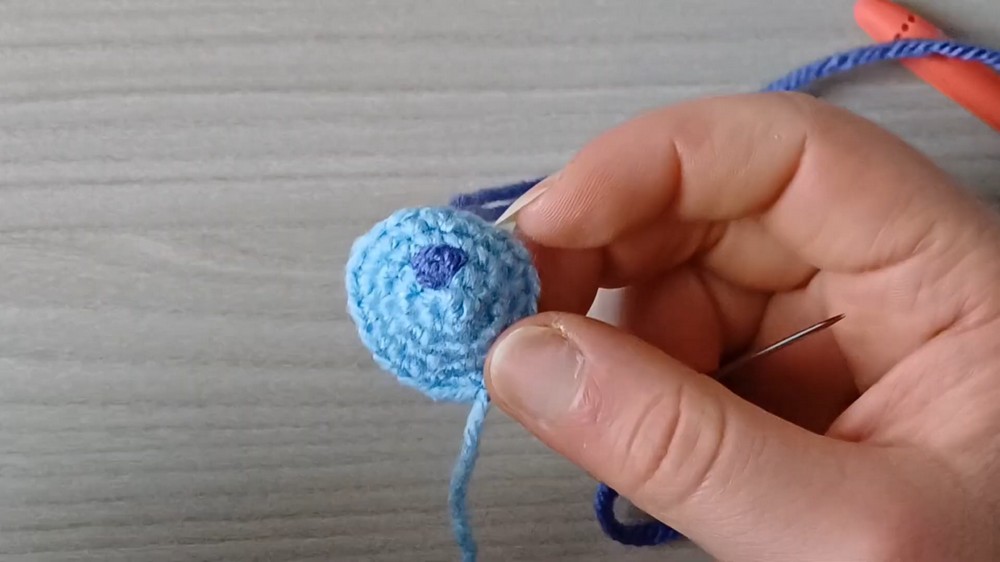
- Attach the muzzle and embroider black eyes.
- Secure the carrot between the arms or alongside the bunny.