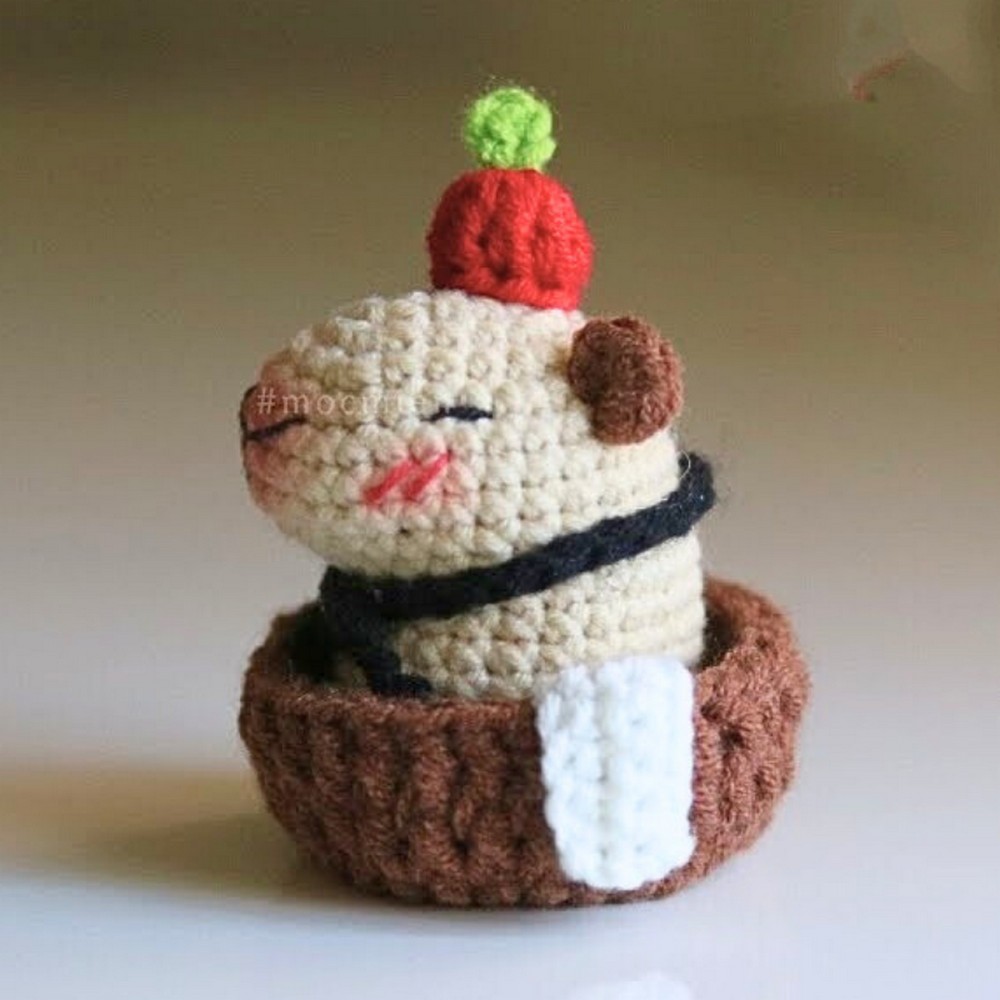
Bring a touch of whimsy to your crochet collection with this adorable capybara in a bathtub! This charming project fuses cuteness with functionality, creating a versatile decorative piece. Perfect for crocheters of all levels, it’s easy to make and rewarding to display.
This crochet capybara is ideal for home decor or as a unique gift. Its design ensures durability while showcasing intricate stitches and playful details. Whether perched on a shelf or gifted to a loved one, it’s sure to bring smiles and admiration wherever it’s placed.
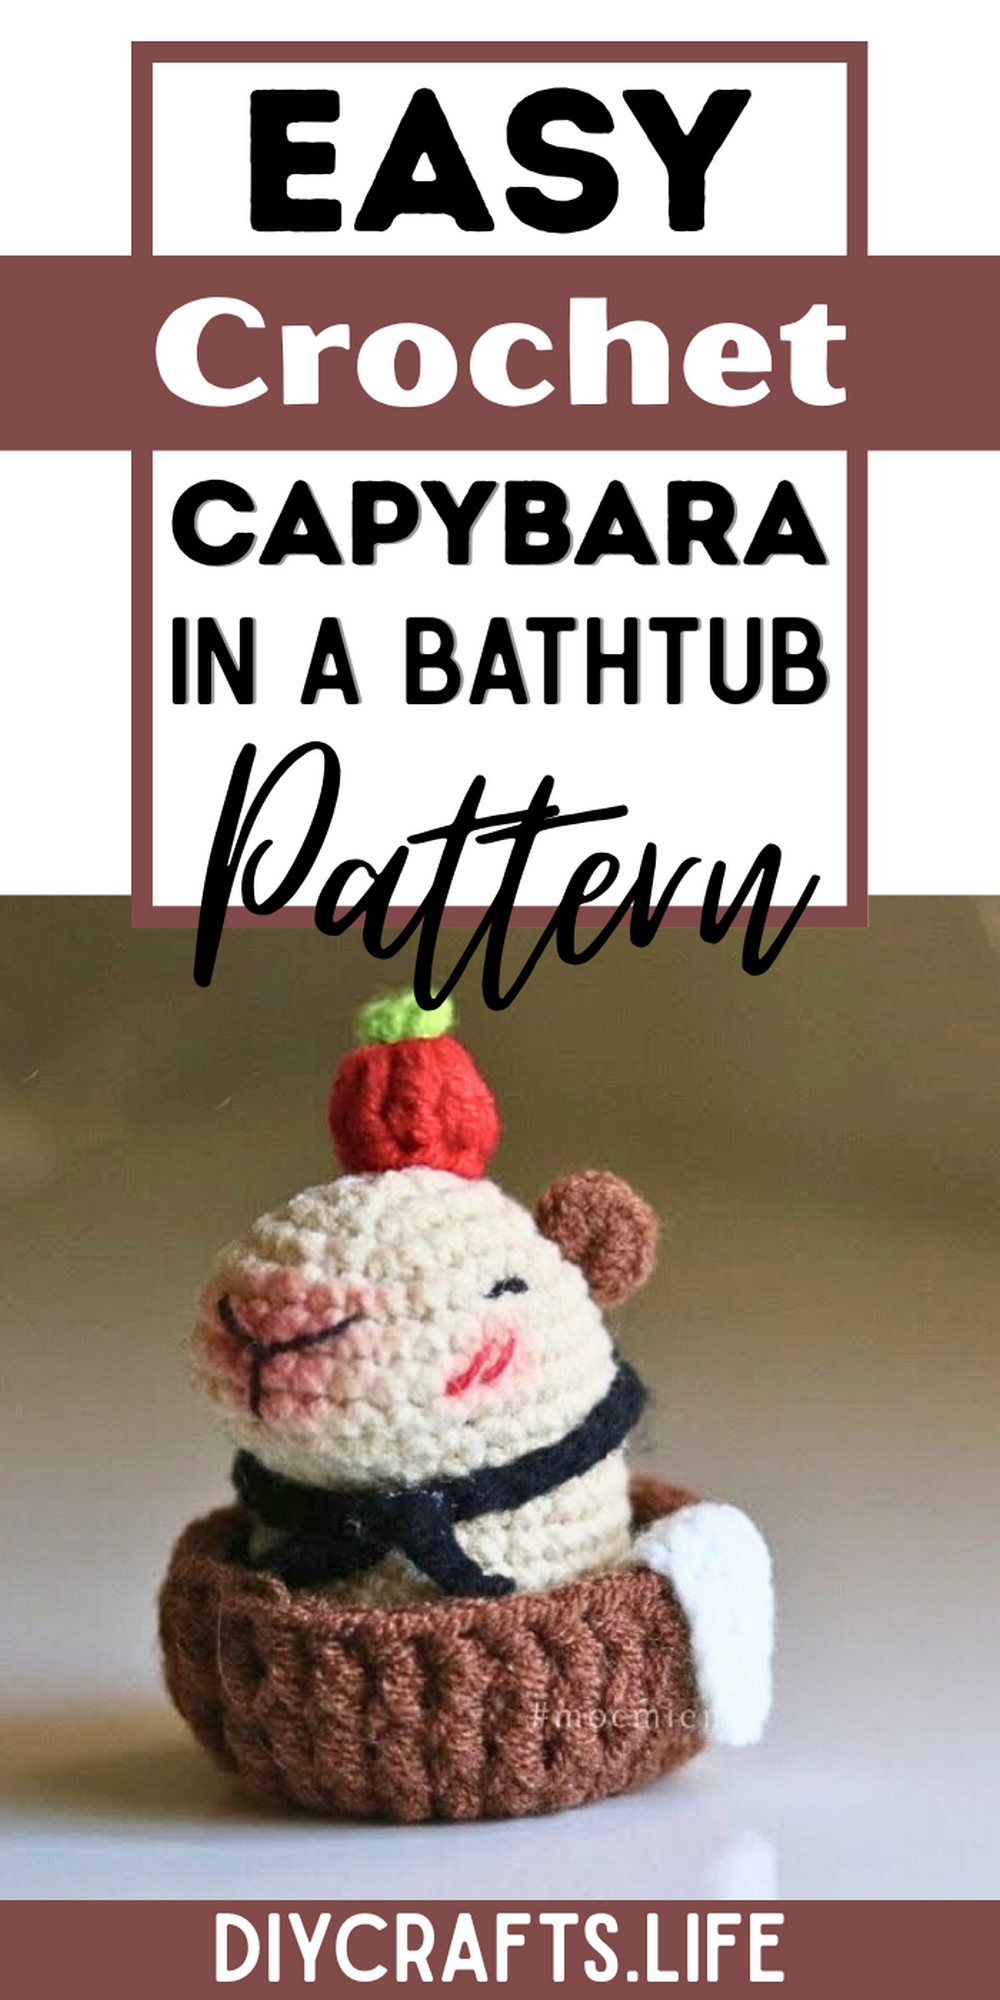
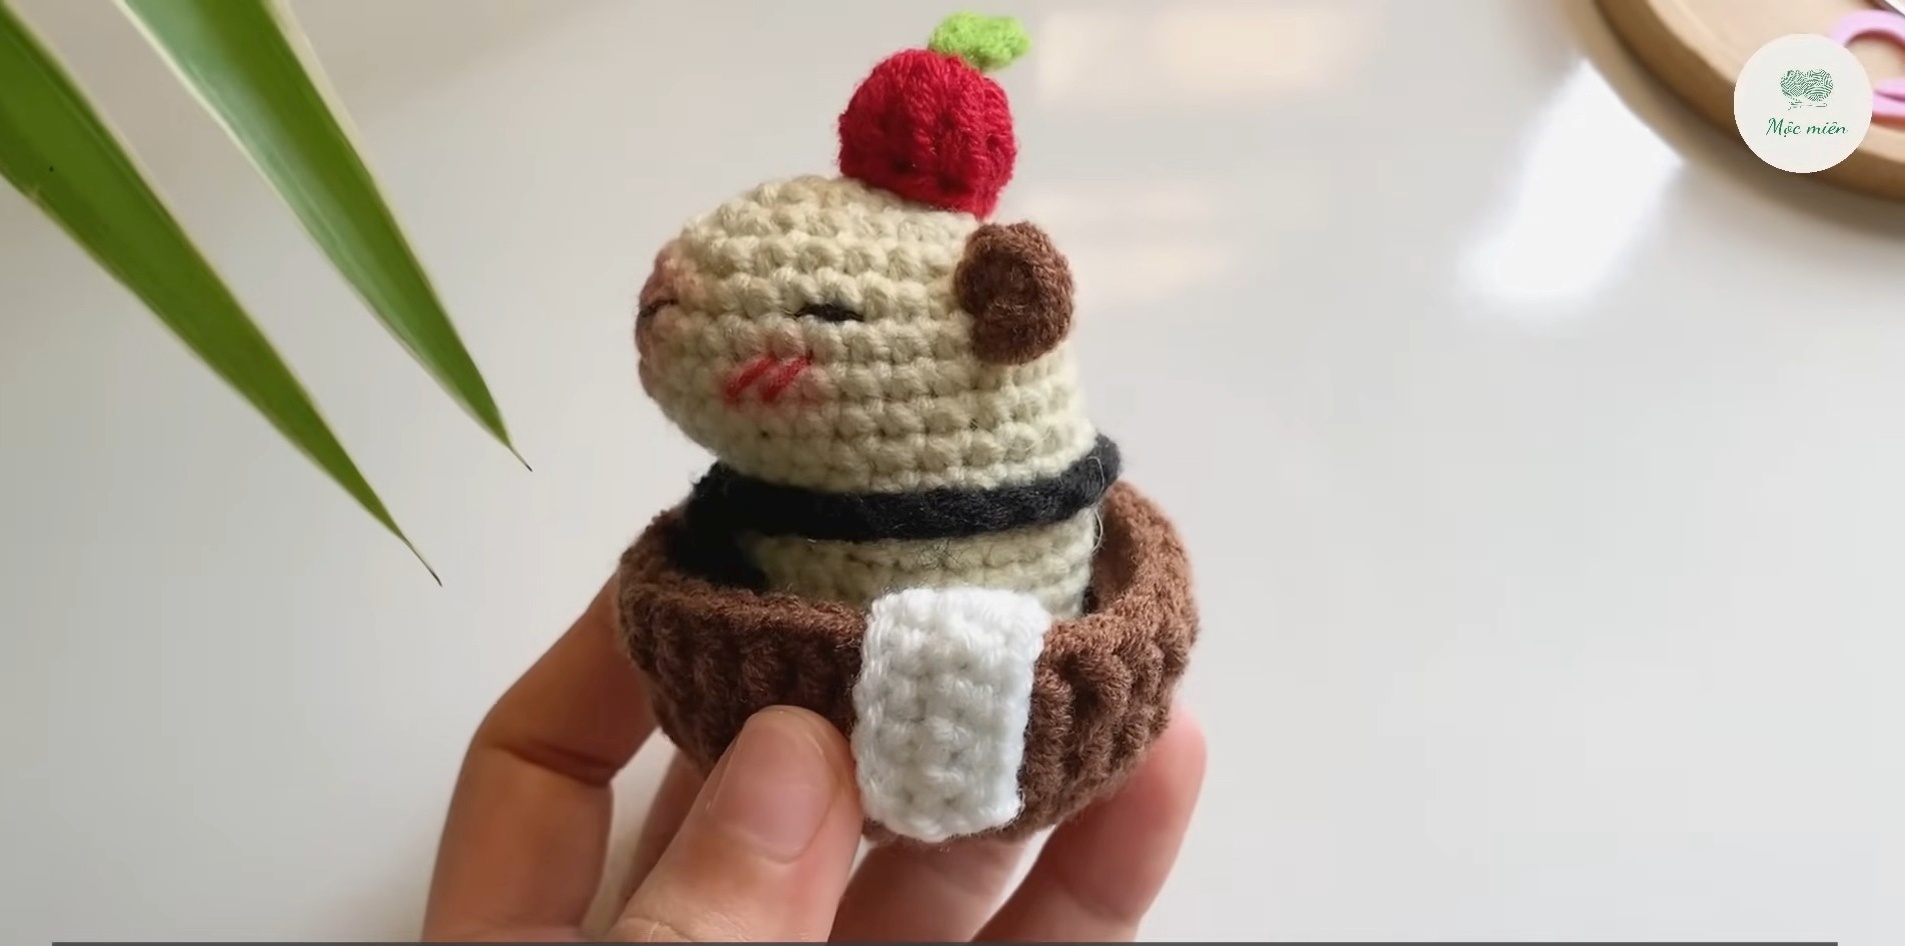
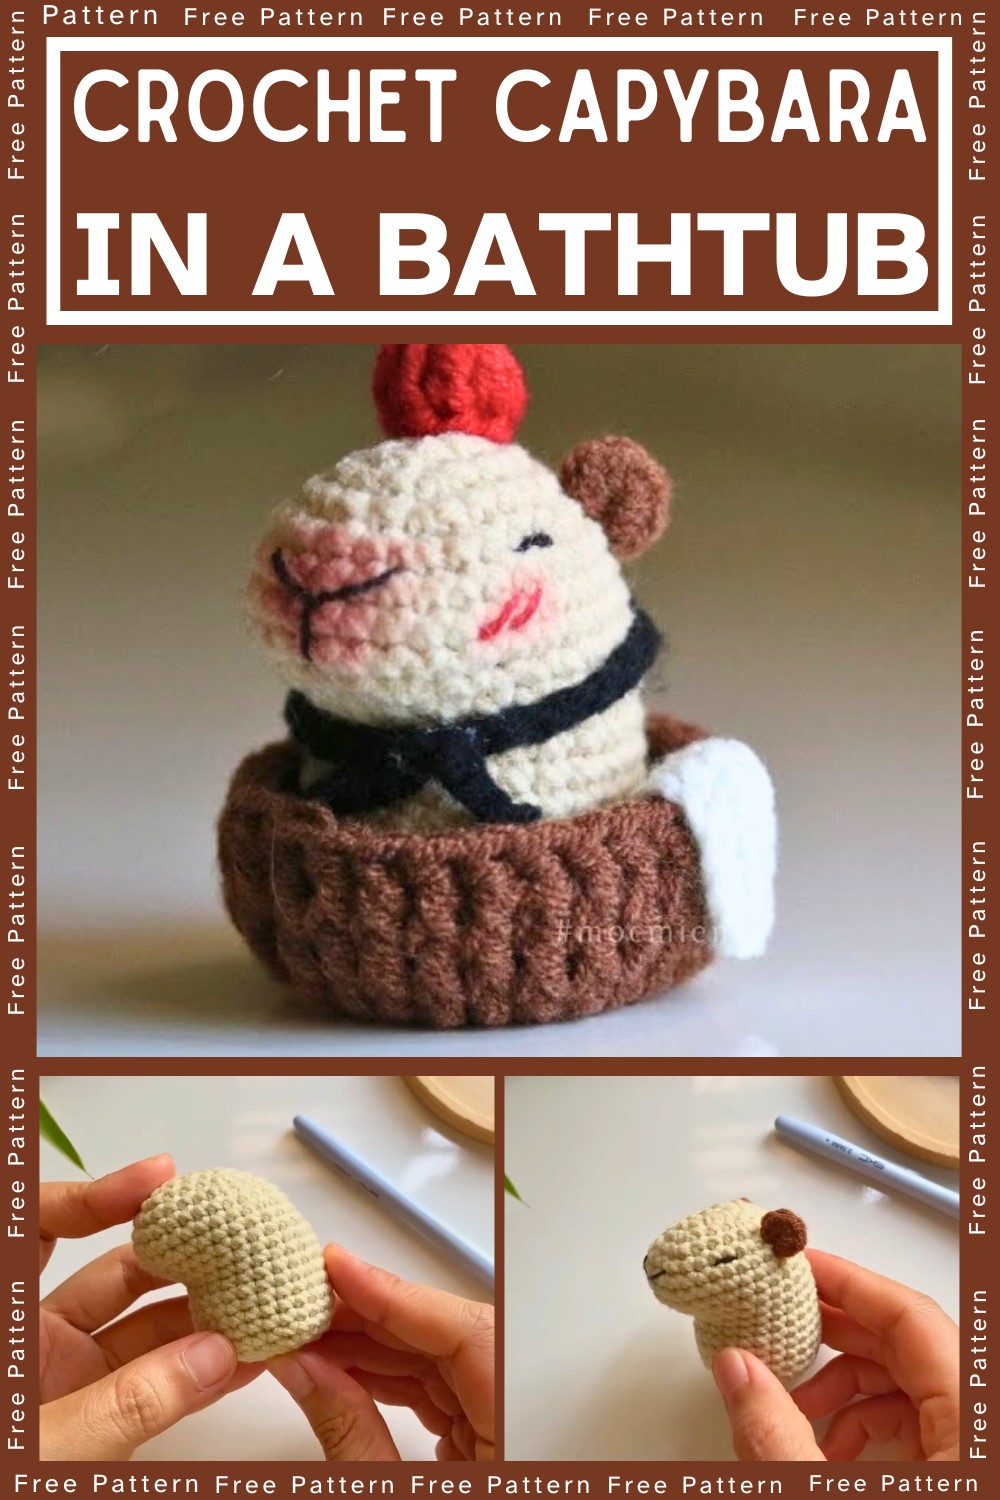
Crochet Capybara in a Bathtub
Create your very own adorable crocheted Capybara in a bathtub—a fun and unique craft project that’s suitable for all skill levels! This customizable pattern lets you explore your creativity while learning useful crochet techniques. Perfect for gifting, decorating, or just enjoying the crafting journey.
Materials and Preparation
Before starting the project, gather the following materials:
- Yarn Type:
- Beige yarn for the body
- Brown yarn for the arms and pot
- Red and green yarn for accessories (e.g., apple decoration)
- White yarn for the scarf
- Hook Size:
- 3.5mm crochet hook
- Additional Tools:
- Stitch marker (or contrasting yarn for marking)
- Scissors
- Wool sewing needle
- Felt circle for stabilizing the pot
- Glue (optional for felt attachment)
- Yarn Weight Requirements:
- Medium weight (4) yarn
Abbreviations & Notes
Familiarize yourself with the following abbreviations commonly used in this pattern:
- SC: Single crochet
- DC: Double crochet
- CH: Chain stitch
- INC: Increase (2 single crochets in one stitch)
- DEC: Decrease (crocheting together two front loops of adjacent stitches)
- SL ST: Slip stitch
Notes:
- Always use a stitch marker to keep track of rounds or rows.
- Ensure stitches are tight but not overly so; this will help maintain shape.
- For the apple and neck strap, adjust yarn lengths as desired for size and fit.
Gauge, Approximate Size, and Special Techniques
- Gauge: 5 single crochets per inch (adjust hook/yarn size if necessary).
- Finished Dimensions: Approximately 6" high and 4" wide.
- Special Techniques: Magic circle, decreasing stitches, and back loop crocheting for the pot edging.
Step-by-Step Pattern
Let’s break this project into manageable parts:
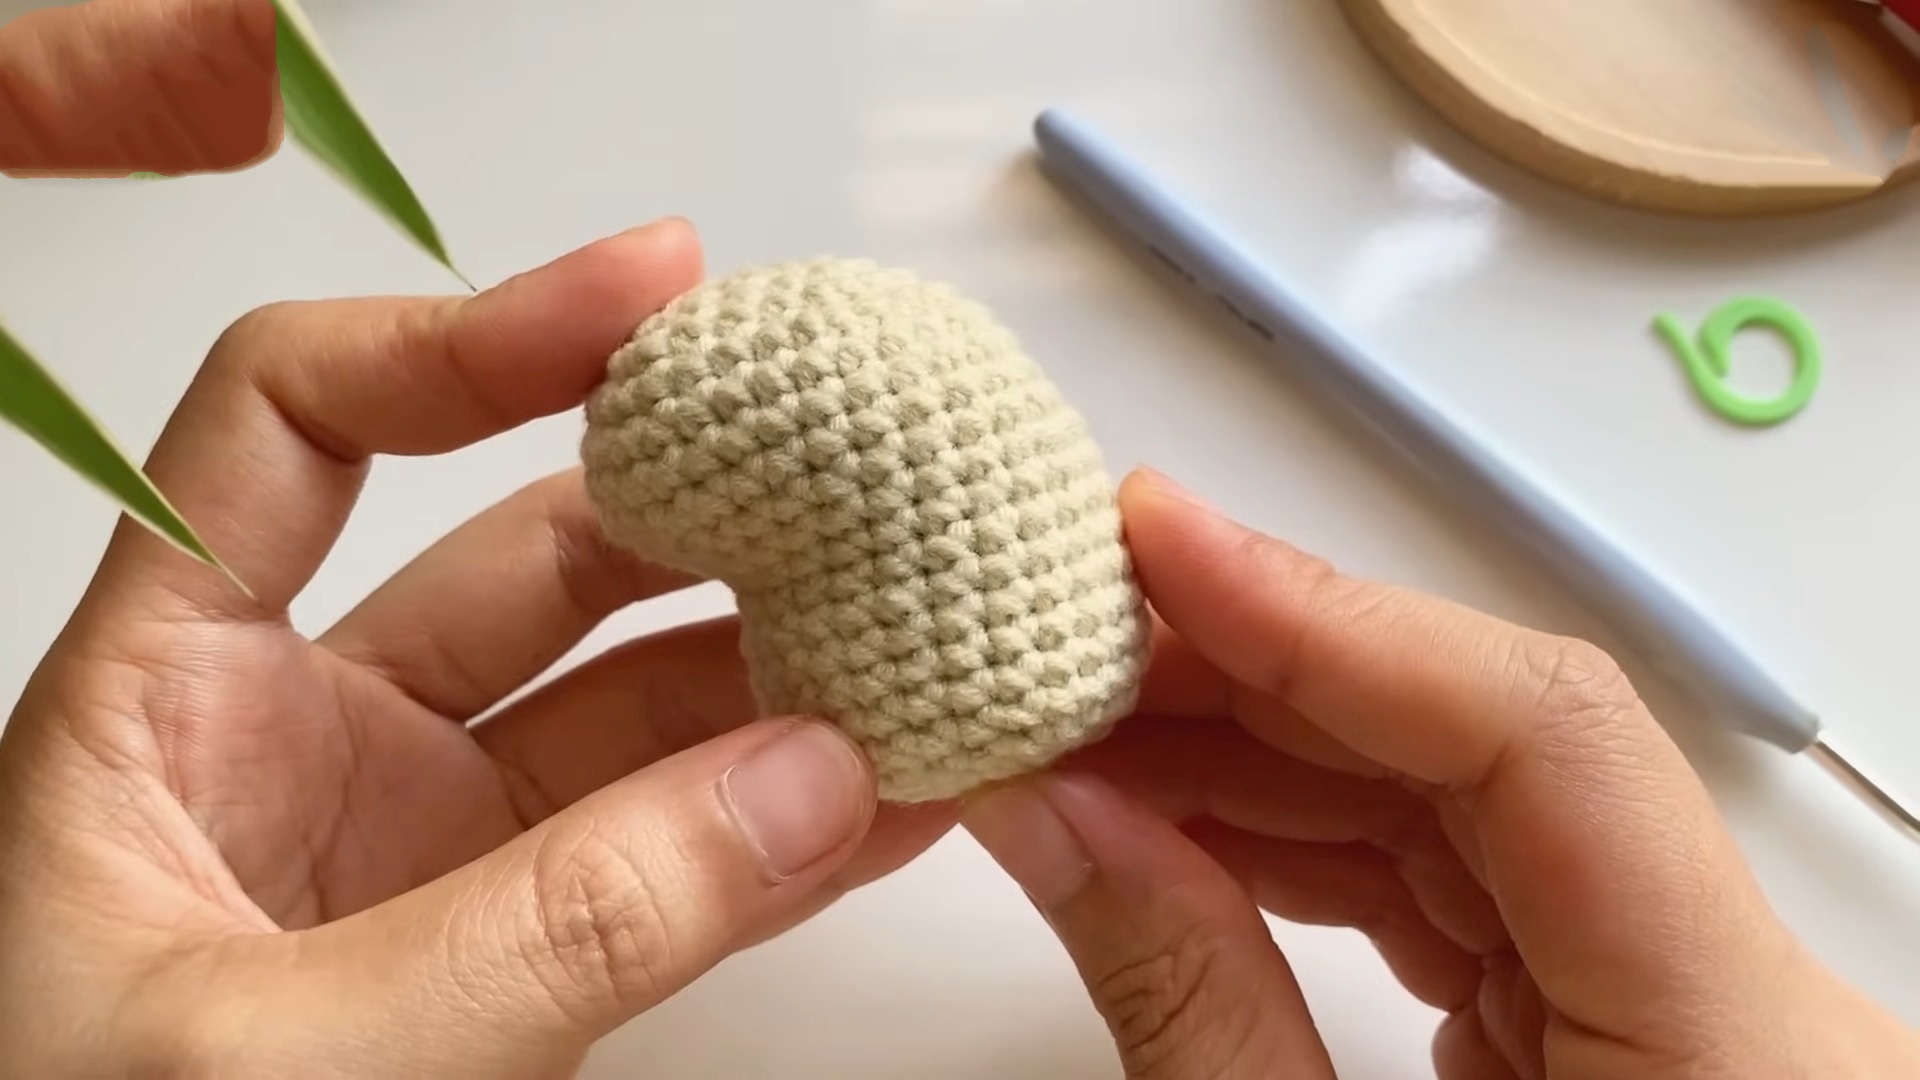
Part 1: Body of the Capybara
Round 1:
Make a magic circle with beige yarn and crochet 6 single crochets inside. Pull it tight. Use a stitch marker for the first stitch (optional).
Round 2:
Increase all stitches around (INC in each stitch) to create 12 single crochets.
Rounds 3–7:
Continue following this formula:
- Round 3: Alternate INC and SC around (18 stitches).
- Round 4: Alternate 2 SC and INC around (24 stitches).
- Round 5: Alternate 3 SC and INC around (30 stitches).
- Rounds 6–7: SC into each stitch to maintain shape (30 stitches).
Round 8:
SC into 7 stitches, DEC twice, SC, DEC twice, SC into the next 8 stitches. Use additional DEC and INC as needed for shaping.
Rounds 9–18:
Continue working SC and occasional DEC/INC for shaping. Stuff the body with fiberfill as you go.
To finish, close off the top using decreasing stitches (DEC across last row). Sew loose ends.
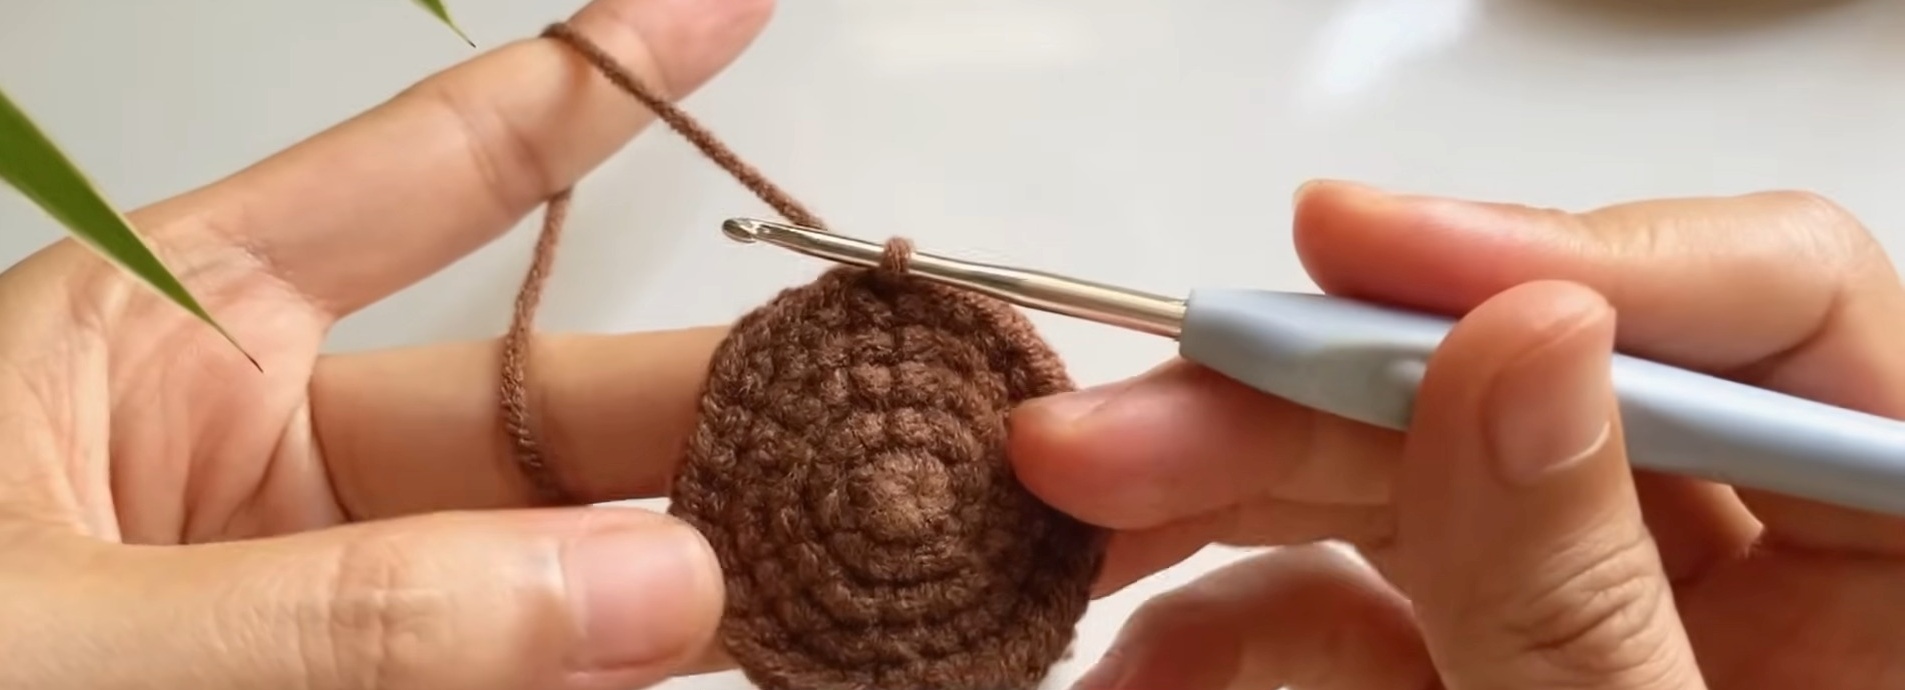
Part 2: Pot and Stabilizer
Round 1:
Start with brown yarn to create a magic circle. Crochet 6 SC into the circle and tighten.
Rounds 2–5:
Increase:
- Round 2: INC in each stitch (12 stitches).
- Round 3: Alternate SC and INC (18 stitches).
- Round 4: Alternate 2 SC and INC (24 stitches).
- Round 5: Alternate 3 SC and INC (30 stitches).
Round 6:
Switch to back loop crocheting with DC around to form edging.
Rounds 7–8:
DC into each stitch using regular loops.
Add a felt circle to the inside base using glue for stabilization.
Part 3: Arms
Round 1:
Using brown yarn, start with a magic circle and crochet 6 SC. Tighten the magic circle and leave a yarn tail for sewing.
Make two identical arms.
Part 4: Scarf
Row 1:
Using white yarn, crochet 11 CH stitches. SC into the second CH from the hook and across (10 SC).
Rows 2–10:
Chain 1, turn, and SC across. Repeat for desired scarf length.
Tie off yarn and sew loose ends into scarf.
Part 5: Apple with Leaves
Apple:
Using red yarn, make a magic circle and crochet 8 DC inside. Tie off and tighten.
Leaves:
Using green yarn, create 3 CH stitches. Slip stitch into the first CH to form leaf shape.
Attach the apple and leave to the Capybara’s head.
Part 6: Neck Strap
Row 1:
Crochet 30 CH stitches using black yarn. Adjust the length to suit. Tie off yarn, sew loose ends, and wrap around the Capybara’s neck.
Assembly and Final Touches
- Attach arms to the body using the sewing needle.
- Place the body into the pot and secure it with stitches or glue.
- Wrap the scarf around the neck and adjust.
- Sew on the apple and facial features (nose and eyes).
Pattern Question
Question: How do I ensure my stitches remain consistent throughout the pattern?
Answer: Use a stitch marker for the first stitch of each row and count your stitches after each row to ensure accuracy. Staying relaxed while crocheting also helps maintain consistent tension.
Conclusion
Crocheting a capybara in a bathtub is a delightful way to hone your skills while creating something truly special. The result is both adorable and functional—an excellent addition to your craft repertoire. Try it out, and enjoy the satisfaction of crafting this fun and unique piece!


