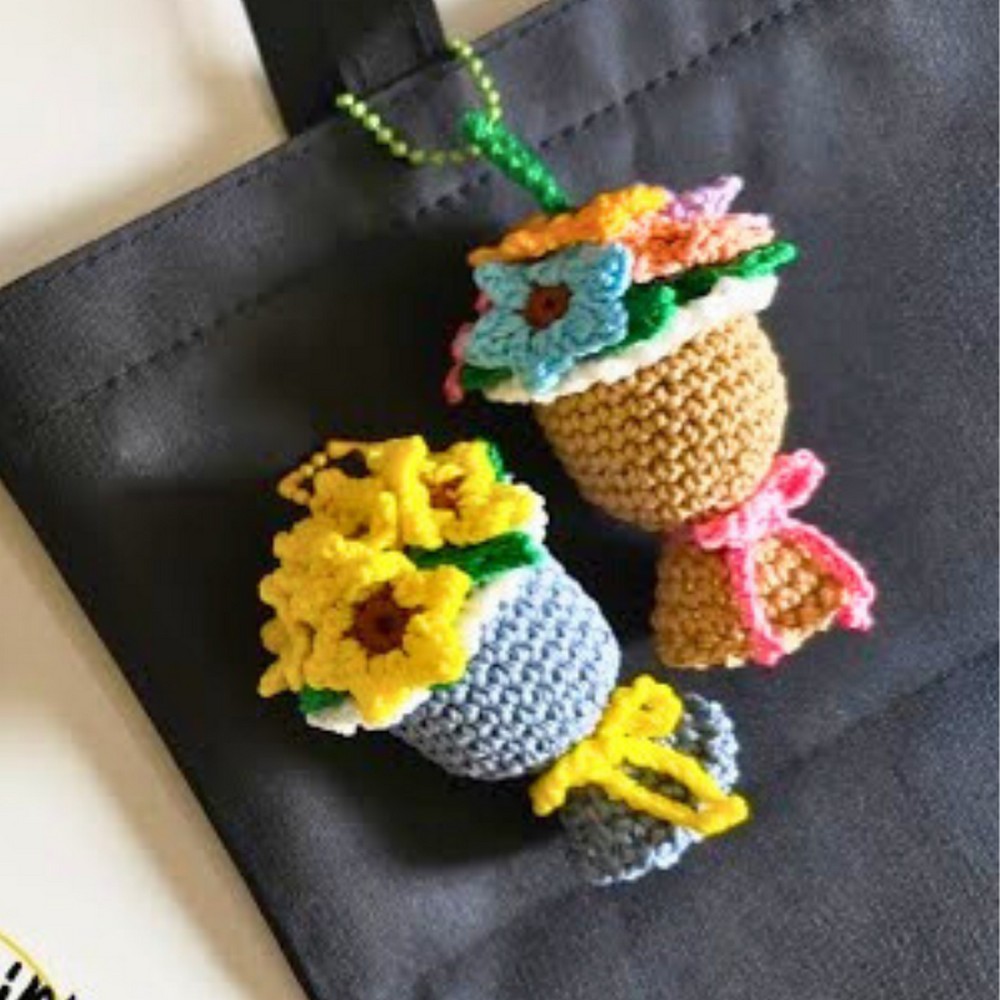
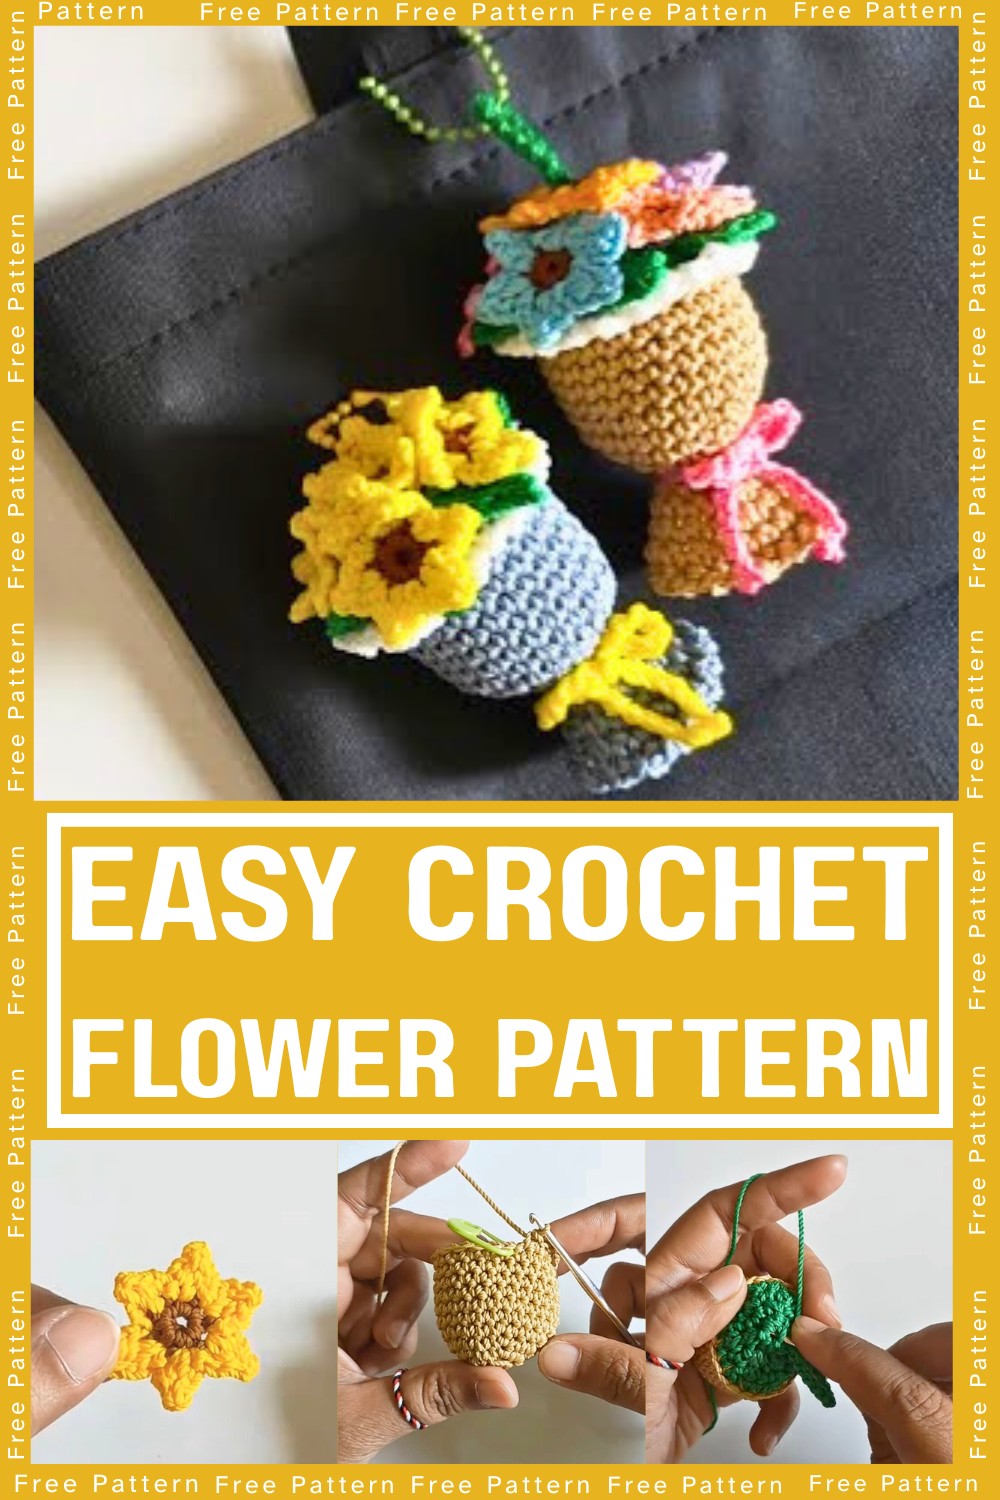
Create a stunning crochet sunflower bouquet hanger with this easy-to-follow tutorial! Perfect for adding charm to your space, this project combines beauty and functionality. Durable and lightweight, it’s ideal for beginners and advanced crocheters alike.
The crochet flower hanger isn’t just decorative; it’s designed to last. It’s perfect for personalizing your space as a wall accent or thoughtful gift. Its intricate sunflower design is appealing yet practical, with a sturdy structure that blends artistry and usability.
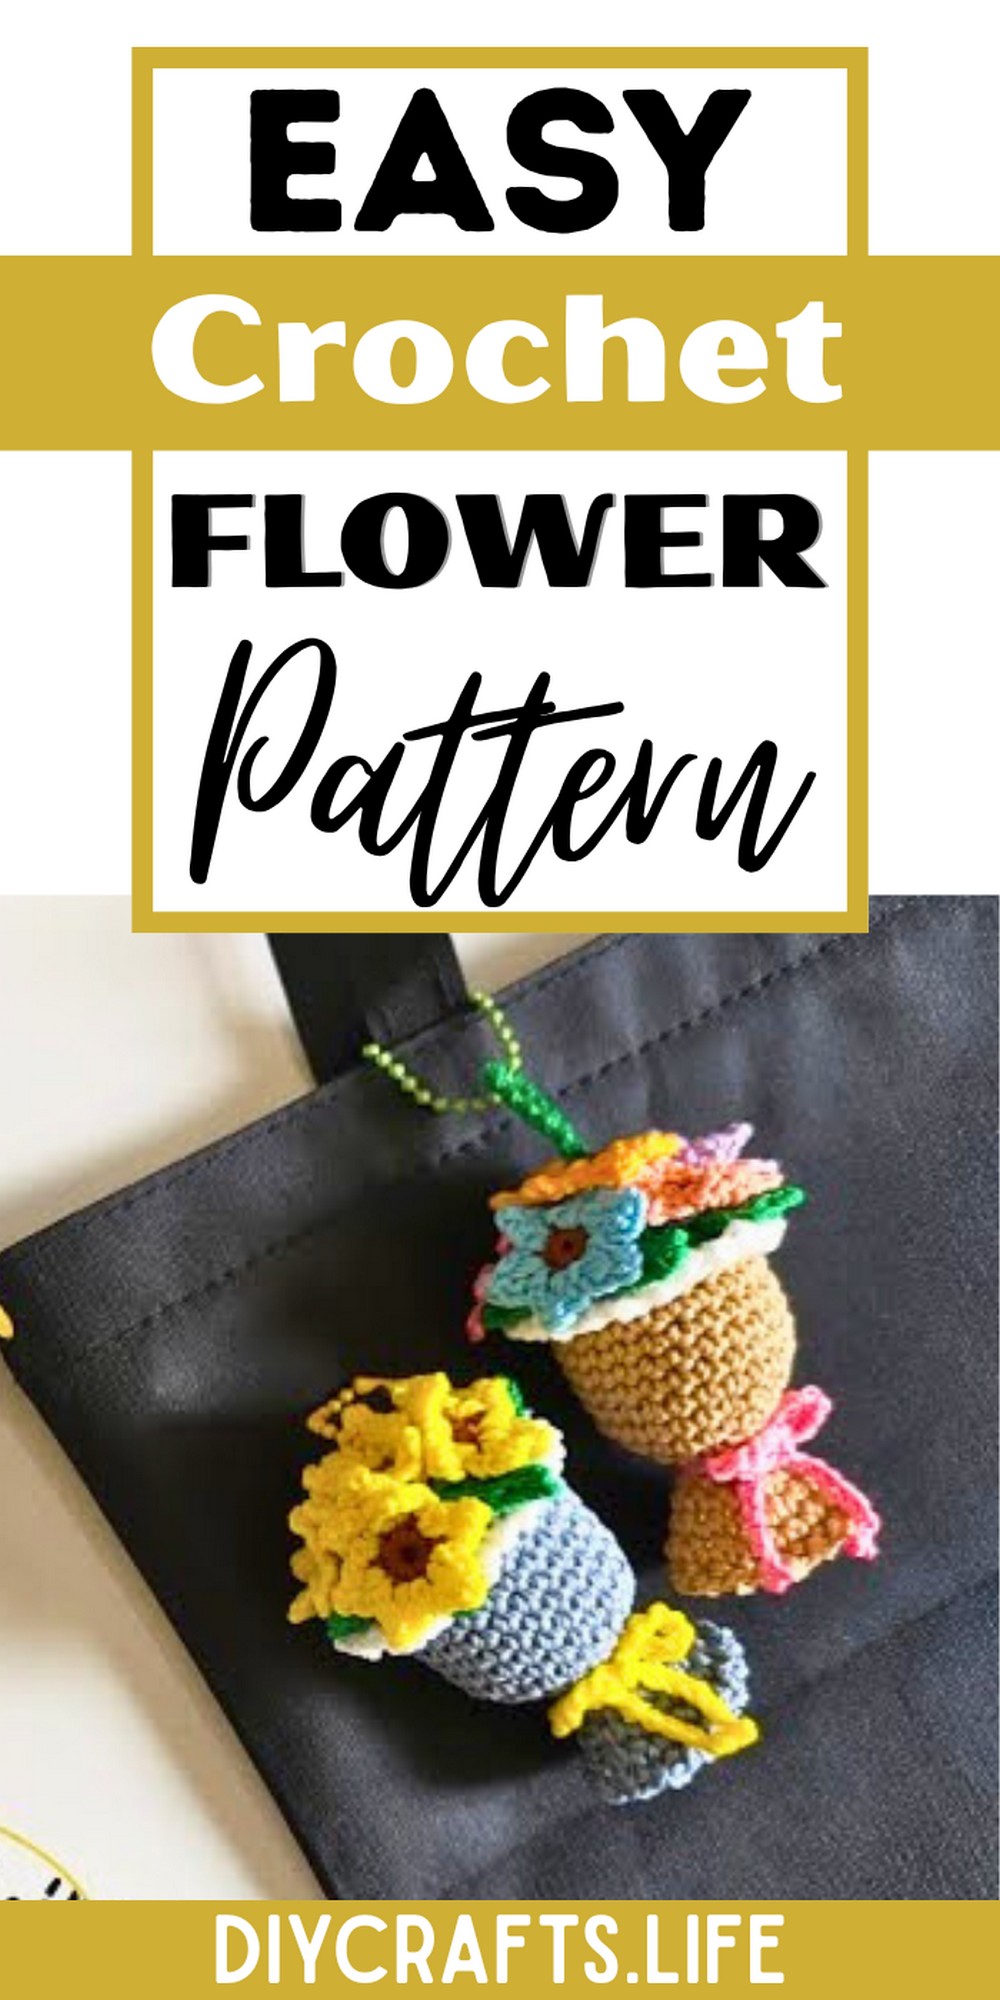
Crochet Flower Bouquet Hanger
This sunflower bouquet hanger is a joy to make for crocheters at any skill level. The pattern is customizable with endless color options and creative adaptations, allowing you to add your unique flair while crafting something functional and delightful.
Materials and Preparation
To create the crochet flower bouquet hanger, you'll need the following:
- Yarn Type: Onitsuga Polycherry Thread
- Hook Size: 4.0 mm (Tulip brand) and 3.0 mm (for specific sections)
- Yarn Weight: Medium (worsted weight) yarn recommended for durability
- Additional Tools:
- Stitch markers
- Scissors
- Lighter (to cleanly finish yarn ends)
- Glue (to attach flower and leaf parts)
- Filling material, such as dacron, for stuffing
- Optional: Tapestry needle for tidying loose ends
Abbreviations and Notes
Before starting, familiarize yourself with the following crochet abbreviations:
- MR: Magic Ring
- CH: Chain
- SC: Single Crochet
- HDC: Half Double Crochet
- DC: Double Crochet
- INC: Increase (two SCs in one stitch)
- DEC: Decrease (combine two SCs into one)
- PICOT: Chain 2, slip stitch into the last chain to form a small bump
- SL ST: Slip Stitch
Pattern Notes:
- This design includes multiple techniques: magic ring, single crochet increases/decreases, and picots for added texture.
- Place markers at the beginning of rounds to help track progress.
- Color changes are present, so ensure smooth transitions by pulling threads tightly and tidying loose ends.
- A lighter is used to secure thread ends, but ensure safety while handling it.
Gauge, Approximate Size, and Pattern Notes
Gauge: Gauge is not critical for this project, as the design is decorative. However, aim for consistent tension.
Size: The finished sunflower bouquet hanger is approximately 5–6 inches in diameter (depending on yarn and tension).
Special Techniques: Magic ring and picots are essential for this tutorial—practice these beforehand if you're unfamiliar.
Gauge Swatch: No gauge swatch is needed.
Step-by-Step Pattern
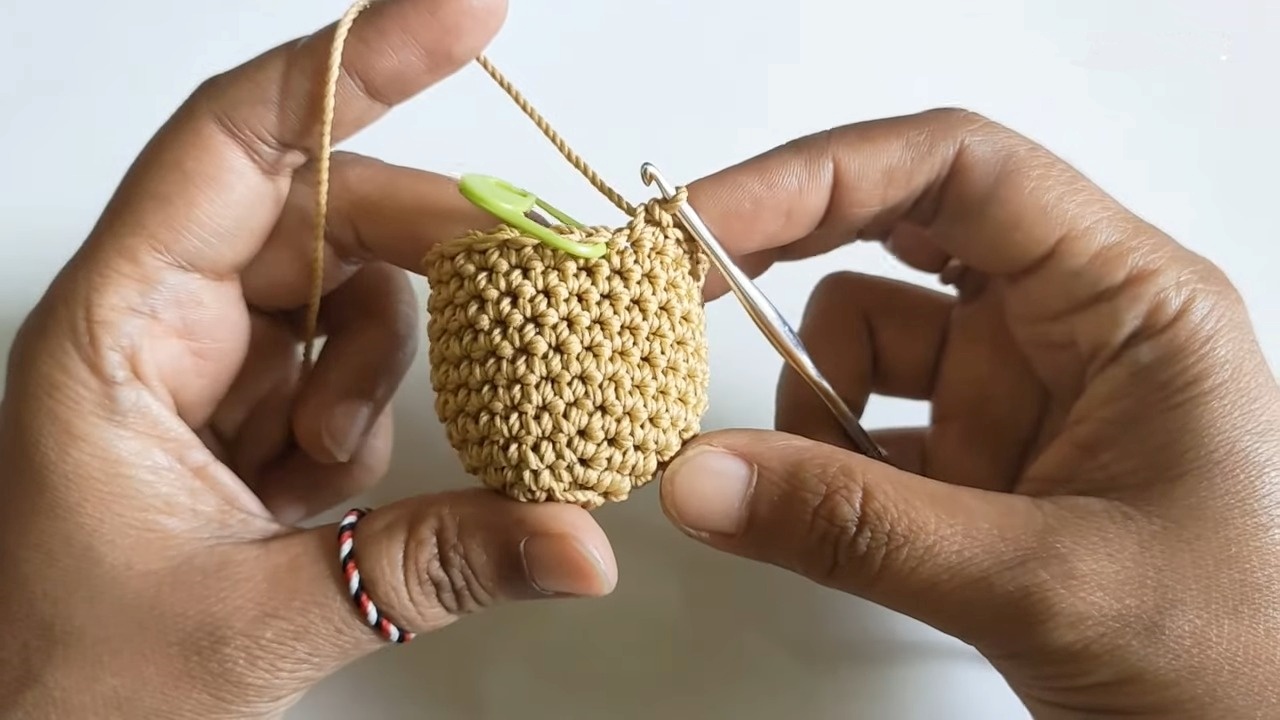
Step 1: Create the Base
- Round 1: Start with a Magic Ring. Inside the ring, CH 1 and make 6 SCs. Pull the short tail to tighten the ring.
- Round 2: Work into the back loops: INC in every back loop (2 SCs per stitch). Place a marker on the first stitch. You should have 12 SCs in this round.
- Round 3: Alternate SC and INC in the back loops for 6 repeats. The row should end with 18 SCs.
- Round 4: Make a pattern of 2 SCs, then INC for 6 repeats. This round has 24 SCs.
- Round 5: SC in each stitch (no increases). Row remains at 24 SCs.
- Rounds 6–11: Continue making simple SC rows for each stitch, keeping the stitch count consistent. Use a marker to note the beginning of each round.
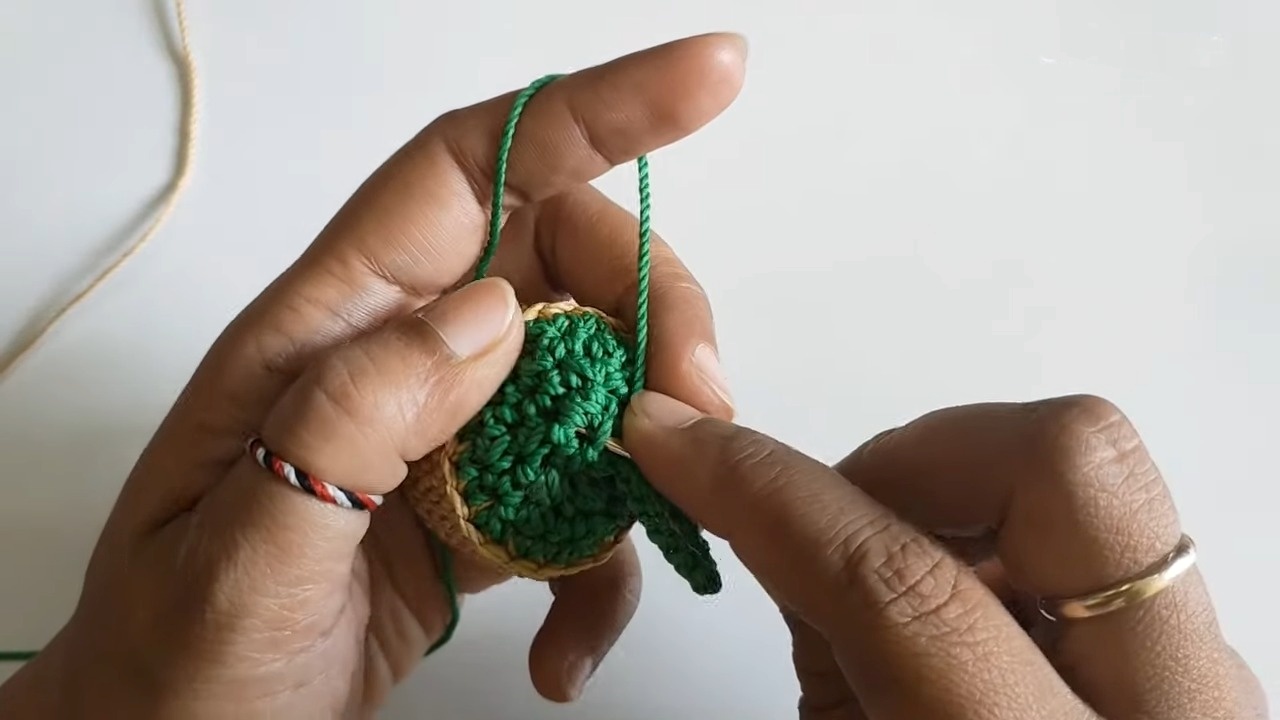
Step 2: Create the Green Section
- Round 12: Change yarn color to green. Work in the back loops again. Create a pattern of 2 SCs followed by DEC (combine two SCs into one) for 5 repeats. This row should have 18 SCs.
- Round 13: Alternate SC and DEC for 6 repeats. This round leaves 12 SCs.
- Round 14: Alternate 1 SC and DEC for 4 repeats. Row ends with 4 stitches.
- Round 15: DEC twice, leaving only 2 stitches. Slip stitch to close the piece.
Fill the base with dacron for shaping, then break the yarn and finish tidying the trim.
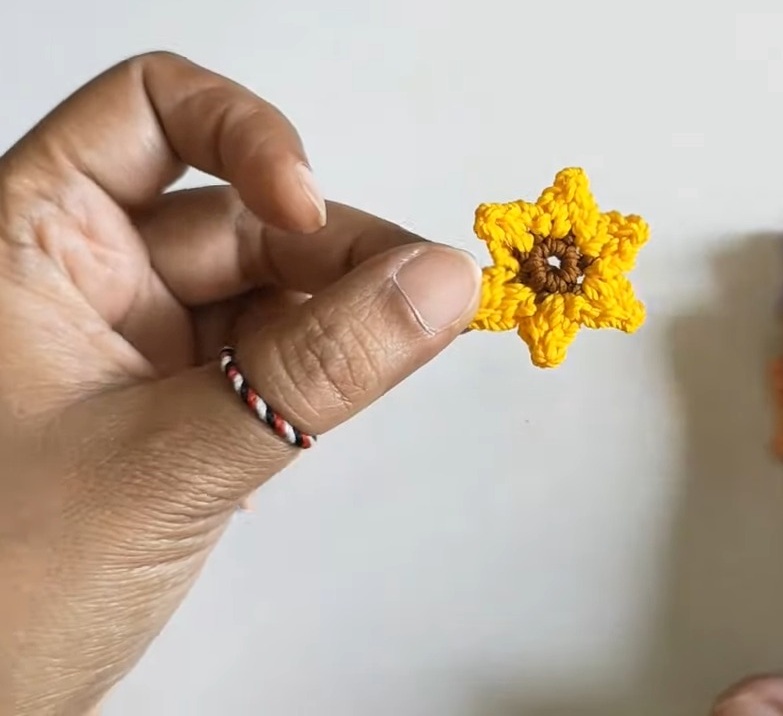
Step 3: Sunflower Petals
- Return to the front loops of Row 2. Attach your main color yarn with a slip knot.
- Round 1: CH 1 and work INC in each front loop. End with 12 SCs.
- Round 2: SC in each stitch (no increases). Round remains at 12 SCs.
- Round 3: Alternate SC and INC for 6 repeats, ending with 18 SCs.
- Round 4: SC evenly in each stitch for consistency (18 SCs). Break yarn and secure edges with a lighter.
Step 4: Flower Petals
- Work a Magic Ring using a 3.0 mm hook. CH 1, make 6 SCs inside the ring, then pull the short thread tight.
- Attach yarn to the initial SC with a SL ST.
- To make petals:
- CH 2, HDC into the next stitch, and CH 2 again.
- Create a PICOT.
- CH 2 again, slip stitching back into the same stitch.
- Repeat for all 6 stitches of the flower base.
- Break the yarn with a lighter and clean remaining threads. Repeat this process to make additional flowers.
Step 5: Leaves
- Attach your green yarn with a slip knot. CH 4.
- Work 2 DCs together into the first chain (partly finish both DCs before combining them).
- CH 2 and make a PICOT. CH 3 and slip stitch back into the starting chain.
- CH 7, skip three chains, and repeat the leaf pattern to create another leaf.
- Make five leaves in total, finishing edges with a lighter.
Step 6: Assembly
- Arrange your flowers and leaves by attaching them together using glue or stitching, depending on your preference.
- Create 20 chains for the hanger (or adjust length as desired) and attach it with slip stitches to the bouquet base.
Pattern Question
Question: Can I adjust the size of the hanger or the flowers?
Answer: Absolutely! You can modify the flower size by using different yarn weights or hook sizes. For a larger hanger, add more flowers or adjust the base.
Conclusion
This crochet flower hanger is more than a craft—it's an experience! Easy to make, elegant, and practical, it adds beauty and uniqueness to your home or gifts. Try this project today to spark your creativity and create a lasting piece of art.


