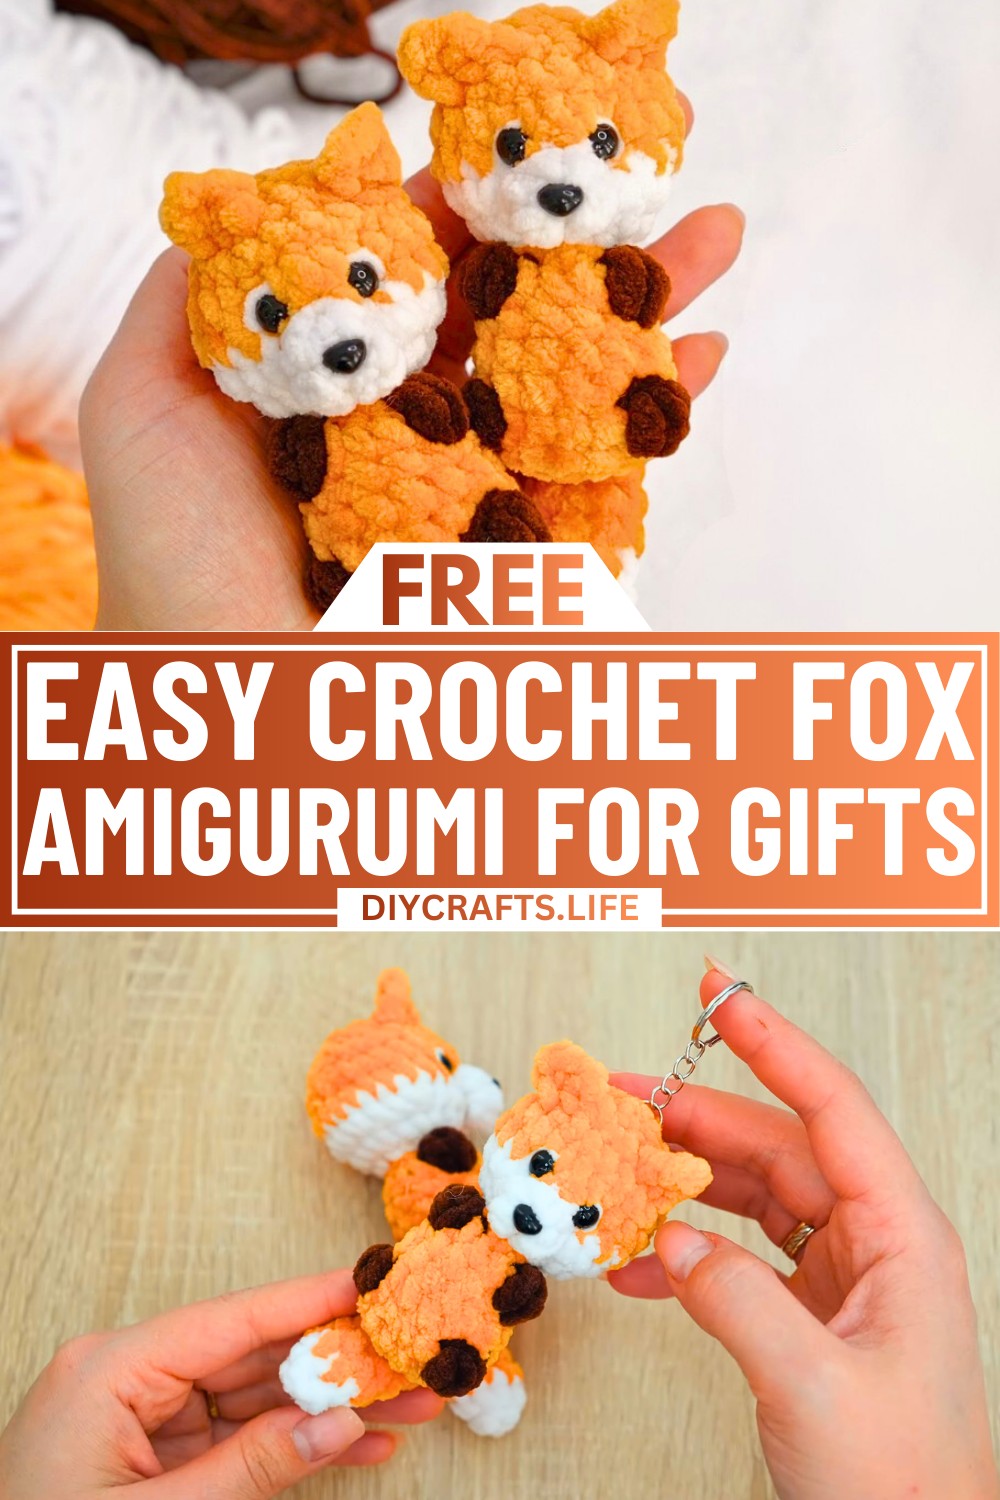
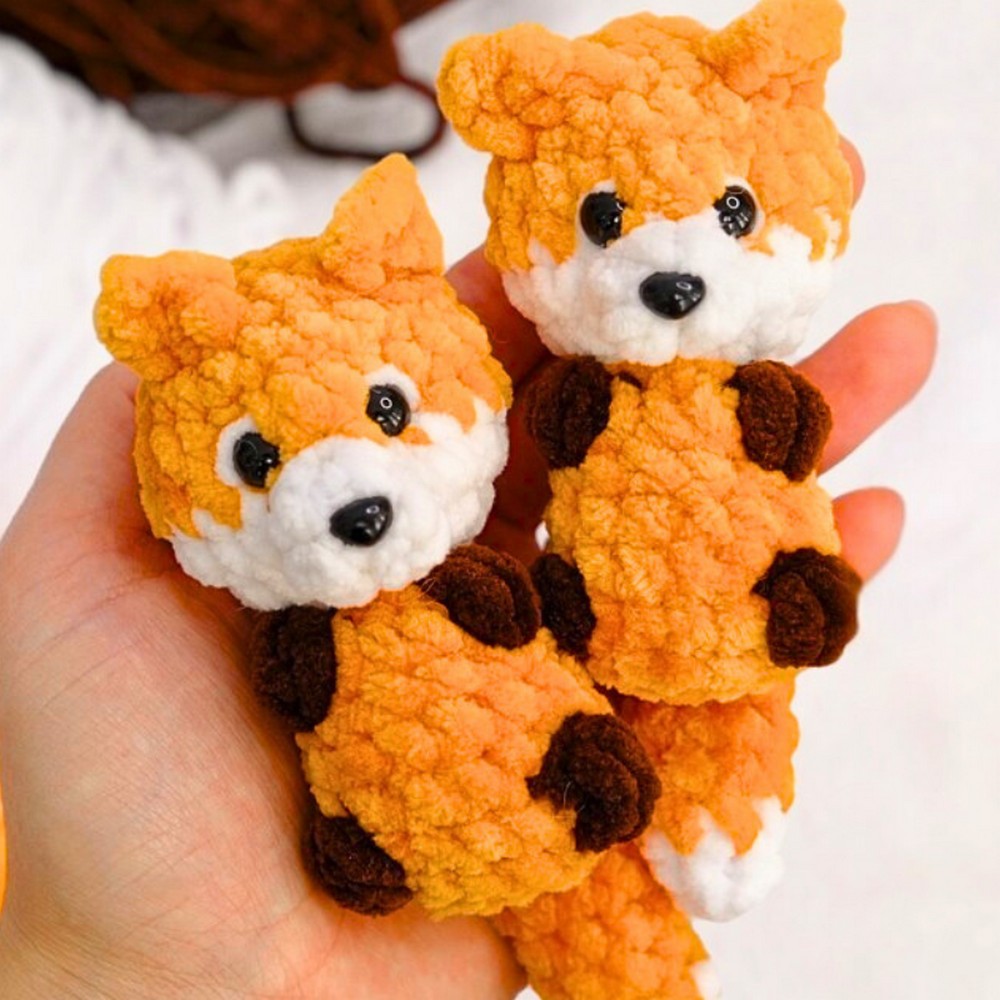
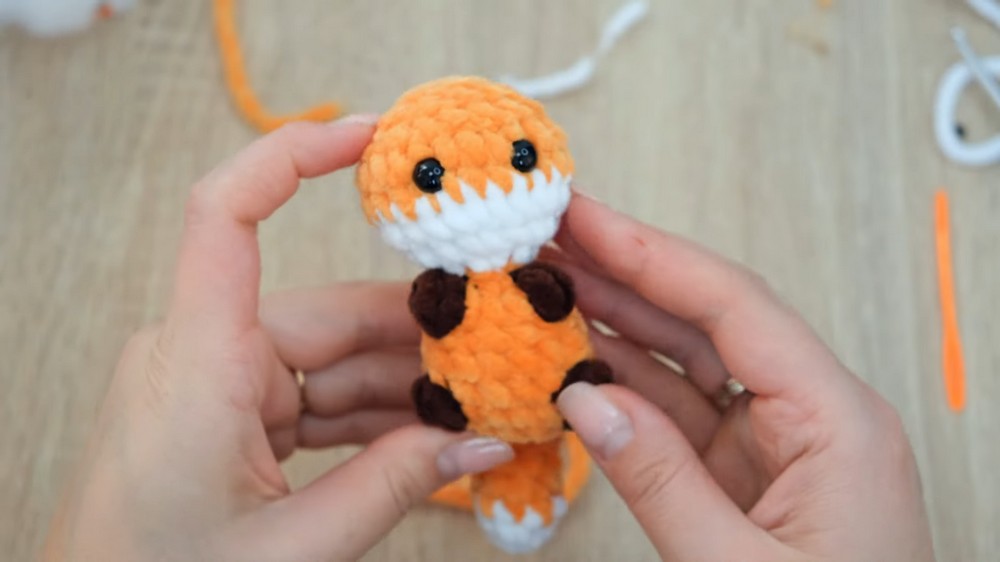
Say hello to your new crocheted fox buddy! This adorable little crochet fox is more than just cute—it’s a delightful addition to your day. You can keep it as a small toy, use it as cheerful room decor, or make it into a fun keychain to carry with you wherever you go. With its bright colors and lovable features, it’s sure to make anyone smile!
Crochet Fox Amigurumi Tutorial
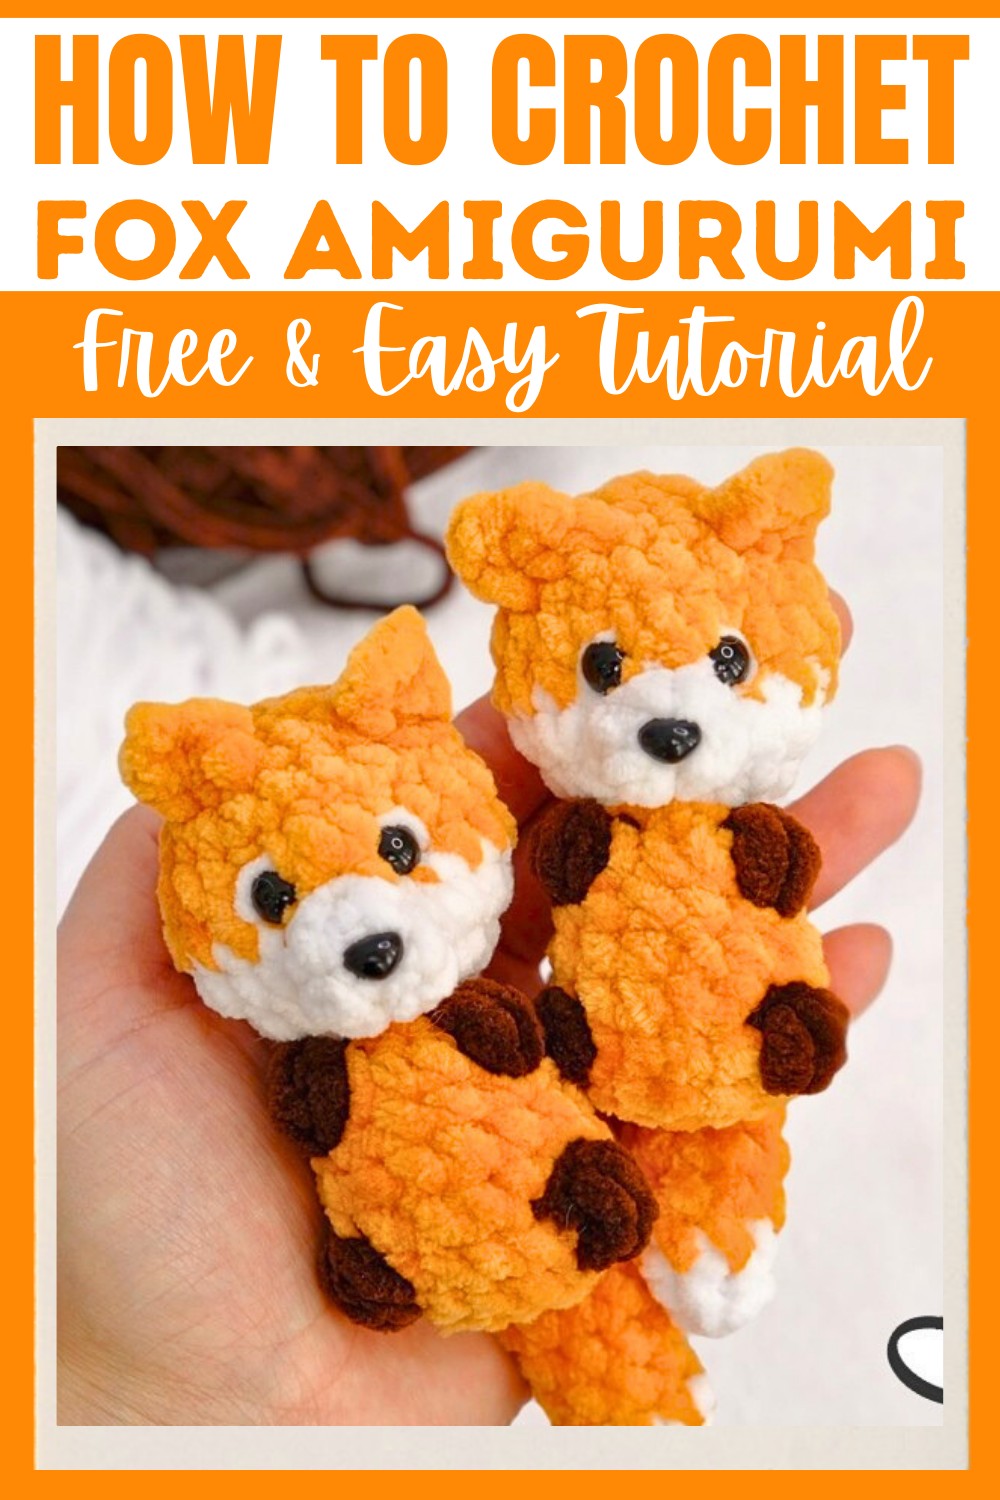
Making this fox is simple, even for beginners. It uses soft, plush yarn, a few basic tools, and just a little bit of time. The process is broken down into easy steps, like crocheting the tail, sculpting the head, and adding playful details like its ears, arms, and legs. You'll even get to place its charming eyes and nose, bringing the fox to life!
Whether you're making one for yourself, gifting it to a friend, or preparing for a craft market, this fox is perfect for all occasions. It’s simple, fun, and a sweet way to enjoy crocheting!
Credit DidyToys
Required Materials
- Plush Yarn - 3 colors are needed: White, Orange, and Brown.
- Crochet Hook - 4 mm size.
- Scissors
- Stitch Marker - (or a thread of contrasting color).
- Amigurumi Eyes and Nose - Use safety eyes and nose for extra security.
- Plastic Needle/Wide-Eyed Needle
- Preferably for plush yarn.
- Fiberfill - To stuff the toy.
- Strong Thread and Long Metal Needle - For sculpting the muzzle.
Important Notes
- This project is beginner-friendly, and should only take a short amount of time to complete.
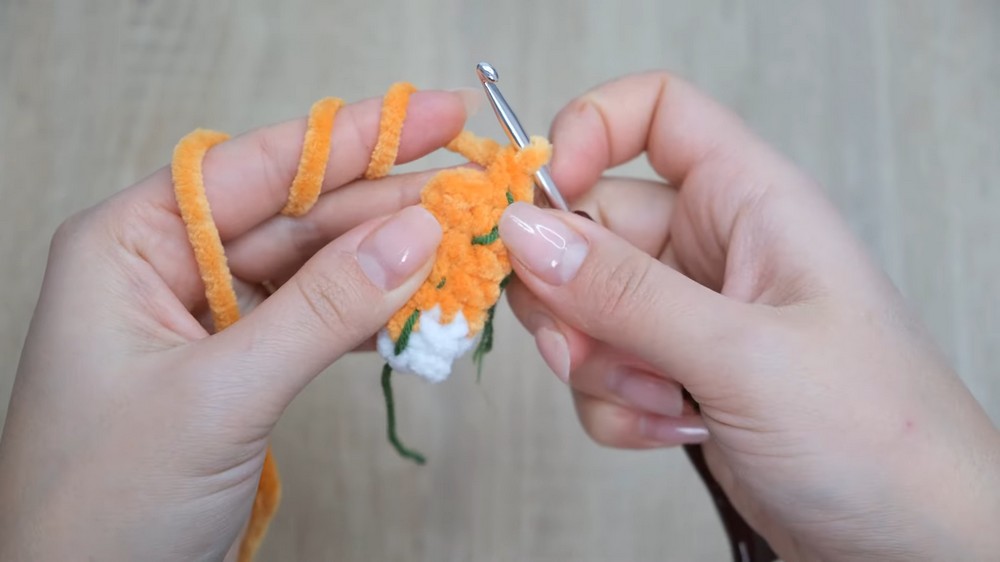
- If you're crocheting with plush yarn, a traditional magic circle might not be convenient. Instead, use an alternate starting technique like chaining two and crocheting into the first chain.
- Use safety eyes and nose for durability, especially if the item is intended for young ones.
- Keep track of the beginning of each round using a stitch marker or contrasting thread for accuracy.
- Always fasten and weave in loose ends securely to ensure the finished project is neat.
Detailed Step-by-Step Instructions
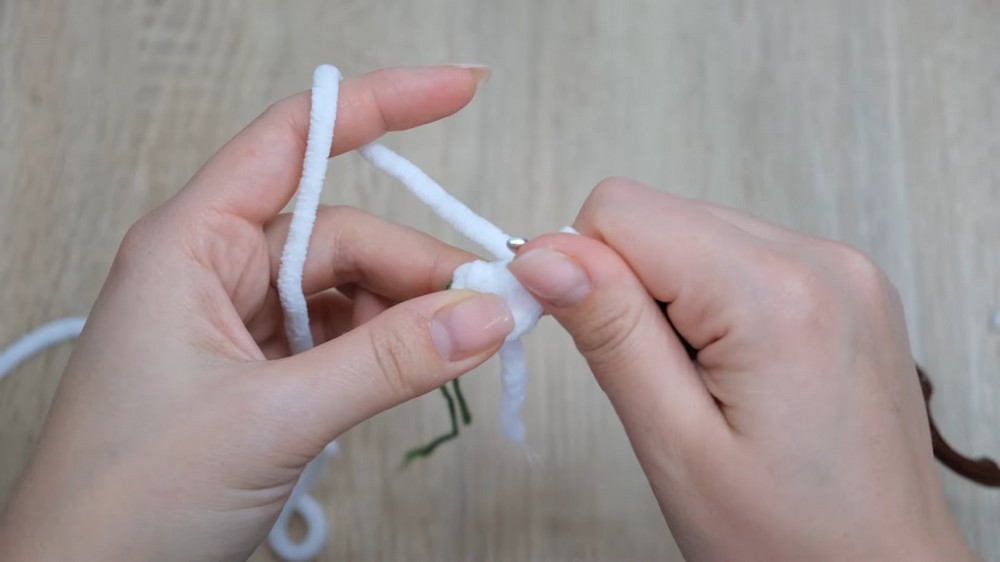
1. Crochet the Tail:
- Begin with white yarn and create a slipknot.
- Chain 2 stitches, and crochet 4 single crochets in the first chain.
- (Alternatively, use a magic circle if you’re comfortable).
- For Round 2, make 4 increases:
- Crochet 2 single crochets into each stitch around (8 stitches total).
- Switch to orange yarn after the last stitch.
- Crochet 4 even rounds (8 single crochets per round).
- For the next round, crochet:
- 2 single crochets → 1 decrease → Repeat (6 stitches total).
- Fold the tail in half (do not stuff the tail) and crochet the edges together to close. Leave a long thread for sewing.
2. Crochet the Muzzle:
- Use white yarn and chain 2 stitches.
- Work 4 single crochets in the first chain (Round 1).
- For Round 2, crochet:
- 1 single crochet → 1 increase → Repeat twice (6 stitches total).
- Cut the thread, leaving a tail for sewing.
- Attach the safety nose between Rounds 1 and 2. Secure and fasten the nose. Sew the muzzle to the head after completing the body and head.
3. Crochet the Body:
- With orange yarn, chain 4 stitches to start.
- Round 1:
- Start with an increase in the second chain, then work 1 single crochet into the next chain.
- Work 4 single crochets into the last chain.
- Continue on the opposite side of the chain:
- 1 single crochet → 1 increase (10 stitches total).
- Round 2:
- Make an increase → Crochet 3 single crochets → Make 2 increases → Crochet 3 single crochets → Make 1 increase (14 stitches total).
- Attach the tail to the back of the body during the next round.
- Add legs using puff stitches:
- Attach brown yarn for each leg. Create puff stitches followed by single crochets. Repeat on both sides for two legs.
- Complete the body and stuff it with fiberfill.
4. Crochet the Head:
- The head is a continuation of the body (do not break the yarn).
- Switch to white yarn for the first few rows of the head.
- Crochet even increases for several rounds to shape the head (from 6 stitches → 24 stitches).
- Switch back to orange yarn and crochet two even rounds before decreasing:
- Use single crochets and decreases to shape the top of the head.
- Add safety eyes between Rounds 12 and 13 (three stitches apart).
- Stuff the head, finishing with decreases to close the opening.
- Use a needle to close the final hole and weave in yarn tails securely.
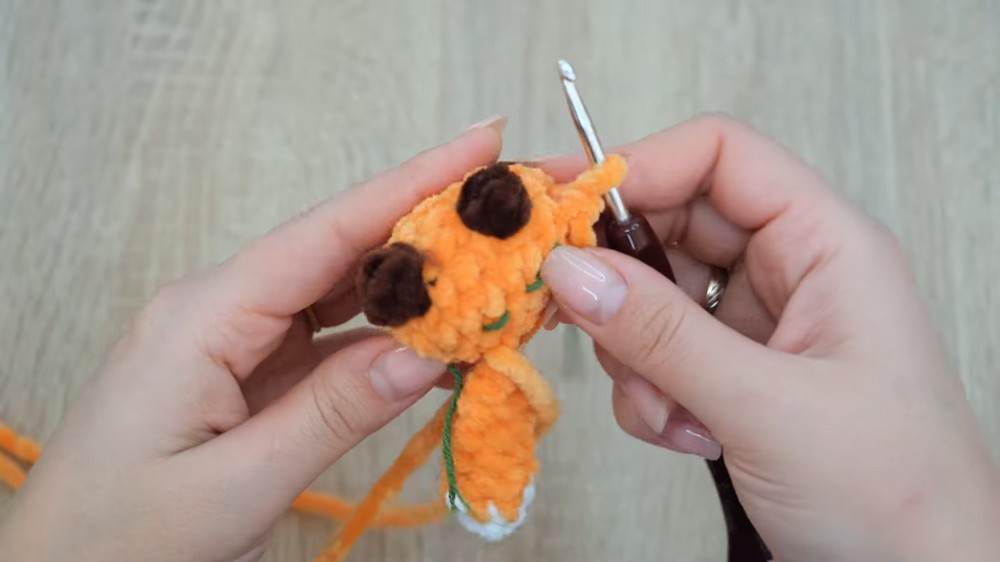
5. Crochet the Ears:
- Attach orange yarn to the head where you want the first ear.
- Work 2 single crochets. Chain 1, turn your work, and decrease across the two stitches.
- Cut the thread, fasten off, and weave in the ends. Repeat for the second ear on the opposite side of the head.
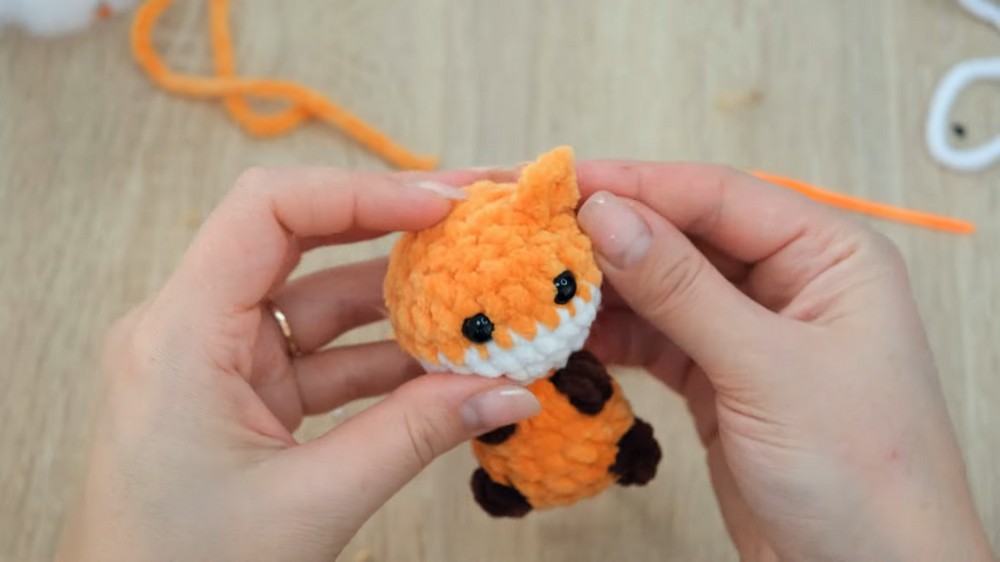
6. Sculpt the Muzzle and Decorate the Eyes:
- Use a long metal needle with a strong thread (double-stranded) to sculpt the muzzle.
- Pass the needle through the head and pull firmly to define the muzzle shape.
- Add details around the eyes using the white yarn or embroidery thread.
- Tie secure knots, weave in the ends, and trim.
Final Assembly
- Sew the finished muzzle to the front of the head.
- Double-check all attachments for durability.
- Optionally, attach a keyring or leave it as a standalone plush toy.