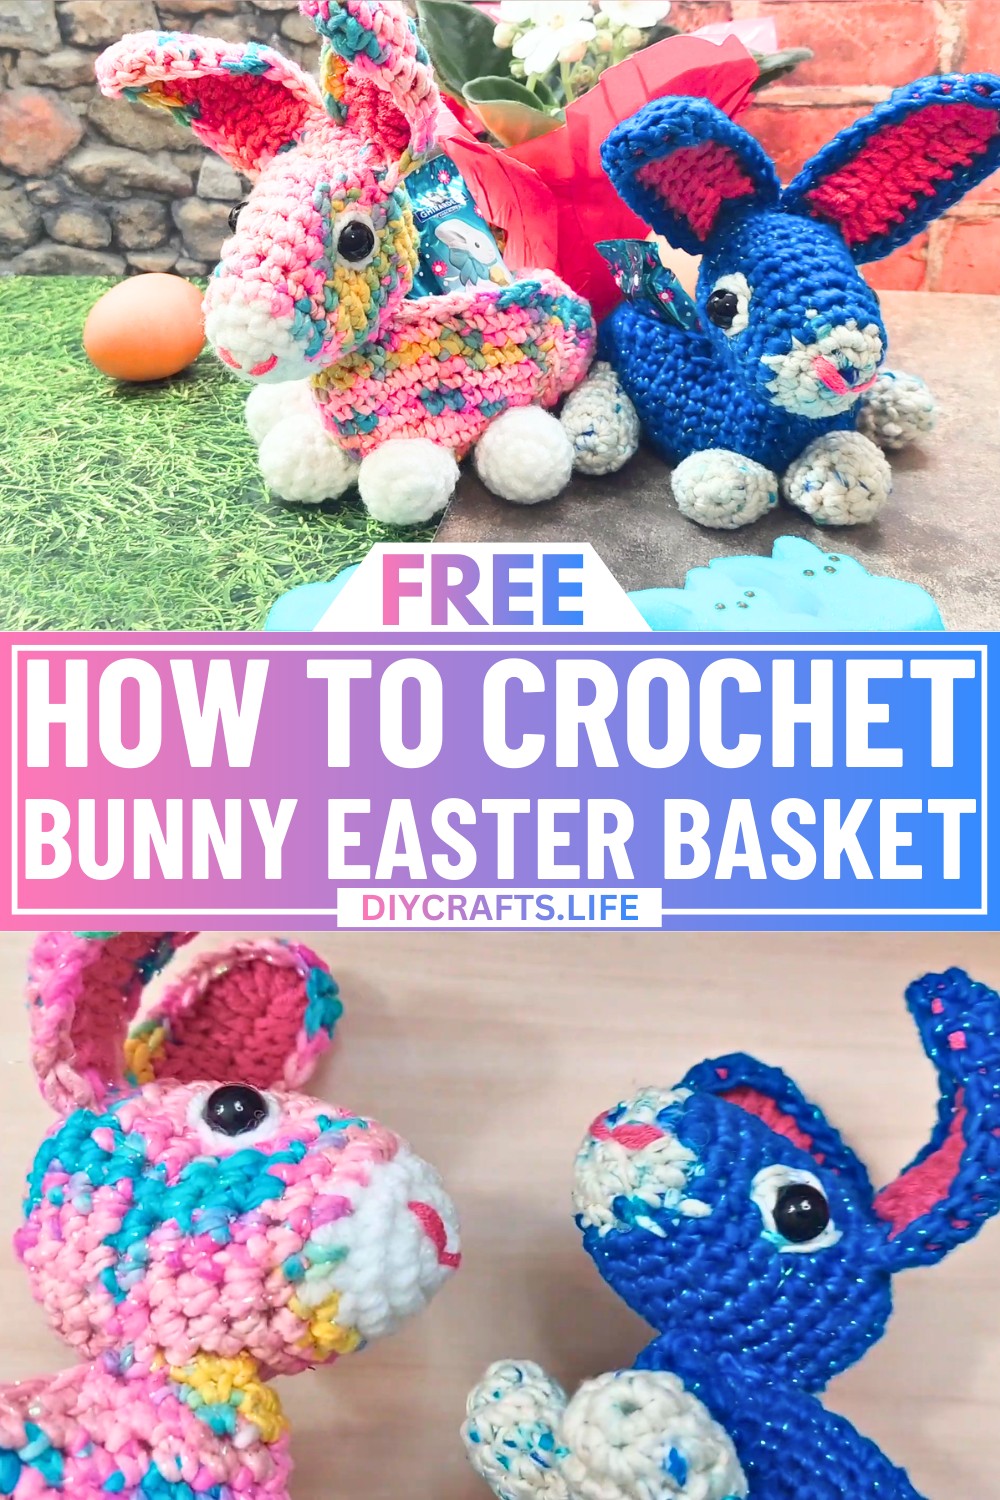
A bunny-shaped basket adds charm to any space! This adorable crochet basket is perfect for Easter, spring celebrations, or as a cute gift. You can use it for storing treats, small toys, or even as decor for your desk or shelf. For animal lovers, it’s a wonderful keepsake that brings smiles every time you see it.
Crochet Mini Bunny Easter Basket
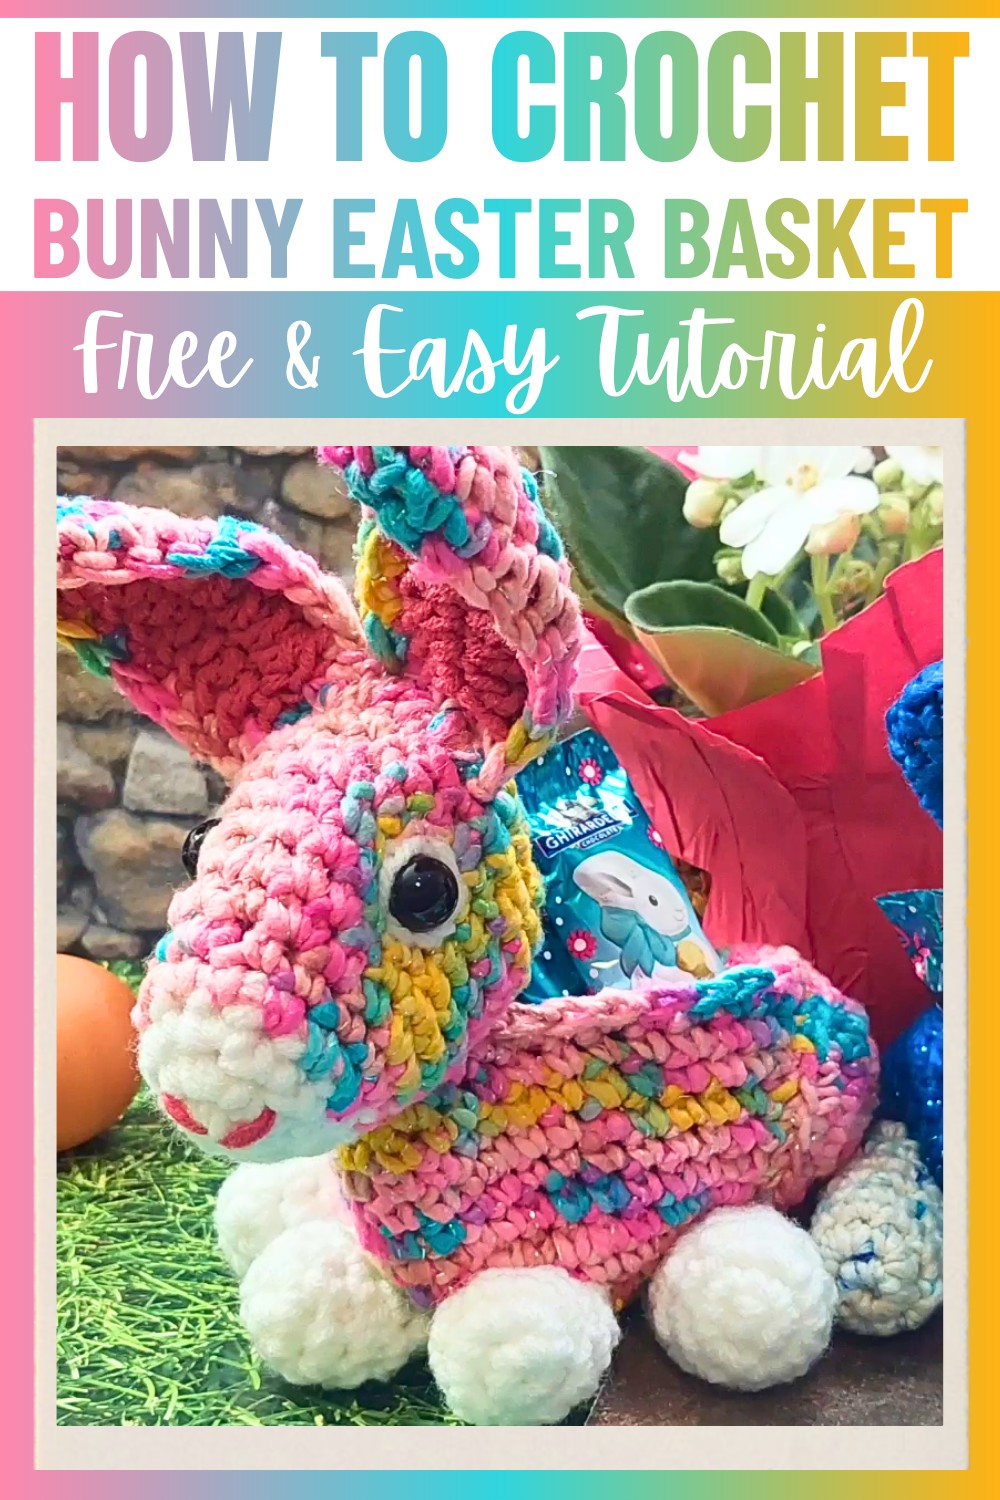
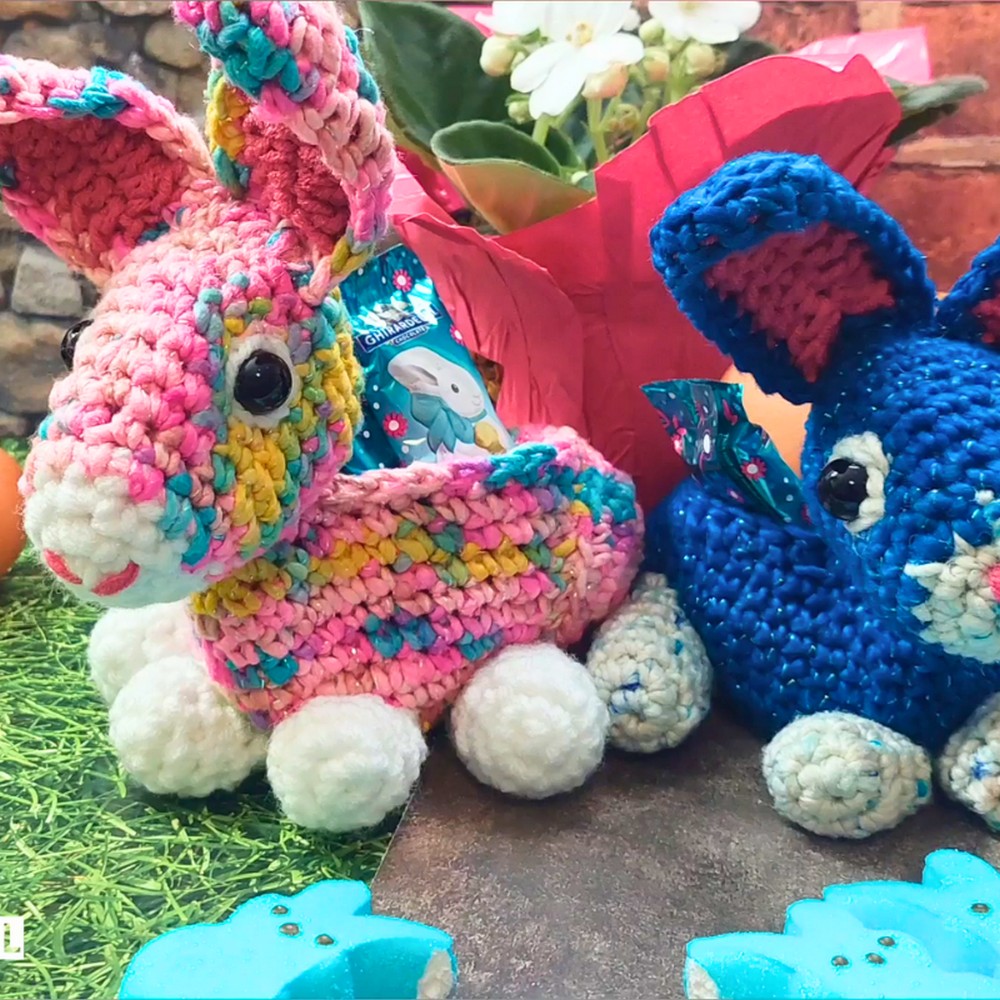
Whether you fill it with Easter eggs, small plants, or knitting supplies, this crochet bunny basket is both cute and functional, making it the perfect addition to your home. Enjoy adding your personal touch by picking favorite yarns or playful accessories like embroidered eyes or colorful details.
Credit Weaving Wyrd Studio
Materials & Tools Needed
- Yarn: Worsted weight yarn (4-weight). Recommended:
- Silk Roving Worsted Weight (Darn Good Yarn, Mist Colorway)
- Sparkle Worsted Silk Yarn (Darn Good Yarn, Classic Blue)
- Scraps of Pink and White Acrylic Yarn
- Crochet Hook: Size G (4 mm hook)
- Buttons: Small black buttons for eyes (optional). Alternatives: embroidered eyes or safety eyes
- Pom-Pom Maker: For the tail (optional, or use pre-made pom-poms)
- Tapestry Needle: For sewing pieces together
- Stitch Marker: To track rounds
- Stuffing: Polyfill for the head and limbs (optional, depending on the look)
- Scissors
Finished Size & Customization Ideas
- The finished basket is small and suitable for holding smaller items like stitch markers, candy, or tiny plants.
- Approximate Dimensions: The base (basket body) diameter is around 6–7 inches. The bunny ears, legs, and body height will depend on stuffing.
- Customization Ideas:
- Use seasonal pastel yarns or bright colors.
- Personalize details like embroidered noses or striped bunny ears.
- Add fabric or plush inserts inside the basket for sturdiness.
Pattern Abbreviations & Terminology
- st: Stitch
- sc: Single Crochet
- dc: Double Crochet
- inc: Increase (two single crochets in one stitch)
- dec: Decrease (crochet two stitches together)
- ch: Chain
- sl st: Slip Stitch
- Adjustable Ring: Magic Circle or Magic Ring
- RS: Right Side (front side of the fabric, facing outward during construction)
Step-by-Step Detailed Crochet Instructions
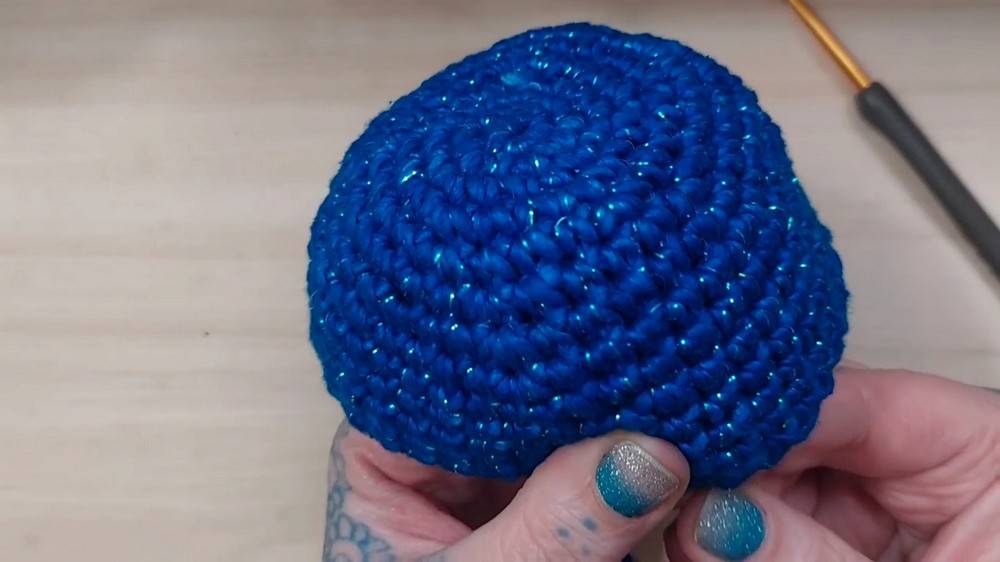
1. Basket Body
Rounds:
- Make an adjustable ring. Crochet 5 sc into the ring. Tighten and join to form a small circle.
(Stitch Count: 5) - Inc in each st (2 sc per stitch). (Stitch Count: 10)
- Pattern: [sc, inc] around. (Stitch Count: 15)
- Pattern: [sc 2, inc] around. (Stitch Count: 20)
- Pattern: [sc 3, inc] around. (Stitch Count: 25)
- Pattern: [sc 4, inc] around. (Stitch Count: 30)
- Pattern: [sc 5, inc] around. (Stitch Count: 35)
- Pattern: [sc 6, inc] around. (Stitch Count: 40)
9-13. Sc in each st for 5 rounds to build height. Move your stitch marker to track rounds. (Stitch Count: 40)
Assembly:
- Create two identical basket pieces. Insert one inside the other, ensuring the right side (RS) faces outward.
- Join: Single crochet through the outer edge of both layers. Fasten off.
- Weave in ends securely between the two layers.
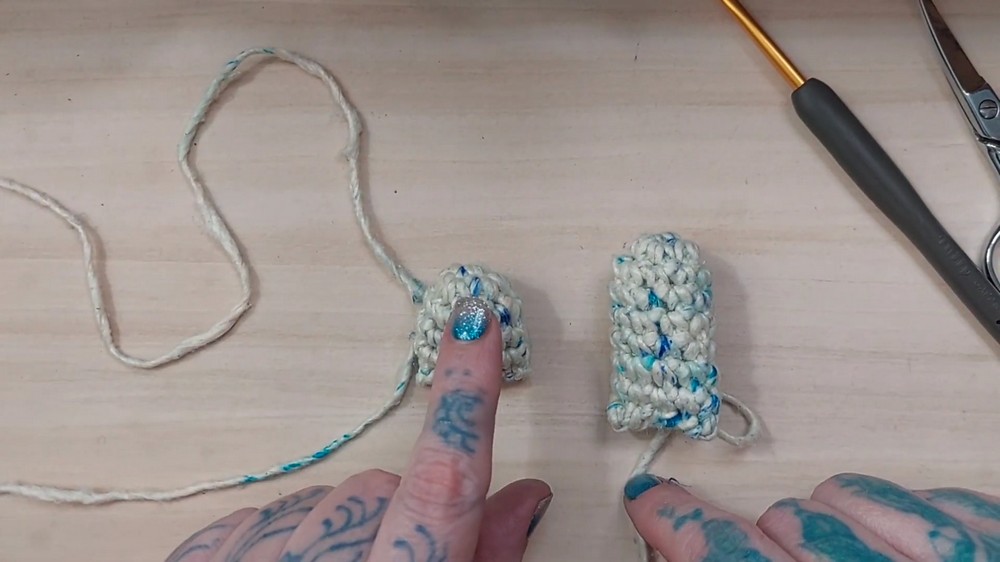
2. Bunny Legs
Hind Legs:
- Make an adjustable ring. Crochet 5 sc in the ring. (Stitch Count: 5)
- Inc in each st (2 sc per stitch). (Stitch Count: 10)
- Pattern: [sc, inc] around. (Stitch Count: 15)
- Pattern: [sc 2, inc] around. (Stitch Count: 20)
- Pattern: [sc 3, inc] around. (Stitch Count: 25)
- Slip stitch into the next st. Fasten off, leaving a long tail for sewing.
- Make light stuffing for shape and sew onto the basket’s base at two hind points.
Front Paws:
Repeat the hind leg pattern, but stop at Round 5. Create smaller front paws. Stuff lightly and sew around the body.
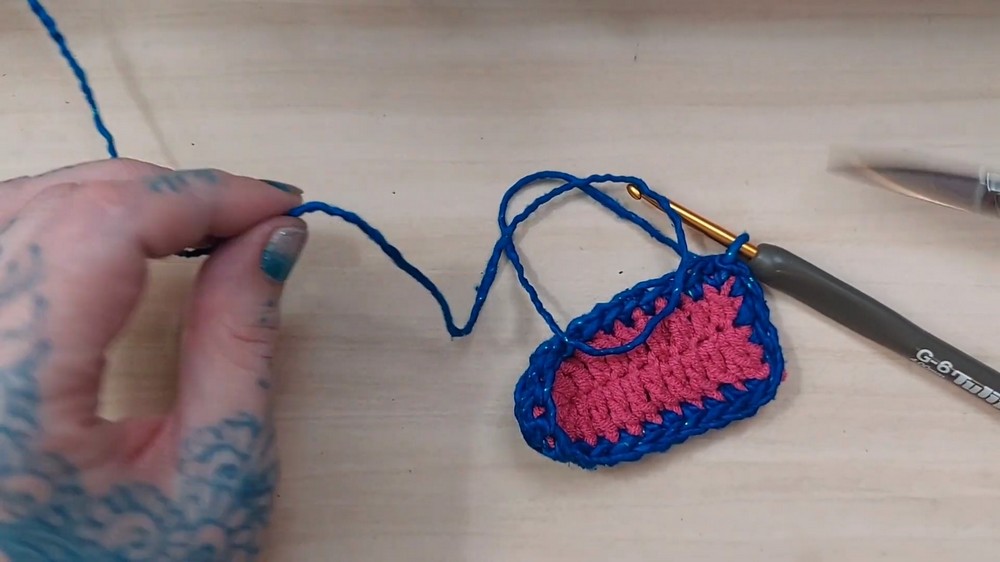
3. Bunny Ears
Pink Inner Ear & Blue Outer Ear:
- Chain 11.
- Make 1 dc in third chain from the hook.
- Dc 7 more stitches along the chain. (Total: 9 dc including initial chain-space dc)
- In the last stitch, make 5 dc to create the curve of the ear.
- Continue dc 9 along the other side of the chain.
- Fasten off, leaving a long tail for sewing.
Assembly:
- Create 2 pink inner ears and 2 outer blue ears.
- Sandwich inner and outer ears (making sure RS faces outward).
- Single crochet through both layers around the edge. Fasten off.
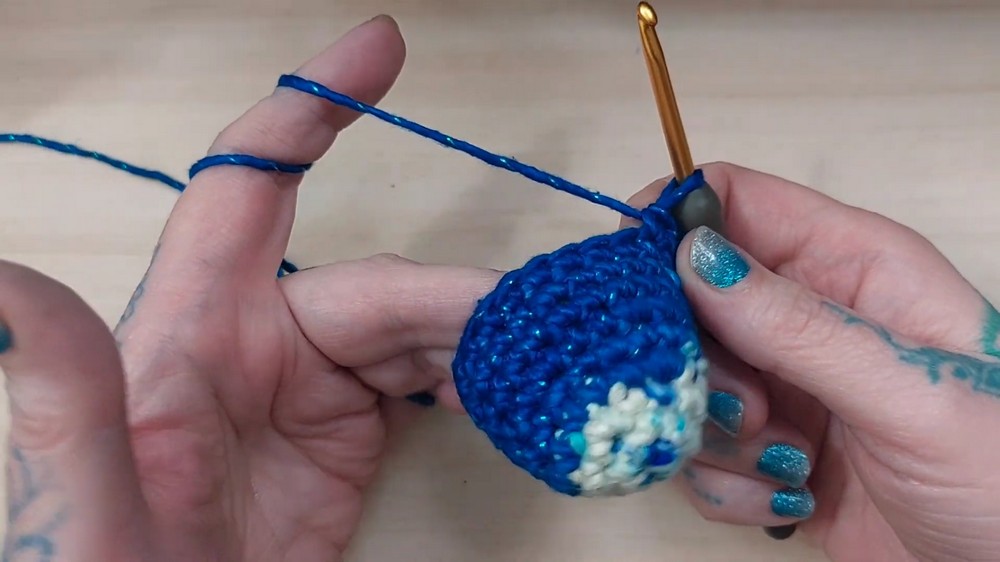
4. Bunny Head
- Adjustable Ring: Start with 5 sc.
- Round 2: Inc in each st. (Stitch Count: 10)
- Round 3: Pattern: [sc 2, inc], then an additional sc. (Stitch Count: 13)
- Round 4: Inc, sc 4, repeat. (Stitch Count: 17)
- Round 5: Sc each st around. (Stitch Count: 17)
- Round 6: Pattern: [inc, sc 3] x4. (Stitch Count: 21)
7–9: Sc each stitch for these 3 rounds. - Pattern: [inc, sc 12, inc, sc 6]. (Stitch Count: 25)
- Create indentations for the eyes: Skip 1 st, sc 10, skip next st, sc around.
- Round 12: Sc each stitch.
- Decrease rounds: [sc 2, dec] repeat. Continue decreasing until closed.
- Stuff firmly before closing fully.
- Embroider a pink triangular nose shape and sew black buttons (or add safety eyes to skipped spaces in Round 11).
5. Bunny Tail
- Use a pom-pom maker or create a simple yarn pom-pom by wrapping yarn around fingers. Sew onto the back of the bunny basket.
Assembly
- Sew the stuffed head onto the edge of the basket body.
- Attach ears securely to the top of the head.
- Position and sew hind legs and front paws toward the bottom of the basket.
- Place the pom-pom tail on the back.
Finishing Touches
- Hide all loose ends.
- Shape and adjust stuffing for a polished look.