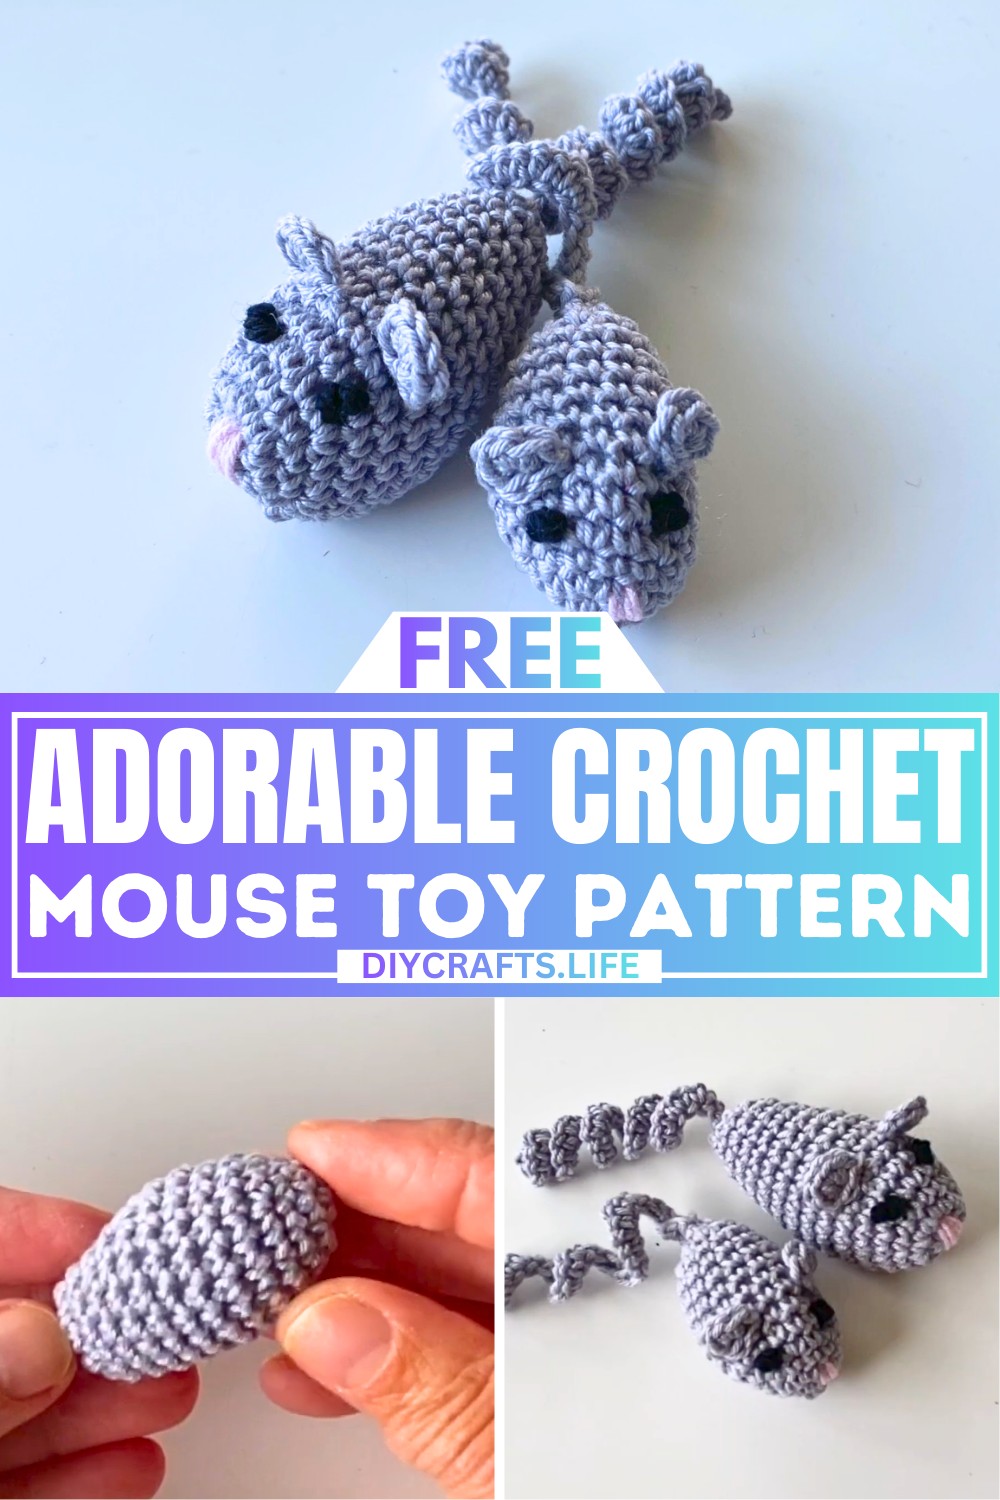
Looking for a fun and adorable way to keep your cat entertained? This crochet mouse toy is the perfect addition to your pet's toy collection! Designed to look like a little mouse, it’s soft, cute, and easy to make, even for beginners. This delightful toy not only sparks your cat’s playfulness but also makes for a handmade treasure that adds a personal touch to their playtime.
Easy Crochet Mouse Toy for Cats
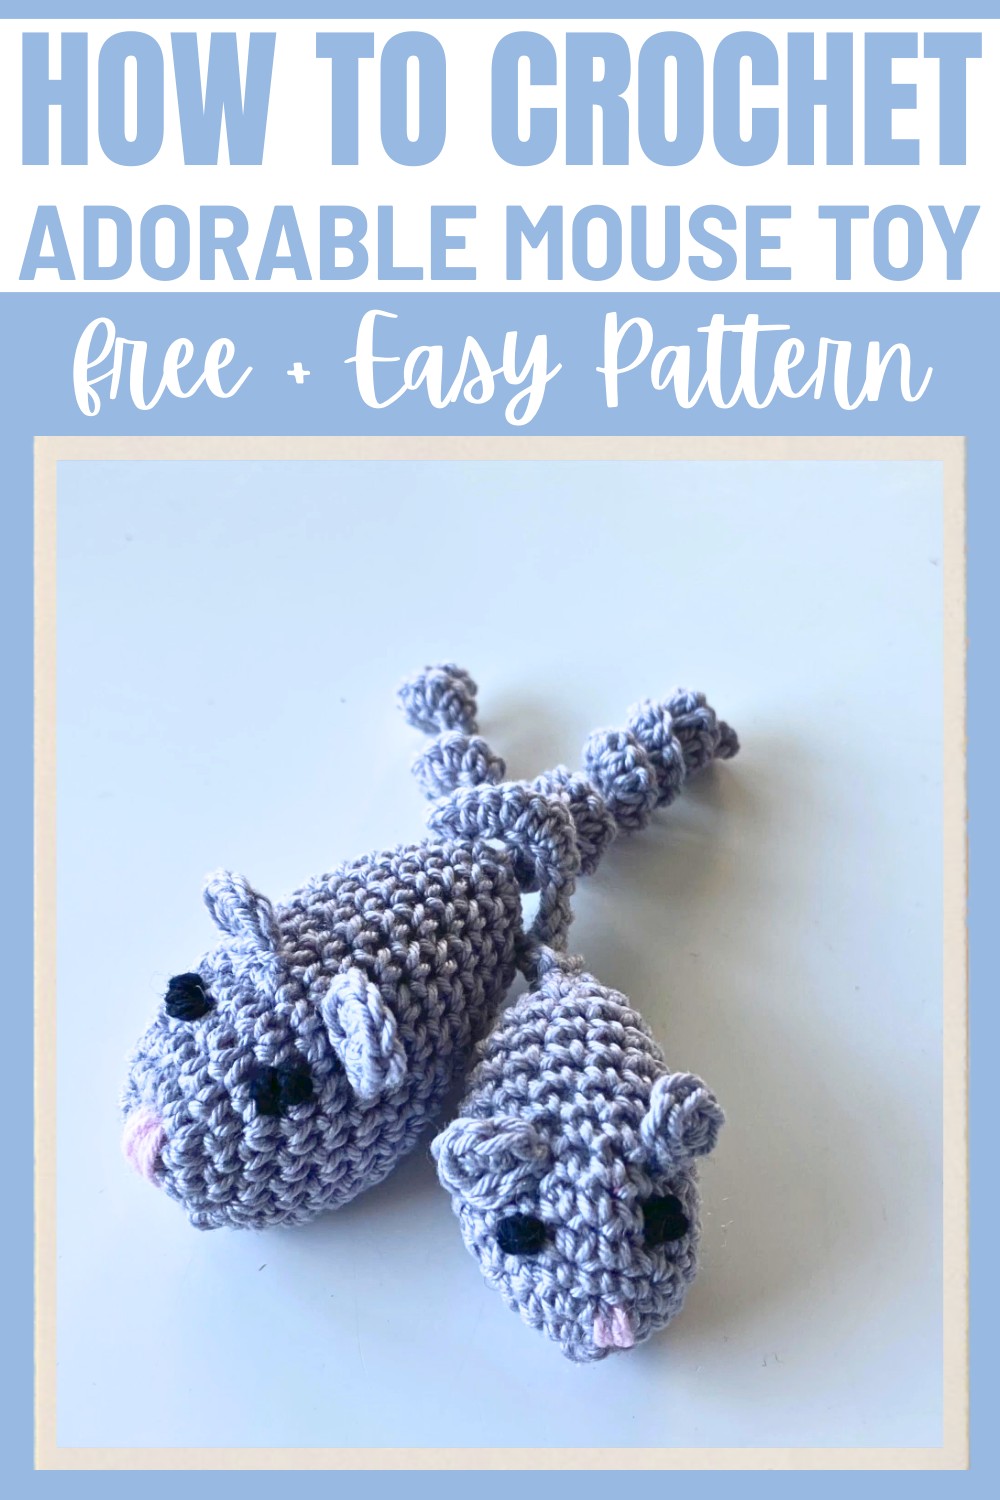
This pattern is simple and enjoyable to create. It’s perfect for practicing your crochet skills while crafting something your cat will love. You’ll enjoy watching your cat chase, bat, and pounce around with a fun little toy that has been lovingly made by you. If you’re new to crochet, don’t worry—this mouse toy is an easy and beginner-friendly way to get started.
Credit Hook & Loop Crochet Tutorials
Materials & Tools Needed
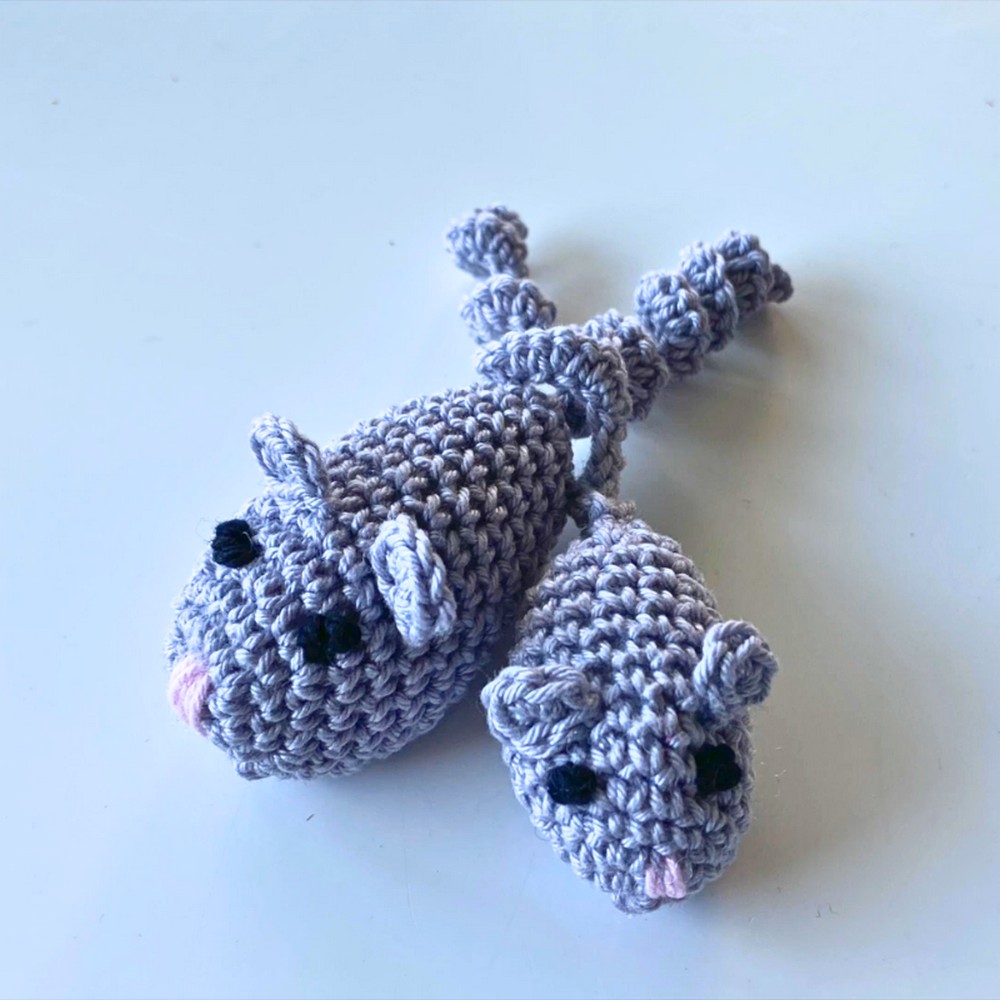
- Yarn: Gray (body), Pink (nose), Black (eyes) — preferably 100% cotton yarn.
- Polyfill: For stuffing the body.
- Crochet Hook: 2 mm (adjustable depending on your yarn weight).
- Accessories: Tapestry needle, scissors, a couple of pins, and a stitch marker (optional).
Finished Size & Customization Ideas
- Standard Size: Designed for small to medium cats, perfect for play.
- Custom Size: Create a larger mouse by increasing stitch counts (see notes in the tail section).
Customization ideas:
- Vary body colors based on your cat's preferences.
- You can use safety eyes instead of embroidering for a different look.
- Experiment with tail length and curl tightness to make the toy unique.
Step-by-Step Detailed Crochet Instructions
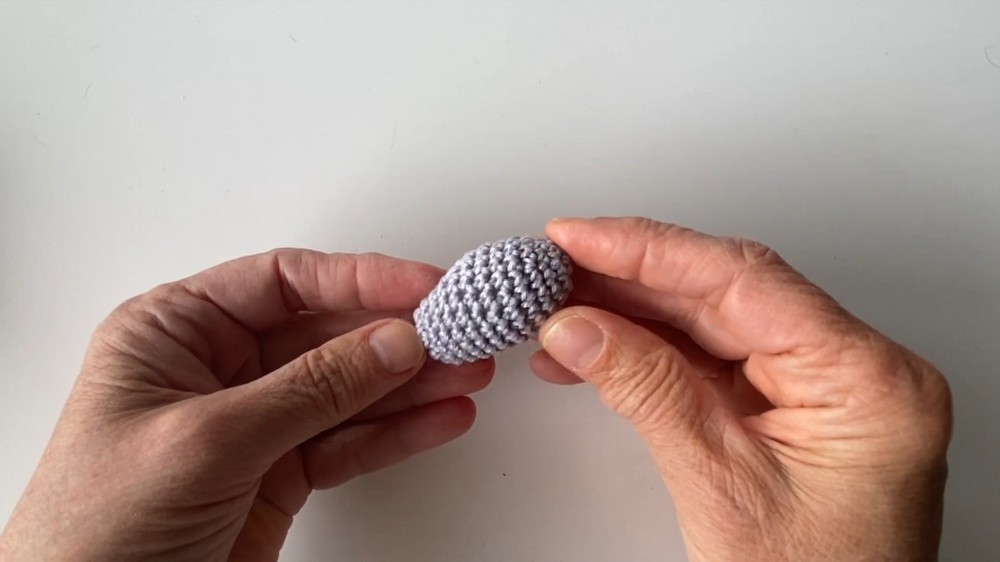
The Body
- Round 1:
- Start with a magic ring.
- Ch 1, make 6 single crochets (sc) inside the ring.
- Slip stitch (sl st) into the first sc to close the round.
- Round 2:
- Increase: Make 2 sc in each stitch.
- Total stitch count: 12 stitches.
- Round 3:
- 1 sc into each stitch.
- Total stitch count: 12 stitches.
- Round 4:
- Alternate 1 sc, and 2 sc into the next stitch (increase pattern).
- Total stitch count: 18 stitches.
- Rounds 5–8:
- Place a stitch marker to track progress (optional).
- Work 1 sc into each stitch.
- Total stitch count: 18 stitches across all rounds.
- Round 9:
- Decrease: Alternate 1 sc, followed by 1 decrease (decrease over 3 stitches).
- Total stitch count: 13 stitches.
- Rounds 10–13:
- Add 1 sc into each stitch.
- Total stitch count: 13 stitches throughout.
- Tip: Stuff the body using polyfill before moving to Round 14.
- Round 14 (Closing the Body):
- Decrease: Work 1 decrease over the next 2 stitches, repeat 3 times.
- Sc 1 to close the round.
- Ch 1, pull the yarn tight, and cut the thread.
- Hide the yarn tail with a tapestry needle.
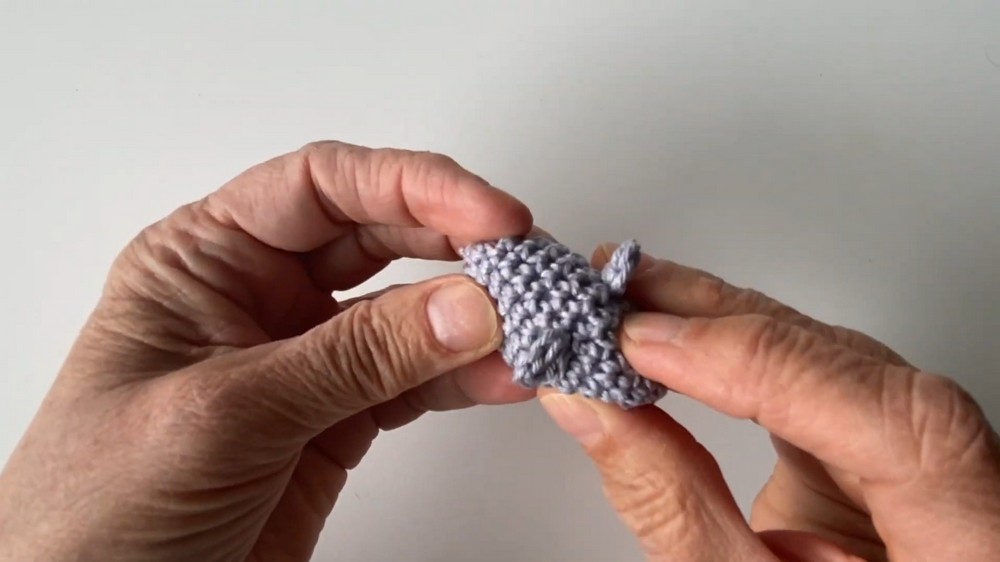
The Ears
- Round 1:
- Start with a magic ring.
- Ch 1, make 6 single crochets (sc) in the magic ring.
- Finishing:
- Slip stitch, ch 1, pull yarn, and leave a long tail for sewing.
- Position the ears using pins (optional).
- Sew the ears securely to the body using the tapestry needle.
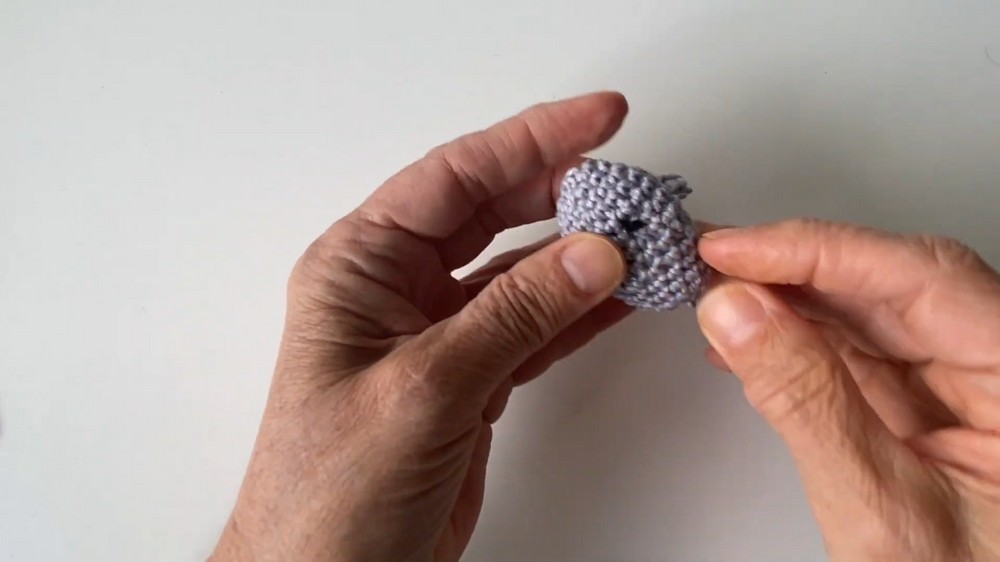
The Eyes
- Use French knots with black yarn:
- Insert the needle from the back to the front of the body at the position you'd like the eye.
- Wrap the yarn around the needle 3 times.
- Hold the wrapped yarn tightly with your fingers.
- Insert the needle close to the original entry point and pull through the body, ensuring the knot remains tight against the body surface.
- Repeat for the second eye.
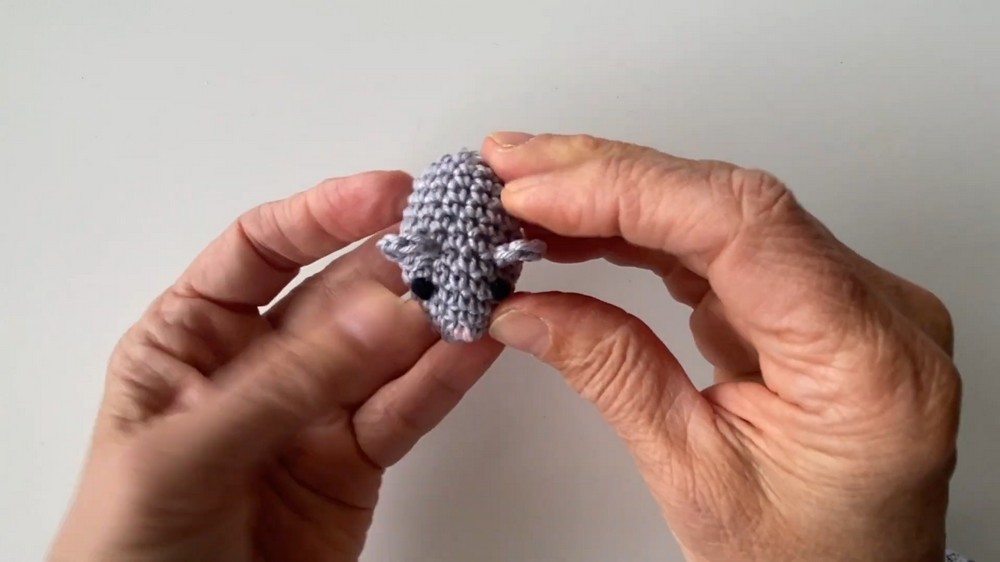
The Nose
- Using pink yarn, embroider a small embroidered nose:
- Make several stitches to form a small triangle or oval shape.
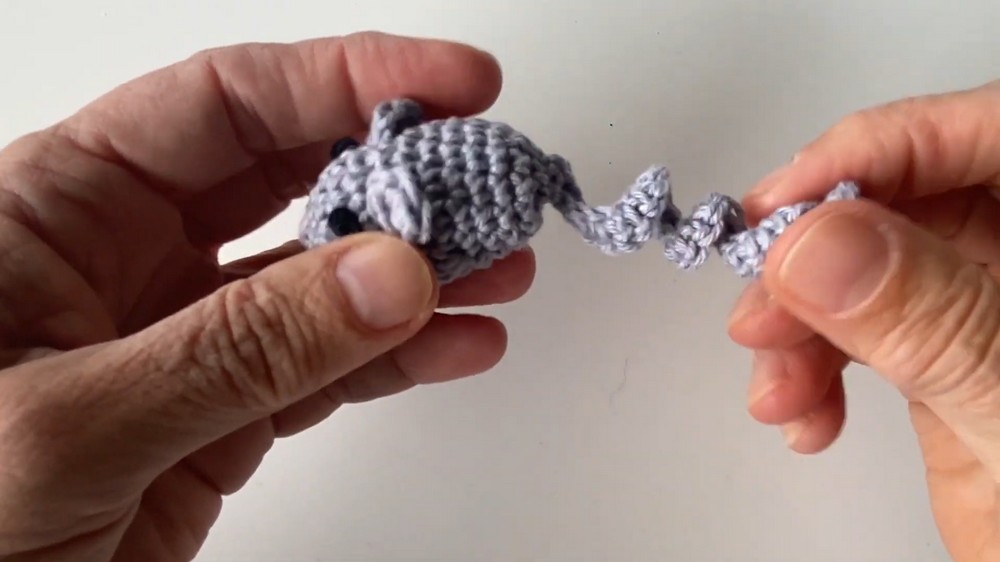
The Tail
- Create a curly cue as the tail:
- Ch 26 with gray yarn.
- Work 2 single crochets (sc) into each chain stitch (curl effect).
- Slip stitch, ch 1, and cut yarn to finish.
- Attach: Sew the tail securely to the back of the body.
Customization for Larger Mouse
- Begin with 8 sc in the magic ring for Round 1.
- Continue increasing until Round ⅝, then start decreasing as in the standard body instructions.
- For a larger tail, chain 32 (instead of 26) and follow the curly cue steps.
Final Notes
- Once the toy is fully assembled, check all stitched components (ears, tail, etc.) for firmness and secure attachment before giving it to your cat.
- Enjoy watching your furry friend have fun with your handmade crochet toy!