Transform simple yarn into a charming symbol of love! This crochet pattern brings together soft textures, modern vibes, and endless possibilities to create a heartfelt masterpiece. Whether you're accessorizing your keys, gifting a loved one, or experimenting with a fresh project, this design is sure to warm hearts and spark creativity.

The Crochet Puff Love Keychain stands out with its playful puff stitch elements, which add a rich texture and depth to the design. The heart-shaped pattern balances elegance and whimsy, making it a versatile accessory for any occasion. Its compact size adds practicality, while the thoughtful design speaks to your unique style. This design is perfect for crocheters of all skill levels, providing a creative outlet to showcase individuality and artistry, all packed into a stunning mini statement piece.
Credit Delilla Craft
Required Materials
- Yarn: Acrylic yarn (or any yarn of your choice).
- Crochet Hook: Size 6 or 3.5 mm, or an appropriate size for the yarn you use.
- Tapestry Needle: For sewing and securing the edges.
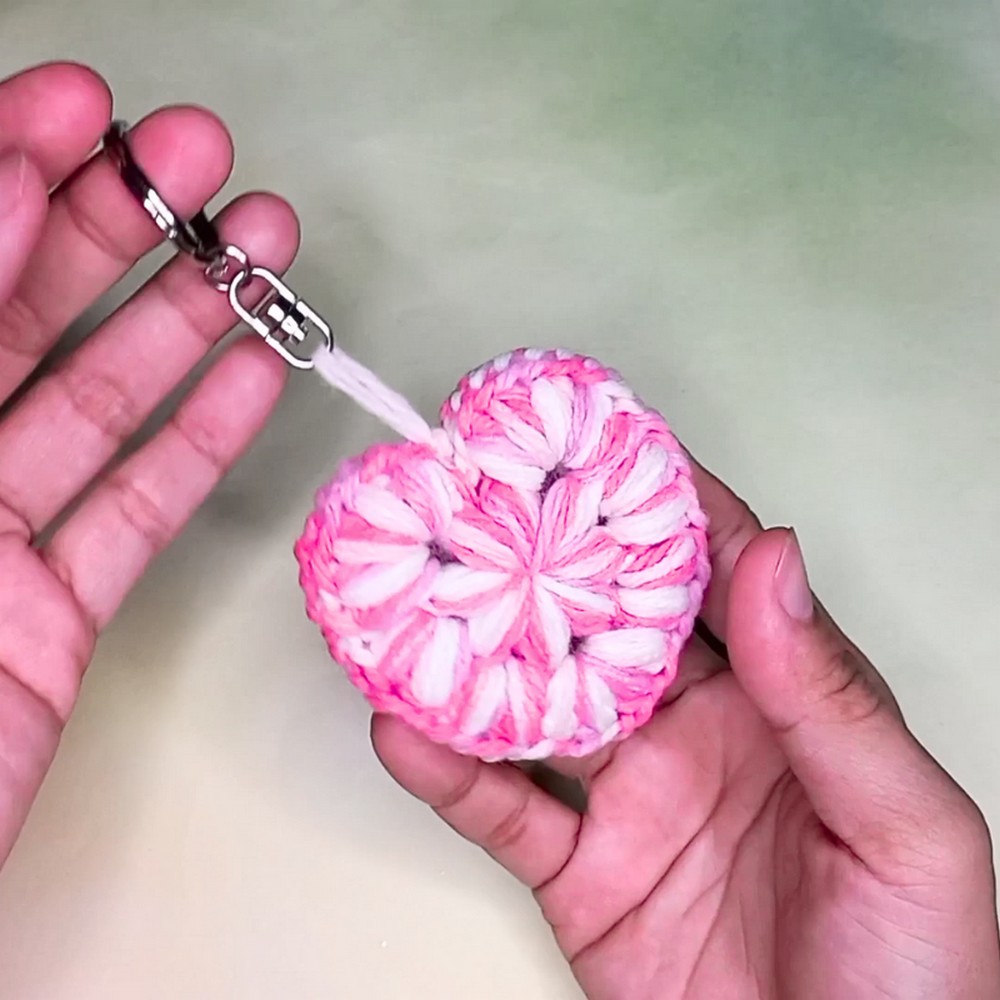
- Keychain Ring: To turn the crochet heart into a keychain.
- Scissors: For cutting yarn.
Important Notes
- Magic Ring Technique: It is used at the beginning of the pattern to create a tight center.
- Handling Puffs: Each "puff stitch" involves multiple yarn-overs (3 or 4 times as instructed) to create the puff texture.
- Follow the stitch count for each space to ensure the heart shape forms correctly.
- When sewing the two halves of the "puff love" together, make sure to only pick the topmost strand of yarn for a neat finish.
- Measurements: Leave approximately 50 cm of yarn for sewing the edges together.
- Make sure to watch the video tutorial for a visual demonstration of sewing techniques and puff stitch formation.
Step-by-Step Instructions
Creating the First Half of the Puff Heart
- Start with a Magic Ring.
- Create a Puff Stitch in the magic ring: Yarn over 3-4 times, pull through the loops, then lock with one chain.
- Repeat the Puff Stitch to create 8 puffs in the magic ring. Separate each puff with one chain.
- Connect the last puff to the first using a slip stitch.
- Tighten the magic ring to close the center hole.

Second Round
- For the second round, work into the spaces between the puffs.
- For the first space, make 5 puff stitches: Yarn over thrice for each puff, lock each puff with 1 chain, and add one chain as spacing between them.
- In the second space, create 2 puff stitches with 4 yarn-overs each, locking each with 1 chain.
- Repeat a similar pattern for the third, fourth, fifth, sixth, and seventh spaces as explained in the video:
- Some spaces will require 3-yarn-over puffs, and others will require 4-yarn-over puffs.
- Pay attention to the video for spaces that need additional spacing chains or variations in puff counts.
- Finish the second round by slip stitching into the last space.
- Leave about 50 cm of yarn, cut, and pull through the loop to fasten.

Creating the Second Half
- Repeat the steps above to create another identical puff heart half.
Joining the Two Halves
- Place the two hearts back-to-back so the "wrong sides" face each other.
- Use a tapestry needle and the excess yarn from step 8 to sew the edges together:
- Pick only the top strand from each half to create a neat seam.
- Continue this process until all edges are joined, leaving a small opening if you’d like to stuff the heart for added volume.
- Secure the stitch with a simple knot at the end.

Adding the Keychain Ring
- Insert the keychain ring through the heart.
- Tie two simple knots to secure the ring.
- Trim any excess yarn and tidy up the edges.


