Add a touch of fall charm to your accessories with this adorable crochet pumpkin keychain. It's a fun and versatile project that showcases your creativity. Perfect for seasonal decor or everyday use, this handmade piece is compact, stylish, and easy to make.

The crochet pumpkin keychain is not only perfect for adding seasonal flair but also durable enough for daily use. Its soft texture and vibrant autumn-themed design make it a standout accessory for backpacks, handbags, or keyrings. Made with sturdy materials, it’s both eye-catching and long-lasting.
Crochet Pumpkin Keychain
This crochet pumpkin keychain is ideal for everyone, whether you're a beginner or a pro. The pattern is straightforward, allowing for endless customization in colors and yarns. With a little creativity, you’ll craft a unique and functional accessory that complements your style beautifully.
Materials and Preparation
For this crochet pumpkin keychain project, you will need:
-
Yarn:
- Cream-colored yarn (pumpkin body)
- Coffee-colored yarn (pumpkin stem)
-
Crochet Hook: 2.5 mm
-
Other Tools:
- Scissors
- Tapestry needle
- Fiberfill stuffing
- Keychain clip
Abbreviations and Notes
Below are the crochet abbreviations used in this pattern:
- SC: Single Crochet
- HDC: Half Double Crochet
- Ch: Chain
- Sl St: Slip Stitch
- V: Increase Stitch
- X: Standard Stitch

Notes:
- This design uses the back loop only technique when working rows to create texture for the pumpkin's ribbed effect.
- Be sure to keep your chains loose when starting the foundation chain to avoid tight stitches.
- A gauge swatch is not required for this project.
Gauge, Approximate Size, and Pattern Notes
- Gauge: Gauge is not critical for this pattern because the size of the pumpkin can vary slightly depending on yarn tension.
- Finished Size: The approximate size of the finished pumpkin is small enough to fit comfortably as a keychain accessory (approximately 2-3 inches).
- Special Techniques:
- Magic Circle: Used for the pumpkin stem creation.
- Segment Indentions: Created by sewing and weaving yarn around the pumpkin segments after stuffing.
Step-by-Step Pattern
Foundation/Base (Pumpkin Body)
- Begin with a slip knot and chain 18. Ensure the chains aren't too tight.
- Starting in the third chain from the hook, work 16 HDC across the row.
- Row 2:
- Chain 2, turn your work, and work 16 HDC back loop only across the row.
- Repeat Step 3 for each subsequent row, always crocheting in the back loop only.
- Continue until you have completed 18 rows total.
- Once all rows are complete, chain 1 and cut the yarn, leaving a long tail for sewing.
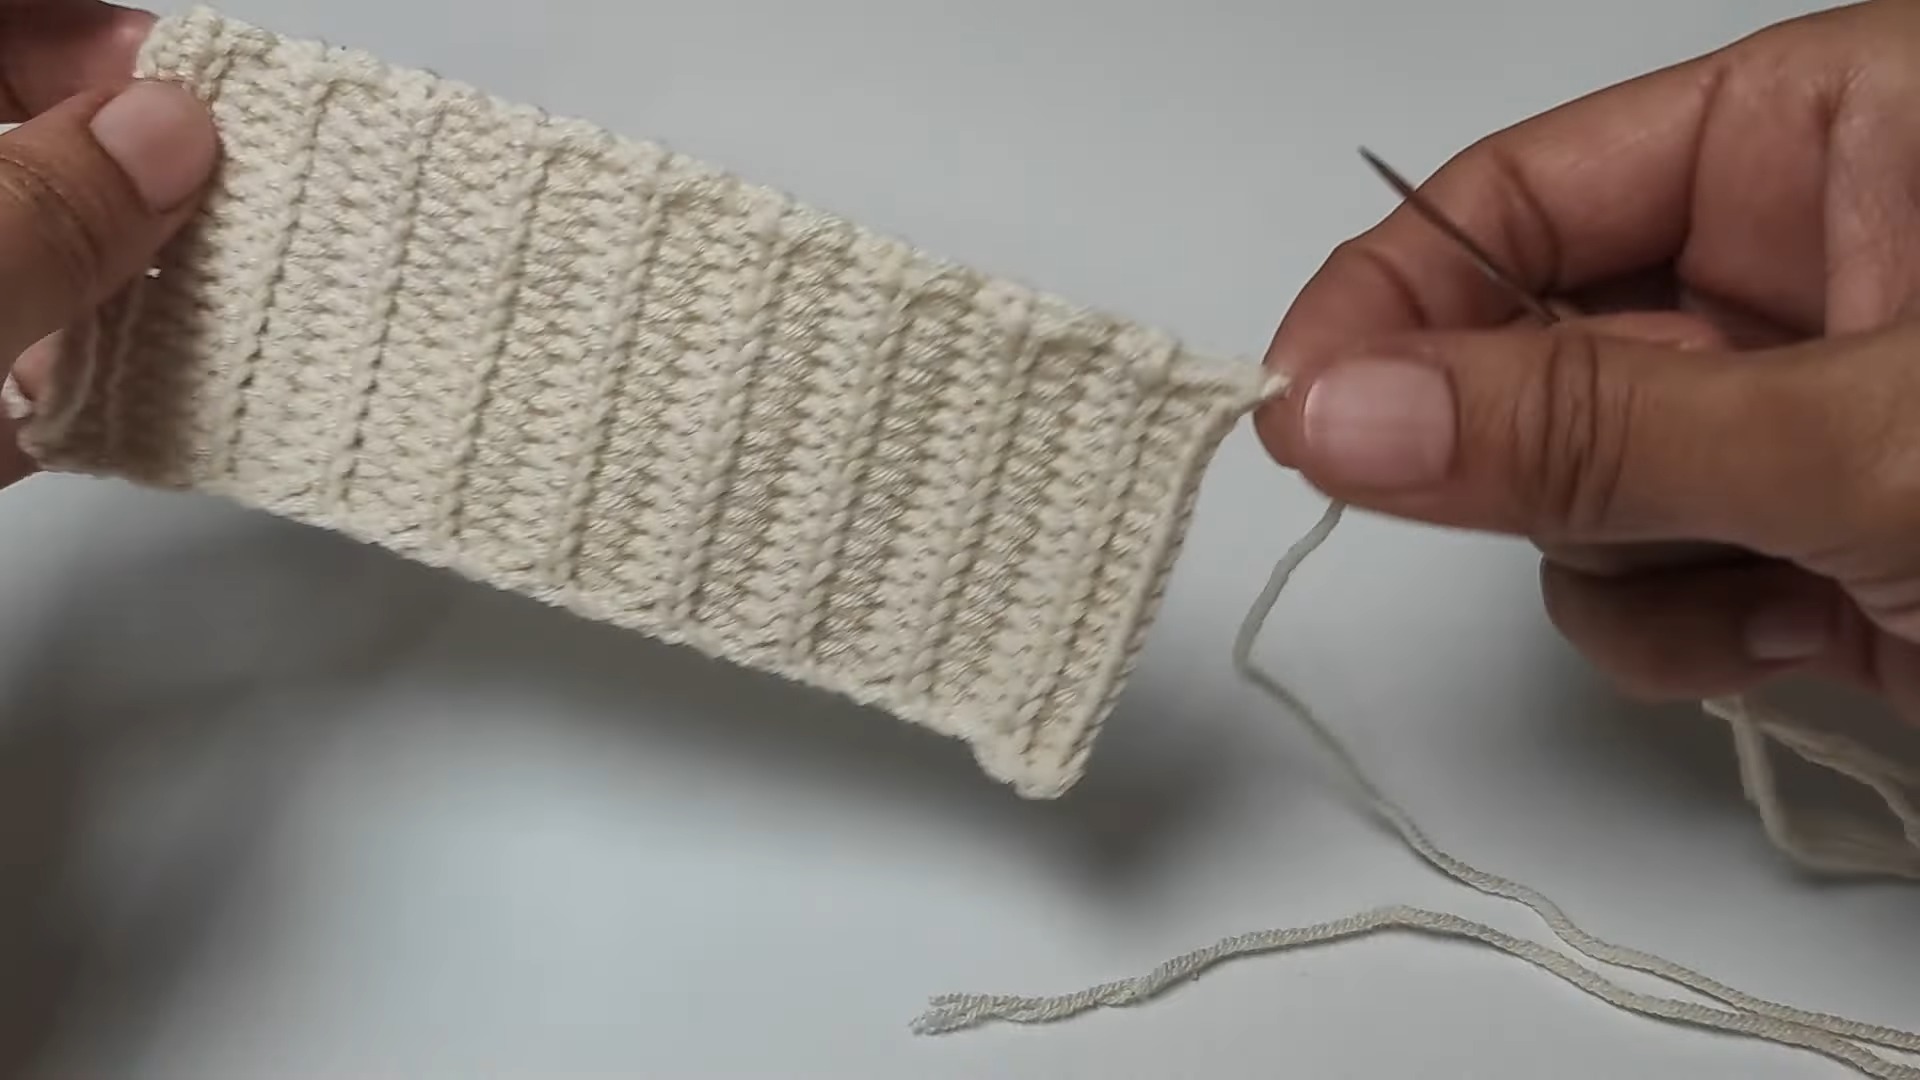
Assembly (Shaping the Pumpkin)
- Thread the long tail through your tapestry needle.
- Sew the two ends of the rectangular piece together (through the back loops) to form a tube shape.
- Turn the work inside out so the seam is hidden.
- Cinch the top opening closed by sewing in a zig-zag pattern across the edge.
- Stuff the pumpkin with fiberfill until it is plump yet compact.
- Cinch the bottom opening closed, again sewing in a zig-zag pattern.

Creating Pumpkin Segments
- To form the pumpkin's ribbed sections, use the yarn tail to sew over and under each row along the pumpkin, pulling slightly to create indentations.

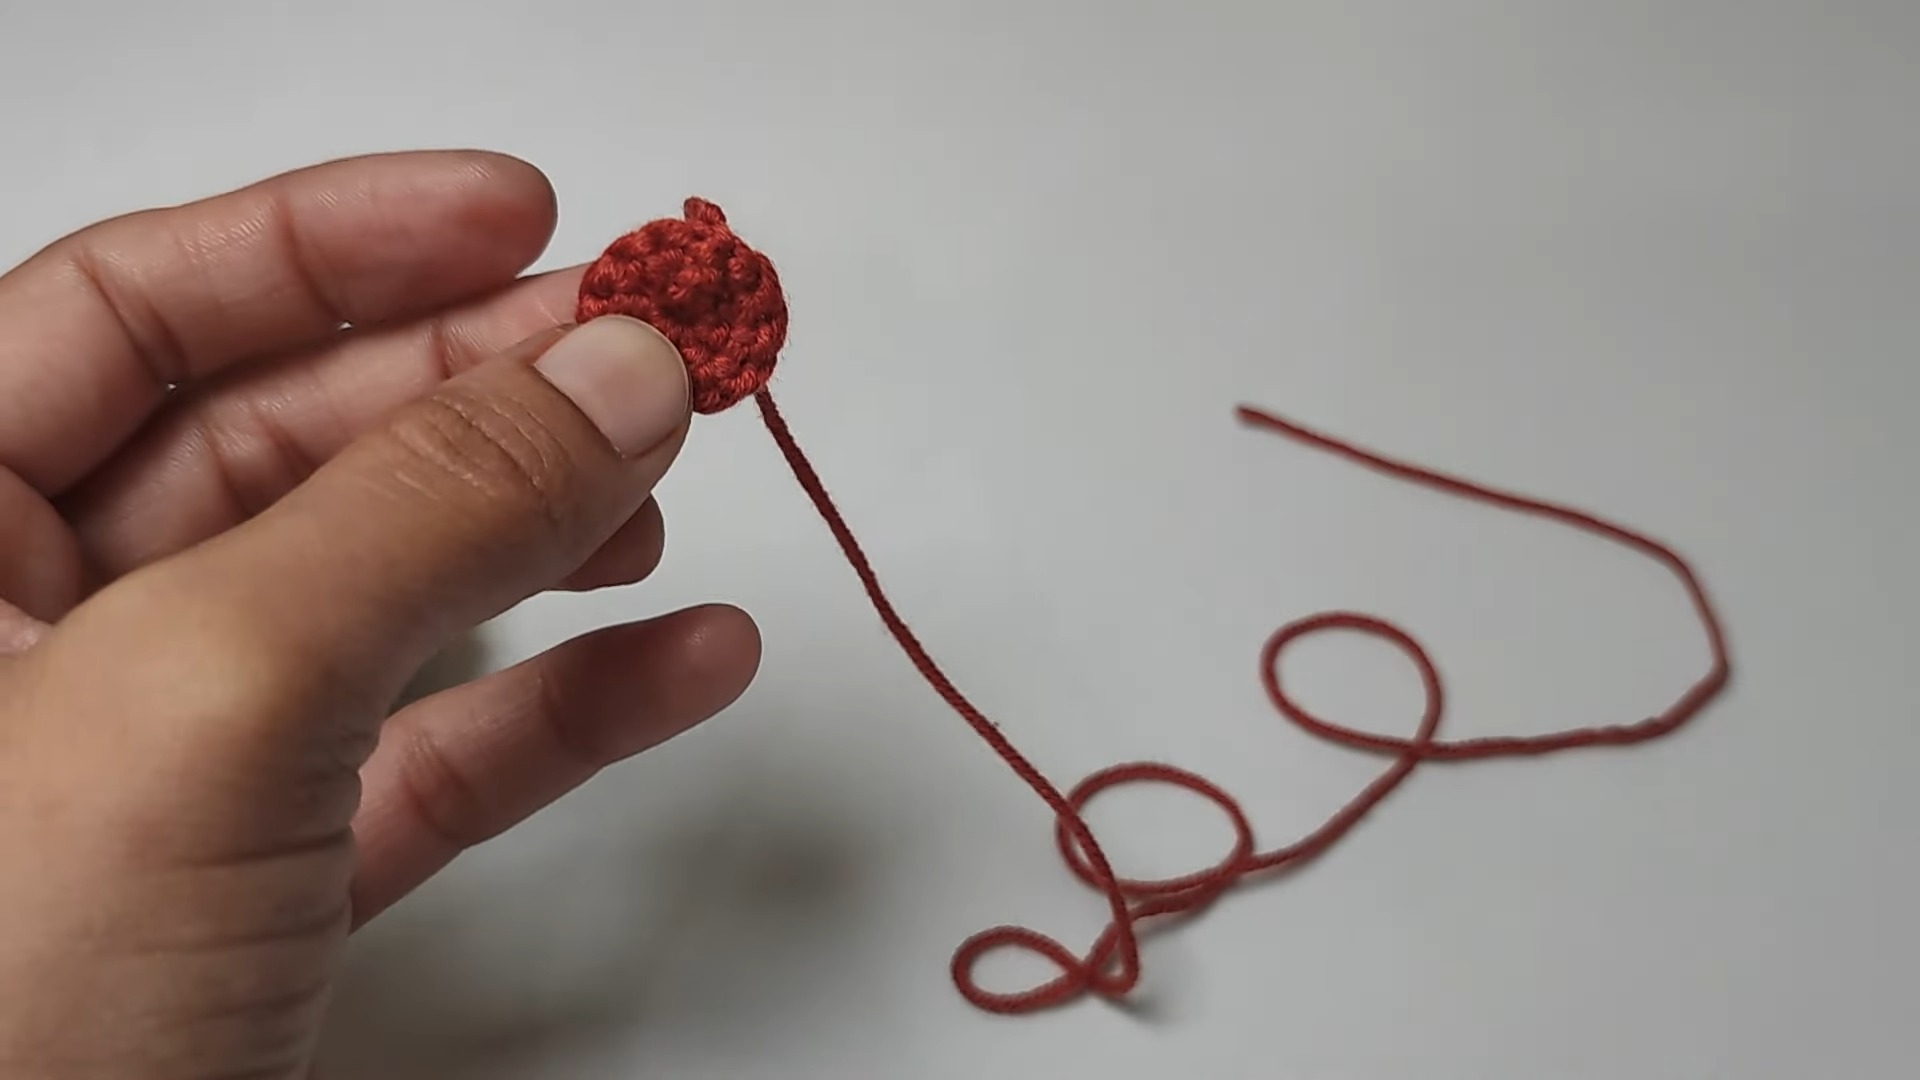
Pumpkin Stem
- For the stem: Start with a magic circle.
- Chain 1 and work 8 SC into the magic circle. Pull the tail of the magic circle to cinch it closed.
- Sl St into the first SC. Chain 1 and begin working 1V, 1X SC (increase alternating with standard single crochet) until you have 12 total stitches.
- Sl St into the first stitch of this round, chain 1, and cut the yarn, leaving a long tail for sewing.
- Position the stem at the top of the pumpkin, then sew it securely using the yarn tail.
Attaching the Keychain Clip
- Thread the yarn tail with the tapestry needle and insert it into the center of the pumpkin stem, pulling it through to the bottom.
- Weave the remaining yarn tail through the bottom stitches of the pumpkin to hide it.
- Attach the keychain clip to the stem securely.

Finishing Touches
Your crochet pumpkin keychain is complete! This adorable fall-themed accessory is perfect for gift-giving or personal use.
Tips:
- Customize the pumpkin with different colors for a unique style.
- Add embellishments like beads or embroidery for extra flair.

Pattern Question
Q: Can I use a different hook size for this project?
A: Yes, but using a different hook size could affect the overall dimensions of the pumpkin. A smaller hook will make it tighter and tinier, while a larger one will give a looser, larger result. Adjust fiberfill stuffing to match.
Conclusion
Crocheting this pumpkin keychain is a satisfying project that's both fun and practical. Its perfect mix of seasonal charm and everyday usability makes it a great gift or personal accessory. Give it a try and enjoy crafting something stylish and functional!


