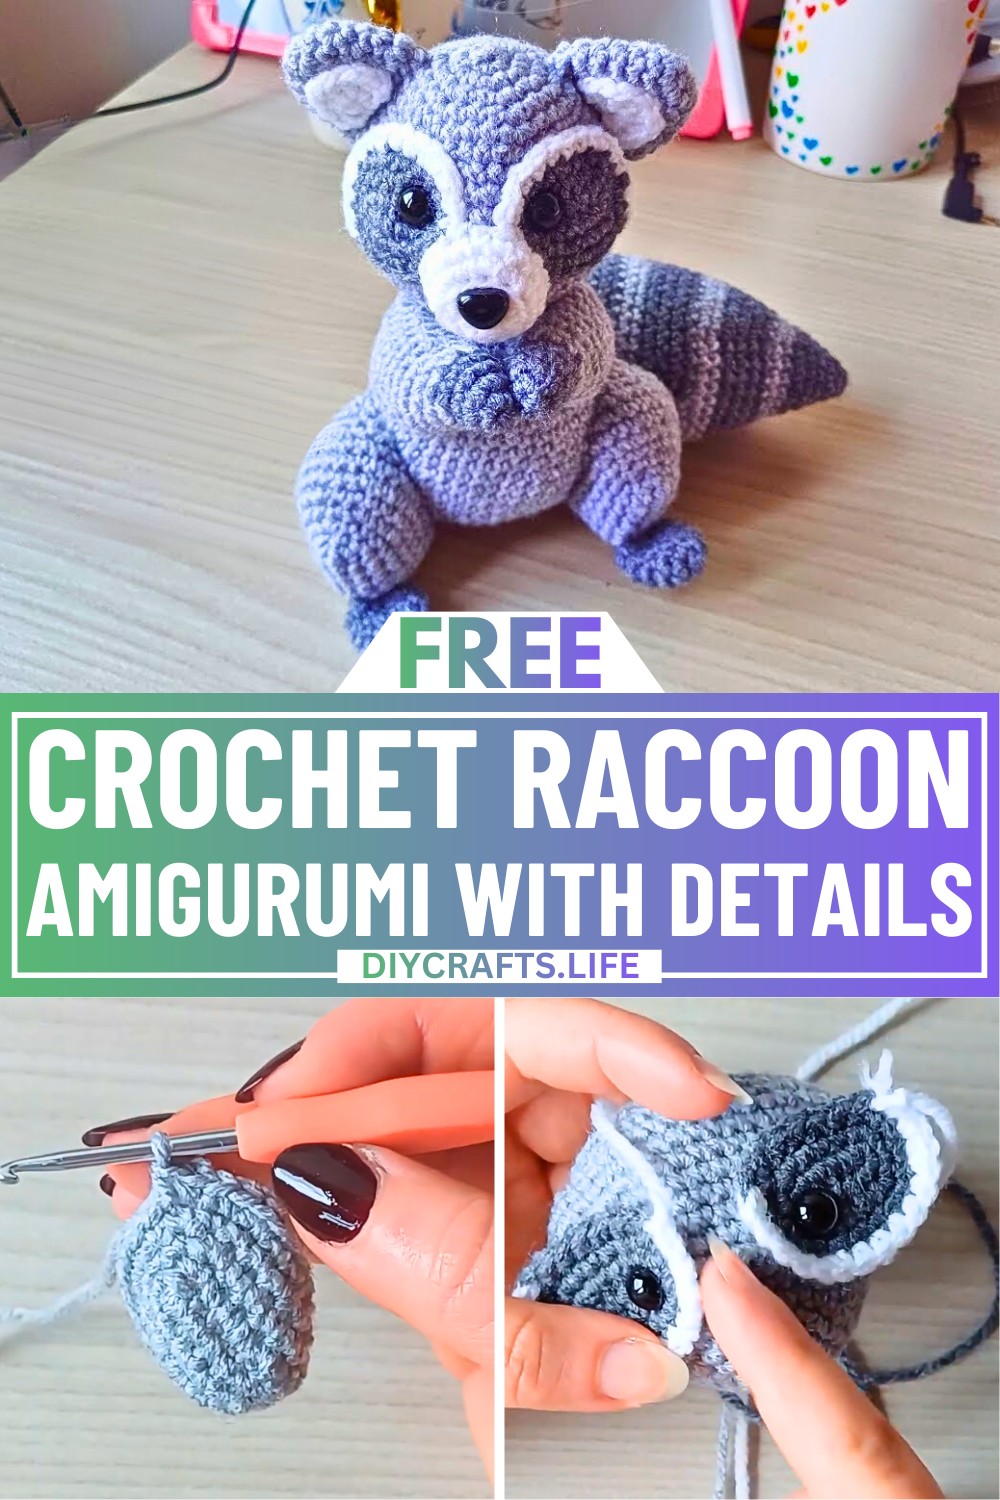
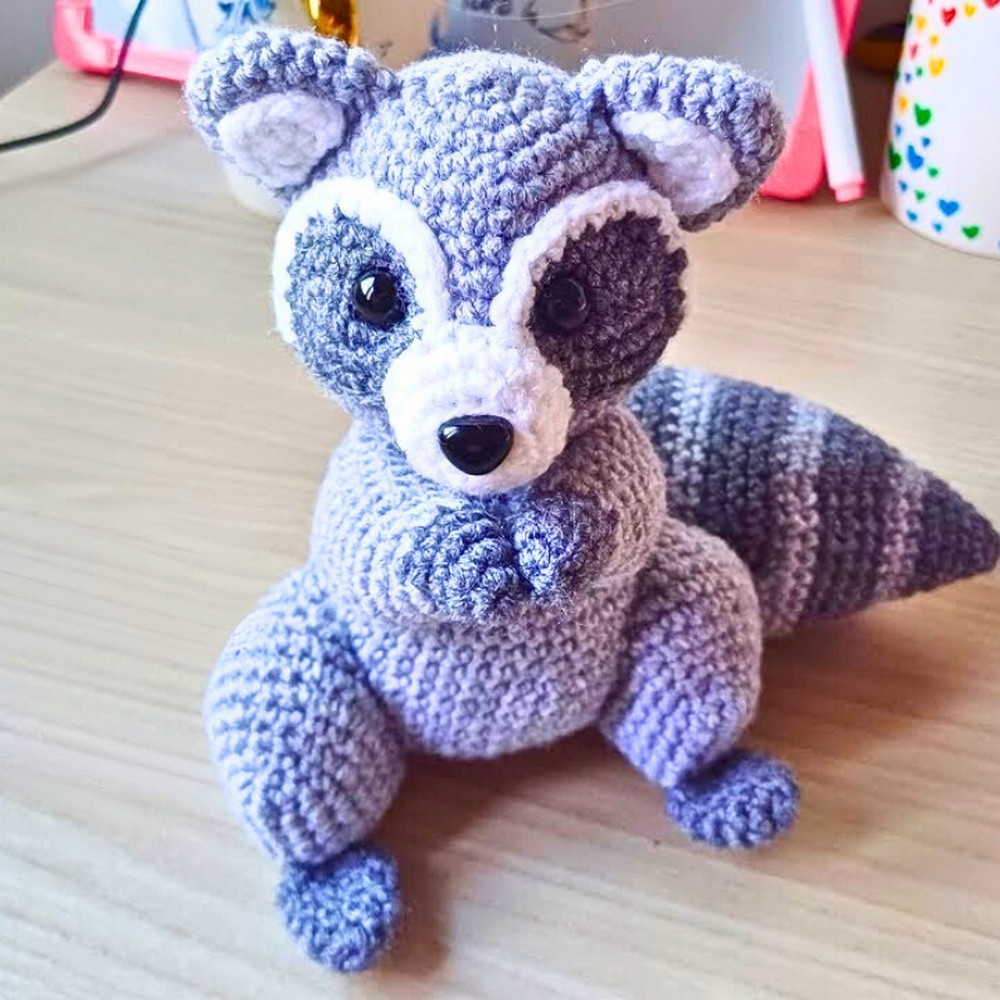
Say hello to the cutest little crochet raccoon! This handmade raccoon is soft, huggable, and simply perfect as a toy, decoration, or gift. Whether it’s for kids or adults, this charming raccoon can brighten up any space or add a playful touch to your collection of handmade animals.
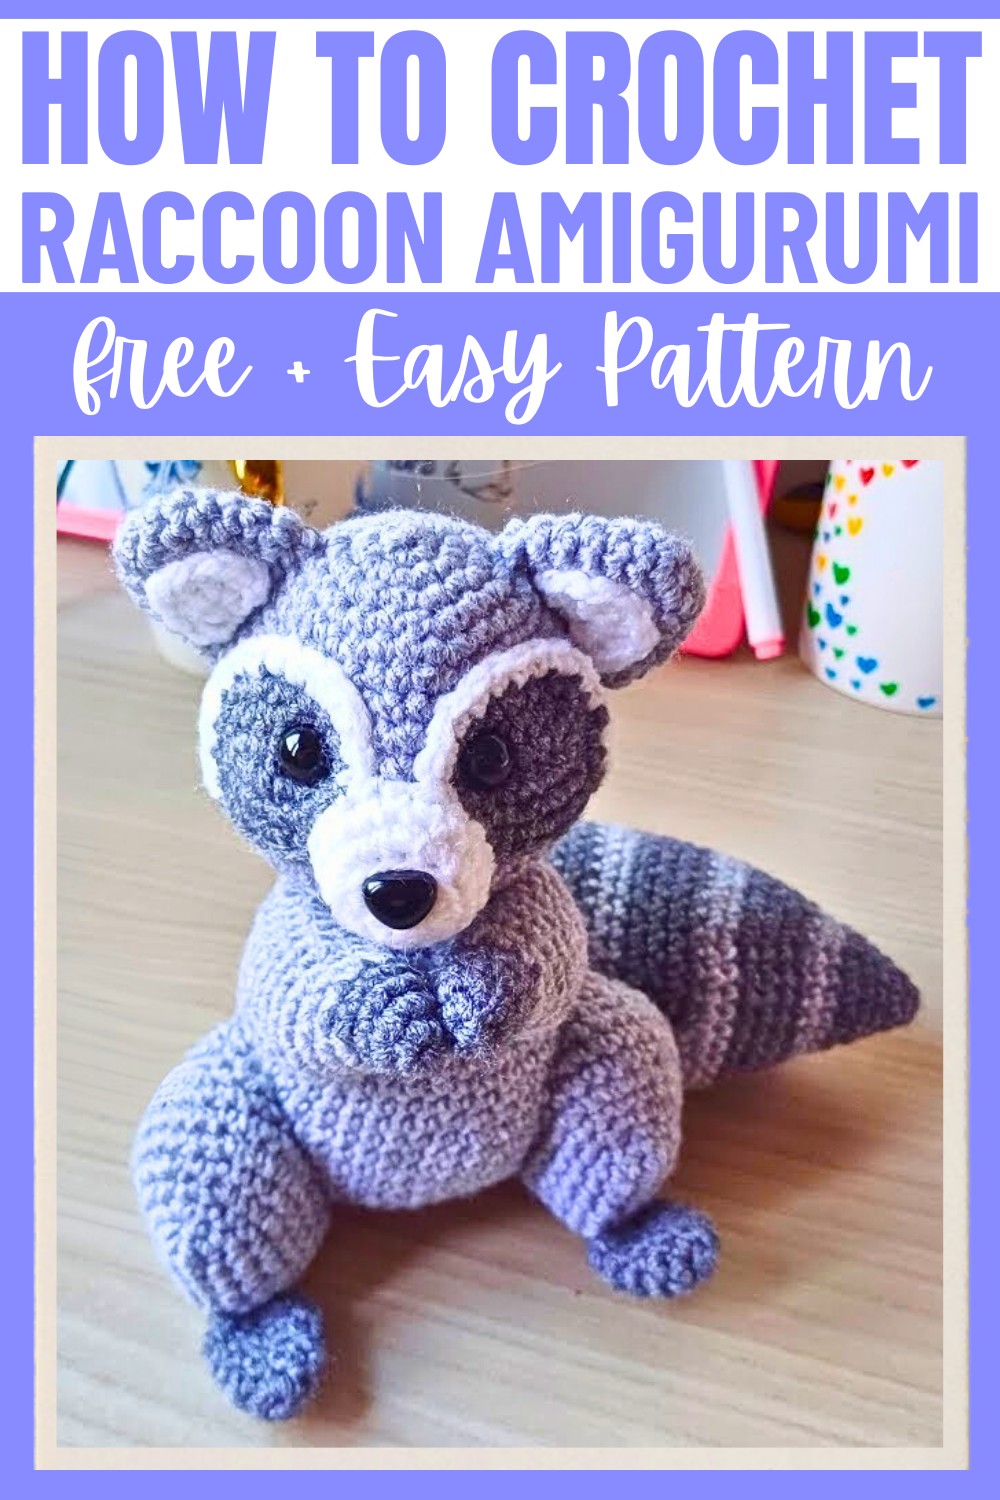
What’s great about this crochet raccoon is how rewarding it is to make. You’ll combine light and dark gray yarn along with some simple stitches to create the raccoon’s body, head, arms, and tail. Adding finishing touches like safety eyes and a little nose brings it to life! This pattern is perfect for anyone who loves to crochet cute characters and wants to build their confidence with step-by-step guidance. You’ll enjoy each step as you watch it come together into something you’ll truly love.
Credit Ambros Crochet
Materials & Tools Needed
To create your crochet raccoon, you'll need the following:
- Yarn
- Colors: Dark Gray, Light Gray, White, and Black.
- Crochet Hook
- Size: 3 mm (recommended, matches yarn gauge).
- Additional Supplies
- 12 mm safety eyes (or smaller, if unavailable).
- Plastic nose (or crochet a small triangle if you don't have one).
- Pins or stitch markers (or strands of yarn as markers).
- Scissors.
- Tapestry needle.
- Toy stuffing.
Finished Size
- The size of your raccoon will depend on the yarn weight and hook size you use.
- Optional Customization Ideas:
- Change the color combinations for a unique look.
- Add accessories like a scarf, bowtie, or little bag!
Pattern Abbreviations & Terminology
You’ll encounter the following stitch abbreviations:
- MR: Magic Ring
- SC: Single Crochet
- INC: Increase (2 SC in the same stitch)
- DEC: Decrease (SC two stitches together)
- CH: Chain Stitch
- BLO: Back Loops Only
- ST: Stitch
Step-by-Step Detailed Crochet Instructions
Below is a breakdown of each component of the raccoon following the provided instructions.
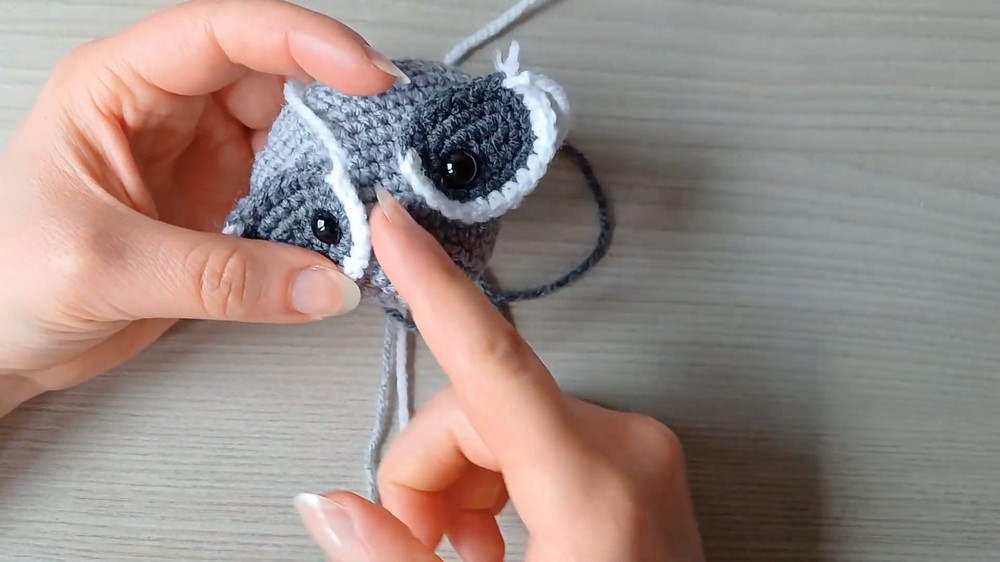
1. Eye Patches
Right Eye Patch:
- Foundation: Make 6 chains.
- Round 1:
- Begin in the 2nd chain from hook: SC in the next 4 chains.
- In the last chain: INC (3 SC in the same stitch).
- Turn work and crochet along the other side of the chain: SC in the next 3 chains.
- Final chain: INC (2 SC in the same stitch).
- Total: 12 SC.
- Round 2:
- Start with an INC. SC in the next 3 stitches.
- INC, SC, INC. SC in the next 3 stitches.
- INC, SC (last stitch).
- Total: 16 SC.
- Round 3:
- SC, INC. SC in the next 4 stitches.
- INC, SC in next 2 stitches. INC. Place stitch marker on the first stitch of this increase.
- SC in next 4 stitches. INC (place marker on first stitch of this increase).
- Final SC. Total: 20 SC.
- Fasten off and leave a tail for sewing later.
Left Eye Patch:
- Follow Rounds 1 to 2, as above.
- Start Round 3:
- Slightly modify marker placement:
- On the first stitch of the second increase (instead of before).
- Slightly modify marker placement:
- Complete with 20 SC and fasten off.
White Detail:
- Join white yarn to the stitch where the second marker is placed (outer corner).
- SC into next 4 stitches. INC. SC into next 5 stitches.
- INC, SC into next 2 stitches. Slip stitch into the first marked stitch. Fasten off.
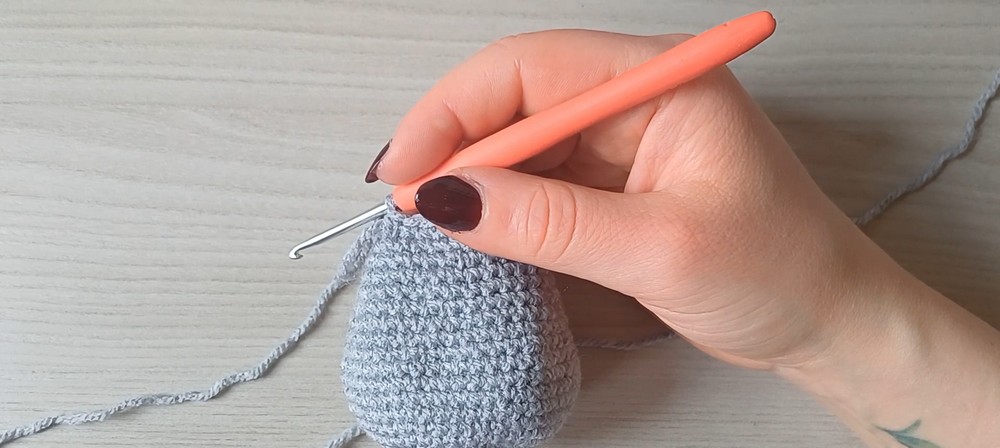
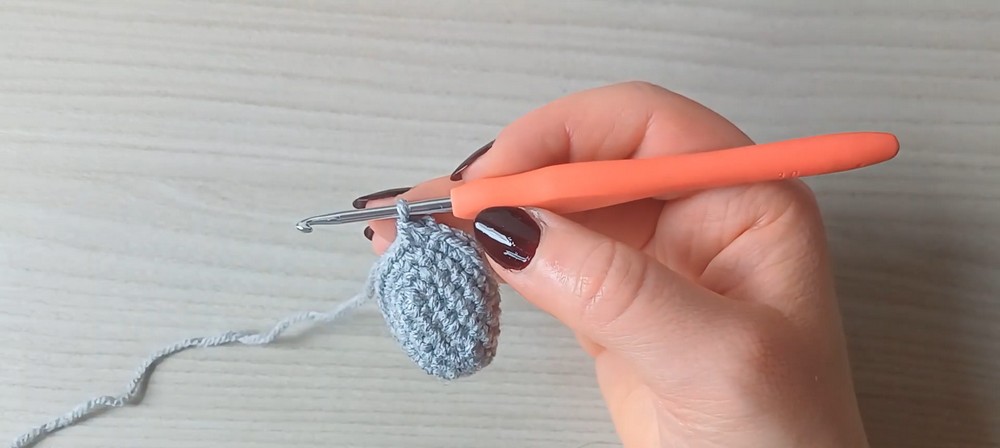
2. Head
- Magic Ring: 6 SC in MR.
- Round 2: INC across all stitches (12 SC).
- Round 3: (SC, INC) x 6 (18 SC).
- Round 4: (2 SC, INC) x 6 (24 SC).
- Round 5: (3 SC, INC) x 6 (30 SC).
- Round 6: SC each stitch (30 SC).
- Round 7: (4 SC, INC) x 6 (36 SC).
- Round 8: SC each stitch (36 SC).
- Round 9: (5 SC, INC) x 6 (42 SC).
- Round 10: SC each stitch (42 SC).
- Round 11: (6 SC, INC) x 6 (48 SC).
- Round 12: SC each stitch (48 SC).
- Round 13: (7 SC, INC) x 6 (54 SC).
- Round 14: SC each stitch (54 SC).
- Begin decreases: Start from (7 SC, DEC). Continue reducing size until Round 21, and close with 6 decreases (6 SC).
3. Ears
- Using Light Gray, start with MR: 6 SC in MR.
- Round 2: INC across the round (12 SC).
- Round 3: BLO SC into each stitch (12 SC).
- Round 4: (3 SC, INC) x 3 (15 SC).
- Continue working until round 6 or 7, and fasten off. Fold the ears before sewing to the head.
4. Muzzle
- MR with White: 6 SC in MR.
- Round 2: INC into each stitch (12 SC).
- Round 3 BLO: (SC, INC) x 6 (18 SC).
- Round 4: SC each stitch (18 SC).
- Fasten off and sew between rounds 10–12 of the head.
5. Body
Follow the same pattern but extend rounds for height as the body grows, alternating Light Gray and Black for stripes (refer to video closely for customization).
6. Arms
Dark Gray:
- MR: 6 SC into MR.
- Round 2: (SC, INC). Continue evenly increasing.
- Switch to Light Gray and build up shape.
- Work increases for depth, fold flat for sewing, and lightly stuff.
7. Legs & Tail
Both follow similar methods:
- Start flat with chain foundation.
- Use MR and alternate Dark/Light Gray for striping.
- Maintain gradual increases and decreases for shaping.

Assembly Instructions
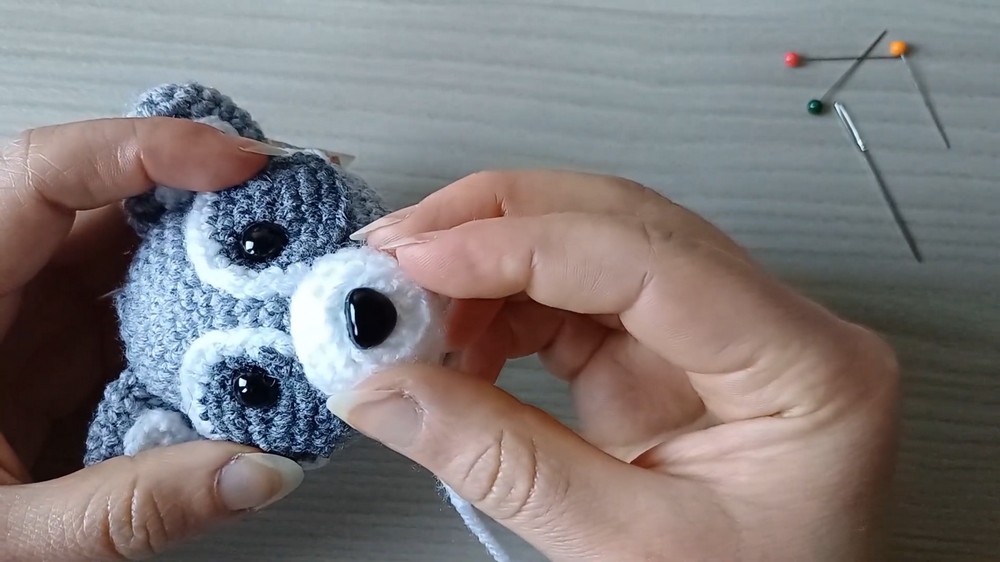
- Eye Patches:
Sew eye patches, carefully shaping around the placement of safety eyes. Use white yarn for sewing the white portion, and gray for the darker sections. - Head:
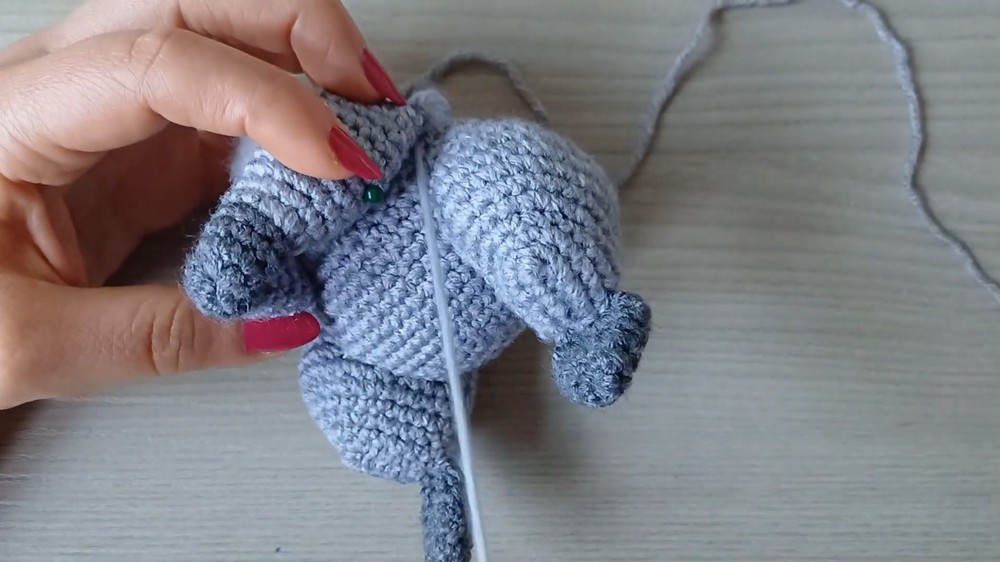
Sew ears, muzzle, and attach head securely to the body. - Arms & Legs:
Stuff lightly and attach to the sides of the body. - Tail:
Either attach straight or sew the tail along the back for a curled position.