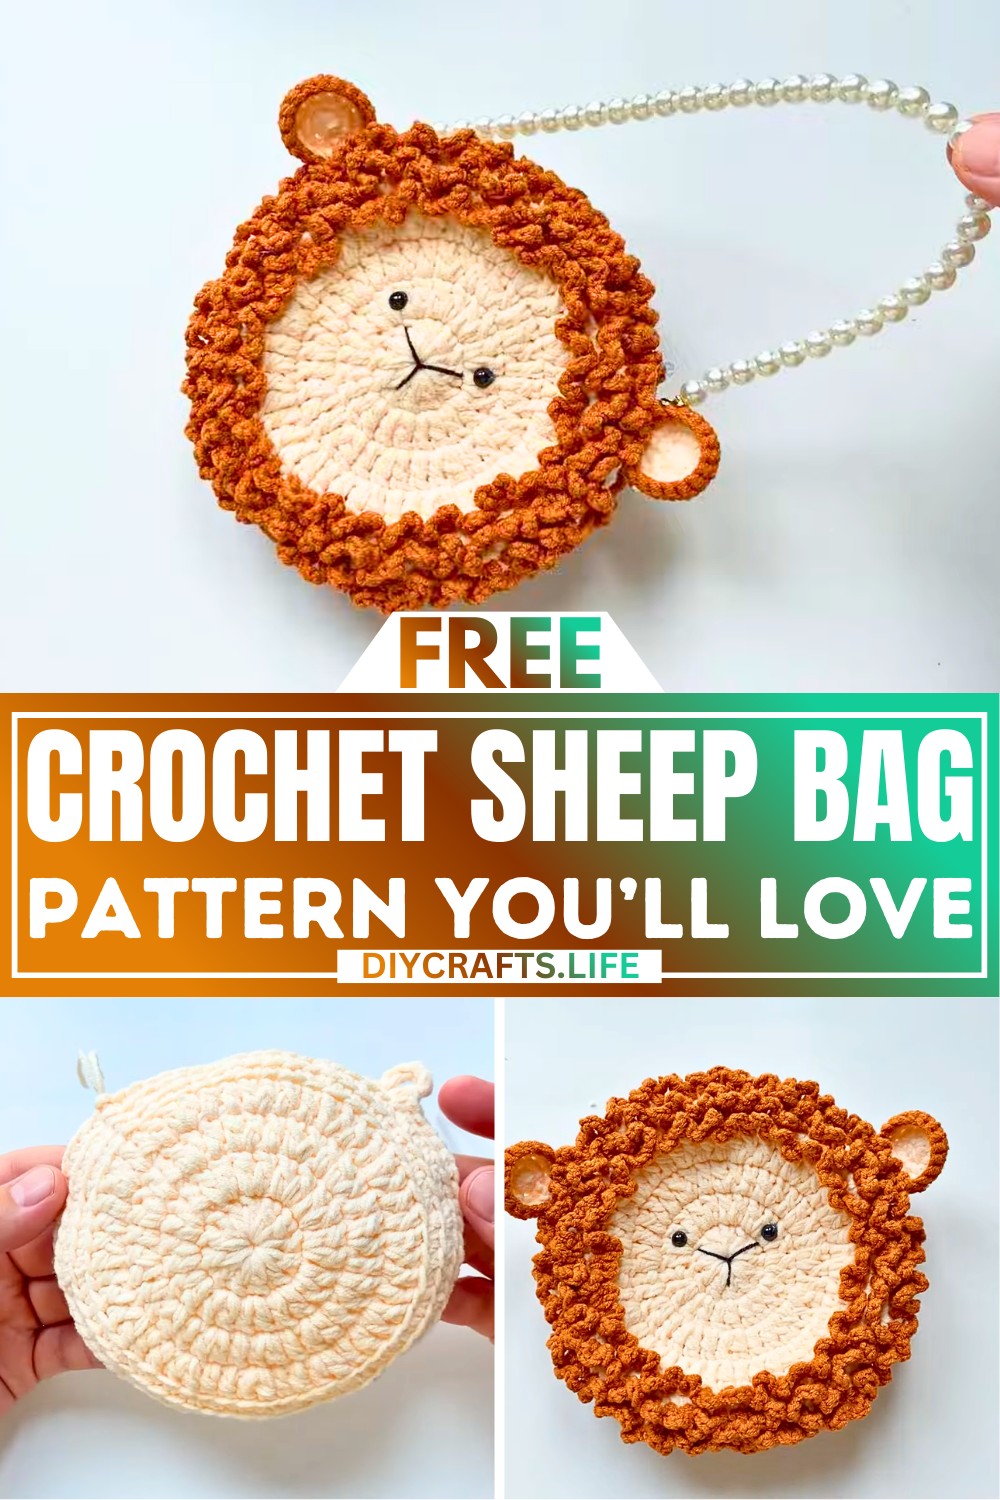
This crochet sheep bag is as cute as it is versatile! With its fluffy, sheep-inspired design, it’s perfect for kids and adults alike. Whether you want to carry small items, use it as a decorative pouch, or gift it to someone special, this charming bag will bring a smile to anyone’s face.
Crochet Sheep Bag Pattern
You’ll use simple crochet techniques to create the fluffy texture and soft, rounded shape that’s perfect for showing off the unique sheep design. Add adorable ears, a simple body, and you’ve got a stylish way to carry your belongings or brighten your space. Have fun crocheting and enjoy making a bag that’s both fun to make and practical to use.
Credit Ada's Handmade
Materials & Tools Needed
- Hook: 3.5mm crochet hook
- Yarn: 4-ply cotton yarn (double-stranded) – choose white or beige for the sheep, and pink or other colors for detailing (optional).
- Accessories:
- A bag strap (or crochet one later).
- Stitch markers (optional to track your rounds).
- Tapestry needle (for weaving ends).
- Scissors.
- Stuffing/Bag liner: If desired for structure or lining.
Finished Size & Customization Ideas
- Approximate Size: Based on 4-ply yarn and a 3.5mm hook, the final bag should measure small to medium, ideal for carrying essentials.
- Customization:
- Change the yarn colors to make a colorful sheep.
- Add eyes (safety eyes or stitch a face).
- Add textured details on the body using puff or bobble stitches for a "wool" look.
- Increase or decrease rounds for a larger or smaller bag.
Step-by-Step Crochet Instructions
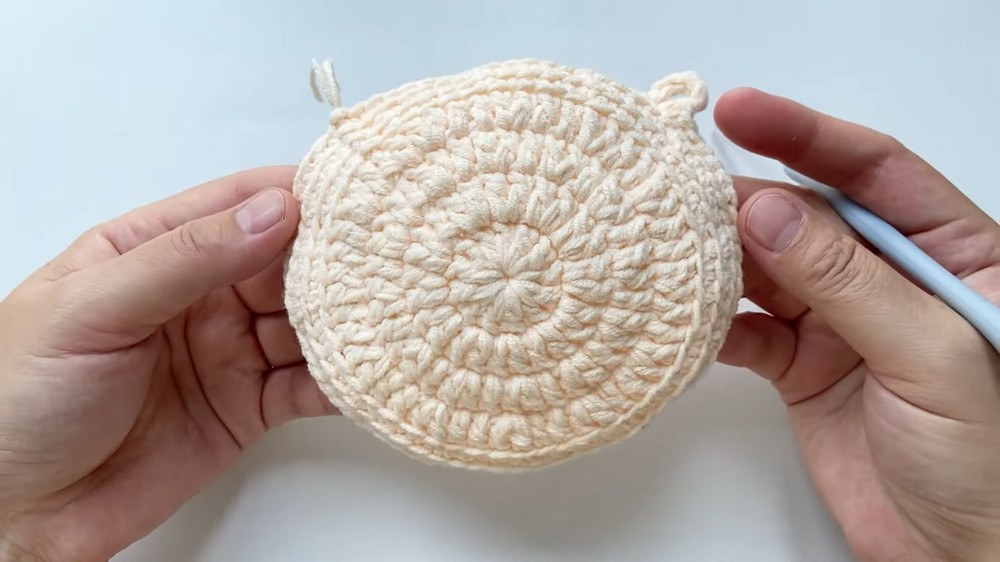
Main Bag Body
The body of the bag forms the basic round sheep shape. You will work in rounds.
Instructions:
- Foundation
- Chain 3 and join with a slip stitch to form a ring.
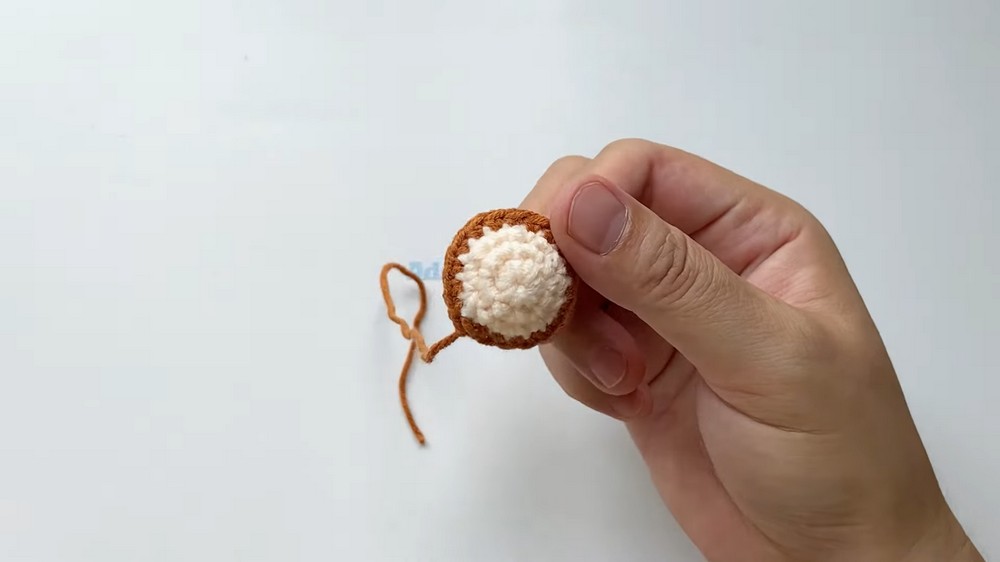
- Round 1 (Base circle starts):
- Work 12dc into the ring.
- Slip stitch to join.
- Chain 2 to begin the next round.
- Round 2:
- Work dc increase in every stitch around: (dc-inc × 12) = 24dc.
- Slip stitch to join, then chain 2.
- Round 3:
- Pattern: (1dc, dc-inc) repeat 12 times = 36dc.
- Slip stitch to join, then chain 2.
- Round 4:
- Pattern: (dc, dc-inc, dc) repeat 12 times = 48dc.
- Slip stitch to join, then chain 1.
- Round 5: (Shape the bag bottom with single crochet):
- (3sc, inc) repeat 12 times = 60sc, done in back loops only.
- Slip stitch to join, then chain 1.
- Round 6:
- (4sc, inc) repeat 12 times = 72sc, done in back loops only.
- Slip stitch, then chain 1.
- Round 7: (Straight side forms):
- Work 1sc in each stitch around (72sc), done in back loops only.
- Slip stitch to close the round, then chain 1.
- Crochet 2 Pieces:
- Repeat rounds above to create the front and back of the sheep bag.
Ear Instructions
The ears are simple and worked separately.
- Begin with R1:
- Create a magic circle or chain 3 and slip stitch to form a ring.
- Work 6sc into the ring.
- Slip stitch to join, then chain 1.
- R2:
- Work increase in each stitch (inc × 6) = 12sc.
- Slip stitch to join, then chain 1.
- R3:
- (sc, inc) repeat 6 times = 18sc.
- Slip stitch to join.
- R4: (Optional color change for the ear’s edge):
- Work 1sc in each stitch around (18sc).
- Fasten off.
Make 2 ears.
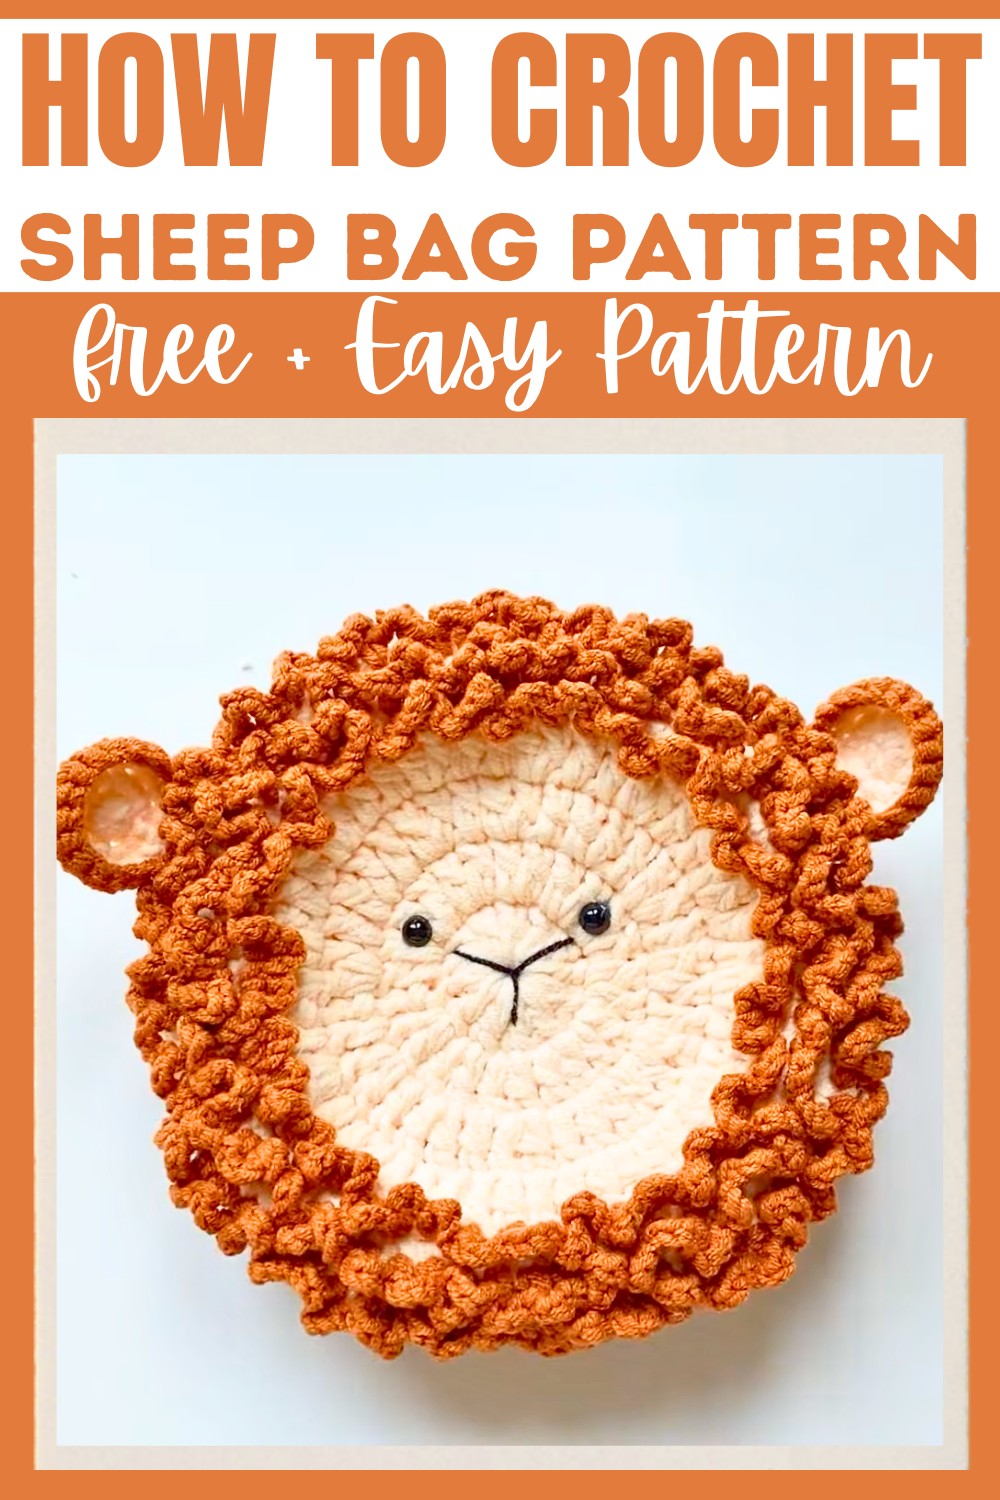
Optional Wool Effect on Bag Body
After completing rounds 5-7, you can add a decorative wool-like effect with loops.
- Using front loops only of rounds 5-7, repeat (sc1, ch3) around to create loops that look like wool tufts.
Joining Front & Back of the Bag
- Place the two bag pieces together, ensuring right sides are facing outward.
- To join, you can:
- Use slip stitches or single crochet to sew the front and back together, working around the circumference.
- Ensure you leave an opening at the top of the bag for handles/strap.
Handles/Strap
- You can crochet a strap using chains. For example:
- Chain to the desired length and then work several rows of single crochet.
- Alternatively, attach a store-bought strap using hooks.
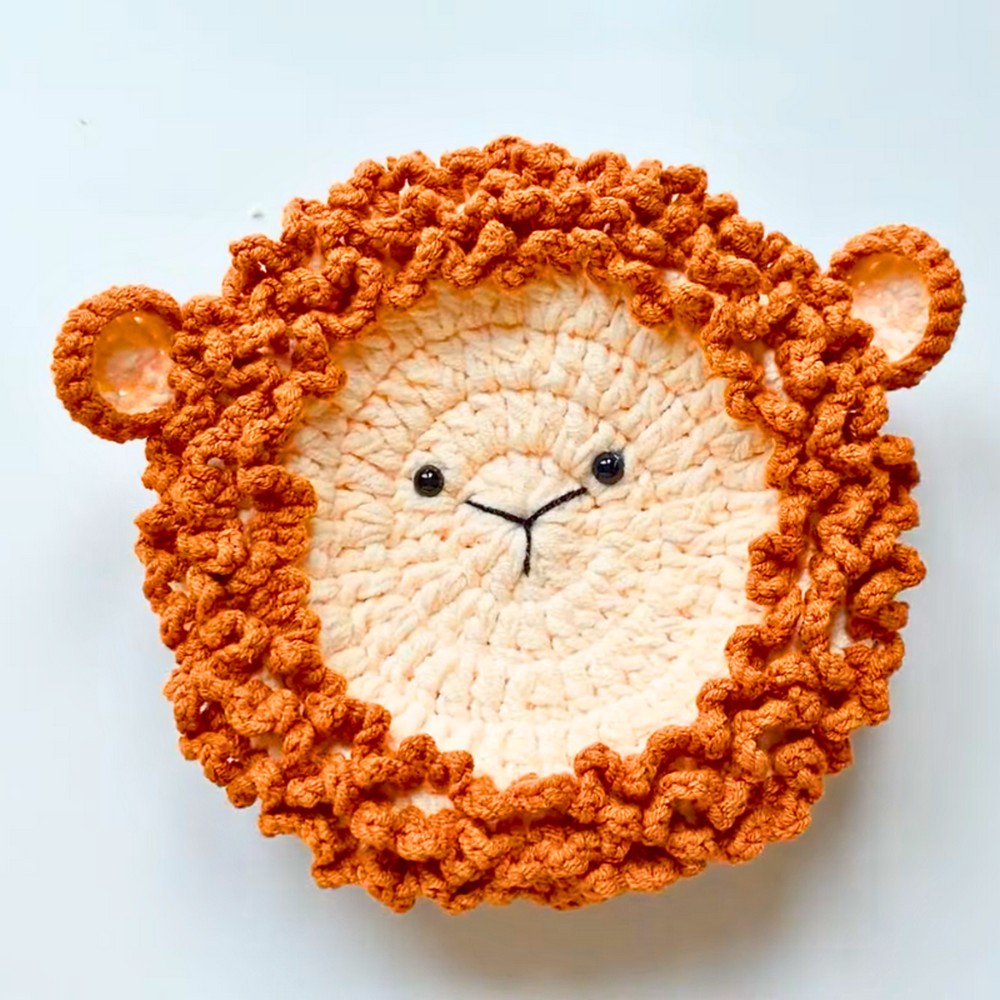
Finishing Details
- Attach Ears:
- Sew or attach both ears to the front piece of the bag near the top corners.
- Add Additional Features:
- Create eyes and a snout using embroidery (or attach safety eyes).
- Weave in all Ends:
- Use a tapestry needle to secure all yarn tails inside the bag.
- Block (Optional):
- Gently wash and shape the bag to make edges more even.