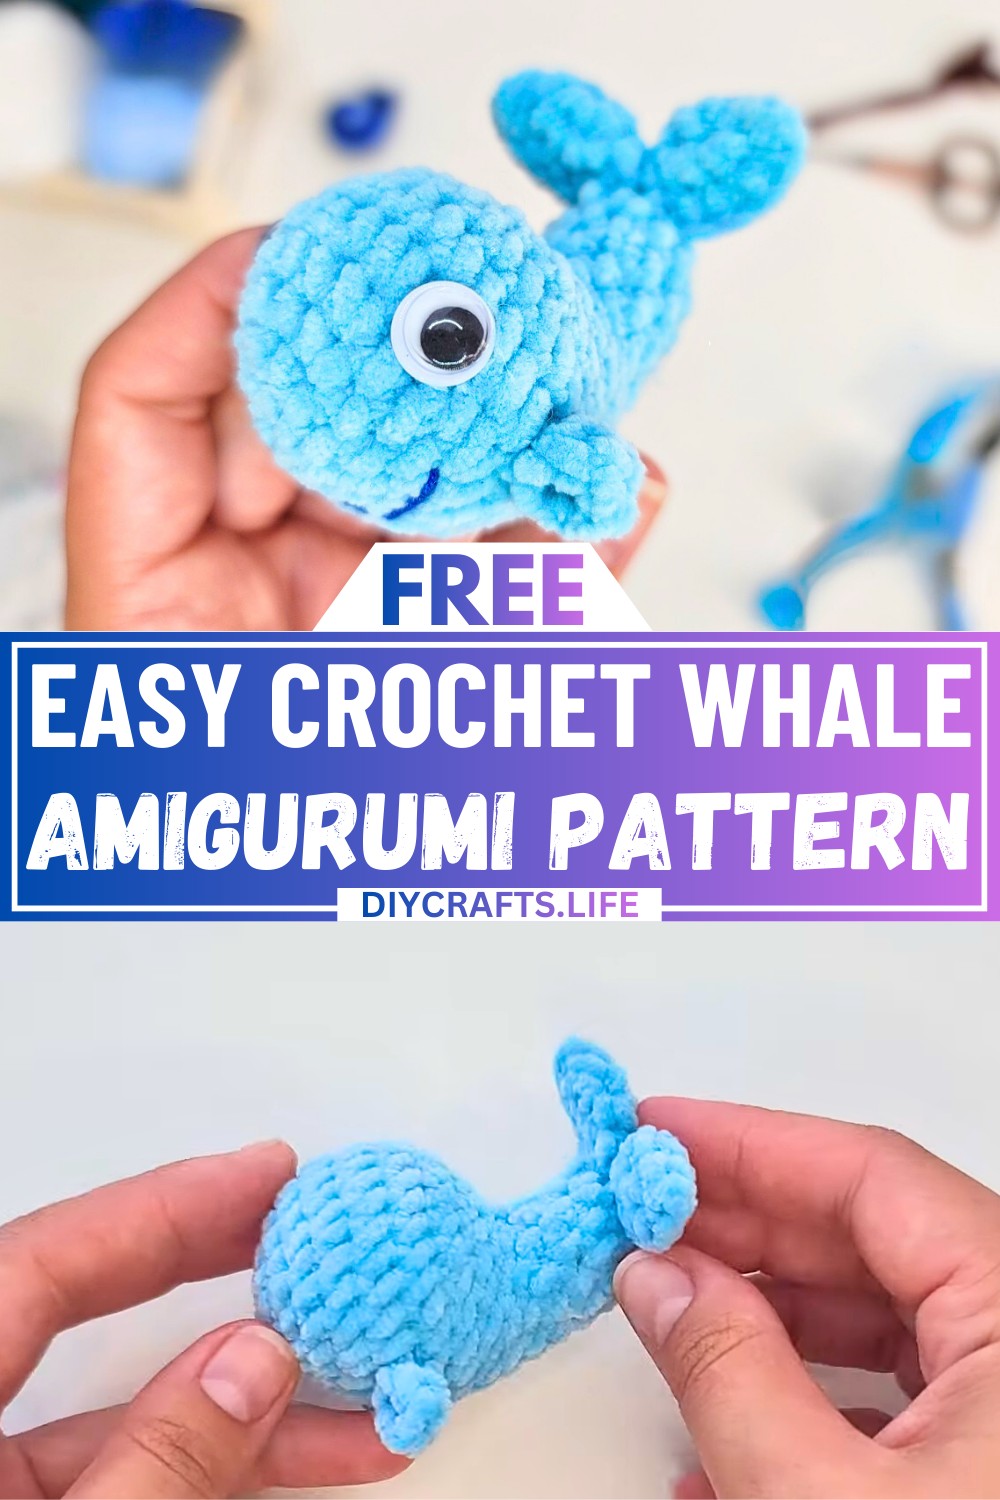
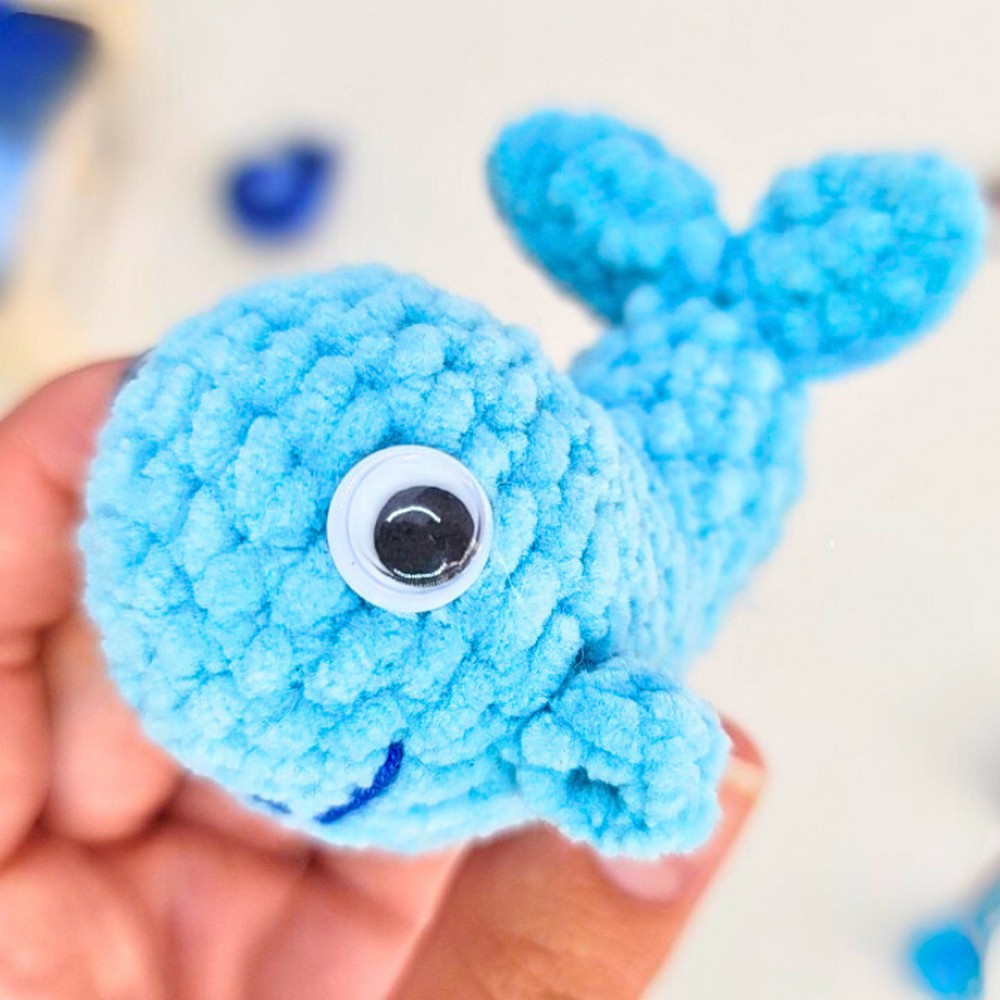
Bring a touch of the ocean to your crochet collection with this adorable crochet whale design! With its soft, round shape and cute details, this little creature will instantly warm your heart. Perfect for all ages, it’s a handmade treasure that feels both playful and timeless. Whether you're crafting for a child, a friend, or yourself, this whale is sure to make anyone smile.
Crochet Whale Amigurumi Pattern Free
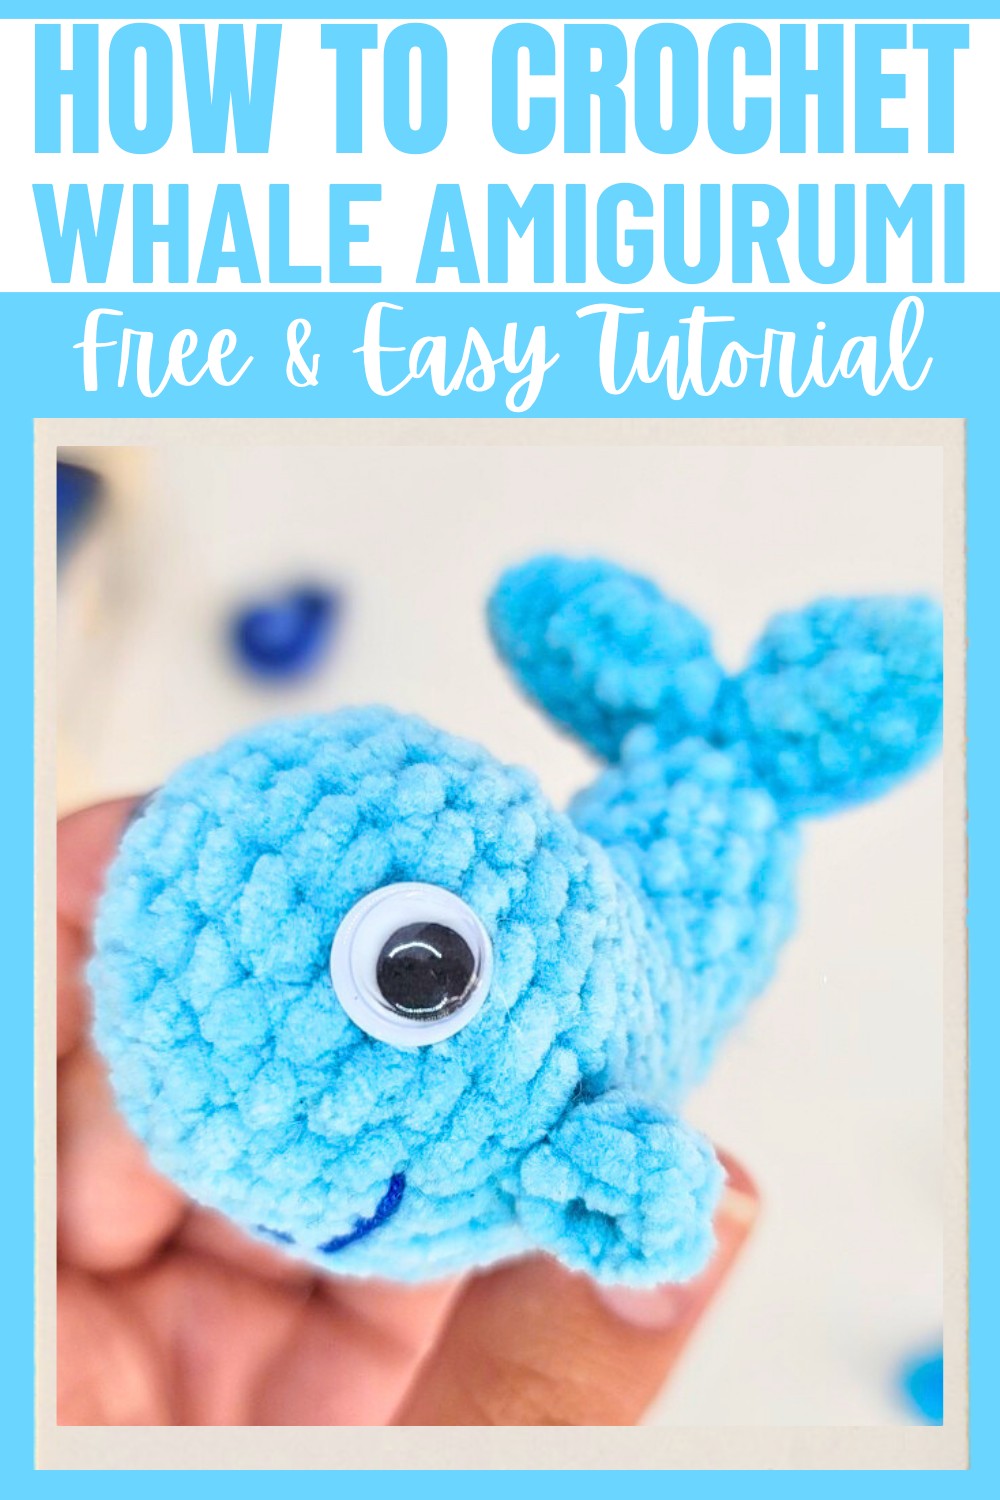
This crochet whale pattern is charmingly simple, making it perfect for beginners or anyone looking for a quick but rewarding project. Its special features include its plump body, textured fins, and a cheerful personality that allows your creativity to shine. Use your favorite yarn colors to give your whale a unique personality! This pattern brings creativity and practicality together, letting you craft something fun and meaningful that can also add personality to your space or make a thoughtful gift.
Credit DidyToys
Materials and Tools Needed:
- Yarn: Thin blue yarn (as used in the tutorial) or your preferred type:
- Example Options: YarnArt Jeans for a smaller whale or Himalaya Dolphin Baby for a larger whale.
- Crochet Hook: 3mm hook (adjust size depending on your yarn thickness).
- Stuffing: Fiberfill for stuffing the whale.
- Needle: Wide-eyed needle for sewing pieces together.
- Scissors: Standard craft scissors.
- Eyes: Safety amigurumi eyes OR alternatives (size depends on yarn weight; optional transparent glue for attachment).
- Pins or Stitch Markers: Useful for marking and symmetry when attaching flippers and tail.
- Additional Yarn or Thread (for smile): A small piece in a contrasting color.
- Transparent Glue: Optional for attaching eyes.
Finished Size & Customization Ideas:
- Approximate Finished Whale Size:
- With thin blue yarn (like YarnArt Jeans): Small whale.
- With thicker yarn (like Himalaya Dolphin Baby): Larger plush whale.
- Size will vary depending on the yarn and hook you choose.
- Customization Ideas:
- Use different colors for the whale’s body, tail, and flippers.
- Add a small bow, embroidery, or other embellishments for personalization.
Pattern Abbreviations & Terminology:
(Using US crochet terms)
- ch: Chain
- sc: Single crochet
- inc: Increase (2 single crochets into 1 stitch)
- dec: Decrease (crochet 2 stitches together)
- st/sts: Stitch/Stitches
- sl st: Slip stitch
Step-by-Step Crochet Instructions
Main Whale Body
- Round 1:
- Chain (ch) 2.
- Crochet 6 sc into the first chain. (6 sts total)
- Round 2:
- Make 6 increases (2 sc in each stitch). (12 sts total)
- Round 3:
- Crochet [1 sc, 1 inc] six times. (18 sts total)
- Round 4:
- Crochet [2 sc, 1 inc] six times. (24 sts total)
- Round 5:
- Crochet [3 sc, 1 inc] six times. (30 sts total)
- Rounds 6-7:
- Work 2 rounds of 30 sc (no increases).
Decreasing for the Body Shape
- Round 8:
- Crochet 6 sc, then [1 dec, 1 sc] six times, then 6 sc. (24 sts total)
- Round 9:
- Crochet 6 sc, 6 decreases, 6 sc. (18 sts total)
- Round 10:
- Crochet 3 sc, 6 decreases, 3 sc. (12 sts total)
- Stuffing:
- Stuff the whale’s body with fiberfill before you close it off.
- Round 11:
- Crochet 6 decreases to close the whale. (6 sts total)
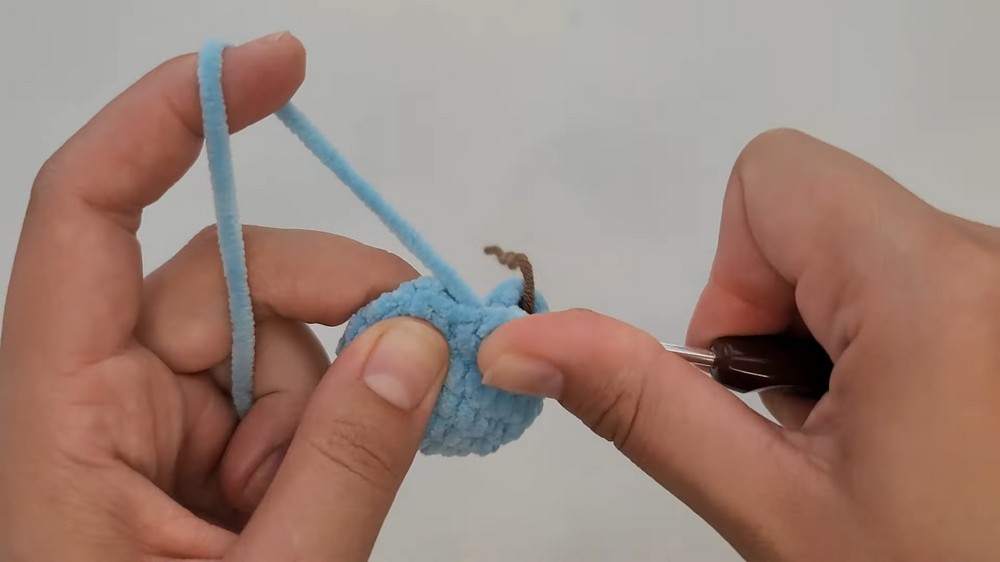
- Finishing:
- Cut the thread, leaving a long tail.
- Use a needle to sew through the front loops and tighten the hole.
- Fasten off and weave in the tail.
Whale Tail
- Round 1:
- Chain 2.
- Crochet 6 sc into the first chain. (6 sts total)
- Round 2:
- Make 6 increases (2 sc in each stitch). (12 sts total)
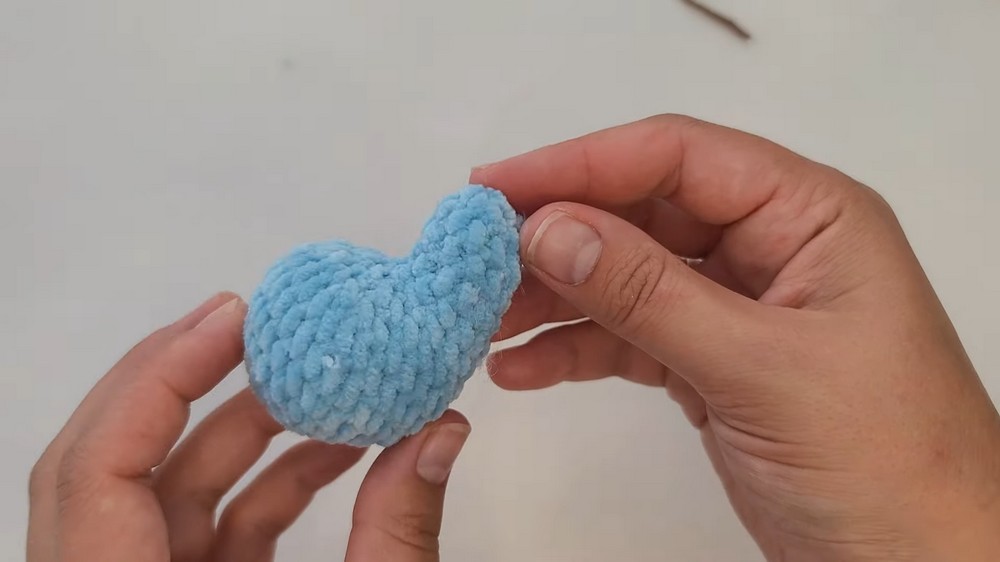
- Shaping the Tail:
- Fold the circle in half and crochet 5 sc to join the edges together.
- Leave a long tail for sewing, fasten off, and pull through.
- Repeat for the Second Tail Fluke:
- Create a second piece using the same steps.
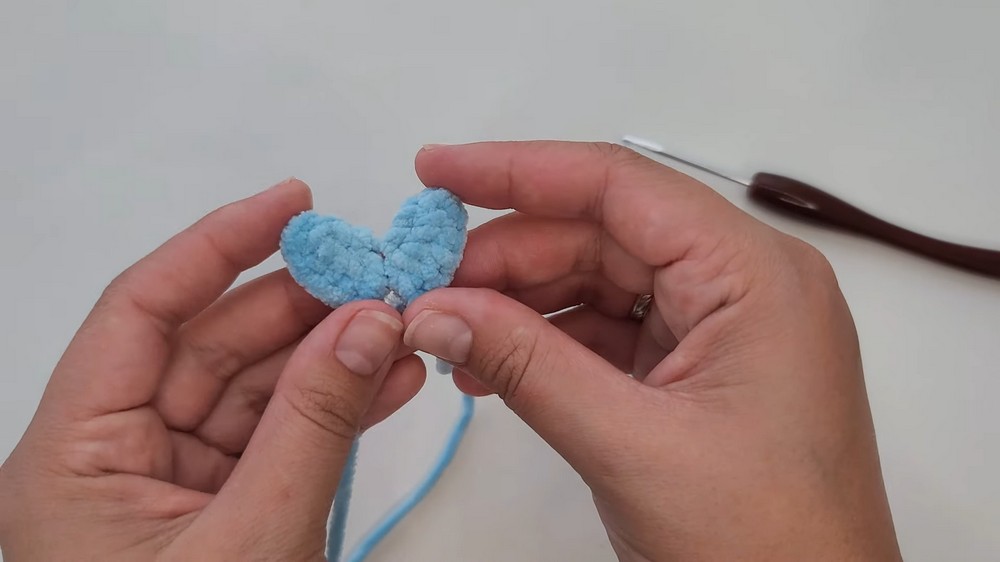
- Sew the Tail:
- Using the long yarn tails left on each fluke, sew the two flukes onto the back of the whale.
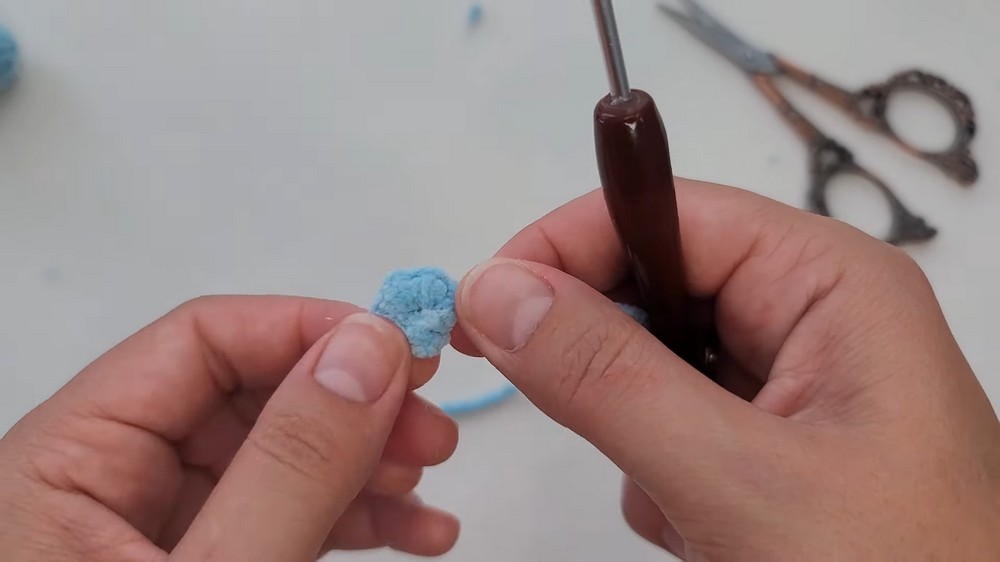
Flippers
- Round 1:
- Chain 2.
- Crochet 6 sc into the first chain. (6 sts total)
- Finishing Flippers:
- Cut the thread, leave a tail for sewing, and pull through.
- Make a second flipper using the same instructions.
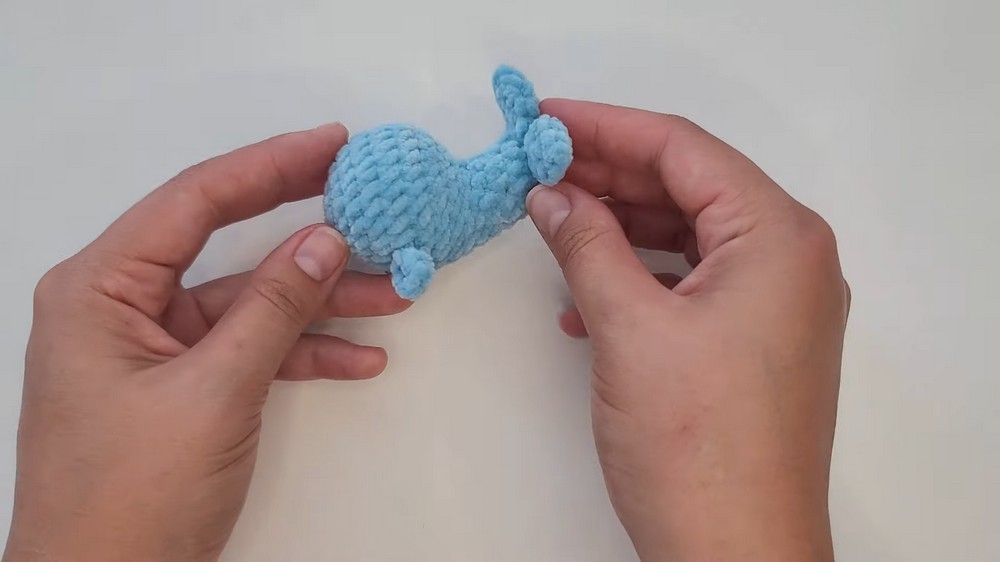
- Attach Flippers:
- Use pins to mark symmetrical positions for the flippers on the sides of the whale.
- Sew each flipper securely using the yarn tails.
Eyes and Smile
- Eyes:
- Place the safety eyes approximately 4 stitches above the flipper rounds (between rounds 5 and 6).
- Use glue to secure the eyes in place if necessary.
- Smile (Optional):
- Thread a piece of yarn or embroidery thread in a contrasting color onto a sewing needle.
- Stitch a small smile beneath the eyes, fastening off and weaving in the ends.
Finishing Tips
- Check that all pieces (tail, flippers, and embellishments) are securely attached.
- Ensure the fiberfill is evenly distributed for a smooth and symmetrical shape.