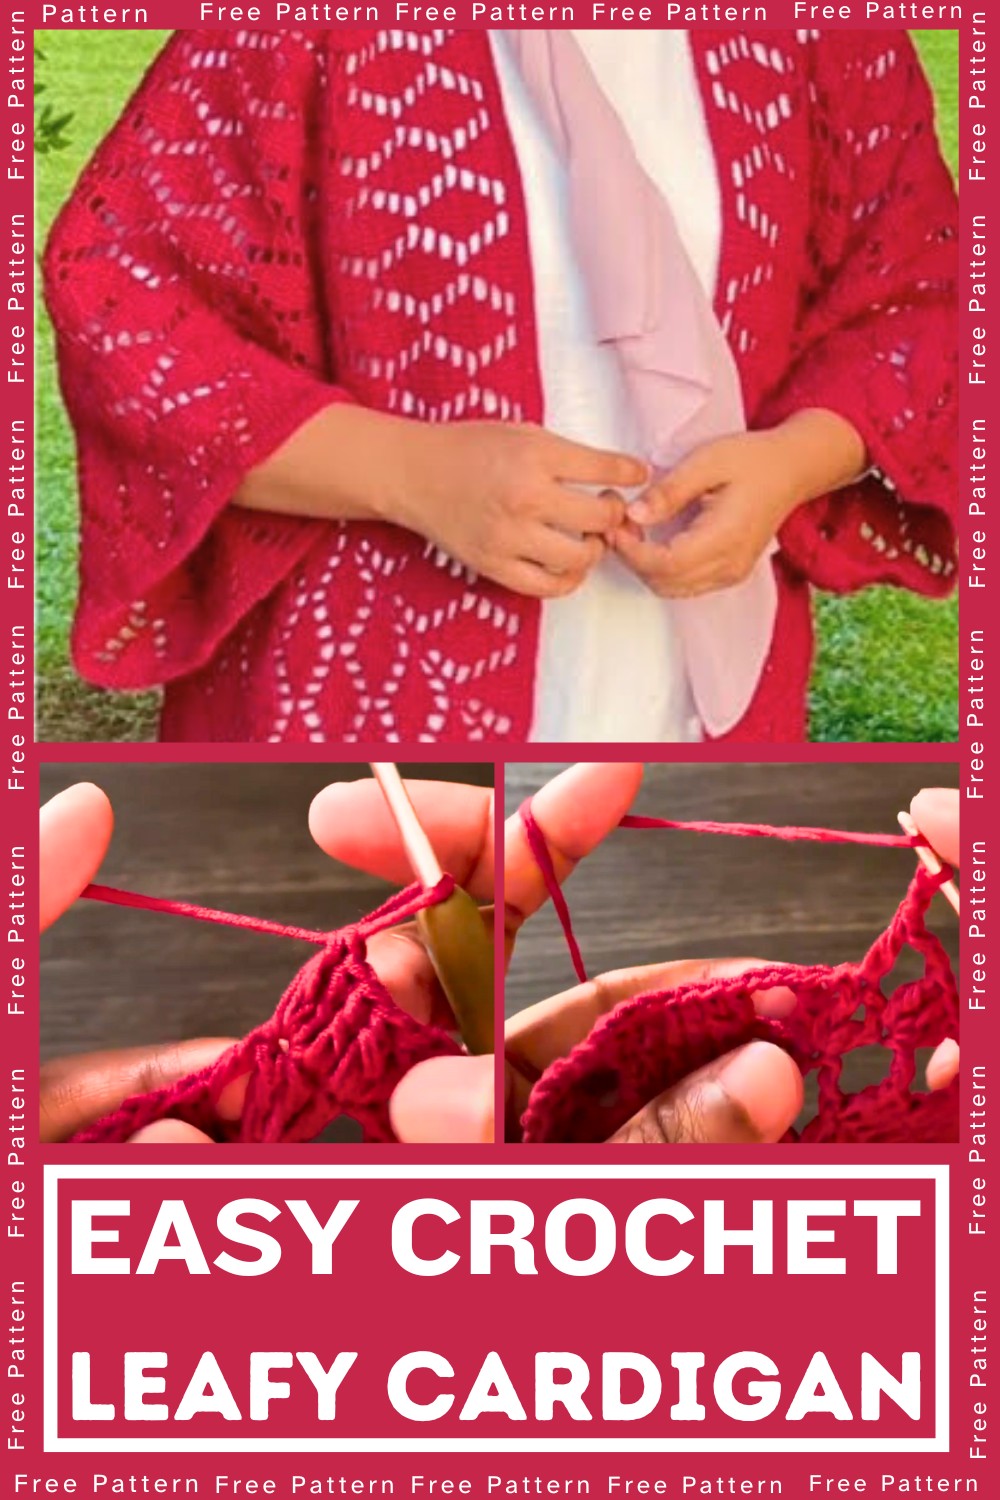
Create a stunning hexagon cardigan adorned with delicate leaf-like textures! This versatile design combines beauty and comfort, making it perfect for any season. Whether you’re cozying up or flaunting it on special occasions, this cardigan is a statement piece for all.

This cardigan offers style and functionality. Made using durable, soft cotton yarn, it’s lightweight yet warm, ideal for layering. The intricate leaf texture adds sophistication, while the hexagon construction ensures flexibility and a snug fit. Perfect for everyday wear or dressing up!
Crochet a Leafy Hexagon Cardigan
Crafting this hexagon cardigan is enjoyable for both beginners and experienced crocheters. The simple yet creative pattern allows personalization in size and color, letting your creativity shine! Begin with manageable rounds and build up a gorgeous, leafy textured design.
Materials and Preparation
To crochet the Leafy Hexagon Cardigan, you will need the following materials:
Materials:
- Yarn: Cotton soft yarn (lightweight)
- Tip: Use two strands together for better thickness.
- Hook: 3mm crochet hook
- Additional Tools:
- Yarn needle (for sewing and weaving ends)
- Scissors
Yarn Weight Requirements:
- Light cotton yarn, held double if using thin yarn. Adjust as necessary if working with a single strand or thicker yarn.
Abbreviations and Notes
Abbreviations:
- CH: Chain
- DC: Double Crochet
- SC: Single Crochet
- SL ST: Slip Stitch
- SP: Space
- ST: Stitch
Notes:
- This cardigan consists of two hexagonal panels, which are folded to form the shape of the garment.
- Pay attention to the corners of the hexagon, where increases and pattern changes occur.
- You will work extra rows for the back and bottom portions if you wish to adjust the length.
- The final cardigan is joined by sewing or slip stitching, depending on your preference.
Gauge, Approximate Size, and Pattern Notes
Gauge:
- For 3mm hook + double-stranded yarn: Approx. 12 DC x 6 rows = 4 inches.
Approximate Finished Size:
- Height: Approx. 35 inches (adjustable for desired length)
- Sleeve Length: Approx. 21 inches
Pattern Notes:
- The hexagon is worked in rounds, with increases at corners to form the leaf pattern.
- The back portion is extended with additional rows for proper fit and coverage.
- A border is added to the front, bottom, and sleeves for a clean finish.

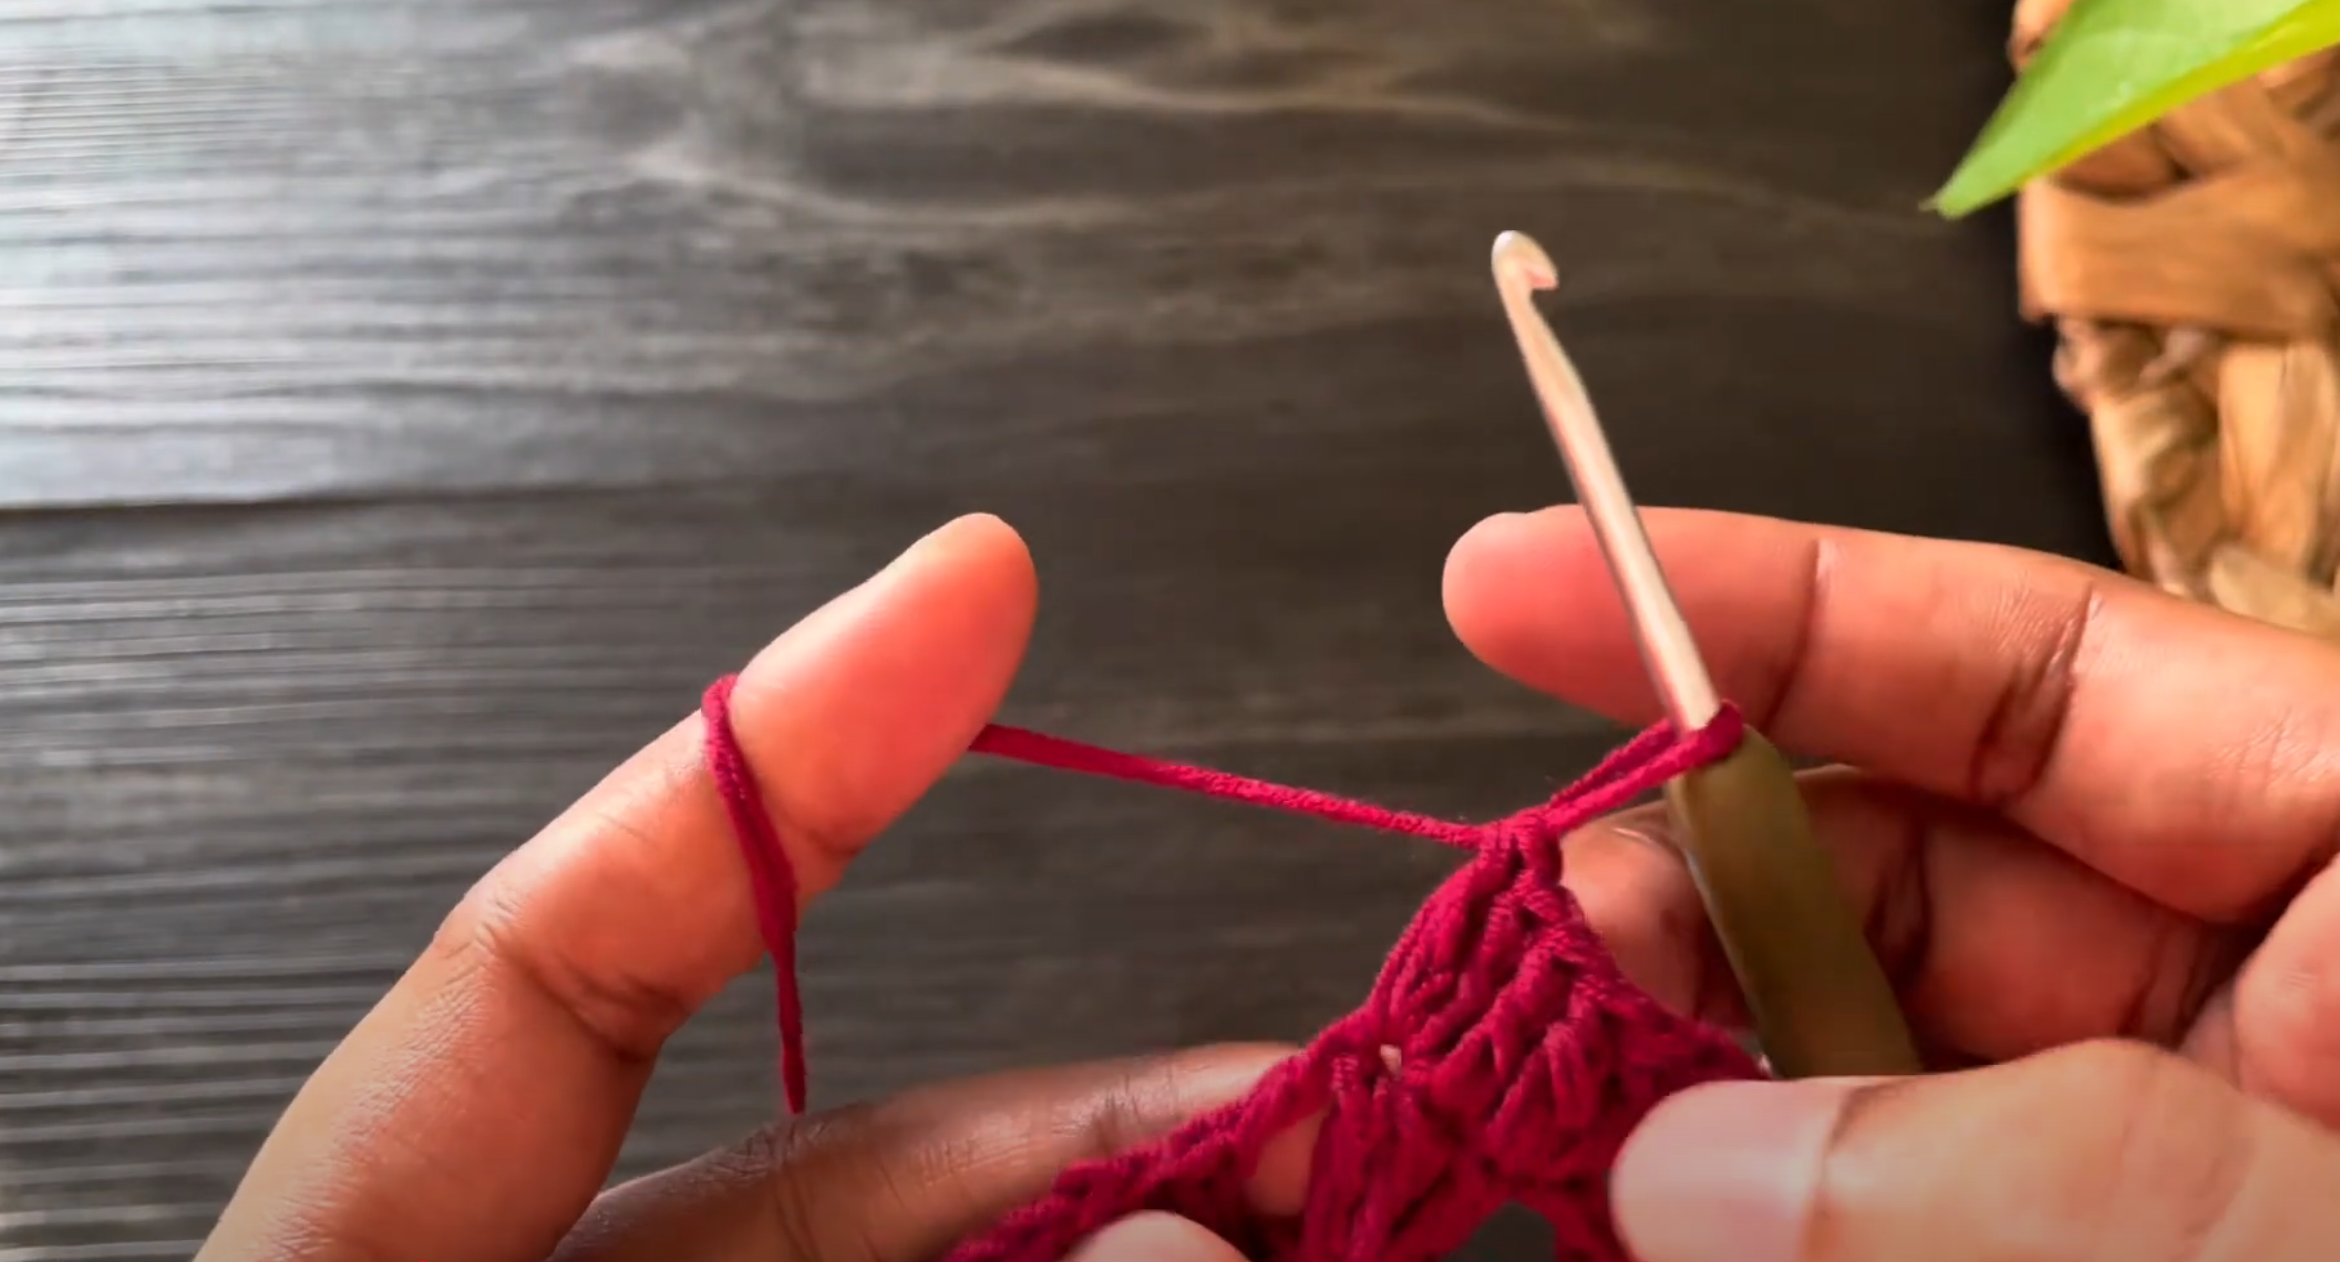
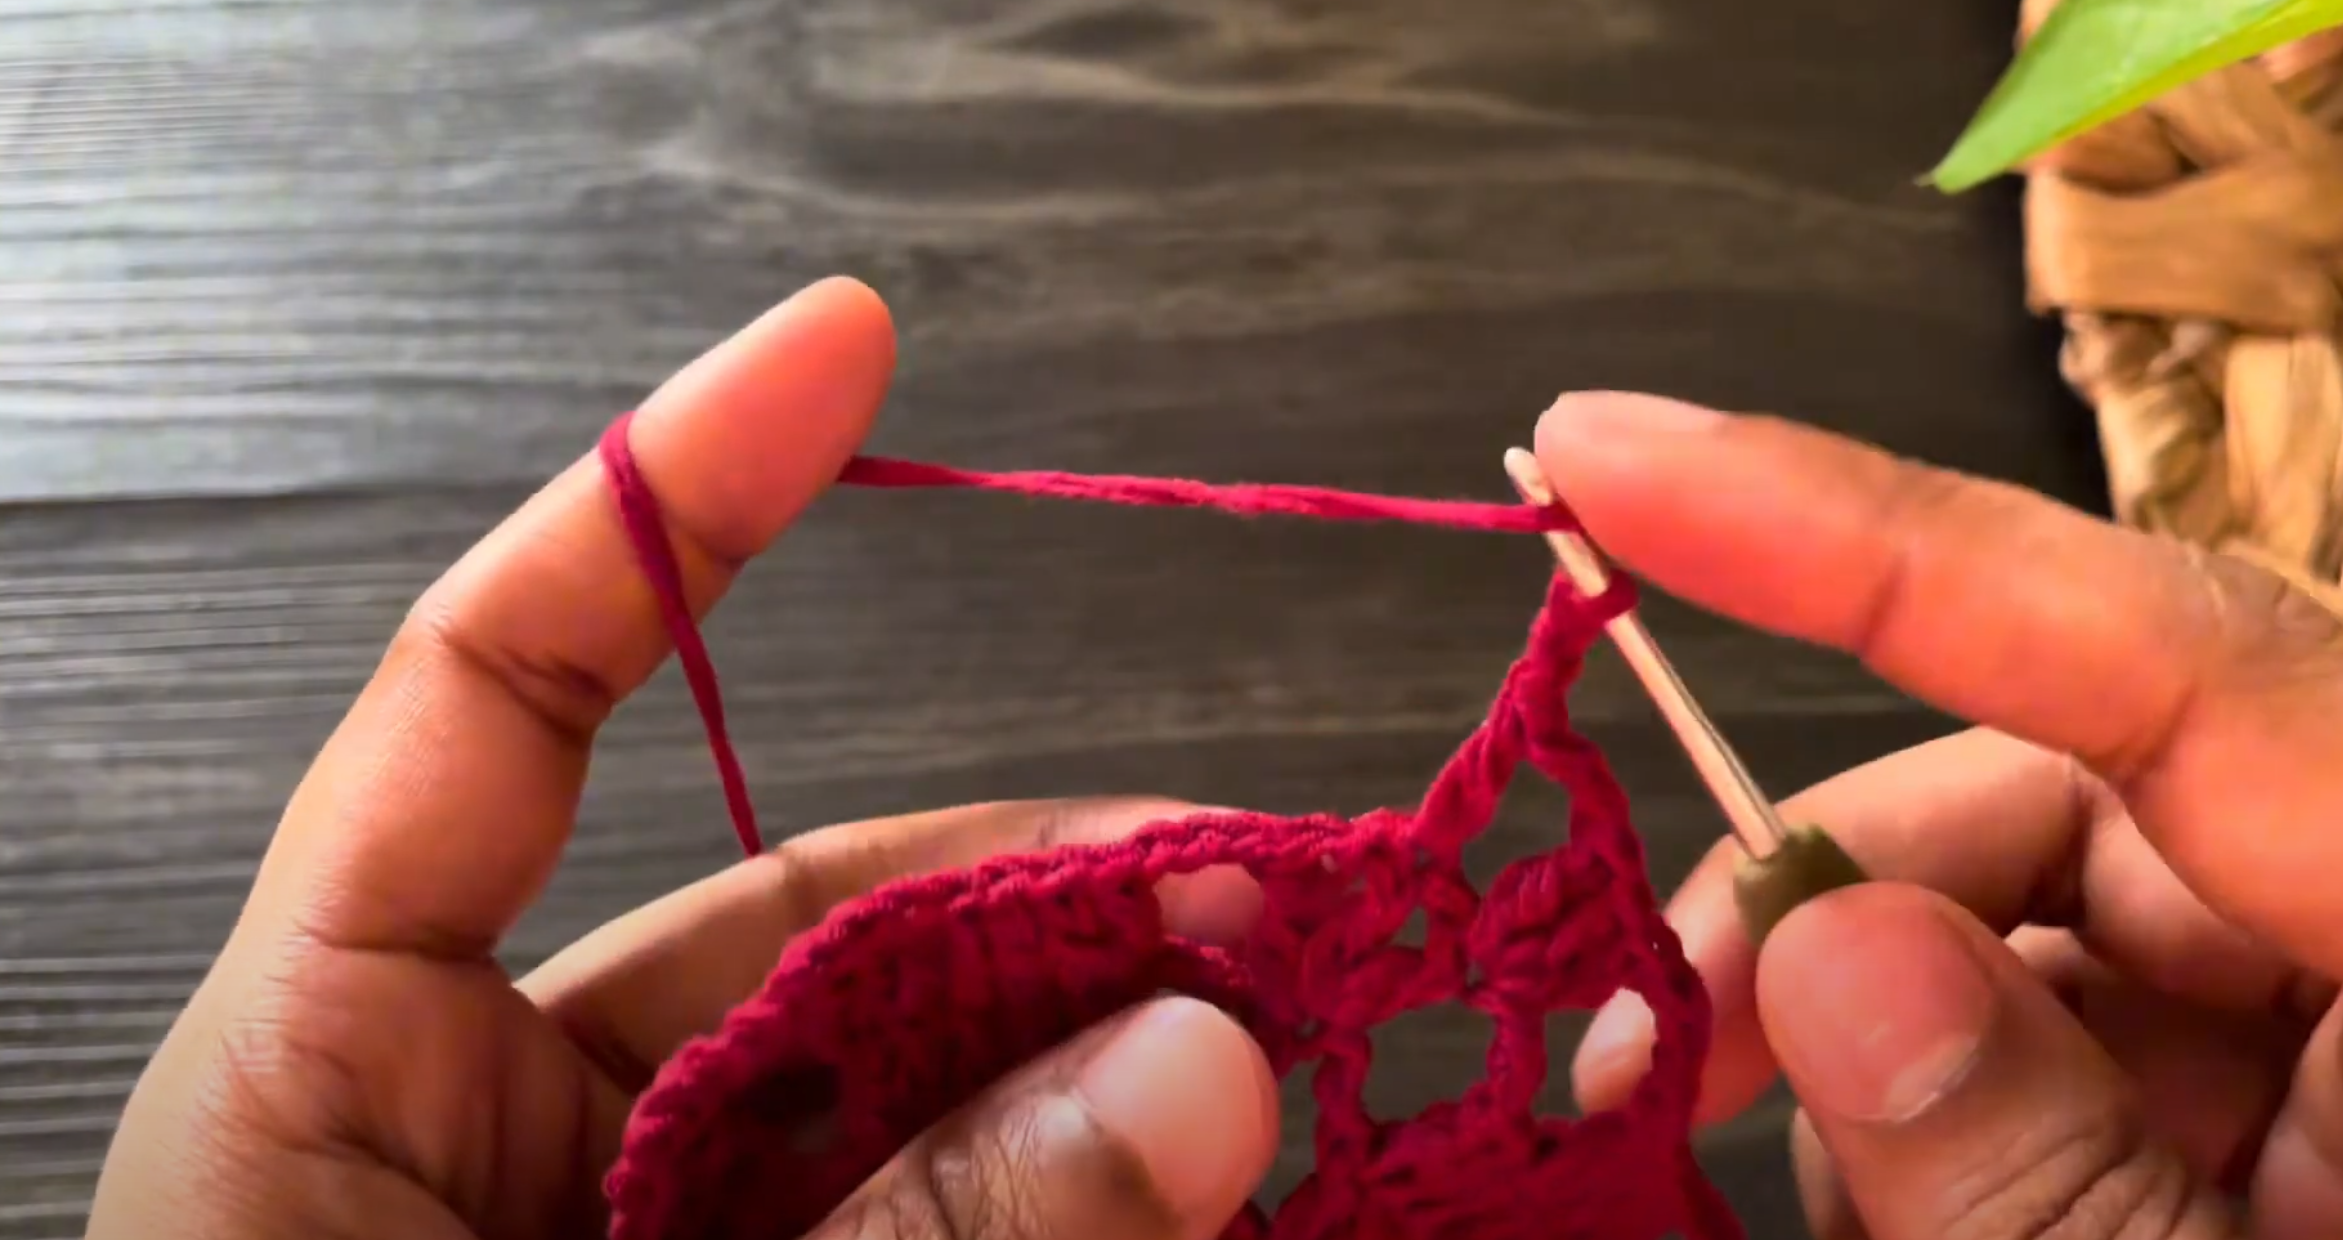
Step-by-Step Pattern
Foundation (Magic Circle):
- Begin with a magic circle.
- CH 3 (counts as 1 DC) and secure the magic circle.
- Work a total of 12 DC, separated by CH 2, into the magic circle.
- Between every two DC, make CH 2.
- Pull the tail to close the circle and work a SL ST into the 3rd CH of the first DC to complete Round 1.
Round 2:
- CH 3 (counts as 1 DC).
- CH 2 (creates a SP).
- Into the next ST, work 3 DC.
- CH 2, then into the next ST, work 1 DC.
- Continue this pattern alternating between 3 DC and 1 DC separated by CH 2 SPs.
Round 3:
- CH 3 (counts as 1 DC), then CH 3 (for the SP).
- In the first ST: 2 DC into the first DC, 1 DC into the second ST, 2 DC into the third ST.
- Total: 5 DC increase per "leaf section."
- CH 3 and repeat the increase pattern at each corner.
Round 4 (Branching Leaves):
- Start with CH 3 (counts as 1 DC) and CH 1, then work 1 DC, CH 1, 1 DC into the same SP.
- This creates the branching pattern.
- CH 3 and then increase at first and last STs of each section (same as previous round), leaving 7 total DCs per widest leaf section.
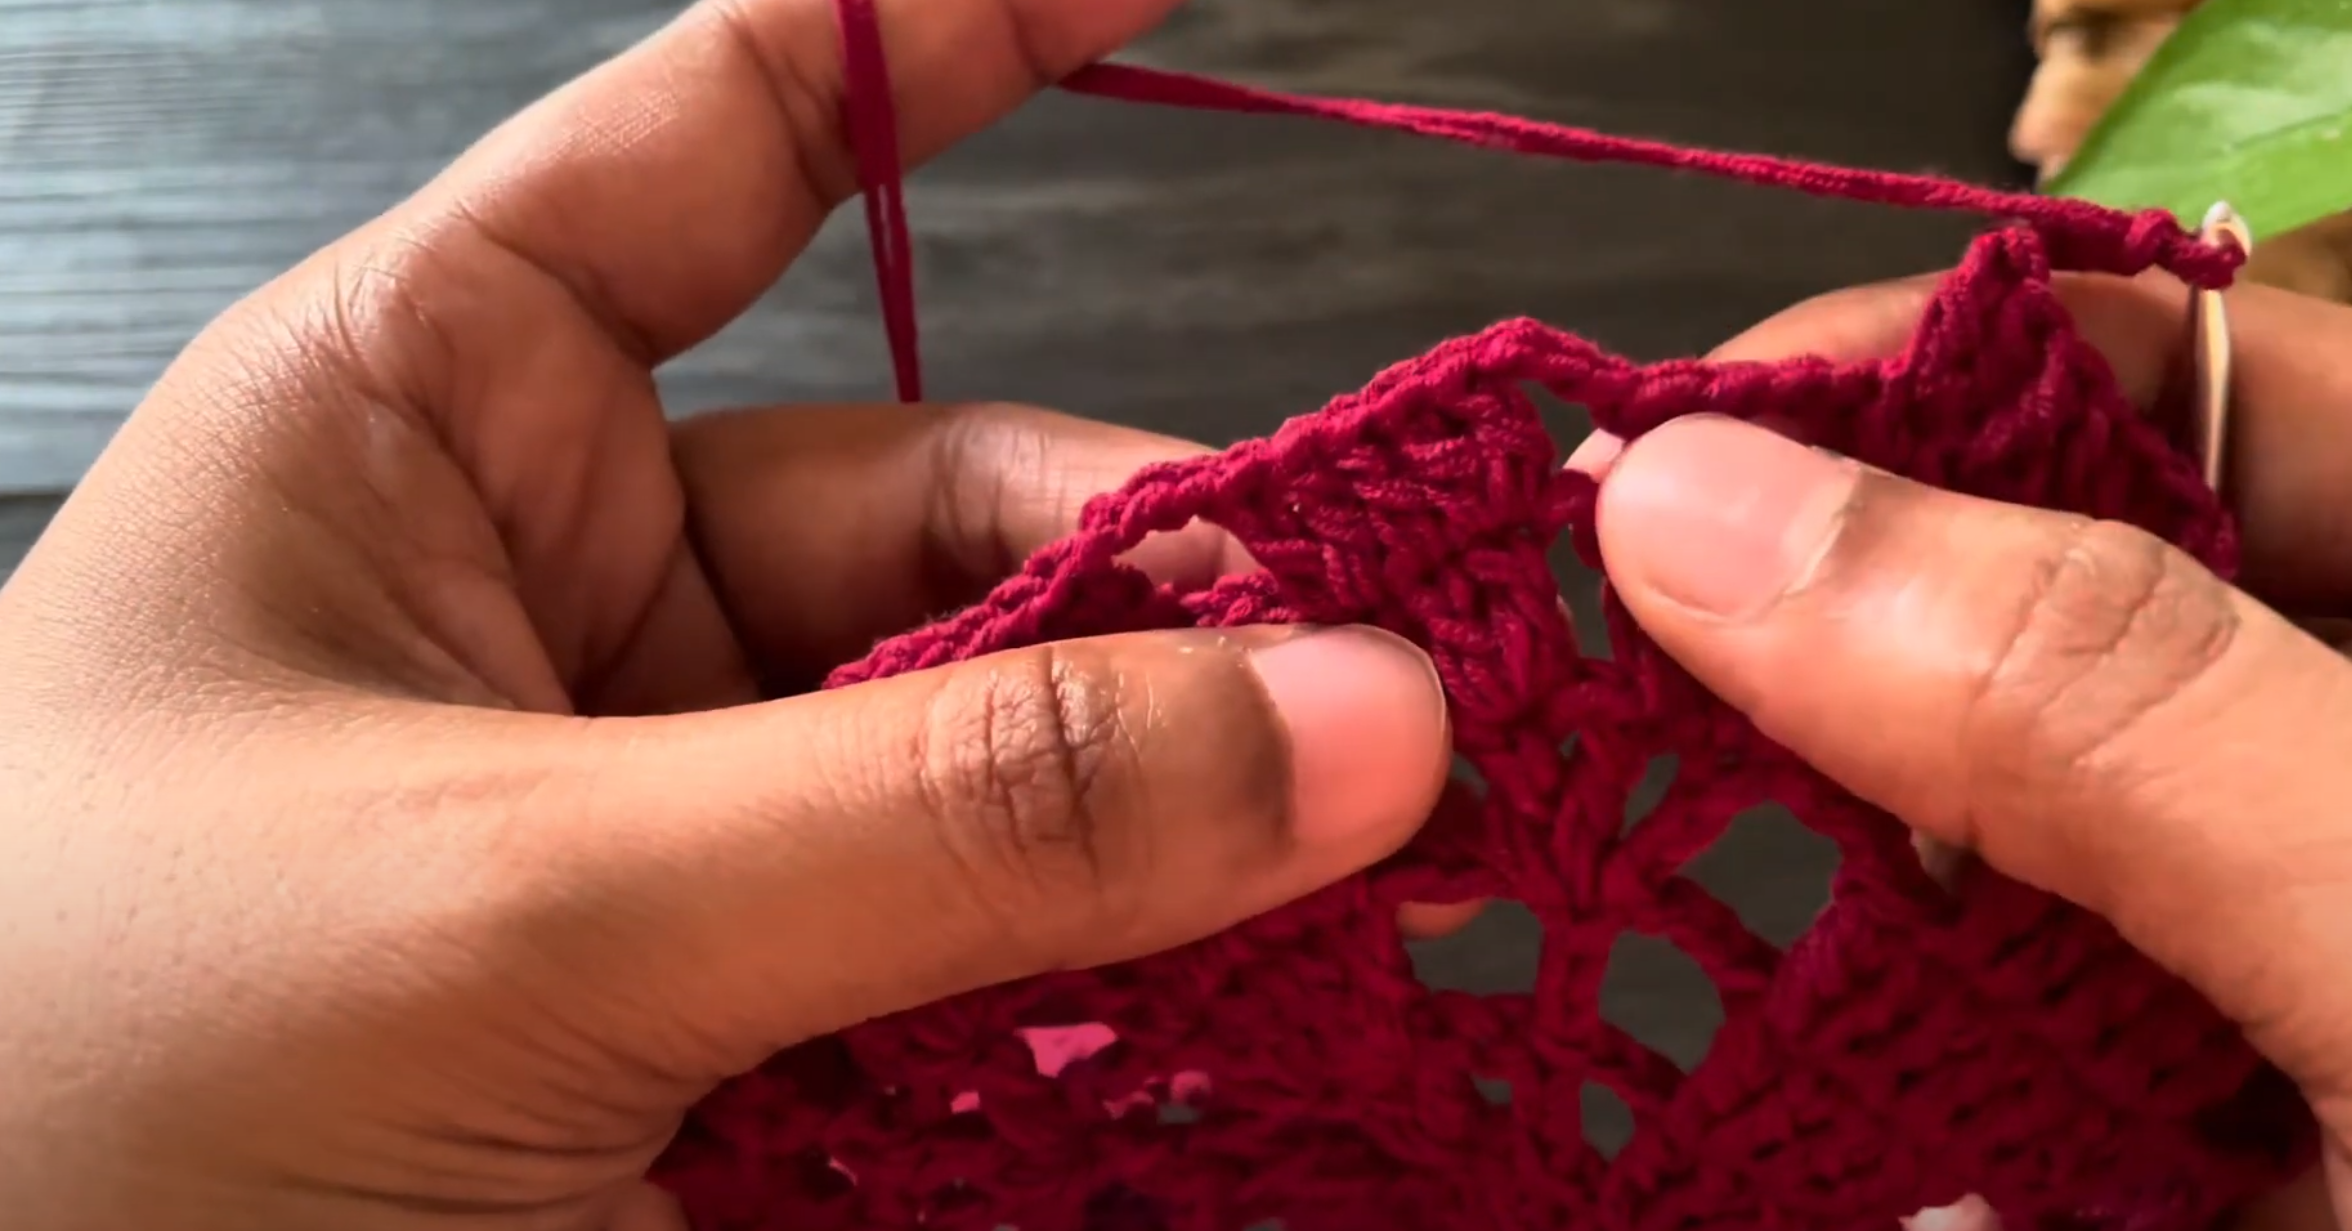
Round 5:
- Begin forming new leaves by working 3 DC in SPs designated for leaves.
- For existing leaves, start decreasing: Skip the first and last ST and work 5 DCs total in the middle section.
- Remember to increase in corners and start new leaf branches where needed.
Round 6 & Round 7:
- Continue the same pattern while shaping leaves.
- Round 6: Leaves reach their widest point with 7 DCs per section.
- Round 7: Leaves start tapering down toward smaller DC counts.
- Begin forming the structure of the hexagon cardigan by folding and sewing at the shoulders.
Adding Extra Rows (Back Extension):
- To extend the back, add more rows only to the lower section of the hexagon.
- Attach yarn at the bottom corner and continue the established pattern for an extra 4 rows (or more based on desired length).
Joining Panels:
- Fold the two hexagons together with corners aligned.
- Join the panels at the shoulder and side seams using either:
- Slip Stitch Method: Insert hook into corresponding STs of the panels and pass yarn through.
- Sewing Method: Use a yarn needle and matching yarn to seam the two pieces together.
Border and Finishing:
- Add a DC border to:
- Front edges
- Lower hem of the cardigan
- Sleeves
- Tip: Work 1 DC in each CH SP, and 3 DCs in corners for a smooth border.
- Weave in all tail ends using a yarn needle.
Frequently Asked Question
Q: Can this pattern be adjusted for different sizes?
A: Yes! You can customize the length and overall size by adding or reducing rows. Measure shoulder to desired sleeve length and adjust rows accordingly for the perfect fit.
Conclusion
Crocheting the leafy hexagon cardigan is a delightful way to immerse yourself in creativity while crafting a functional garment. It’s versatile, stylish, and customizable, making it an ideal project for any crochet enthusiast. Grab your yarn and create a wardrobe masterpiece today!


