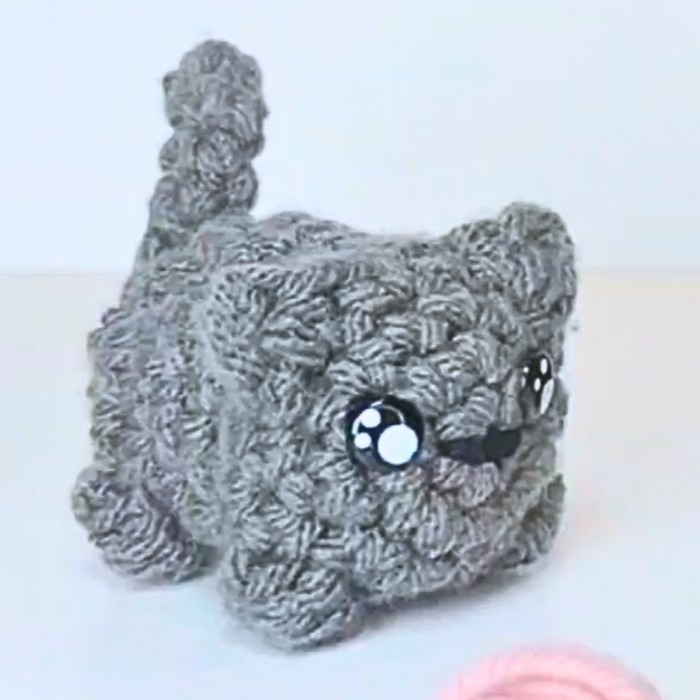
Create an adorable crochet cat that’s perfect as a gift, decoration, or keepsake. This project combines charm, creativity, and versatility to deliver a cuddly miniature feline. Suitable for all occasions, it dazzles with its handcrafted details and sweet personal touch.
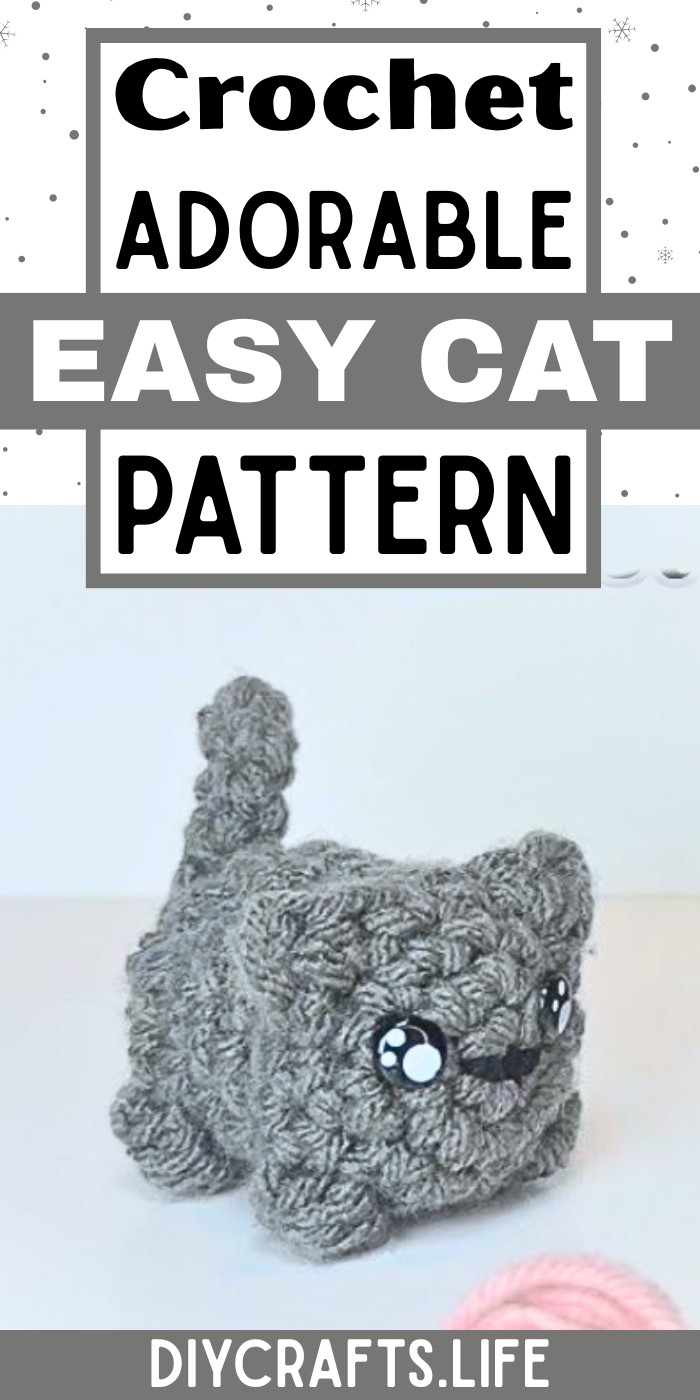
This crochet cat is lightweight, durable, and irresistibly cute. It’s ideal as a toy, desk ornament, or thoughtful handmade gift. Its customizable design, from colors to facial expressions, ensures it has a personal flair while being sturdy enough for lasting use.
Crochet Cat Pattern
This crochet project is beginner-friendly and allows for endless creativity. With a simple pattern, anyone can craft it and add unique details to personalize their cat. The steps are clear, making it enjoyable for all skill levels, ensuring a fun and rewarding craft.
Credit Hobby Aubrey
Materials and Preparation
- Yarn: Medium (worsted) weight yarn in your chosen color for the body, and black yarn for facial features.
- Hook size: 3.5mm crochet hook (or size recommended for your yarn).
- Additional Tools:
- Yarn needle
- Scissors
- Fiberfill stuffing (small amount)
- Safety eyes (optional)
Abbreviations and Notes
Abbreviations:
- SC: Single Crochet
- HDC: Half Double Crochet
- Ch: Chain
- Inc: Increase
- Sl St: Slip Stitch
- Puff Stitch: Combination of multiple partial stitches drawn together into one.
Important Notes:
- When working in rounds, make sure to use a stitch marker or count rounds carefully to maintain stitch accuracy.
- Use the "magic circle" technique for the foundation rounds to ensure a centered start.
- Special stitches such as puff stitches and invisible decreases are key techniques in shaping the cat — slow down while working these steps and watch the video if needed.
Gauge, Approximate Size, and Pattern Notes
- Gauge: Not essential for this project, but maintaining consistent tension is important for uniform shape.
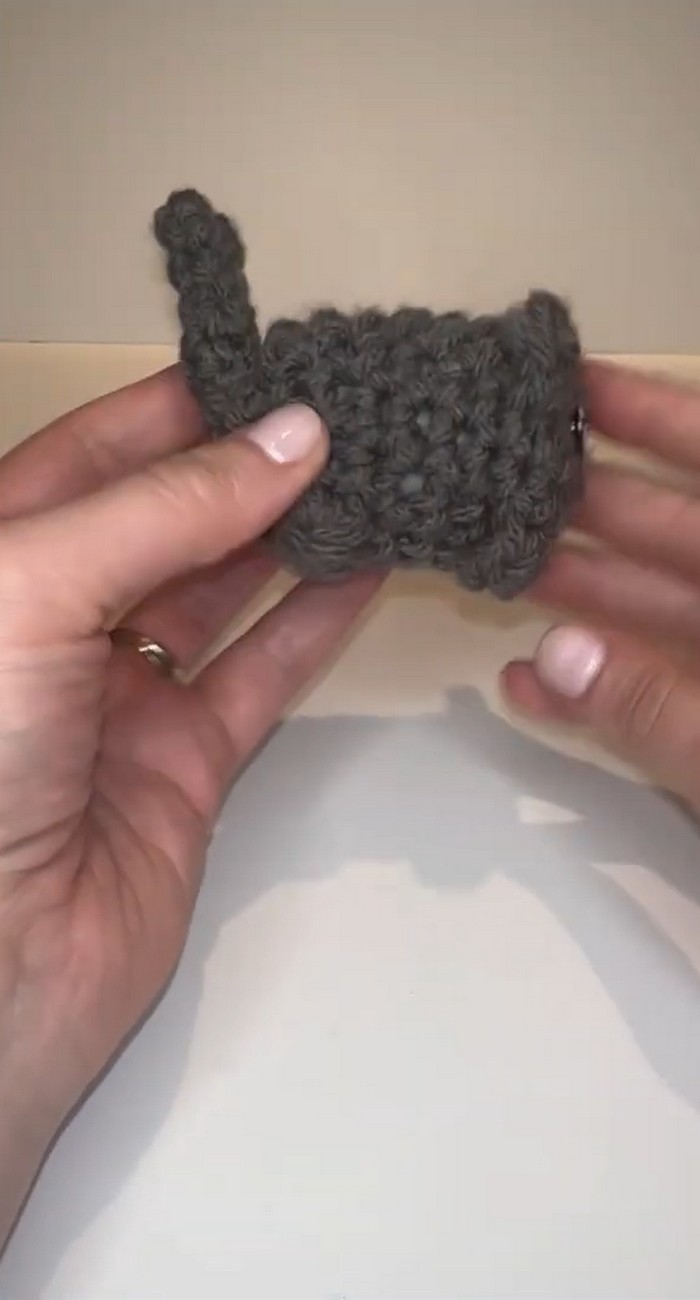
- Finished Dimensions: Approximately 2–4 inches tall, depending on the yarn and hook used.
- Special Techniques:
- Magic Circle: Used to start body and tail.
- Invisible Decrease: For shaping the top of the body.
Step-by-Step Pattern
Body
- Round 1: Create a magic circle. SC 6 stitches into the circle. Cinch closed.
- Round 2: Inc into each SC around (12 stitches).
- Round 3: SC around (12 stitches).
- Round 4 (Ears & Legs):
- In the front loop only, begin the first HDC to form an ear:
- Yarn over, insert hook into the front loop, pull up a loop (3 loops on hook).
- Yarn over, pull through all 3 loops.
- Ch 2, then Sl St in the back loop of the second Ch.
- Complete another HDC in the front loop of the same stitch to finish the ear.
- SC into the next 2 stitches. Repeat ear-making steps for the second ear.
- In the front loop only, begin the first HDC to form an ear:
- Between the ears, move into shaping the first leg: Create a 3-HDC puff stitch in the front loop only, Ch 3, then Sl St in the same stitch. SC into the next 2 stitches. Repeat puff stitch steps for the second leg.
- Round 5: SC again, this time working in the back loops of the ears and legs.
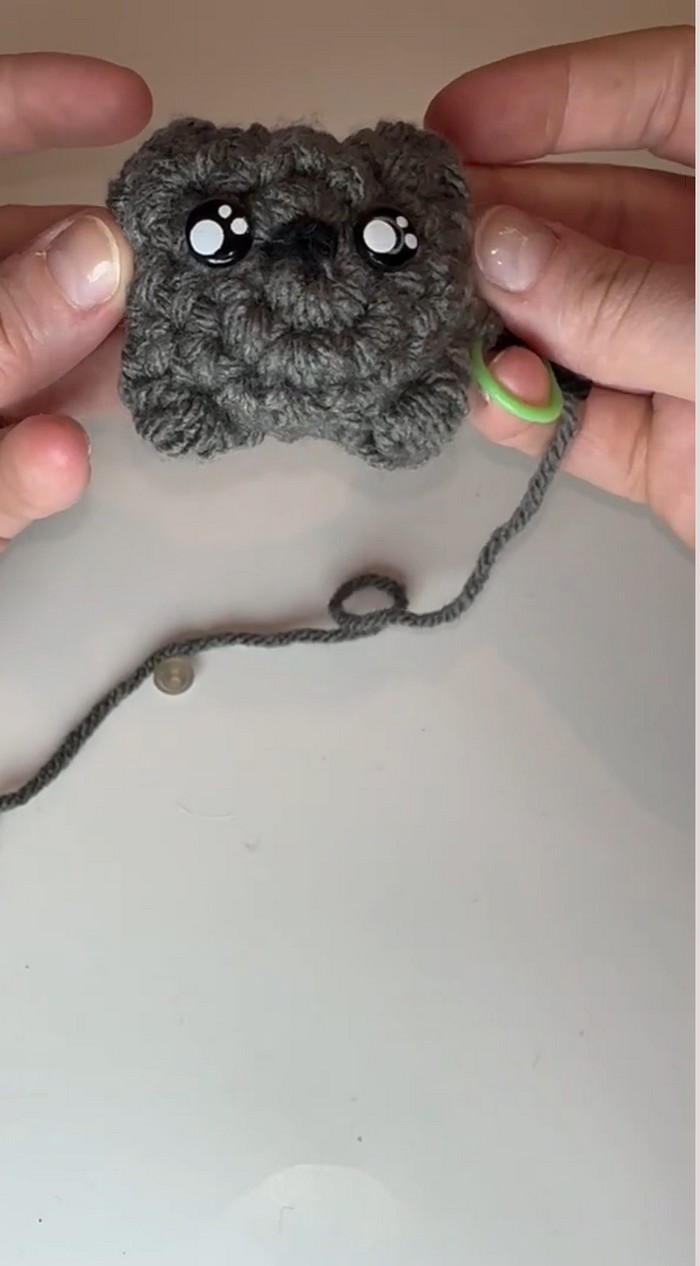
Face
- Embroider the nose between Rounds 2 and 3 using black yarn and a yarn needle. Create a triangle shape.
- Insert safety eyes (or embroider eyes) between Rounds 2 and 3.
Body Shaping
- Rounds 6–8: SC around.
- Round 9: SC 6 stitches, then repeat puff stitch steps to shape the third leg. SC 2 stitches, then repeat puff stitch steps for the fourth leg.
- Round 10: SC around, ensuring you work into the back loops of the legs.
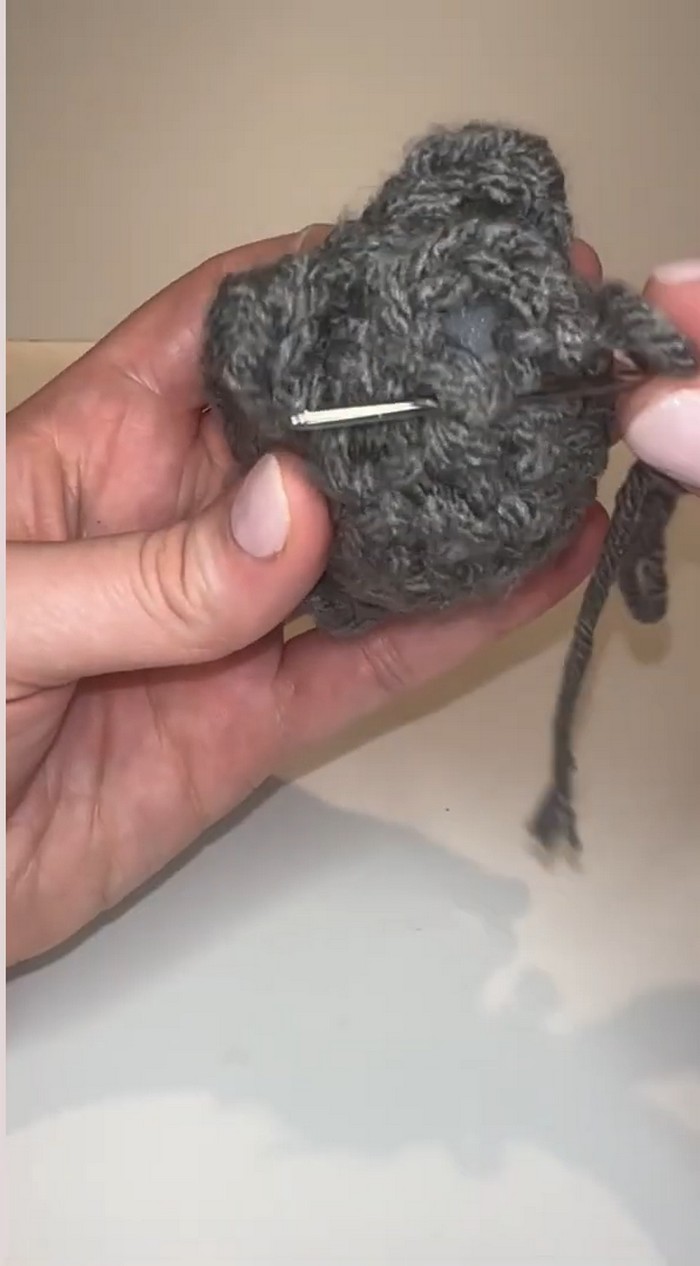
Stuffing and Shaping
- Stuff the body lightly with fiberfill to hold the shape.
- Round 11: Perform invisible decreases around until the body cinches closed, leaving 6 stitches.
- Fasten off by Sl St, Ch 1, and cut yarn. Use the yarn needle to weave ends through the last row, cinch closed, and secure with a double knot. Weave in any remaining tail.
Tail
- Create a magic circle with the same yarn color as the body.
- Round 1: SC 4 stitches into the circle and cinch closed.
- Rounds 2–6: SC around to form a tube for the tail.
- Fasten off with a Sl St, leaving a few inches of yarn for sewing.
- Attach the tail to the back of the cat using the yarn needle, securing with a double knot and trimming extra yarn.
Pattern Question
Q: How do I customize the size or color of the crochet cat?
A: Change the yarn thickness or hook size for a different size. Use yarn in your preferred color combinations to make your cat stand out.
Conclusion
Crocheting this cat is a fun, creative, and satisfying project for every maker. Its versatility, durability, and charm make it a worthy addition to your craft list. You’ll love how this adorable cat reflects your personal touch and handiwork.


