A crochet bandana is a fun, stylish item that can be used in many ways! Wear it around your neck as a scarf, tie it on your head as a trendy accessory, or even style it around your waist for a bold look. What's special about this design is its simplicity, making it perfect for beginners to create and customize using leftover yarn.
Easy Crochet Bandana Pattern
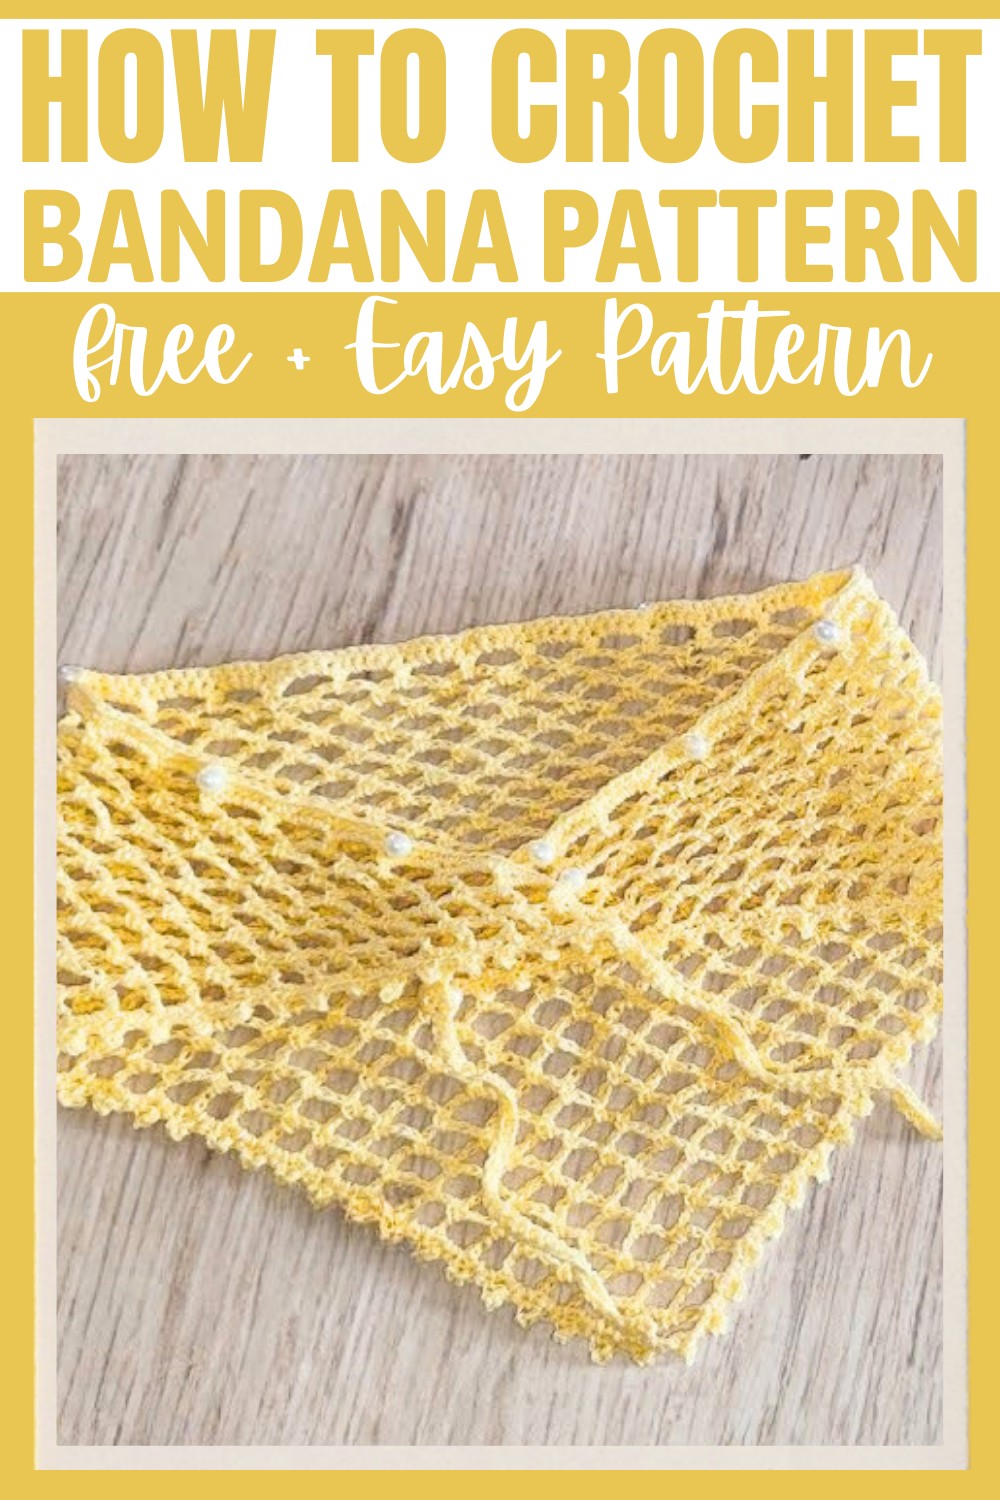
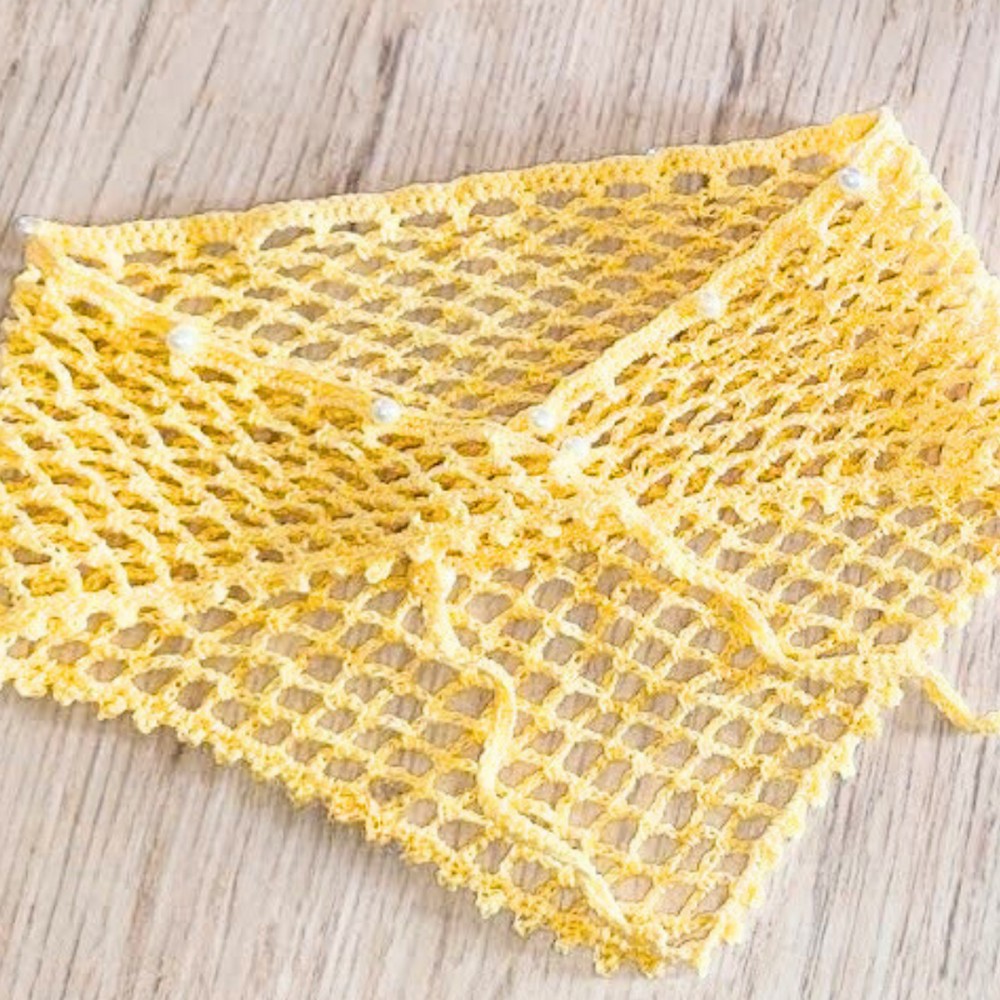
This crochet bandana is lightweight, adjustable, and easy to make. The pattern uses basic stitches and can be completed in a short time. You can make it as small or large as you want by increasing the rows, so it's totally flexible for your needs. Adding small touches like pearl appliqués or different colors makes it even more unique and creative.
Credit Paty crochê oficial
Materials & Tools Needed
- Yarn:
- Camila Fashion yarn (color 00385, yarn count 300).
- You can use leftover yarn/scraps in similar weight, as this project uses less than half a ball.
- Hook:
- 1.75 mm crochet hook.
- Other Tools:
- Scissors.
- Measuring tape.
- Tapestry needle (for weaving in ends).
- Optional: Pearls for embellishments (size #8).
Finished Size & Customization Ideas
- Finished Dimensions:
- The bandana has 34 rows, measuring approximately:
- Width: 67 cm when stretched.
- Height: 25 cm when flattened (it stretches slightly when worn/tied).
- The bandana has 34 rows, measuring approximately:
- Customization Tips:
- Increase length: Add more rows for a larger size.
- Different uses: Wear it as a headscarf, tie it as a waist accessory, or style it creatively.
- Ribbon or cords: Chain cords at the ends for easier tying.
- Pearl embellishments: Use pearls or beads to elevate the design.
Step-by-Step Crochet Instructions
Part 1: Bandana Base
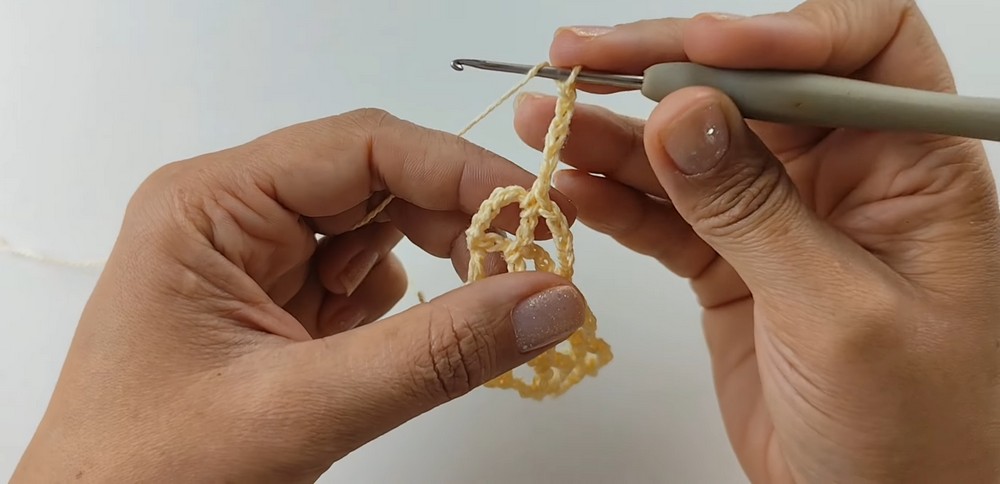
- Start with chains:
- Make 8 chains as the foundation (row 1).
- Row 1:
- Yarn over and make a double crochet into the first chain (creating the base triangle).
- Row 2:
- Make 8 chains to start the row.
- Breakdown of 8 chains: First 3 chains count as a double crochet, next 5 chains are the "loop foundation".
- Make a single crochet in the center of the previous chain loop.
- Create 5 chains for the next loop pattern.
- Make a double crochet into the third chain from the bottom of the previous row.
- Make 8 chains to start the row.
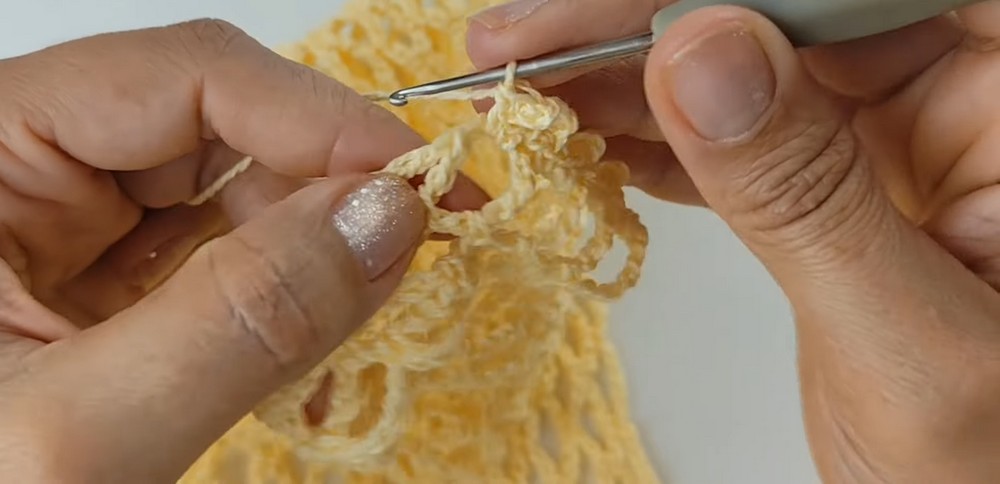
- Subsequent Rows (Row 3 onward):
- Repeat the following steps for each row until you complete 34 rows:
- Chain 8 at the beginning of the row (3 chains = double crochet, 5 chains = loop).
- Fasten with a single crochet in center of each previous row loop.
- Create 5 chains forming the loops between single crochets.
- End each row by making a double crochet into the 3rd chain (from the bottom) of the previous row.
- Note: Each row increases the number of loops. Example: Row 3 has 3 loops, Row 4 has 4 loops, and so on.
- Repeat the following steps for each row until you complete 34 rows:
- Finishing row counts and measuring:
- After 34 rows, stretch and measure the bandana to ensure the desired size (67 cm wide, 25 cm tall).
- Adjust the number of rows for larger or smaller bandanas.
Part 2: Border (Picot Stitch Edge)
- Begin border:
- Create a single crochet on the edge of the bandana.
- Work picot stitches (adds decorative edging):
- Single crochet into a stitch.
- Chain 3, insert hook into top two loops of last stitch, and make another single crochet (forming the picot).
- Repeat picot around the edge:
- Continue alternating: single crochet followed by a picot stitch.
- When nearing a corner or edge, continue the same pattern without skipping stitches.
- Cross to the opposite side:
- When reaching the bottom row, make single crochets evenly across the loops of the initial foundation chain.
- Work 5 single crochets into each of the chain rings from earlier rows.
- Finish by joining with a slip stitch at the end of the round.
Part 3: Tie Ribbon/Cord
- Create ribbon cords:
- Chain 35 chains for the first cord at one end of the bandana.
- Fasten off the yarn after completing the chain.
- At the opposite end of the bandana, repeat the process to create a second 35-chain cord.
- Optional pearl embellishment for cords:
- To decorate with pearls, make single crochets into each chain while adding pearls periodically:
- Insert the pearl onto the hook and secure into the stitch.
- Skip ~14 stitches between pearl applications or adjust as desired.
- To decorate with pearls, make single crochets into each chain while adding pearls periodically:
Part 4: Final Touches
- Secure and finish:
- Use the tapestry needle to weave in the yarn ends.
- Tie knots at the ends of the ribbons for durability.
- If desired, apply small dabs of fabric glue to secure the knots.
- Optional embellishments:
- Pearl application adds a trendy look or skip this step for a simpler design.
- You can embellish additional parts of the bandana as desired.