Create a festive Crochet Santa with a cozy hat, perfect as a decoration or gift. Add charm to any space with this versatile, handcrafted design. Its simplicity and timeless appeal make it a great addition to holiday traditions or DIY enthusiast projects.
This Crochet Santa and hat are durable and timeless, making them perfect for repeated use each holiday season. They double as eye-catching décor or heartfelt gifts. Designed to be lightweight and sturdy, they are easy to customize for any festive theme.
Credit DIY Series
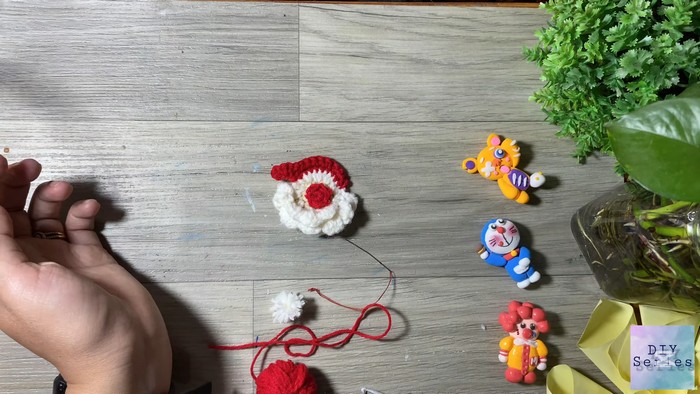
Crochet Santa and a Hat
This crochet project is beginner-friendly yet engaging for advanced crafters. Easily adaptable, you can customize colors, sizes, and details to suit your style. With straightforward instructions, it’s a relaxing and rewarding activity for all skill levels.
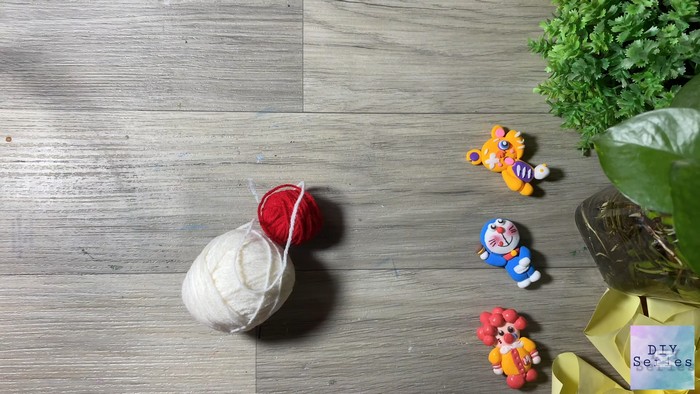
Materials and Preparation
To create your own Crochet Santa and Hat, gather the following materials:
- Yarn: Red, white, black, and skin-tone yarn (medium weight/4)
- Crochet Hook: Size G/4.0 mm
- Additional Tools: Yarn needle, scissors, stitch markers, and stuffing
- Yarn Weight Requirement: Medium/4 (worsted weight)
Abbreviations and Notes
These abbreviations will be used throughout the pattern:
- CH = Chain
- SC = Single Crochet
- DC = Double Crochet
- HDC = Half Double Crochet
- INC = Increase (2 SC in the next stitch)
- DEC = Decrease (SC two stitches together)
- ST = Stitch
- RND = Round
Pattern Notes:
- This pattern is worked in continuous rounds unless otherwise specified.
- Use a stitch marker to denote the first stitch of the round.
- For an even Santa shape, stuffing should be done gradually as you progress through the pattern.
Gauge, Approximate Size, and Pattern Notes
- Gauge: 16 SC x 16 rows = 4 inches square
- Approximate Size: The finished Santa measures about 6 inches tall.
- Special Techniques: Invisible decrease technique is recommended for a refined look.
- It is advisable to work a gauge swatch to ensure proper sizing.
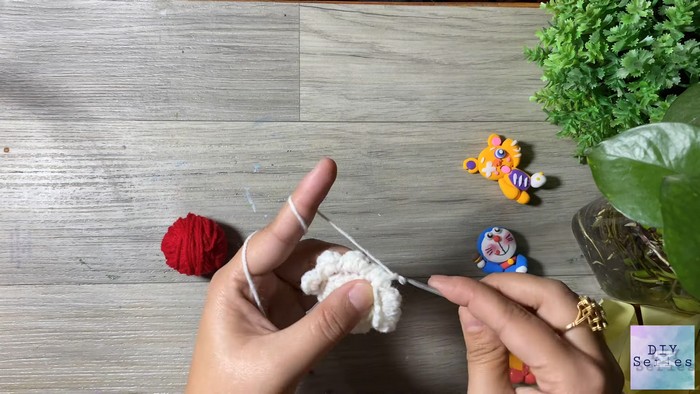
Step-by-Step Pattern
Head:
- RND 1: Using the skin-tone yarn, make a magic ring and crochet 6 SC into the ring. (6 ST)
- RND 2: INC in each ST around. (12 ST)
- RND 3: [SC in next ST, INC] repeat around. (18 ST)
- RND 4-7: SC in each ST around. (18 ST)
- RND 8: [SC in next ST, DEC] repeat around. (12 ST)
- Begin stuffing the head firmly but gently to maintain shape.
- RND 9: DEC in each ST around. (6 ST)
- Fasten off and weave in the end.
Body:
- RND 1: Using red yarn, make a magic ring and crochet 6 SC into the ring. (6 ST)
- RND 2: INC in each ST around. (12 ST)
- RND 3: [SC in next ST, INC] repeat around. (18 ST)
- RND 4-10: SC in each ST around. (18 ST)
- Stuff the body as you work.
- RND 11: [SC in next ST, DEC] repeat around. (12 ST)
- RND 12: DEC in each ST around. (6 ST)
- Fasten off and attach the head to the body.
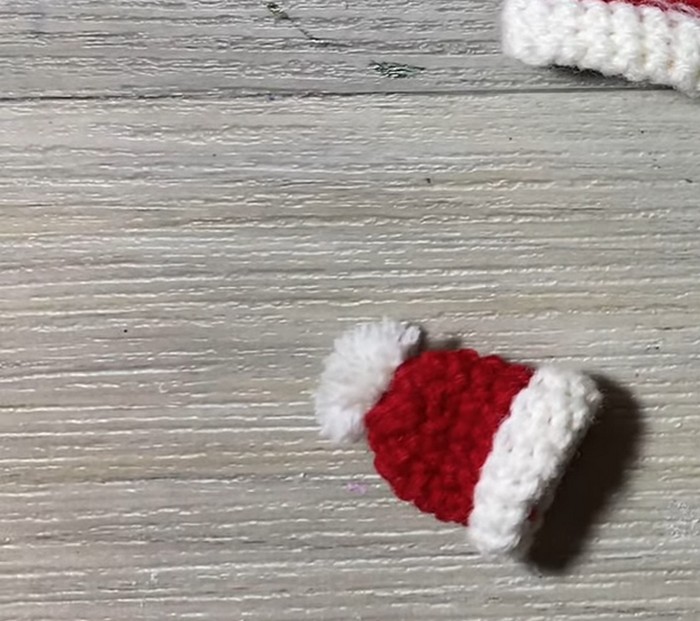
Santa Hat:
- RND 1: Using red yarn, make a magic ring and crochet 4 SC into the ring. (4 ST)
- RND 2: [SC in next ST, INC] repeat around. (6 ST)
- RND 3: SC in each ST around. (6 ST)
- RND 4: [SC in next 2 ST, INC] repeat around. (8 ST)
- RND 5: SC in each ST around. (8 ST)
- Continue increasing until the hat fits comfortably over Santa's head.
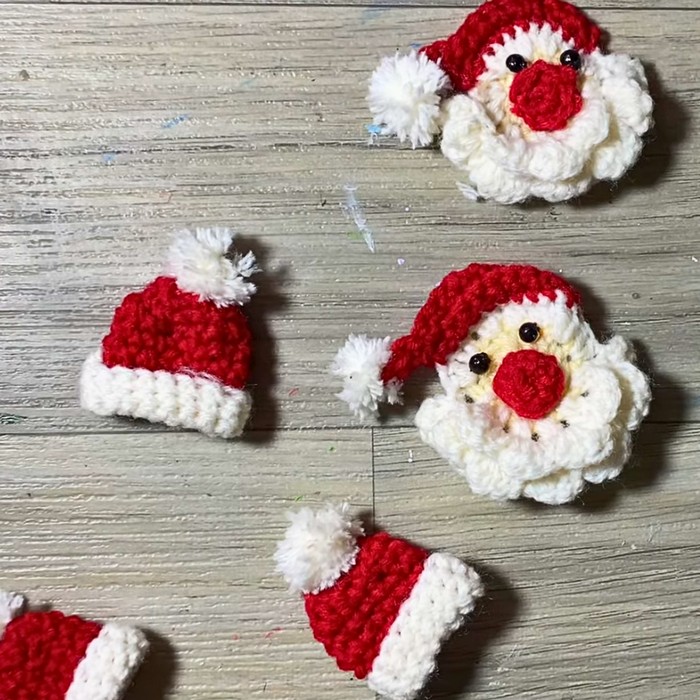
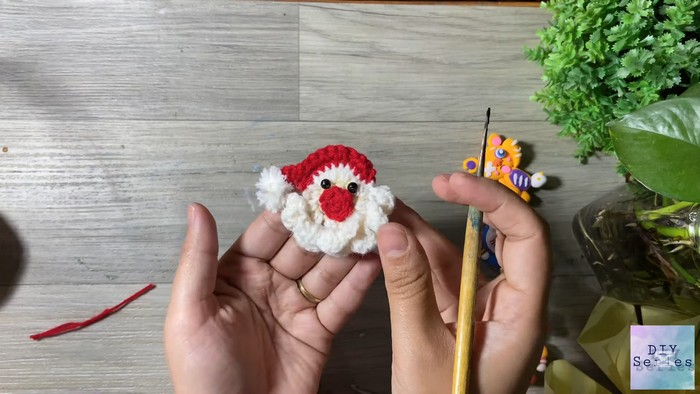
Finishing:
Attach the hat to Santa’s head with a few stitches. Use white yarn to create a small pompom for the hat's tip. Create a face with black yarn and any other embellishments you desire.
Enjoy crafting your adorable Crochet Santa and Hat, perfect as a holiday decoration or gift!
Pattern Question:
Question: Can I adjust the size of the Santa and hat?
Answer: Absolutely! By modifying the yarn weight and hook size, you can adjust the project's dimensions to make smaller ornaments or larger decorations.
Conclusion:
Crocheting Santa and his hat combines creativity with practicality. Whether for gifting or decorating, it brings festive cheer to your home while being fun to make. A perfect project to showcase your handmade touch this holiday season.


