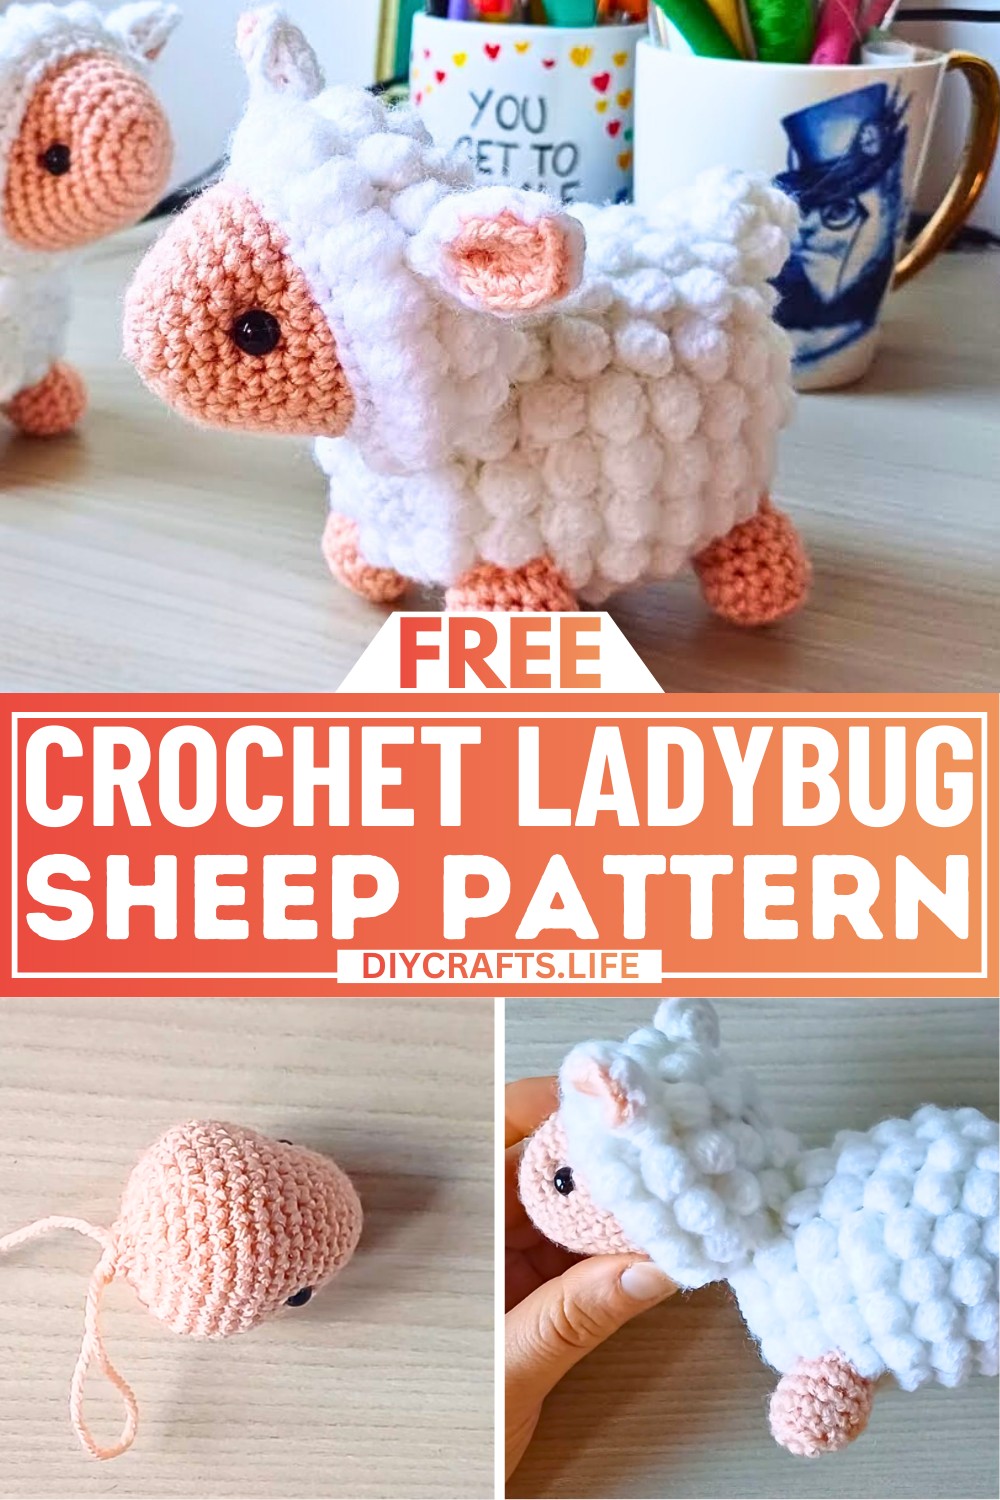
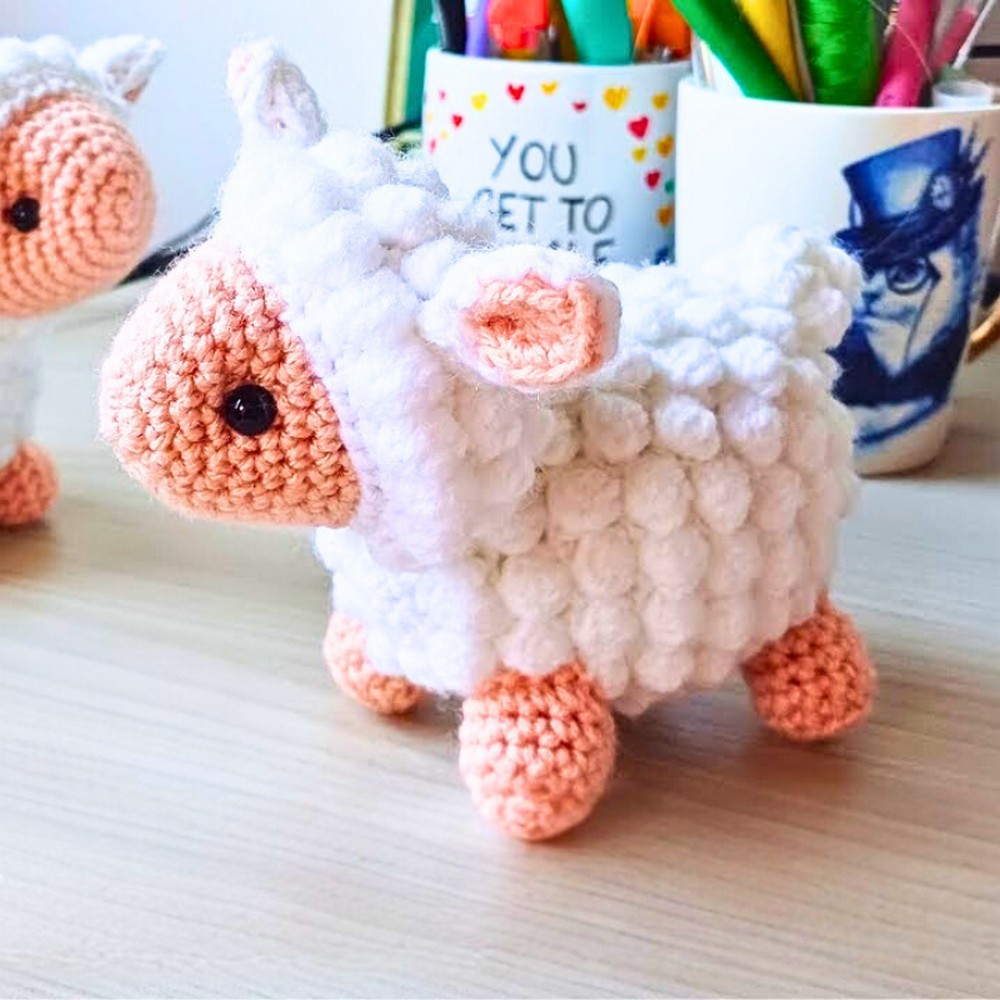
This crochet sheep is the perfect combination of charm and coziness. Whether you use it as a playful toy, a decorative piece, or even a thoughtful handmade gift, it’s bound to put a smile on anyone’s face! With its cuddly, round body and adorable, tiny feet, this sheep becomes an endearing addition to your space.
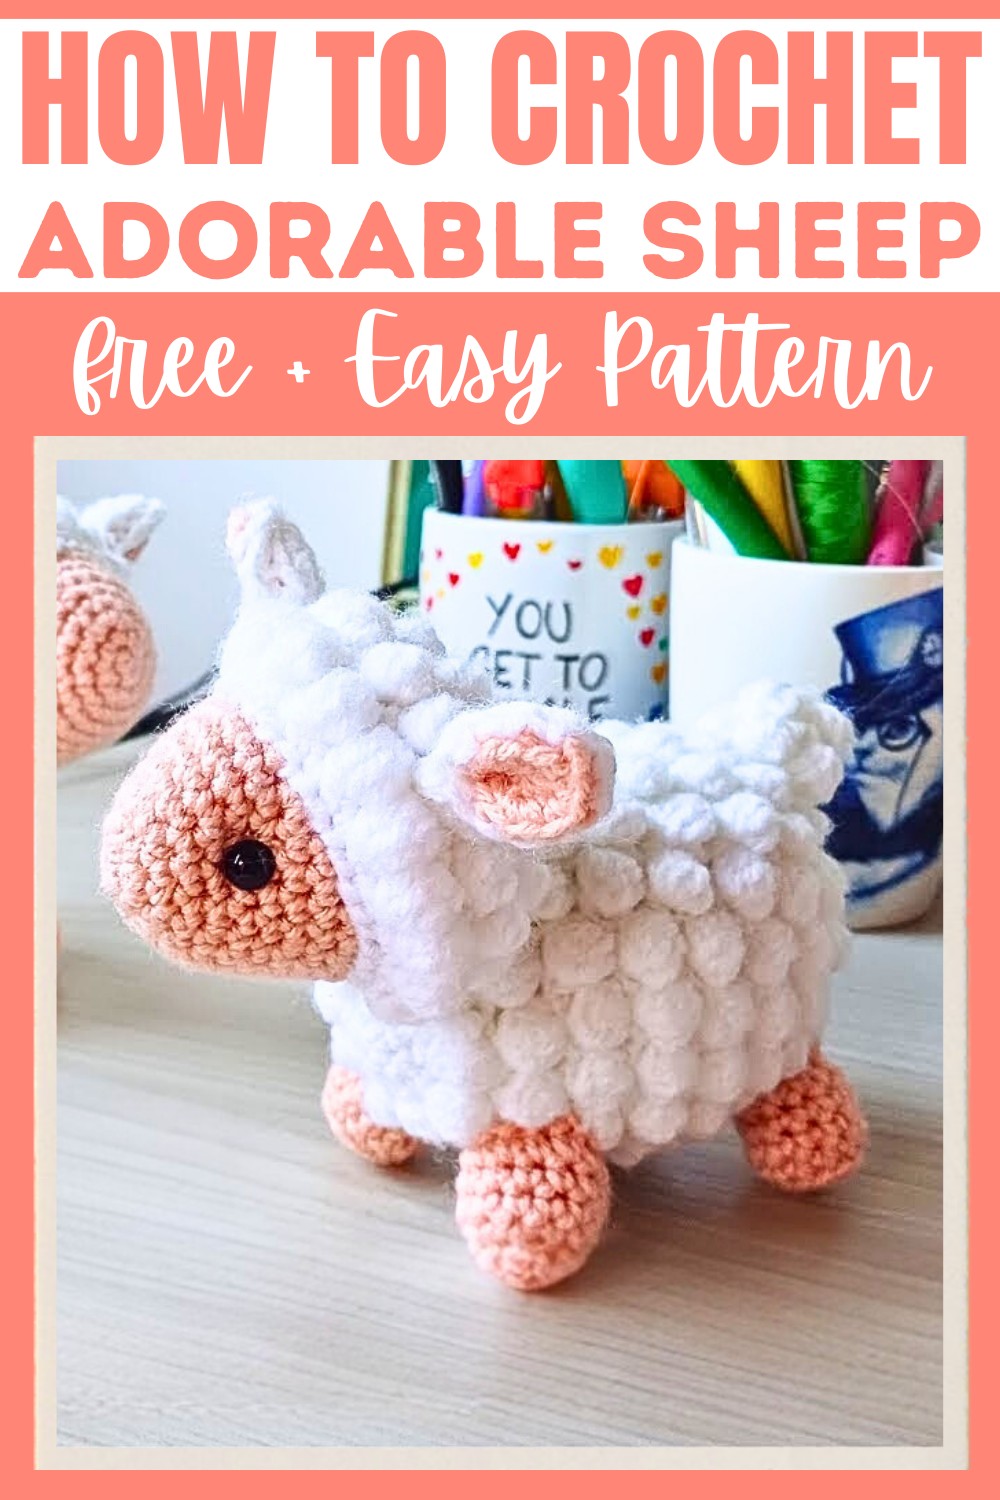
The making process includes simple, beginner-friendly stitches such as single crochet and popcorn stitches, creating the soft, textured woolly effect that makes the sheep extra special. All you need are a few materials: yarn, a crochet hook, safety eyes, toy stuffing, and some basic tools like scissors. This pattern is perfect for beginners because it’s straightforward while being rewarding to complete. Start small, stitch-by-stitch, until your sheep comes to life—you’ll love how it turns out!
Credit Ambros Crochet
Materials & Tools Needed
- Yarn:
- Main body color (e.g., white for woolly sections)
- Accent color (e.g., pink for face, ears, legs, and tail)
- Optional: Customize with colors of your choice.
- Crochet Hook: 3 mm hook (or appropriate size for your yarn)
- Safety Eyes: 8 mm size
- Toy Stuffing
- Additional Tools:
- Scissors
- Tapestry needle
- Pins (for positioning parts)
Step-by-Step Crochet Instructions
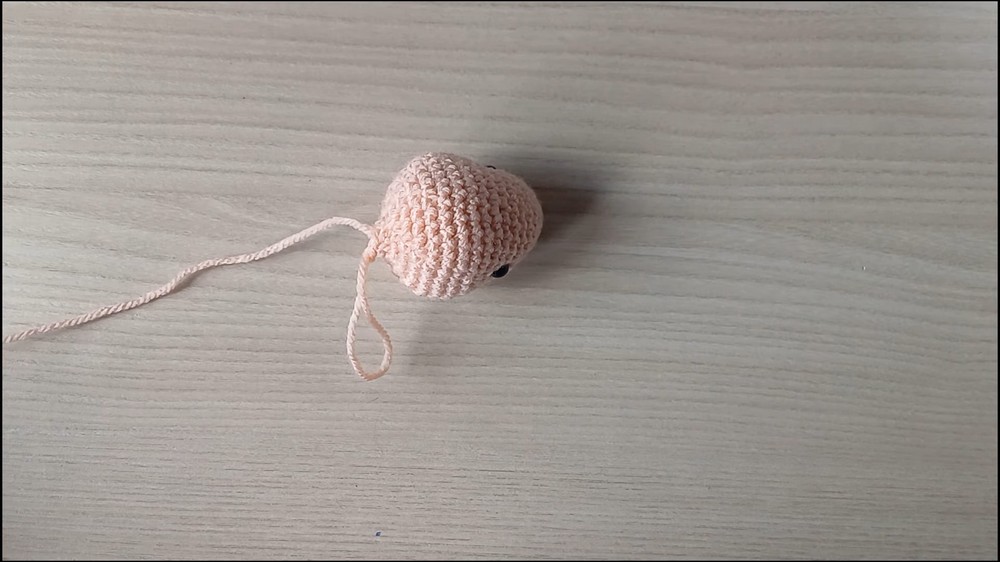
1. Head
- Yarn Color: Use accent color (e.g., pink).
- Steps:
- Round 1: Start with a magic ring, make 6 sc into the ring. (6 sts)
- Round 2: 6 increases. (12 sts)
- Round 3: (1 sc, 1 inc) × 6. (18 sts)
- Round 4: sc in each stitch. (18 sts)
- Round 5: (2 sc, 1 inc) × 6. (24 sts)
- Rounds 6-7: sc in each stitch. (24 sts)
- Round 8: (3 sc, 1 inc) × 6. (30 sts)
- Round 9: sc in each stitch. (30 sts)
- Round 10: (4 sc, 1 inc) × 6. (36 sts)
- Rounds 11–12: sc in each stitch. (36 sts)
- Place Safety Eyes: Between Rounds 6–7, about 9 stitches apart.
- Round 13: (4 sc, 1 dec) × 6. (30 sts)
- Round 14: (3 sc, 1 dec) × 6. (24 sts)
- Round 15: (2 sc, 1 dec) × 6. (18 sts)
- Begin stuffing the head.
- Round 16: (1 sc, 1 dec) × 6. (12 sts)
- Round 17: 6 decreases. (6 sts)
- Slip stitch to close. Leave a long tail for shaping the head if needed.
2. Ears
- Yarn Color: Make two in pink (skin color) and two in white (wool color).
- Steps:
- Round 1: Start with a magic ring, make 6 sc into the ring. (6 sts)
- Round 2: 6 increases. (12 sts)
- For pink pieces, tie off and weave in end.
- For white pieces, leave yarn tail to join pink and white parts.
- Joining White and Pink:
- Place wrong sides together.
- Using the white thread, sl st through back loop only (blo) of both pieces.
- Repeat for 12 stitches around.
- Leave a long tail for sewing the ears closed and attaching them to the head.
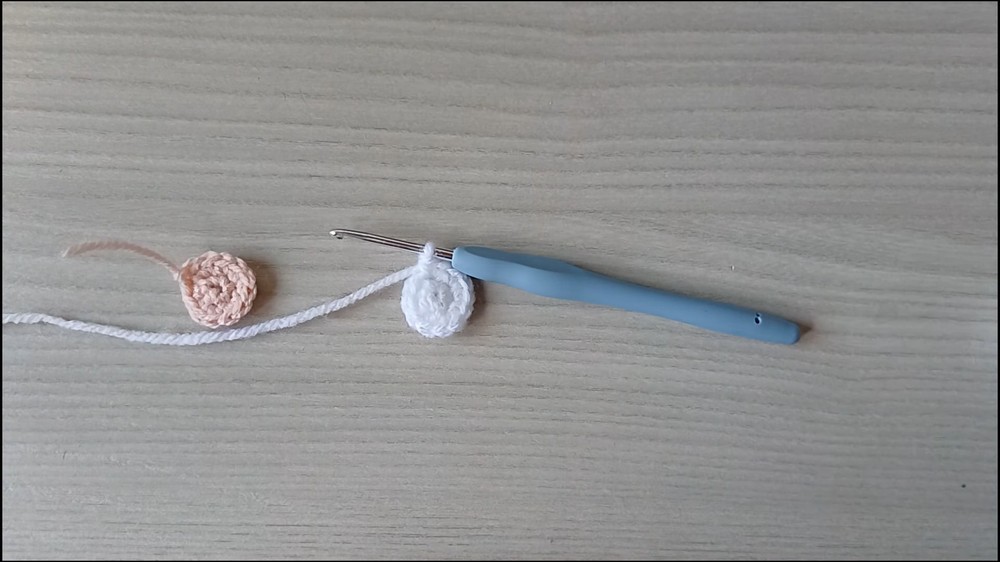
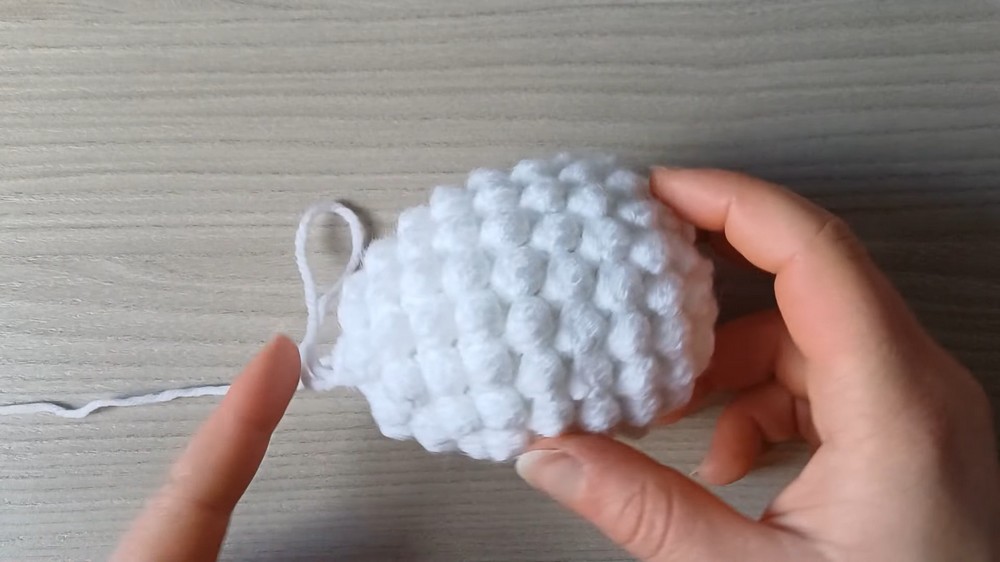
3. Body
- Yarn Color: White
- Steps:
- Round 1: Start with a magic ring, make 6 sc. (6 sts)
- Round 2: 6 increases. (12 sts)
- Round 3: (popcorn stitch, 1 inc) × 6. (6 popcorn stitches + 12 sc)
- Round 4: (2 sc, 1 inc) × 6. (24 sts)
- Round 5: (popcorn stitch, sc, popcorn stitch, 1 inc) × 6. (12 popcorn stitches + 18 sc)
- Round 6: (4 sc, 1 inc) × 6. (36 sts)
- Alternate between:
- Odd Rounds (e.g., 7, 9, 11): (popcorn stitch, sc) repeated 18 times. (18 popcorn stitches + 18 sc)
- Even Rounds (e.g., 8, 10, 12): sc in every stitch. (36 sts)
- Repeat alternating rounds through Round 15.
- Round 16: (4 sc, 1 dec) × 6. (30 sts)
- Round 17: (popcorn stitch, sc) × 15. (15 popcorn stitches + 15 sc)
- Round 18: (3 sc, 1 dec) × 6. (24 sts)
- Round 19: (popcorn stitch, sc) × 12. (12 popcorn stitches + 12 sc)
- Round 20: (2 sc, 1 dec) × 6. (18 sts)
- Round 21: (popcorn stitch, sc) × 9. (9 popcorn stitches + 9 sc)
- Stuff the body.
- Round 22: (1 sc, 1 dec) × 6. (12 sts)
- Round 23: 6 decreases. (6 sts)
- Slip stitch and leave a long tail for sewing the body to the head.
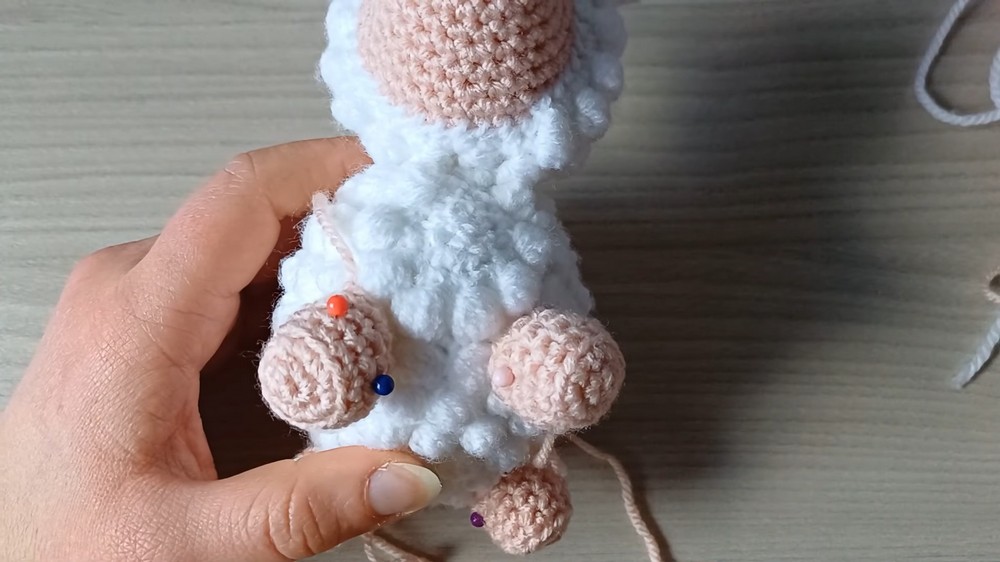
4. Legs
- Yarn Color: Pink
- Steps:
- Round 1: Start with a magic ring, make 6 sc. (6 sts)
- Round 2: 6 increases. (12 sts)
- Round 3: sc in each stitch, working back loop only (blo). (12 sts)
- Rounds 4–6: sc in each stitch. (12 sts)
- Slip stitch and leave a long tail for sewing the legs to the body.
- Make 4 legs.
5. Tail
- Yarn Color: White
- Steps:
- Round 1: Start with a magic ring, make 6 sc. (6 sts)
- Round 2: (Popcorn stitch, 1 inc) × 3. (3 popcorn stitches + 6 sc)
- Round 3: (2 sc, 1 inc) × 3. (12 sts)
- Round 4: (Popcorn stitch, sc) × 6. (6 popcorn stitches + 6 sc)
- Slip stitch and leave a long tail for attaching.
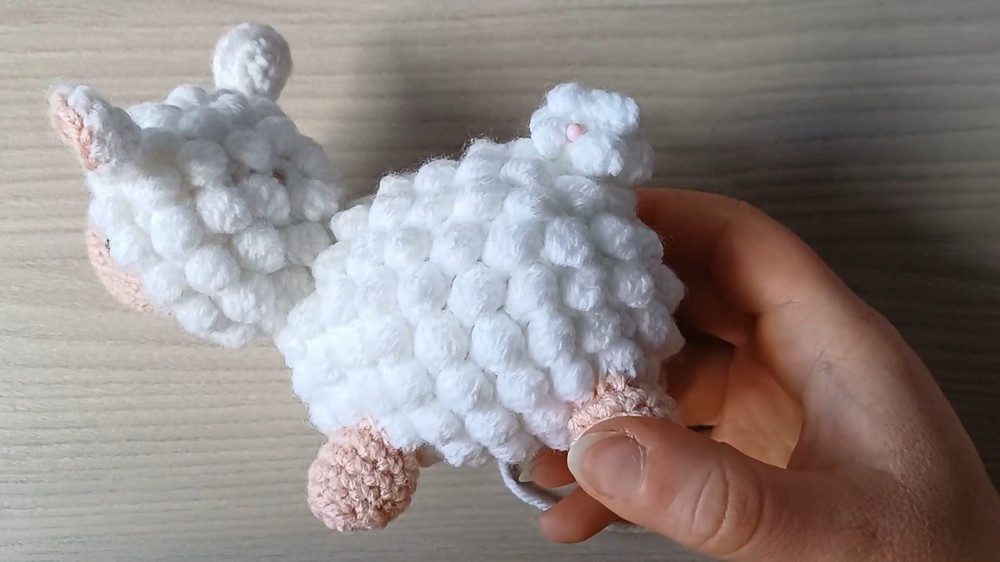
Assembly Instructions
- Attach Ears:
- Sew ears to the head, positioning them evenly, and fold slightly for shaping.
- Sew Head to Body:
- Position the magic ring end of the body towards the head.
- Attach Legs:
- Sew the 4 legs to the underside of the body, spreading them symmetrically.
- Add Tail:
- Attach the tail to the back of the body near the base.
- Finishing:
- Adjust stuffing, tighten all seams, and weave in any loose ends.