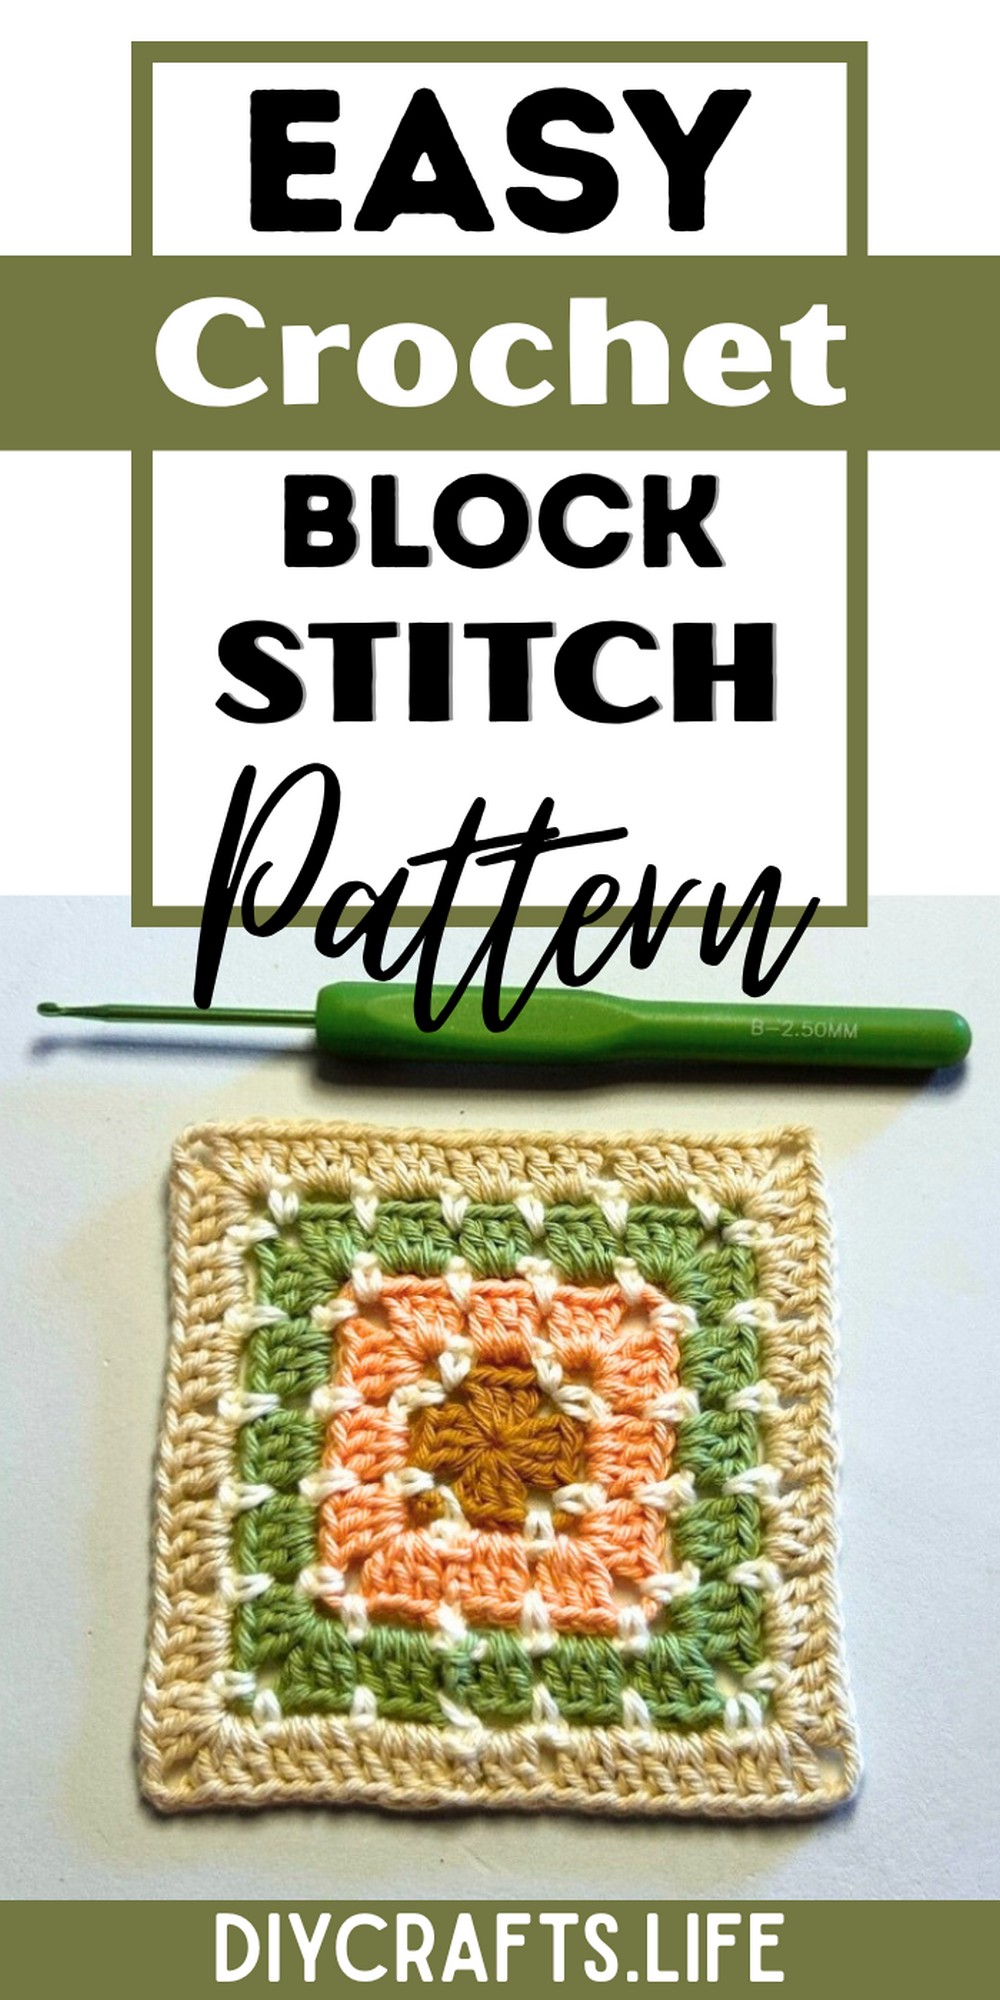
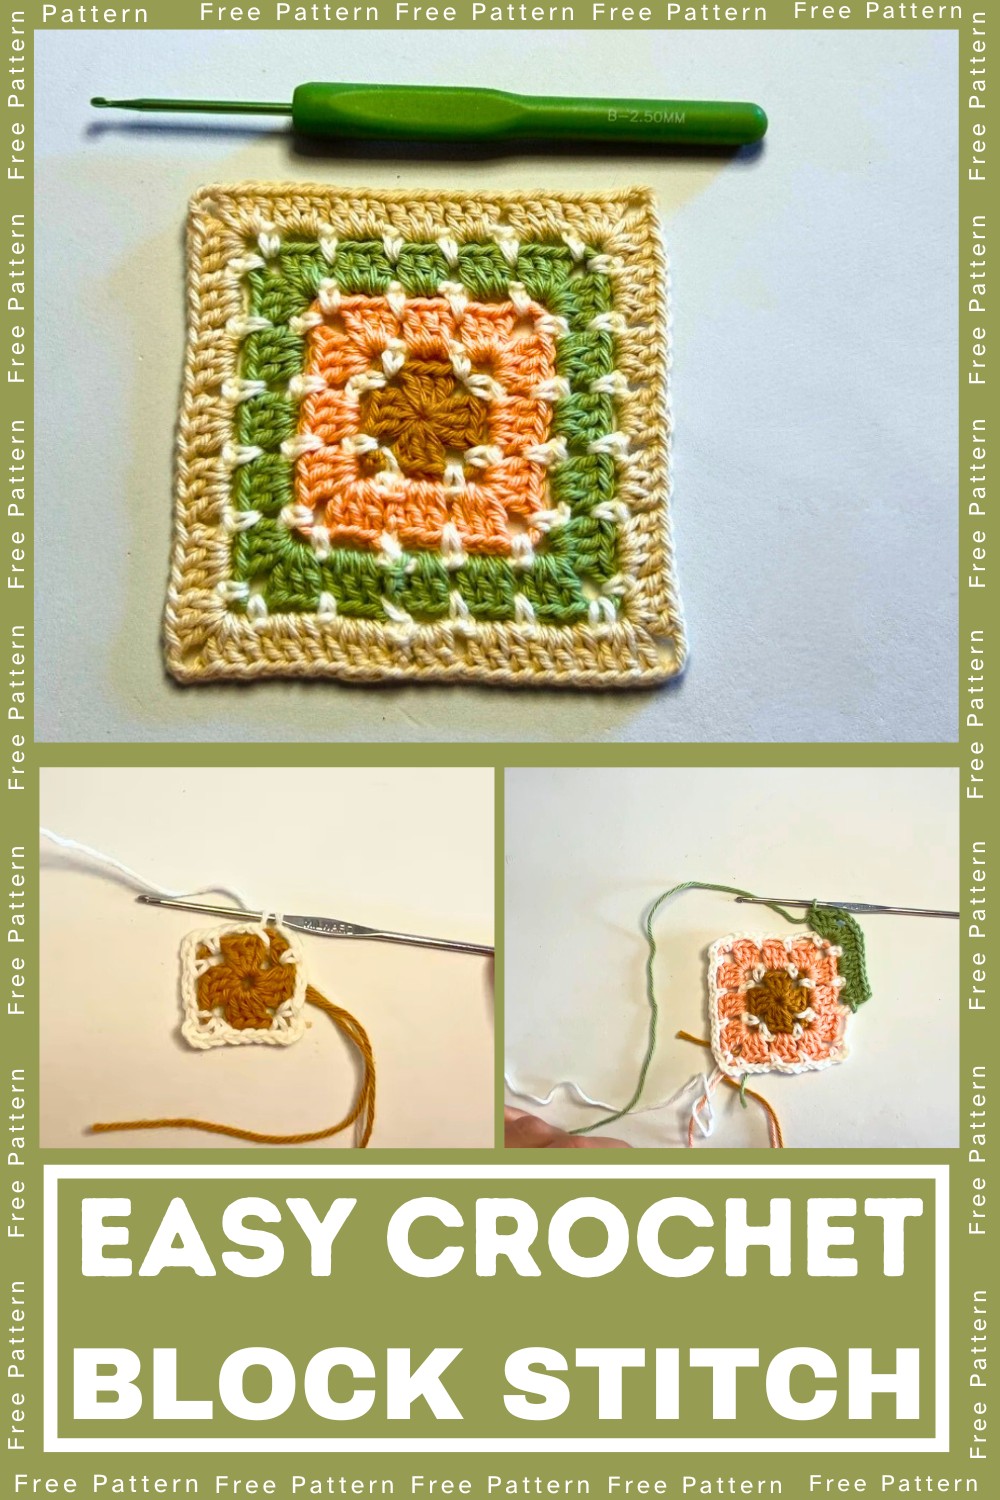
Looking for a timeless yet customizable design? The Block Stitch Granny Square combines beauty, functionality, and versatility. Perfect for cozy blankets, stylish bags, or home décor, this square boasts intricate details while remaining beginner-friendly.
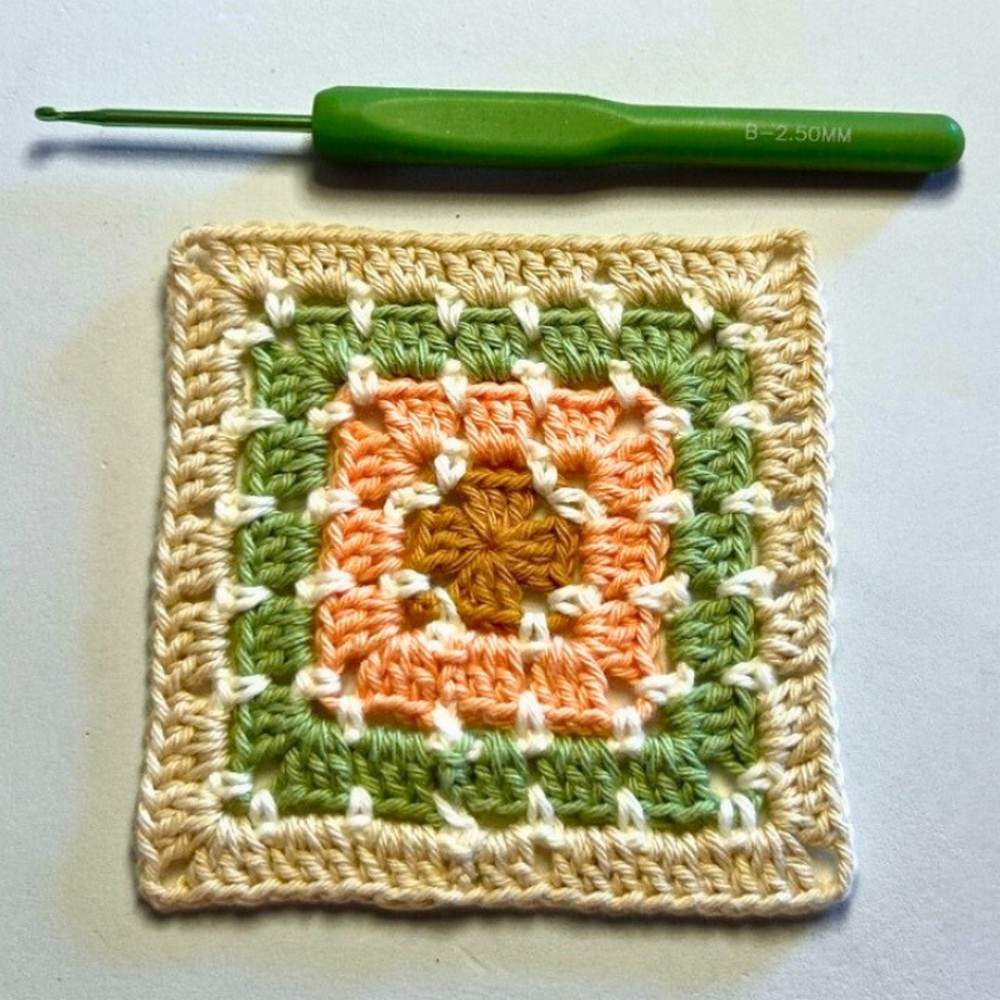
The Block Stitch Granny Square stands out for its durability and visual appeal. Its design allows endless applications, from blankets to accessories. Made with organic cotton yarn, it offers softness and structure, while its repetitive stitch pattern ensures both usability and long-lasting charm.
Crochet a Block Stitch Granny Square
This crochet project is perfect for all skill levels. Whether you're a beginner learning clusters or a pro exploring new color combinations, the process is endlessly rewarding. It's fully customizable for size and colors, allowing you to express your creativity and craft something truly unique and personal.
Materials and Preparation
To crochet a block stitch granny square, gather the following materials:
- Yarn: 100% soft organic cotton yarn in 5 different colors. You can choose your favorite set of colors!
- Yarn Weight: Light to medium-weight cotton yarn is ideal.
- Crochet Hook: 2 mm hook for delicate work.
- Additional Tools:
- Tapestry needle (for weaving in ends).
- Scissors.
Preparation
Ensure your workspace is well-lit and comfortable. Prepare all yarn colors ahead of time and organize them for smooth transitions between rounds.
Abbreviations and Notes
Here are the crochet abbreviations used in the pattern:
- CH: Chain stitch.
- SC: Single crochet.
- DC: Double crochet.
- SL ST: Slip stitch.
- Cluster: Group of double crochets worked into the same stitch or space.
Notes
- Each round alternates between using clusters and chains for texture.
- Color changes are achieved after each round, so plan your color pattern before starting.
- The granny square can be expanded infinitely by repeating rounds.
Gauge, Approximate Size, and Pattern Notes
- Suggested Gauge: Gauge is not critical for this granny square design; however, maintaining consistent tension will ensure uniformity.
- Approximate Size: The final size depends on how many rounds you crochet and the desired dimensions of your project. For example, to make a blanket, you may combine multiple squares of uniform size.
- Special Techniques: Magic ring is used in the foundation round, creating a neat and centered start.
A gauge swatch isn’t necessary unless you’re creating a project with specific dimensions (e.g., a blanket with identical squares).
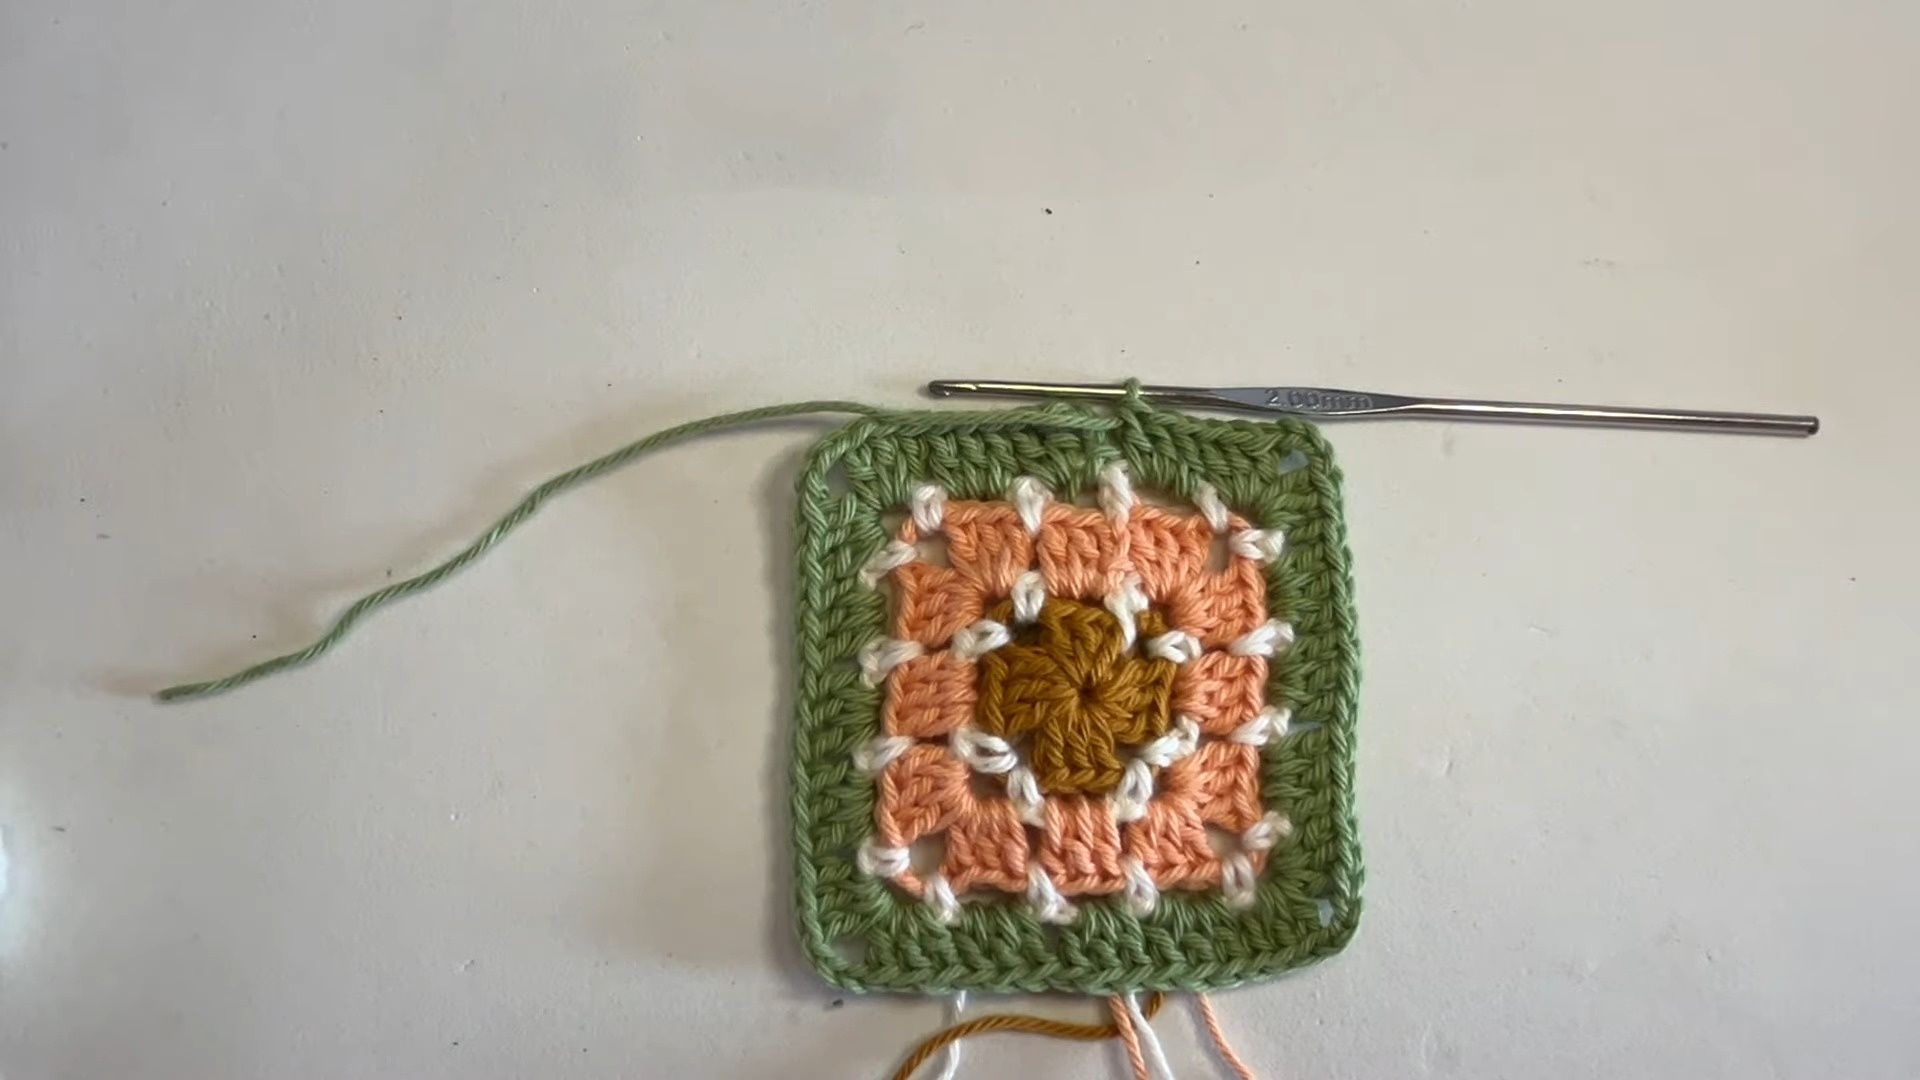
Step-by-Step Pattern
Round 1: Foundation
- Begin with a magic ring.
- Work the first cluster into the ring:
- CH 3 (counts as 1 DC), then make 2 DC.
- CH 3 to form a corner.
- Repeat the cluster + corner process three more times:
- 3 DC, CH 3 (four clusters total).
- Pull the ring closed tightly. Secure with a SL ST using the base color yarn.
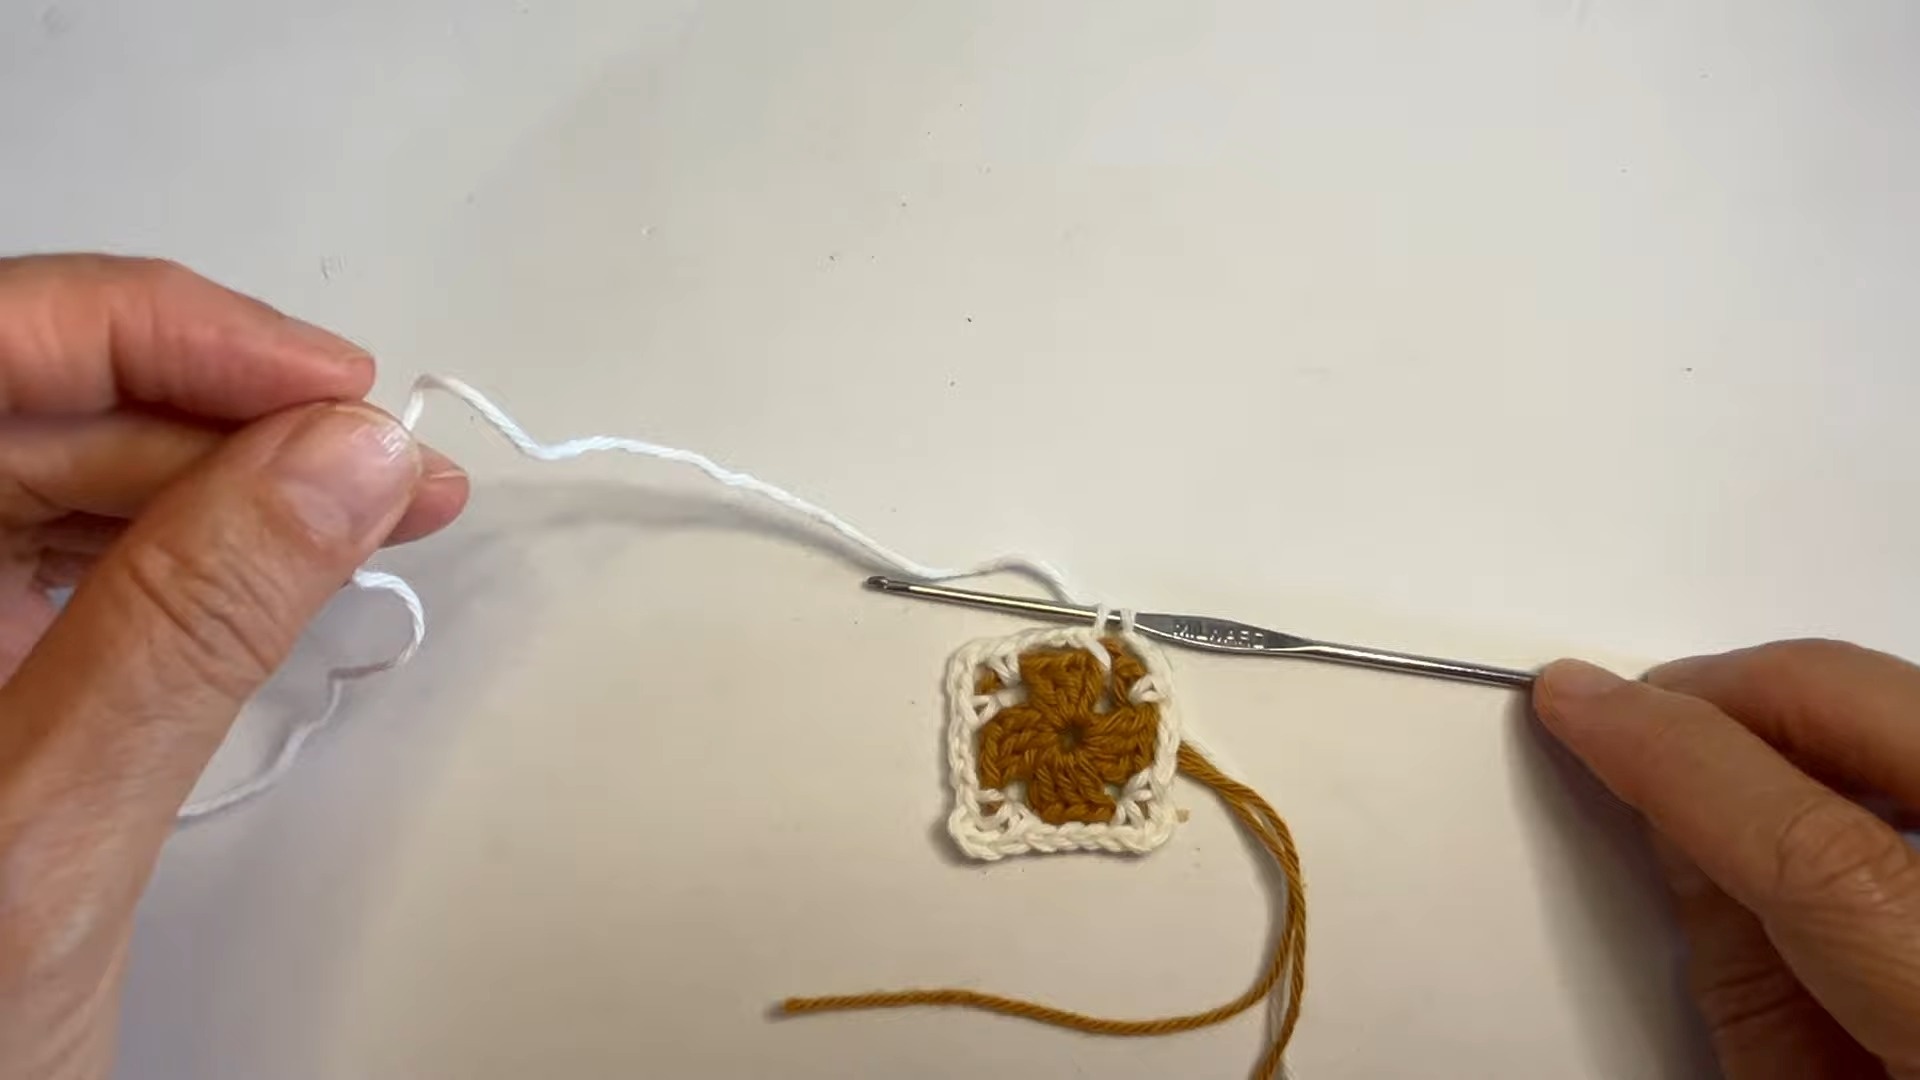
Round 2: Chain Spaces
- Work 1 SC into the first chain space from Round 1.
- CH 3, then work 1 SC into the next chain space.
- At the corners:
- CH 3, then 1 SC.
- Repeat CH 3 for each corner.
- Continue around the square, completing corners and chain spaces.
- Finish with a SL ST. Note: Don’t cut the yarn yet.
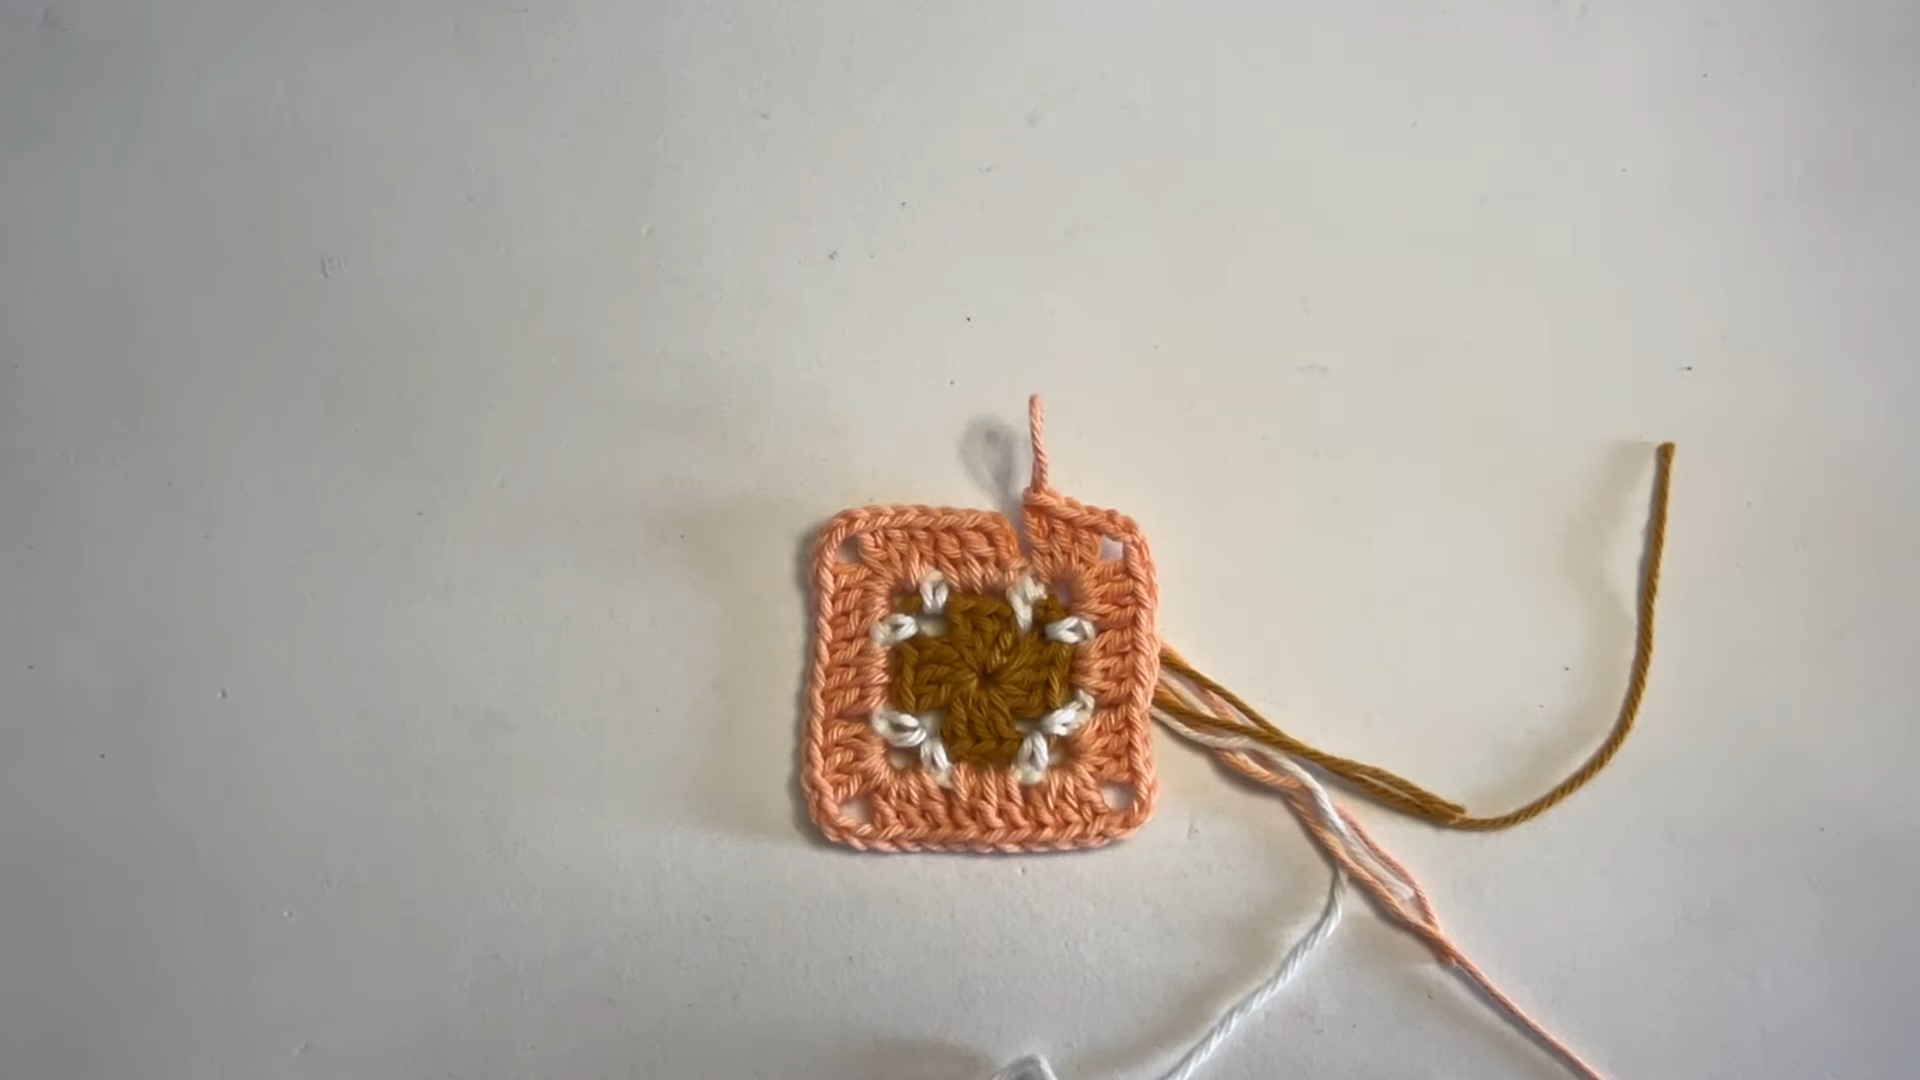
Round 3: Clusters and Corners
- SL ST into the nearest space from Round 2.
- Begin with 1 cluster:
- CH 3 (counts as 1 DC), then work 2 DC into the same space.
- At the corner, work:
- 3 DC, CH 3, 3 DC.
- Work 1 cluster in each chain space.
- Repeat corners and clusters all around.
- Finish with a SL ST using the base color.

Round 4: Chain Spaces
Repeat Round 2, creating chain spaces and corners.
Round 5: Expand with Clusters
- Change color. Begin with a SL ST into a space.
- Continue the cluster pattern:
- Work 1 cluster (3 DC) into each space. For corners:
- 3 DC, CH 3, 3 DC.
- Work 1 cluster (3 DC) into each space. For corners:
- Finish the round following the same structure.
Round 6: Chain Spaces Again
Repeat Round 2 just as before, creating chain spaces.
Round 7: Final Expansion with Clusters
- Change color again and repeat the cluster pattern from Round ⅗.
- When you reach your desired size, finish with a seamless stitch to secure the last round.
Finishing Touches
- Cut the yarn ends and pull them tight.
- Weave in all loose ends using a tapestry needle for a clean finish.
Practical Question
Question: Can I adjust the size of the granny square?
Answer: Yes! You can continue adding rounds to make the square as large as you like. Alternatively, create smaller squares and join them together for larger projects like blankets or throws.
Conclusion
Crocheting the Block Stitch Granny Square is both enjoyable and useful. Its versatility and customizability make it the perfect project for any crafter. Whether you're making a cozy blanket or stylish décor, you'll love the relaxing rhythm of this pattern. Give it a try—you won't be disappointed!


