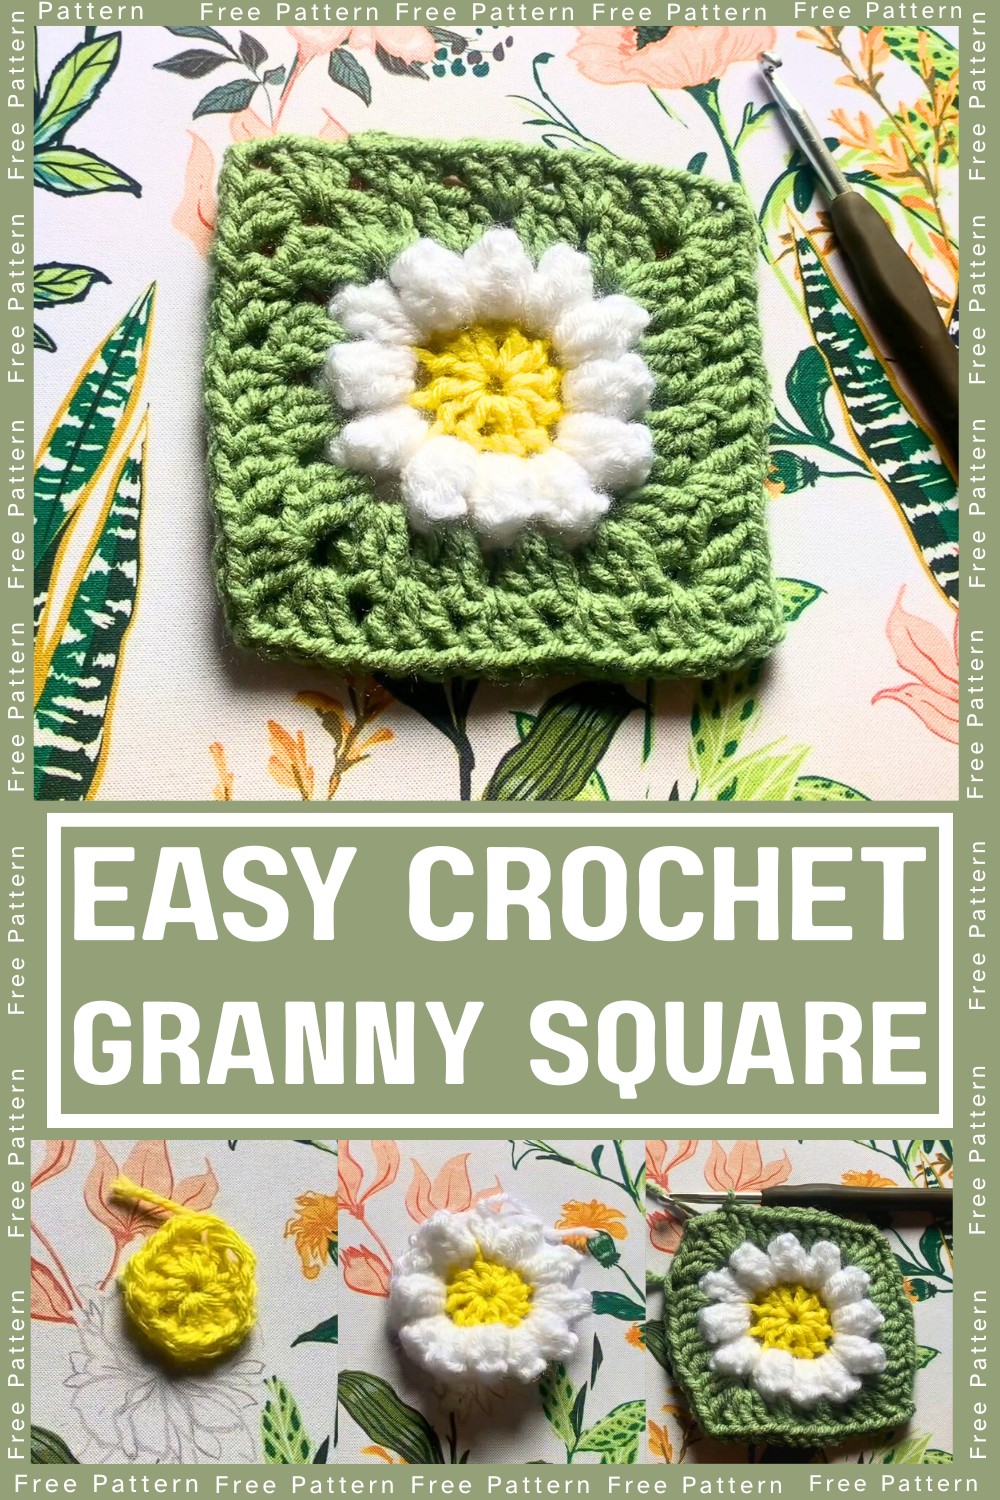
Learn how to crochet a stunning Daisy Granny Square with this step-by-step tutorial! Perfect for adding charm to blankets, pillows, or other home decor, this versatile pattern features three-dimensional petals and a stylish square design that’s both eye-catching and functional.
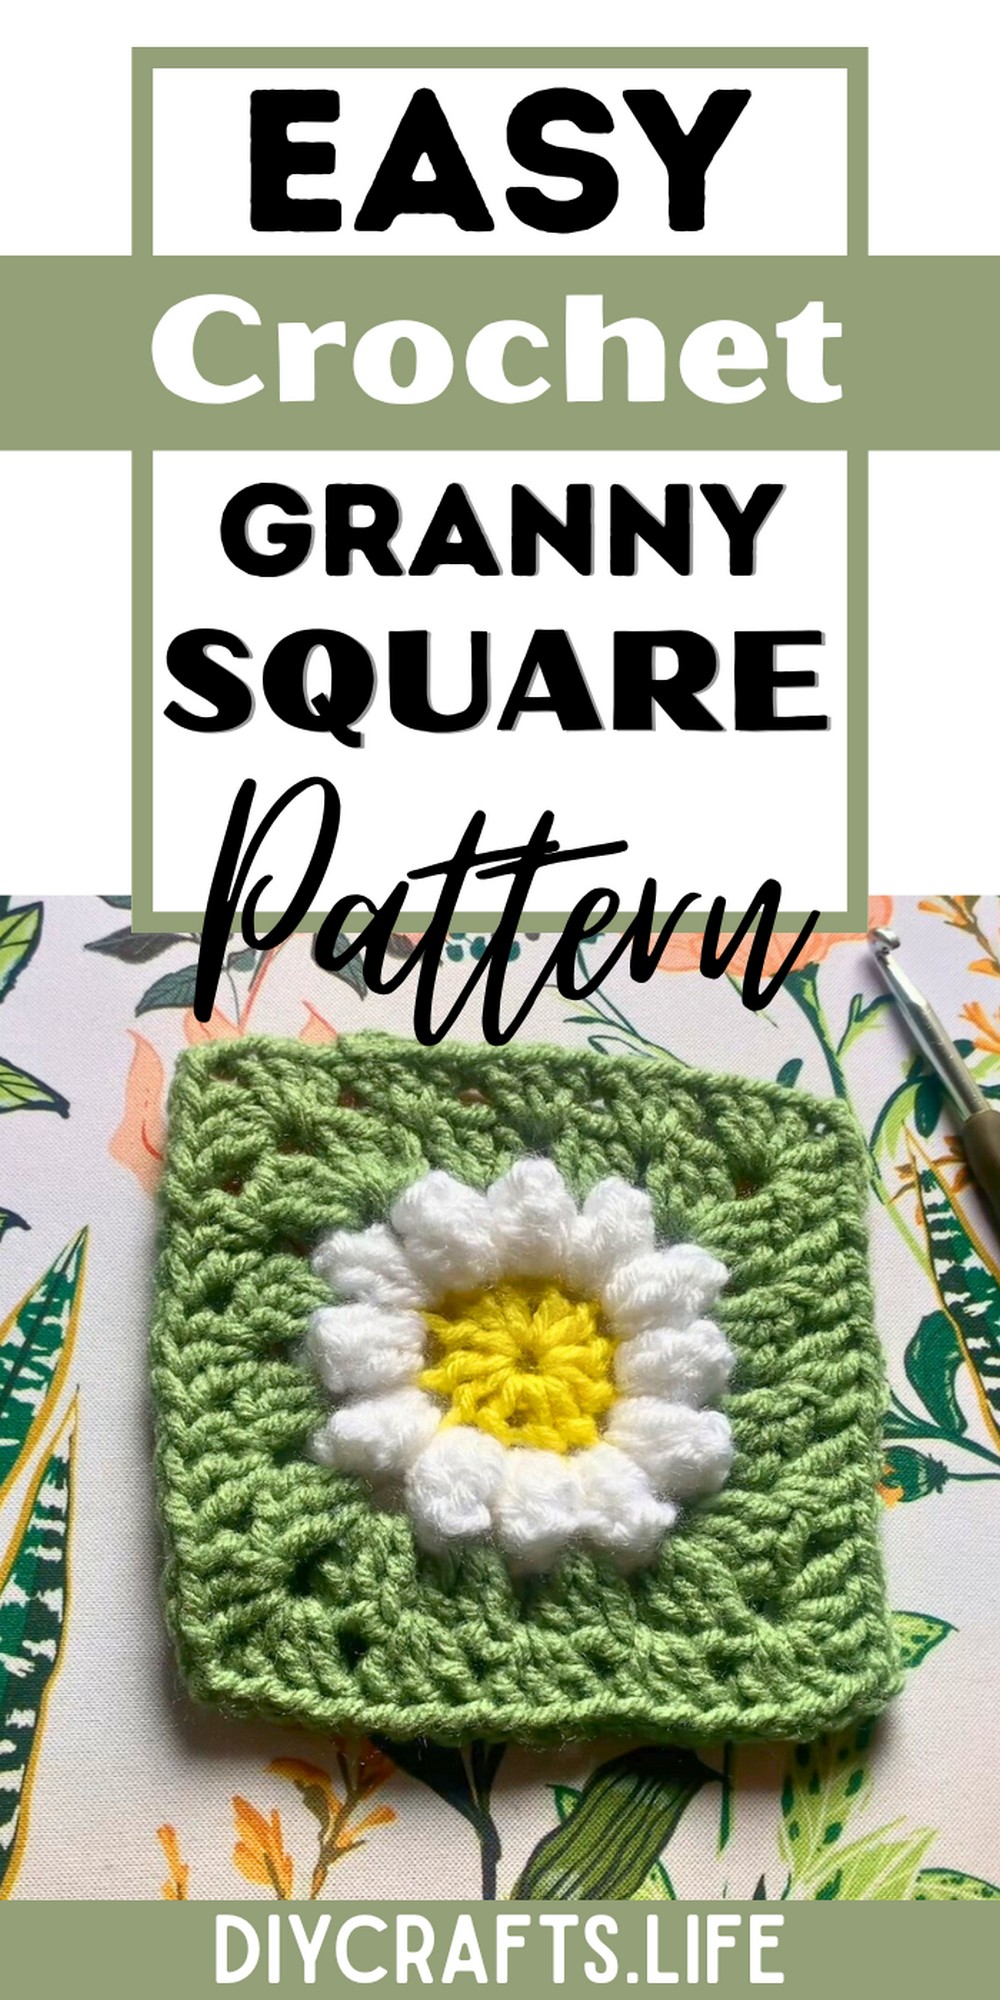
This Daisy Granny Square is not only beautiful but also durable and customizable. Incorporate it into blankets, bags, or wall art to brighten any space. Its 3D petals add texture, while its sturdy design ensures long-lasting usability and a touch of floral elegance wherever it’s used.
Crochet a Daisy Granny Square
Crafting a Daisy Granny Square is a delightful venture suitable for beginners and seasoned crocheters alike. This customizable pattern offers the chance to play with colors and express creativity. With simple stitches, you can create a timeless design tailored to your personal style.
Materials and Preparation
To crochet a Daisy Granny Square, you will need the following materials:
- Yarn:
- Loops & Threads yarn in the color Varsity Yellow (for the center of the daisy).
- Red Heart Super Saver yarn in the color White (for the petals).
- Loops & Threads yarn in the color Sage (for the granny square border).
- Hook: 5.5 mm crochet hook.
- Additional Tools:
- Scissors.
- Tapestry needle (for weaving in ends).
- Yarn Weight: Medium weight yarn (worsted, #4).
Abbreviations and Notes
Abbreviations:
- Ch: Chain
- Sl st: Slip Stitch
- DC: Double Crochet
- St: Stitch
Notes and Tips:
- To create clean transitions between rounds, slip stitch neatly into the top chain in each step as instructed.
- Work tightly to ensure the petals appear slightly three-dimensional.
- You can crochet over excess tails to minimize weaving in later.
Gauge, Approximate Size, and Pattern Notes
Gauge:
Gauge is not critical for this pattern. However, you can test using your yarn and hook if aiming for uniform size among squares for a larger project.
Finished Size:
Each Daisy Granny Square measures approximately 5–7 inches across, depending on your tension and yarn weight.
Special Techniques:
- Pull-through petal technique: Used to create 3D petals by pulling loops through individual stitches.
- No gauge swatch is required for this granny square unless being incorporated into a larger project.

Step-by-Step Pattern
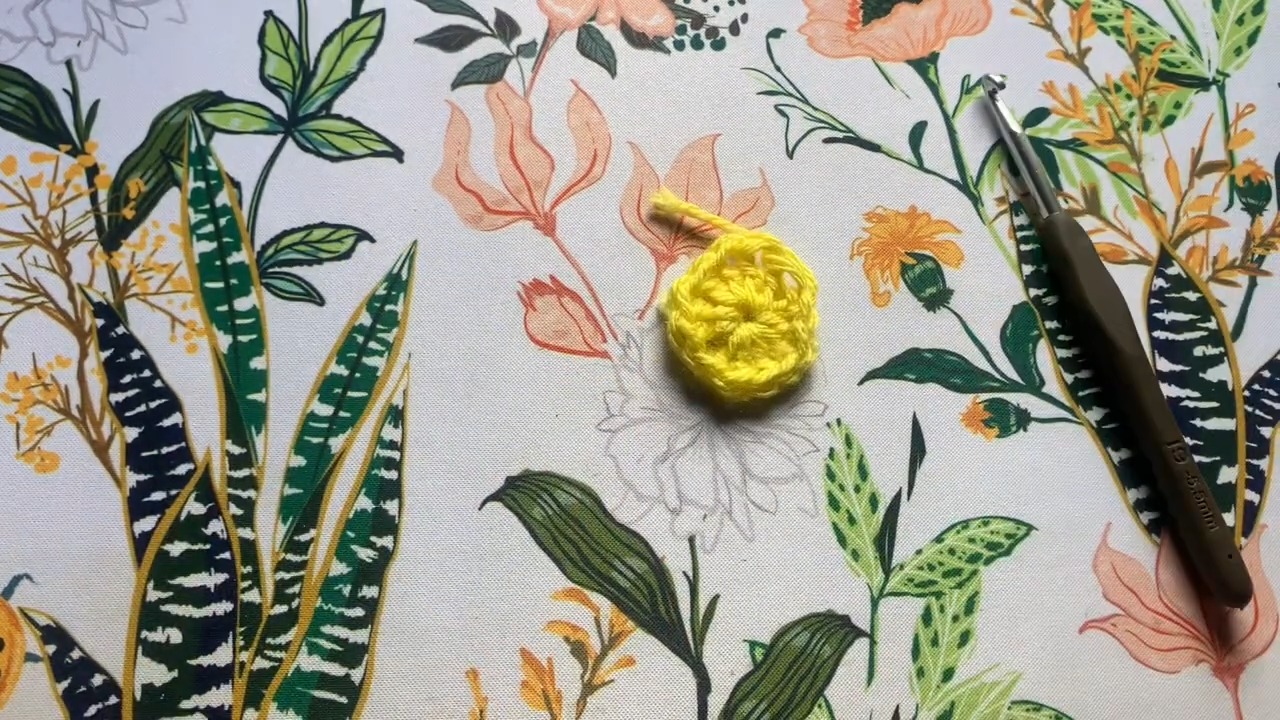
1. Center of the Daisy (Yellow Yarn)
- Begin with a slip knot, then chain 4.
- Sl st into the first chain to form a ring.
- Ch 3 (counts as the first DC), then make 11 DC into the ring:
- Yarn over, insert hook into the ring, pull up a loop, yarn over, pull through 2, yarn over, pull through 2. Repeat for a total of 11 DC.
- Sl st into the top of the starting Ch-3 to close the round.
- Fasten off the yellow yarn by cutting and tying off securely.
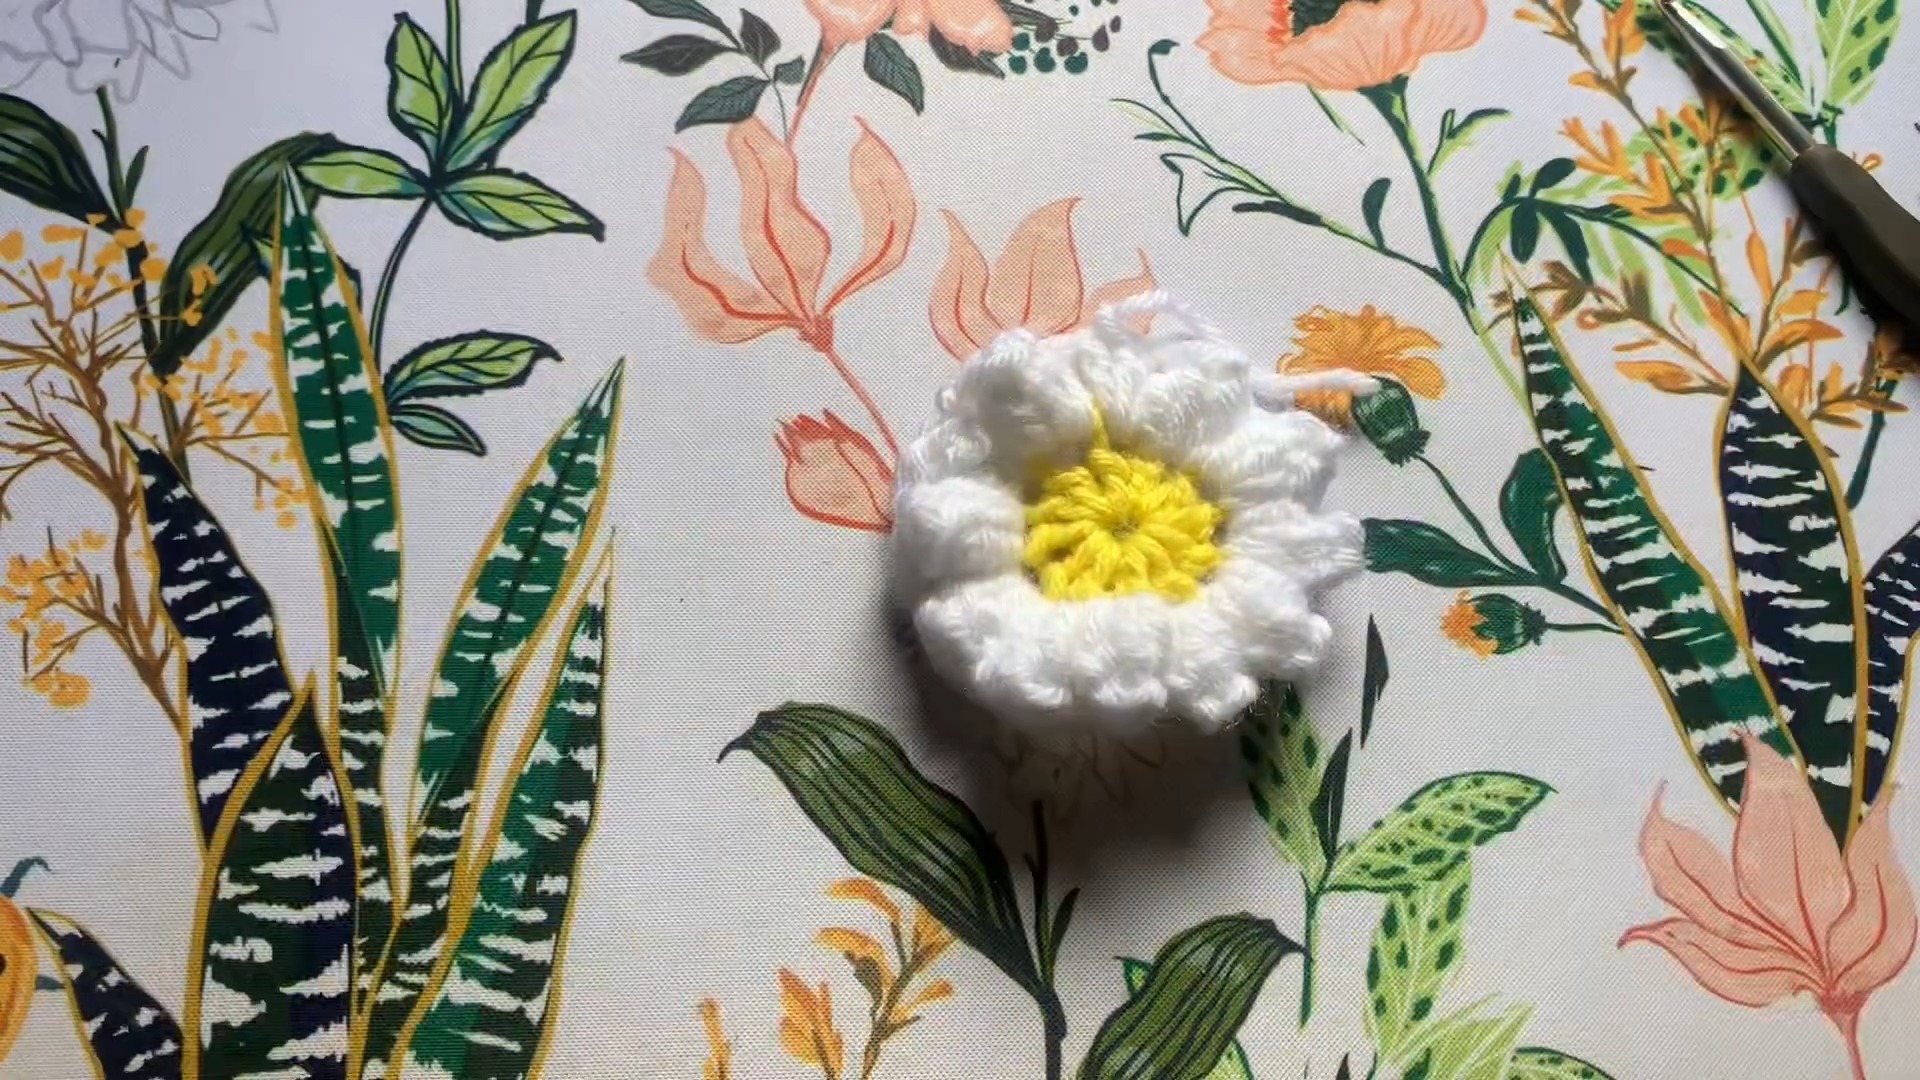
2. Daisy Petals (White Yarn)
- Start with a slip knot using the white yarn. Insert your hook into any yellow stitch from the previous round and pull the slip knot through.
- Ch 3, and in the same stitch, make 4 DC:
- Yarn over, insert hook, pull up a loop, yarn over, pull through 2, yarn over, pull through 2. Repeat for 4 DC total.
- Loosen the loop on your hook and remove the hook temporarily. Insert it into the first DC of the petal, place the loop back on the hook, tighten, and pull through to form the petal.
- Ch 2, move to the next stitch, and repeat Steps 2-3 to form the next petal.
- Continue around, creating 12 petals in total (one for each yellow stitch).
- Sl st to the first petal, fasten off, and tie a knot for security.
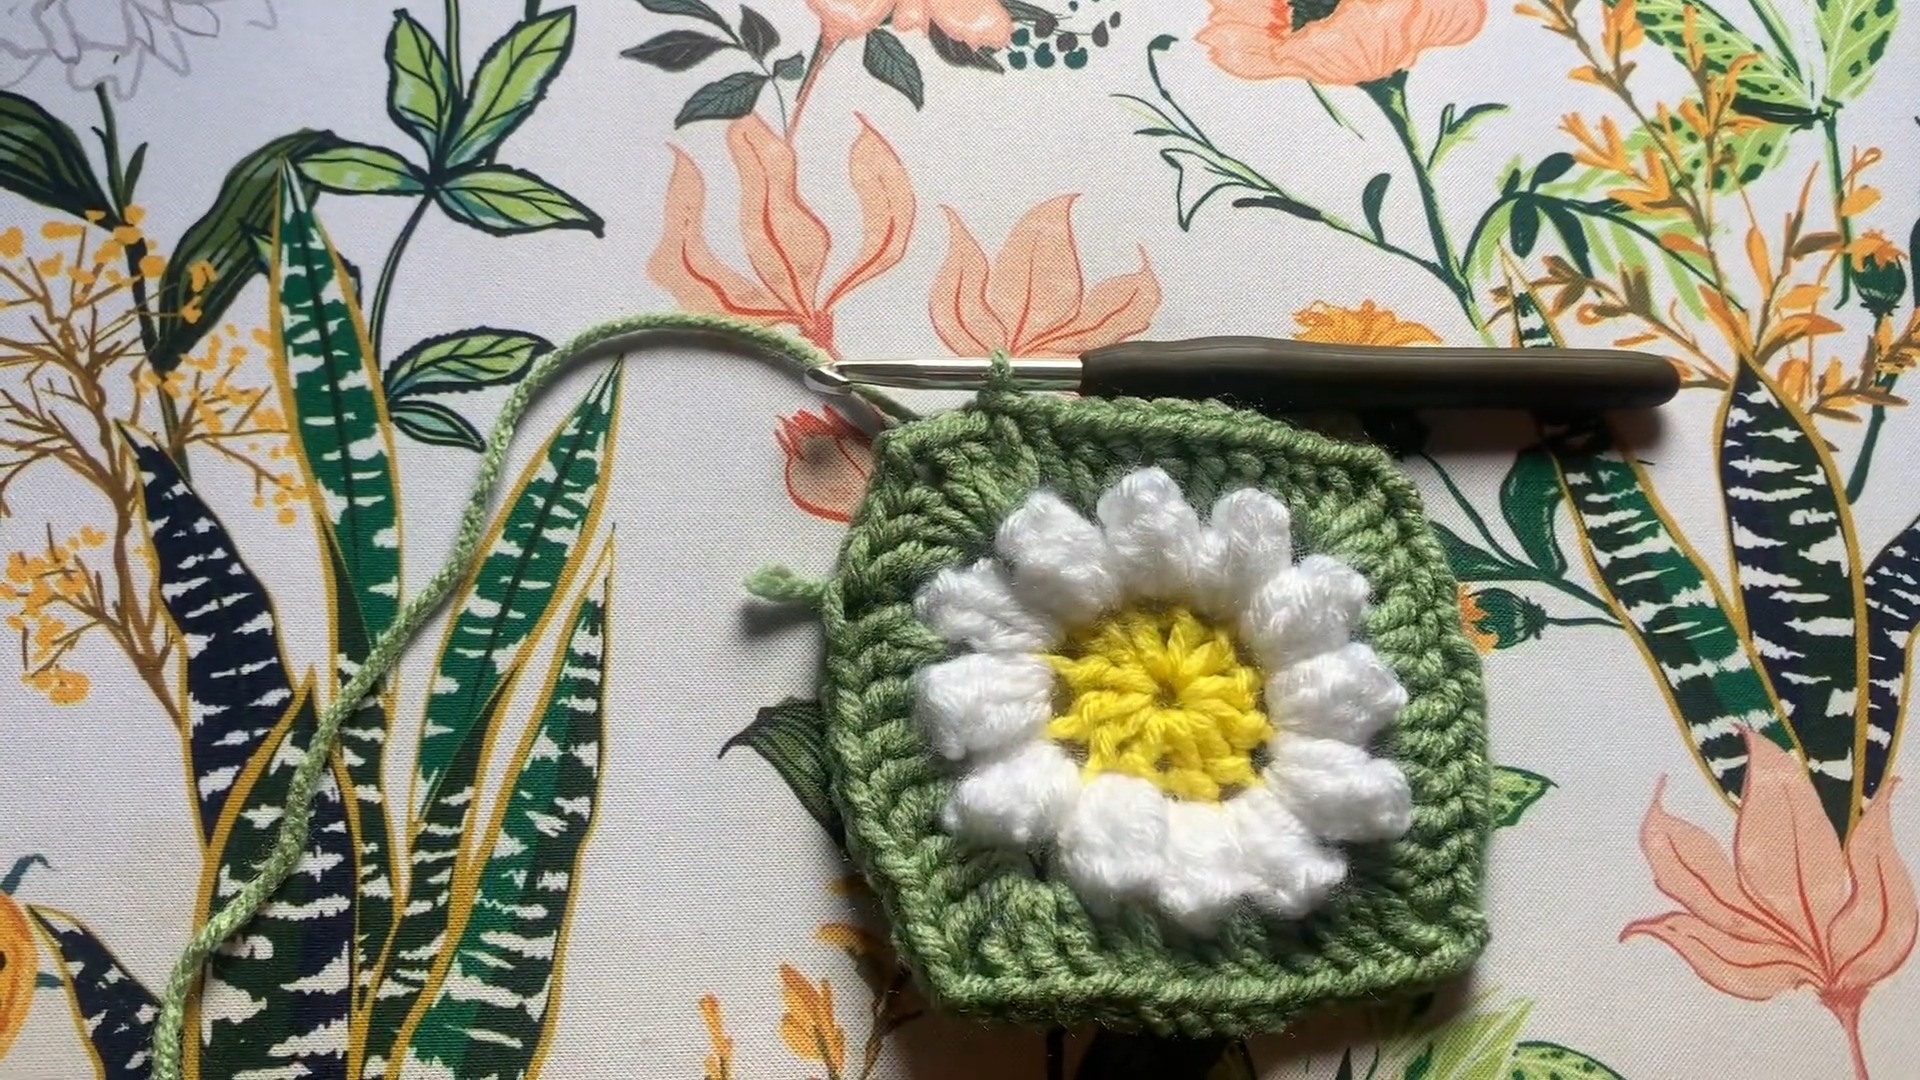
3. Square Base (Green Yarn)
- Using green yarn, create a slip knot and insert your hook into any Ch-2 space between petals. Pull the slip knot through.
- Ch 3 (counts as the first DC), then make 2 DC into the same Ch-2 space. Ch 2, then make 3 DC into the same space again (this creates a corner).
- In each Ch-2 space between petals:
- Make 3 DC.
- When reaching the next corner, work 3 DC, Ch 2, 3 DC into the same Ch-2 space.
- Continue around until all spaces are filled. Sl st into the top of the starting Ch-3.
4. Second Round of the Square
- Ch 3, then work into the next corner space:
- 3 DC, Ch 2, 3 DC to create a corner.
- In each space between clusters, make 3 DC, and repeat the corner clusters (3 DC, Ch 2, 3 DC) at each corner.
- Continue until the round is complete. Add 2 DC into the last cluster near the starting Ch-3.
- Sl st to the top of Ch-3 to complete the square.
5. Finishing Touches
- Ch 1, cut the yarn, and pull tight to fasten off.
- Weave in all loose ends using a tapestry needle. If you crocheted over ends, weave only remaining loose strands.
Pattern Question:
Question: What should I do if my petals don’t look evenly spaced?
Answer: Ensure you are crocheting into the correct stitches beneath each petal and keeping consistent tension. Double-check you’re making chain 2 spaces between petals to keep them evenly spaced.
Conclusion
Crocheting a Daisy Granny Square is a rewarding project that blends charm, versatility, and functionality. Whether you’re embellishing a cozy throw or creating fun accessories, this pattern offers both beauty and durability. Try it—you’ll love the creativity it inspires!


