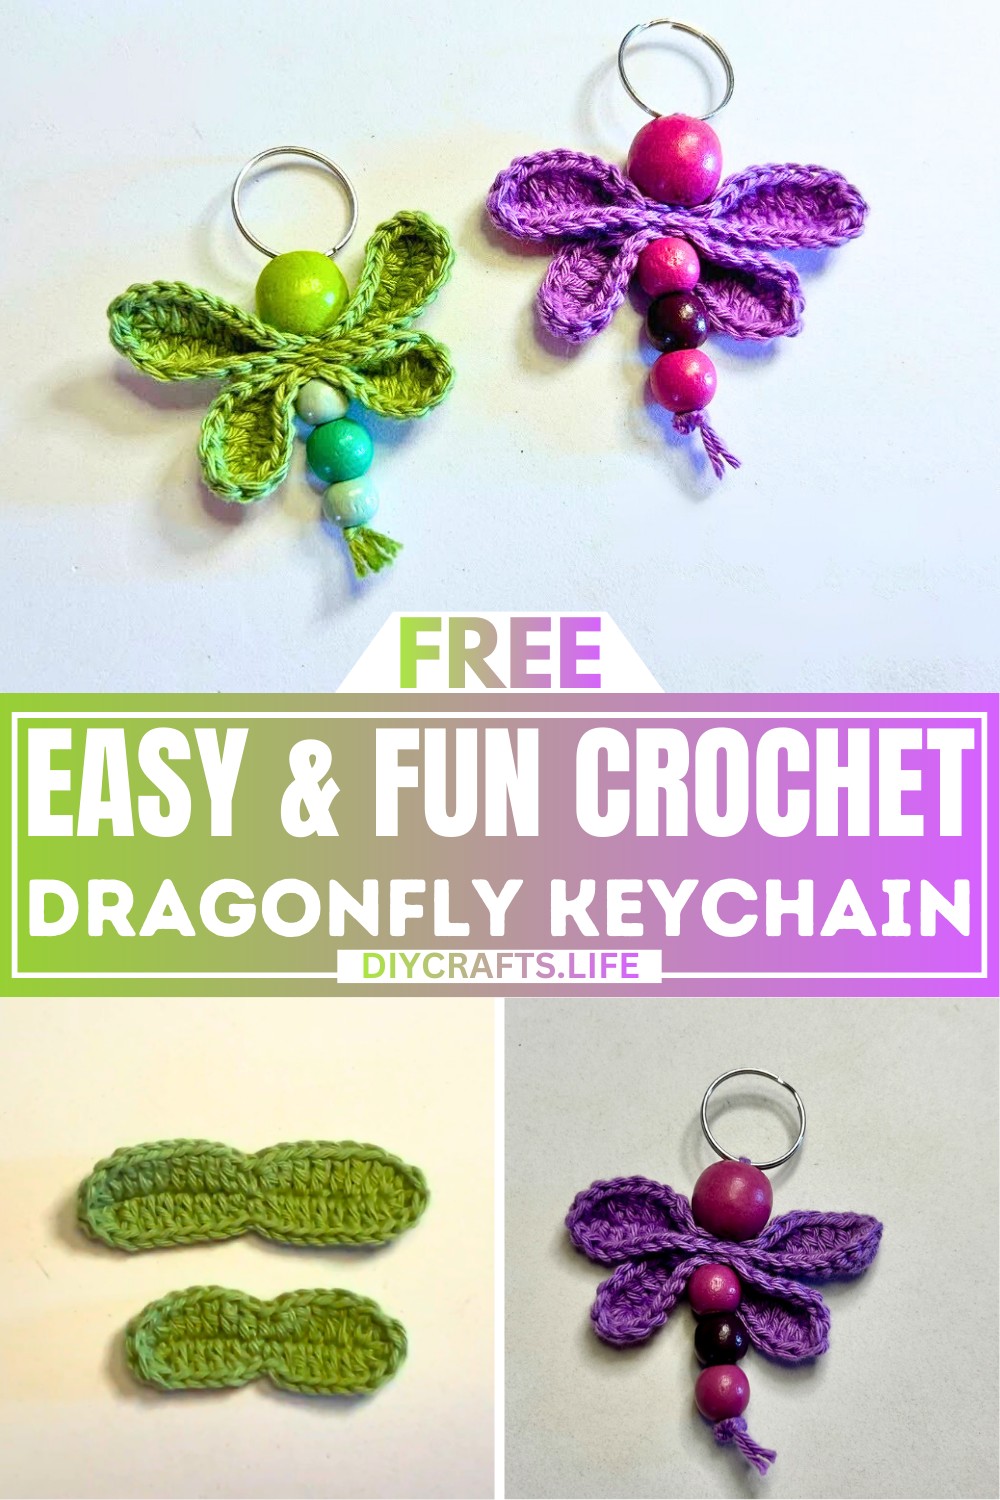
A crochet dragonfly keychain is both adorable and practical, making it a wonderful handmade accessory for everyday life. Whether you clip it onto your keys, backpacks, or use it as a small, thoughtful gift, it adds charm to whatever you pair it with! Its lightweight design and soft texture make it incredibly fun to carry with you. Plus, dragonflies symbolize creativity and strength, making this keychain a meaningful little treasure.
Creating this dragonfly keychain is simple and beginner-friendly! By combining soft cotton yarn in two colors, some beads for added style, and a keyring, you can bring this design to life. You'll crochet two wings, a body, and then assemble everything together. The video guide makes it easy to follow, even if it’s your very first time trying something like this. Once complete, you’ll have a cute and colorful accessory that you handcrafted!
Credit Hook & Loop Crochet Tutorials
Materials & Tools Needed
- Yarn: 100% cotton yarn in two different colors (for customization purposes).
- Crochet Hook: 2 mm crochet hook.
- Additional Tools & Accessories:
- Scissors
- Tapestry needle
- Assorted beads (in different sizes, for body customization)
- Key ring (to attach the finished dragonfly)
Finished Size & Customization Ideas
- Size: The finished dragonfly keychain will vary in size depending on the yarn and hook used. Using the suggested 2 mm hook and cotton yarn typically results in a compact design perfect for a keychain accessory.
- Customization Ideas:
- Change the yarn colors to create unique patterns or gradient effects for the wings.
- Add glitter yarn or metallic threads to elevate the design.
- Attach beads of various colors and shapes to mimic the dragonfly's segmented body.
- Use different sizes of key rings or add charms like mini tassels for extra flair.
Step-by-Step Crochet Instructions
The Big Wing
- Foundation Chain: Chain 19 (ch 17 + 2 extra chains for turning).
- Row 1:
- Begin in the 4th chain from the hook.
- Work 7 double crochets (dc) (note: the initial ch-3 counts as your first dc here).
- Work 1 single crochet (sc).
- Work 8 double crochets.
- In the last stitch, work 3 double crochets all into the same stitch, rotating slightly to give a rounded wing edge.
- Row 2:
- Continue by working 1 double crochet in the same stitch to begin the other side of the wing.
- Proceed to work 1 double crochet into each of the next 7 stitches down the opposing side of the foundation chain.
- Work 1 single crochet.
- Work 8 double crochets.
- In the last stitch, work 3 double crochets to mirror the rounded edge.
- Gather the live loop and create a seamless join by pulling the yarn tail through. Weave in the tail securely to finish the big wing.

The Small Wing
- Foundation Chain: Chain 15 (ch 13 + 2 extra chains for turning).
- Row 1:
- Begin in the 4th chain from the hook.
- Work 5 double crochets (the 3 starting chains count as your first dc).
- Work 1 single crochet.
- Work 6 double crochets.
- In the last stitch, work 3 double crochets all into the same stitch.
- Row 2:
- Continue by working 1 double crochet in the same stitch to begin the other side.
- Work 5 double crochets in the next stitches.
- Work 1 single crochet.
- Work 6 double crochets.
- In the last stitch, work 3 double crochets to mirror the rounded edge.
- Gather the live loop and create a seamless join. Weave in the tail securely.

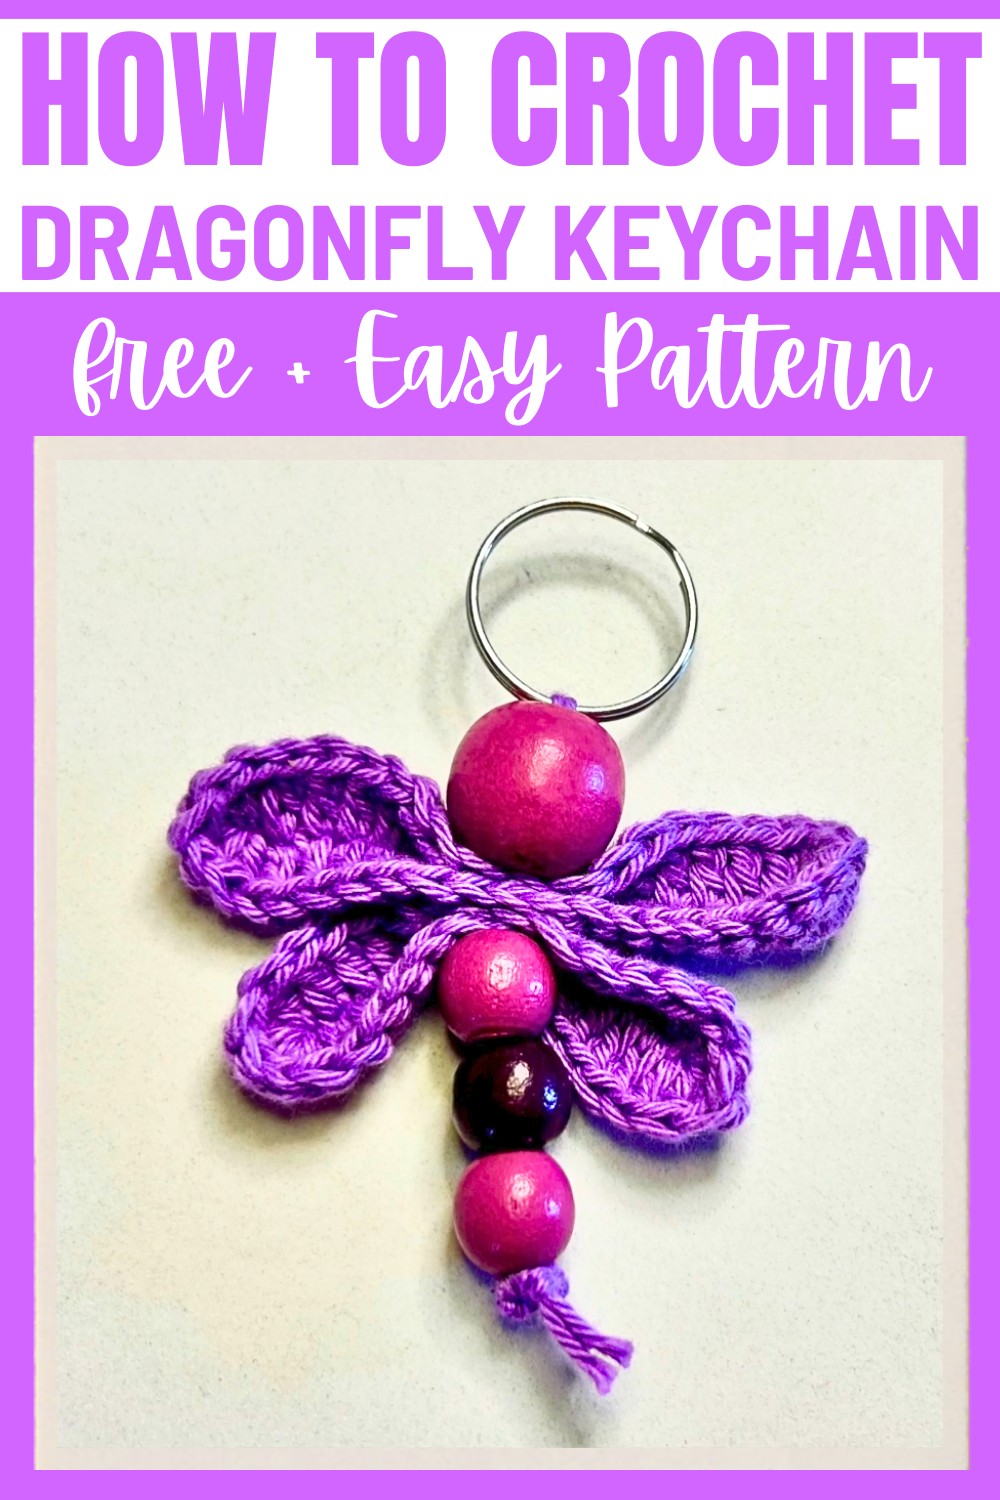
Assembly
- Position the large wing and small wing together as shown in the video or per your preference.
- Using a tapestry needle, carefully sew the wings together:
- Insert the needle through the loops of the large and small wings to join them.
- Pull tightly to secure the wings. Be sure to align them evenly.
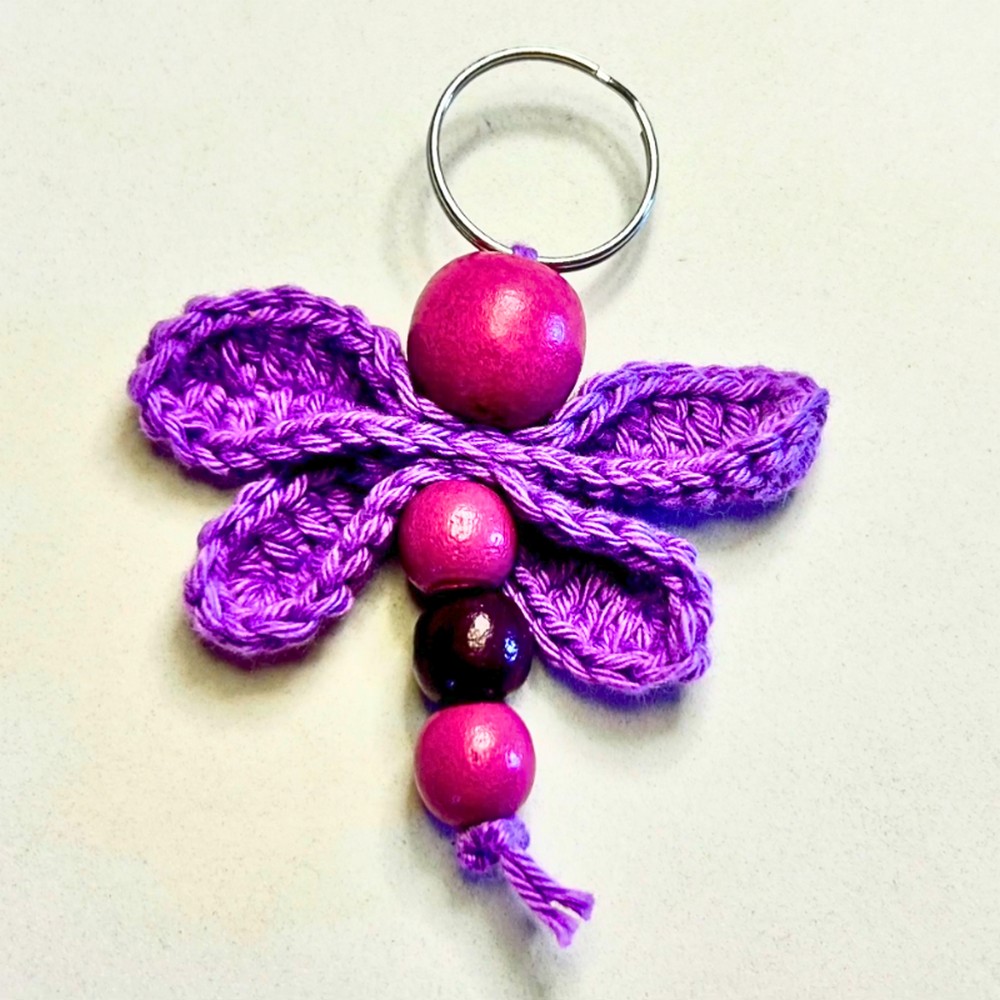
- Attach beads to mimic the dragonfly’s body:
- String different size beads along a thread/yarn and secure them by sewing through both wings at the center.
- Attach the key ring by sewing it around the central bead or directly through the wings, ensuring it is tightly secured.
Finishing Techniques
- Weave Loose Ends: Using the tapestry needle, weave in any loose ends from crocheting and assembly for a clean finish.
- Optional Stiffening: To make the dragonfly more rigid, you can apply fabric stiffener or slightly damp starch to the wings.
- Final Touches: Adjust the beads or embroidery if needed. Attach additional charms or tassels to complement the keychain design.