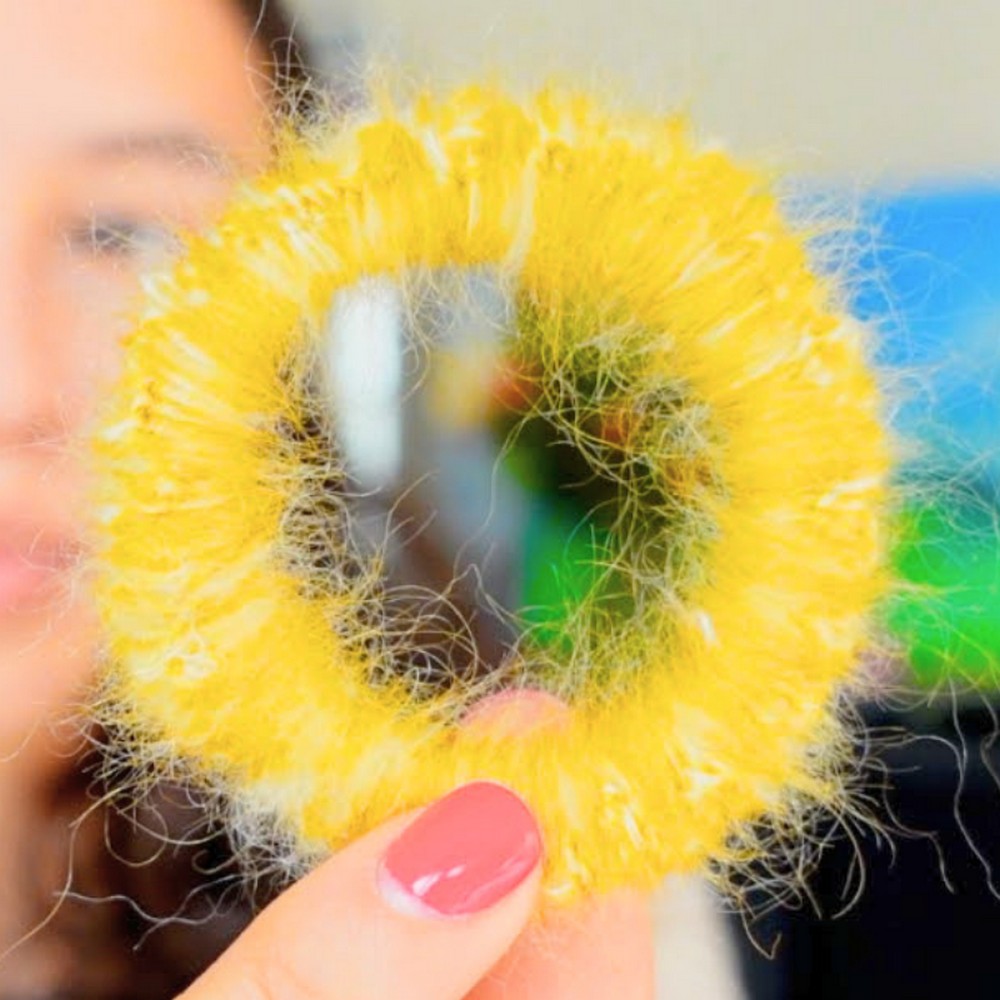
The Crochet Caterpillar Scrunchie is a soft, fuzzy, and playful twist on regular hair ties. Made with colorful mohair yarn, this cute accessory adds a pop of texture and charm to your hair. Perfect for everyday wear, its caterpillar-like appearance makes it both unique and eye-catching. Whether you use it to hold ponytails, buns, or simply as a creative gift for someone special, it brings a bit of fun to your style.

To create this scrunchie, two colors of lightweight mohair yarn are combined and stitched tightly around a stretchy hair tie. The secret lies in packing the stitches close together to achieve the thick caterpillar texture. This process is simple enough for crochet beginners and leaves you with a scrunchie that’s durable and easy to maintain. Handwashing it with care ensures it stays lovely for months to come!
Credit Yarn and Stix
Materials & Tools Needed
- Yarn: Two colors of mohair (lace weight or very fine yarn). Example combinations:
- Yellow & White
- Yellow & Blue (creates a green tone)
- Lavender Purple & White
- Crochet Hook: 3.25 mm hook (or a size suited to your yarn and comfort).
- Hair Tie: A sturdy, stretchy hair tie (like Goody’s or any soft elastic).
- Optional Tools:
- A darning needle for weaving in ends (optional – weaving with a hook also works).
- Scissors for cutting yarn.
Finished Size & Customization Ideas
- Finished Size: The completed scrunchie will snugly wrap around the hair tie, with each stitch tightly packed to create a thick, fluffy, caterpillar-like texture.
- Customization Ideas:
- Experiment with different two-color combinations for a gradient effect.
- Use higher weights of yarn with a larger hook to create a chunkier scrunchie.
- Add sparkle thread or metallic yarn for a festive accent.
Pattern Abbreviations & Terminology
- Ch: Chain
- SC: Single Crochet
- Sl St: Slip Stitch
- YO: Yarn Over
Terminology: US Crochet Terms used.
Step-by-Step Crochet Instructions
Follow these detailed numbered steps to replicate the scrunchie as described in the tutorial.
Step 1: Preparing the Yarn and Hair Tie
- Take your two chosen colors of lace-weight mohair and ply them together by holding both strands at the same time.
- Take the hair tie. Using both yarn strands together, pull up a loop onto your crochet hook.
- (Optional): If preferred, tie a knot by pulling the strands around the hair tie and securing them with a loop.
Step 2: Attaching Yarn and Beginning Single Crochets
- Chain 1 to secure the yarn onto the hair tie.
- Begin working Single Crochet (SC) around the hair tie:
a. Insert the hook underneath the hair tie.
b. Yarn over (YO) and pull up a loop.
c. Complete the SC by YO and pulling through both loops. - Work continuously in SC, crocheting over the loose ends from the starting knot to secure them as you go.
- Crochet approximately 15 SCs initially to form the starting base.

Step 3: Increasing & Scrunching
- Continue crocheting around the hair tie with SCs, working tightly and packing the stitches together.
- The goal is to add as many SCs as physically possible to completely cover the hair tie.
- Push the completed stitches tightly together as you work to create the scrunched, thick effect that mimics a caterpillar shape.
- If necessary, pinch one side of the completed stitches, gently pull the yarn with the other hand, and push the stitches toward the starting point to compact them.
- As you move around the hair tie, periodically stretch it slightly to ensure stitches still tightly pack together when the tie is expanded.
Step 4: Packing the Final Stitches
- The stitches will become tighter as you near the end of the hair tie. Continue this process:
- Add a few SCs, gently move the stitches closer together, then add more SCs until the loop is full.
- Ensure the ends look just as tightly packed as the rest of the scrunchie.
Step 5: Joining & Fastening Off
- When your stitches are packed so tightly that additional SCs cannot be added, locate the approximate first SC or start of the round.
- Insert your hook into the first SC and make a Slip Stitch (Sl St).
- Chain 1, then cut your yarn, leaving a short tail.

Step 6: Weaving in the Ends
- Pull the tail through the chain to fasten off and secure the yarn.
- To weave in ends:
- Use a darning needle, or
- Use your crochet hook to push the tail ends through the dense stitches.
- The fluffiness of the mohair will hide the ends, so precision isn’t necessary. Simply bury the tail in stitches so it won’t undo.
Step 7: Finished Scrunchie
- Once your ends are secured, fluff up the scrunchie and check that all areas of the hair tie are well-covered.
- Congratulations! You now have your very own Caterpillar Scrunchie, as inspired by "Jeffrey" and "Jesse" from the tutorial!

Tips for Maintenance
- Care: Hand-wash gently when needed using a delicate detergent. Mohair may slightly mat over time, giving an almost “felted” effect, but it remains durable.
- Stretching: Even when stretched around thick hair, the caterpillar texture should remain thick and fluffy with proper stitch packing.