Craft a charming mini Santa doll to brighten your holiday décor! This festive crochet project combines creativity with functionality—a perfect addition to wreaths, mantels, or as a thoughtful handmade gift. Bring Santa's joyful spirit into your home effortlessly with this pattern.
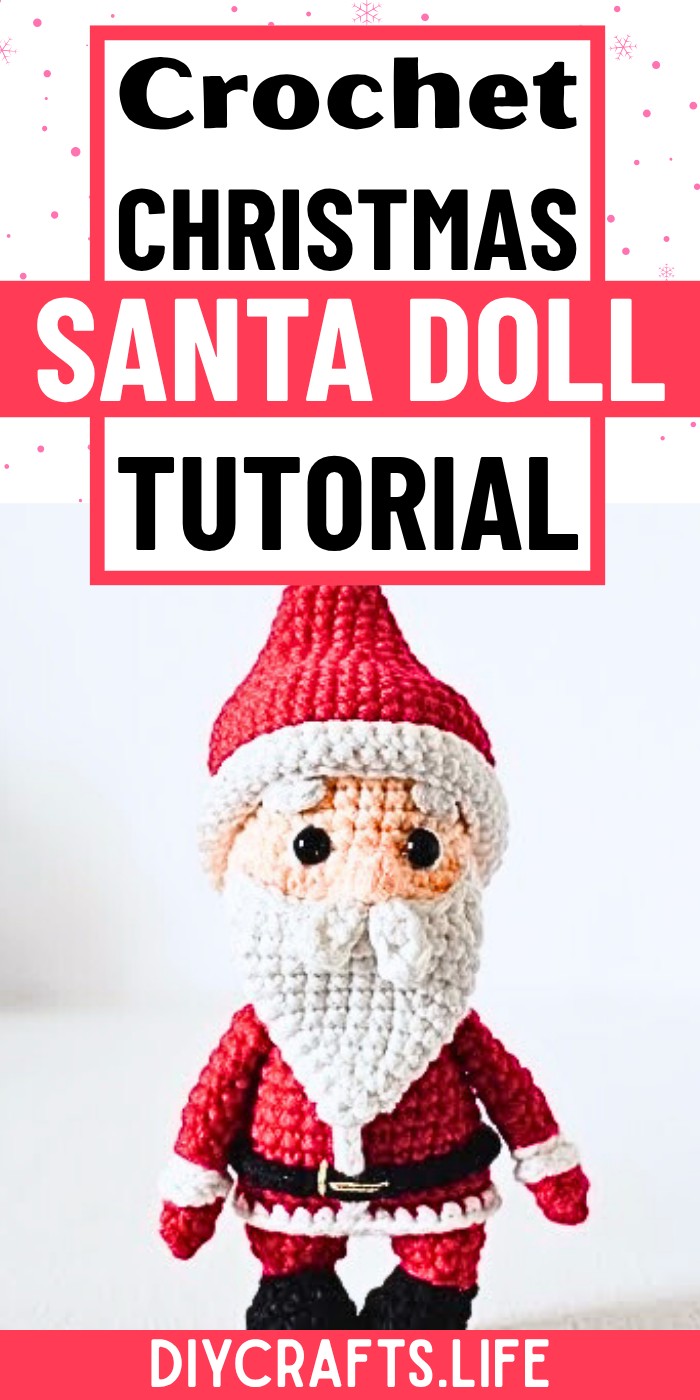
This Mini Santa Doll isn’t just cute—it’s practical! Durable thanks to DK or worsted-weight yarn, it’s both sturdy and lightweight. With its detailed features, it's an eye-catching decoration or unique gift ideal for festive displays. Its compact size ensures versatility in holiday settings.
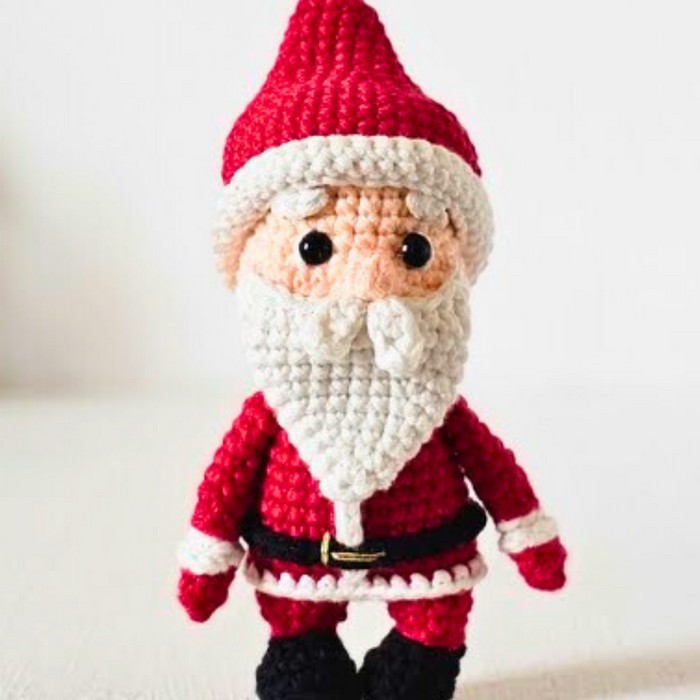
Crochet Santa Doll
Creating this Santa is beginner-friendly yet rewarding. From crafting his cheerful face to adding his fluffy beard, every step is detailed and guided. Swap yarn weights or colors to customize your doll’s size and appearance while enjoying the ease of following along.
Credit The Kindness Company
Materials and Preparation
To create an adorable mini Santa doll that will spread Christmas cheer, you will need:
Materials:
- Yarn:
- DK weight yarn:
- 9.5g in nude (for the face and body).
- 16g in red (for the hat, dress, and other details).
- 10g in white (for the beard, hat, and accents).
- 3.5g in black (for boots or other small details).
- DK weight yarn:
- Optional Weight Adjustment: Worsted-weight yarn can be used instead. Remember, a higher yarn weight will slightly adjust yardage requirements.
- Hook:
- 3mm crochet hook for tighter stitches with DK yarn, OR
- 4mm hook if using worsted-weight yarn.
- Safety Eyes: Two 7mm safety eyes (or adjust size for preferences).
- Stuffing/Fiberfill: Light stuffing for the head and body.
- Tapestry Needle: For sewing parts together and weaving in ends.
- Stitch Markers: To track your rounds effectively.
- Embroidery Floss (optional): For small details, such as rosy cheeks or stitching features.
- Scissors: For trimming yarn ends and cleanup.
Abbreviations and Notes
Abbreviations:
- MR: Magic Ring
- SC: Single Crochet
- HDC: Half Double Crochet
- DC: Double Crochet
- INC: Increase (2 SC in the same stitch)
- DEC: Decrease (Invisible decrease: front loop only)
- SL ST: Slip Stitch
- CH: Chain Stitch
- BLO: Back Loop Only
Important Notes:
- Gauge Recommendations: Gauge is not critical for this project. You can use any yarn weight and a matching hook size—adjust the stitch and yardage for heavier or lighter yarn accordingly.
- Finished Size: Using DK weight yarn, Santa measures approximately 5-6 inches tall.
- Special Techniques to Know:
- Creating a Magic Ring.
- Color changes.
- Stitch marker placement for tracking.
- Working in rounds and rows.
Gauge, Approximate Size, and Pattern Notes
Gauge: Not critical for this doll. However, using DK weight yarn and a 3mm hook will result in a consistent size (5-6 inches tall). Tighter stitches are ideal to avoid gaps in the fabric.
Pattern Notes:
- The project is worked in sections (head, body, beard, hat, arms, legs, and accessories), and parts are sewn together at the end.
- A consistent tension will ensure professional-looking results.
Step-by-Step Pattern
Part 1: Santa's Head
- Round 1: Using nude-colored yarn, start with a Magic Ring and make 8 SC into MR. Tighten the ring.
- Round 2: INC in each stitch (16 stitches).
- Round 3: (SC, INC) around (24 stitches).
- Round 4: SC in each stitch (24 stitches).
- Round 5: (SC in next 2 stitches, INC) repeat around (32 stitches).
- Rounds 6-9: SC in each stitch (32 stitches per round).
Insert Eyes:
- Place 7mm safety eyes between rows 8 and 9, approximately 3 stitches apart.
Round 10: (SC, DEC) around (24 stitches).
Round 11: (SC in next 2 stitches, DEC) repeat around (18 stitches).
Stuffing:
- Add stuffing to the head at this point, ensuring it is firm but not overstuffed.
Round 12: (SC, DEC) repeat around (12 stitches).
Round 13: DEC across every stitch (6 stitches).
Finishing: Secure tail and sew closed using a tapestry needle.
Part 2: Santa's Body
- Round 1: Start with red yarn and make a Magic Ring, followed by 6 SC into MR.
- Round 2: INC in each stitch (12 stitches).
- Round 3: (SC, INC) around (18 stitches).
- Round 4: (SC in next 2 stitches, INC) repeat around (24 stitches).
- Rounds 5-10: SC in each stitch (24 stitches per round).
Add Stuffing:
- Stuff the body lightly, ensuring an even shape.
- Round 11: (SC in next 2 stitches, DEC) repeat around (18 stitches).
- Round 12: (SC, DEC) around (12 stitches).
- Round 13: DEC across each stitch (6 stitches).
Finishing: Secure the tail and sew it closed.
Part 3: Arms
- Round 1: Using nude yarn, start with Magic Ring, 6 SC into MR, tighten ring.
- Rounds 2-4: SC in each stitch (6 stitches per round).
- Round 5: Switch color to red and continue SC in each stitch (6 stitches).
Stuffing & Finishing: Lightly stuff the arm before closing off. Repeat for the second arm.
Part 4: Legs
- Round 1: With black yarn, make Magic Ring, 6 SC into MR.
- Rounds 2-3: SC in each stitch (6 stitches).
- Round 4: Switch to red yarn and SC in each stitch (6 stitches).
Stuffing & Finishing: Lightly stuff the leg and close. Repeat for the second leg.
Part 5: Beard and Mustache
Beard:
- Round 1: With white yarn, start Magic Ring, 6 SC into MR.
- Round 2: (SC, INC) repeat around (9 stitches).
- Round 3: (SC in next 2 stitches, INC) repeat around (12 stitches).
- Round 4: SC in each stitch (12 stitches).
Flatten the beard piece and sew directly below the nose area.
Mustache:
- Make 2 identical pieces using white yarn:
- Chain 6 stitches, work into the chains with half-double crochet (HDC) and fasten off.
- Sew the mustache halves on either side of the nose, just above the beard.
Part 6: Hat
- Round 1: With white yarn, create a Magic Ring, 6 SC into MR.
- Round 2: INC in each stitch (12 stitches).
- Round 3: Switch to red yarn, (SC in next stitch, INC) repeat around (18 stitches).
- Rounds 4-8: SC in each stitch (18 stitches per round).
- Round 9: (SC in the next 2 stitches, DEC) repeat around (12 stitches).
Finishing:
- Add a small white puffball to the tip of the hat using white yarn, and fasten securely. Sew the finished hat onto Santa’s head.
Assembly and Finishing
- Attach arms evenly to the sides of Santa’s body.
- Sew legs to the bottom of the body, ensuring they align symmetrically.
- Attach the completed beard and mustache below the nose area.
- Place and secure the hat on Santa’s head, slightly tilted for a whimsical look.
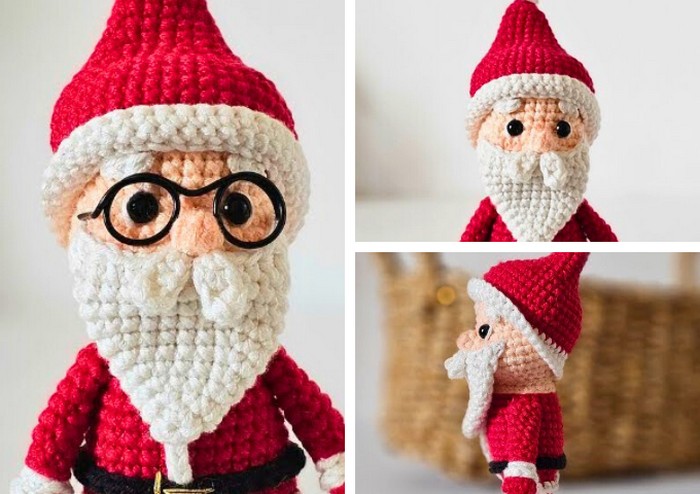
- Add optional details, such as embroidered cheeks, additional facial features, or buttons, using embroidery floss.
Pattern Question:
Question: Can I use a different yarn weight?
Answer: Yes! Adjust the hook size and yarn yardage if using a heavier weight yarn—you’ll create a larger Santa while maintaining pattern accuracy.
Conclusion:
This Crochet Mini Santa Doll is a delightful craft to embrace the holiday season. Customizable ideas and guided steps empower crafters of all levels to create a festive addition that’s truly one-of-a-kind. Start crocheting your Santa magic today!


