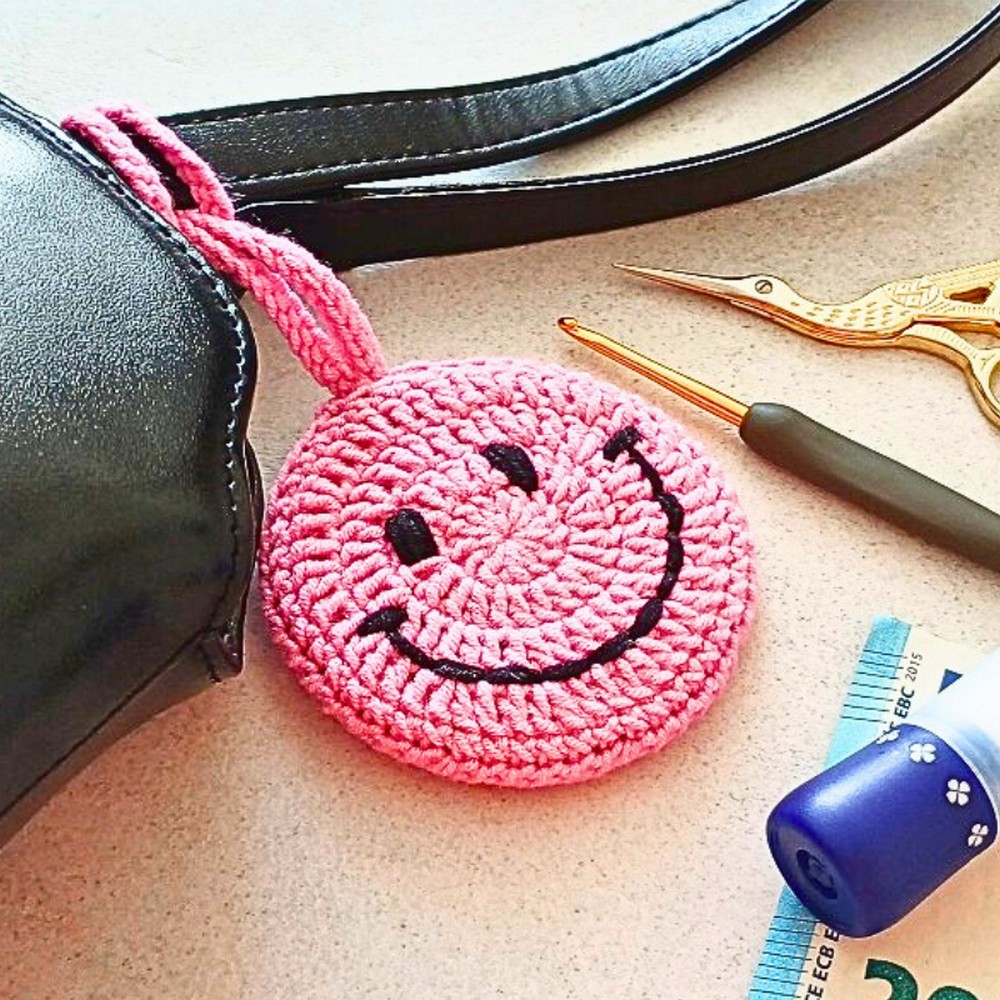
Craft a cheerful and adorable crochet smiley face keychain with this fun project! Combining bright acrylic yarn and precise stitching, the design adds charm and positivity to your everyday accessories. Its compact size makes it perfect for keyrings, backpacks, or gifting.

This smiley face keychain is durable and versatile! Built with tight stitches using a 3mm hook, it ensures lasting use while maintaining its vibrant style. Add personality to your keys or bags, and enjoy its lightweight feel with a touch of handmade charm.
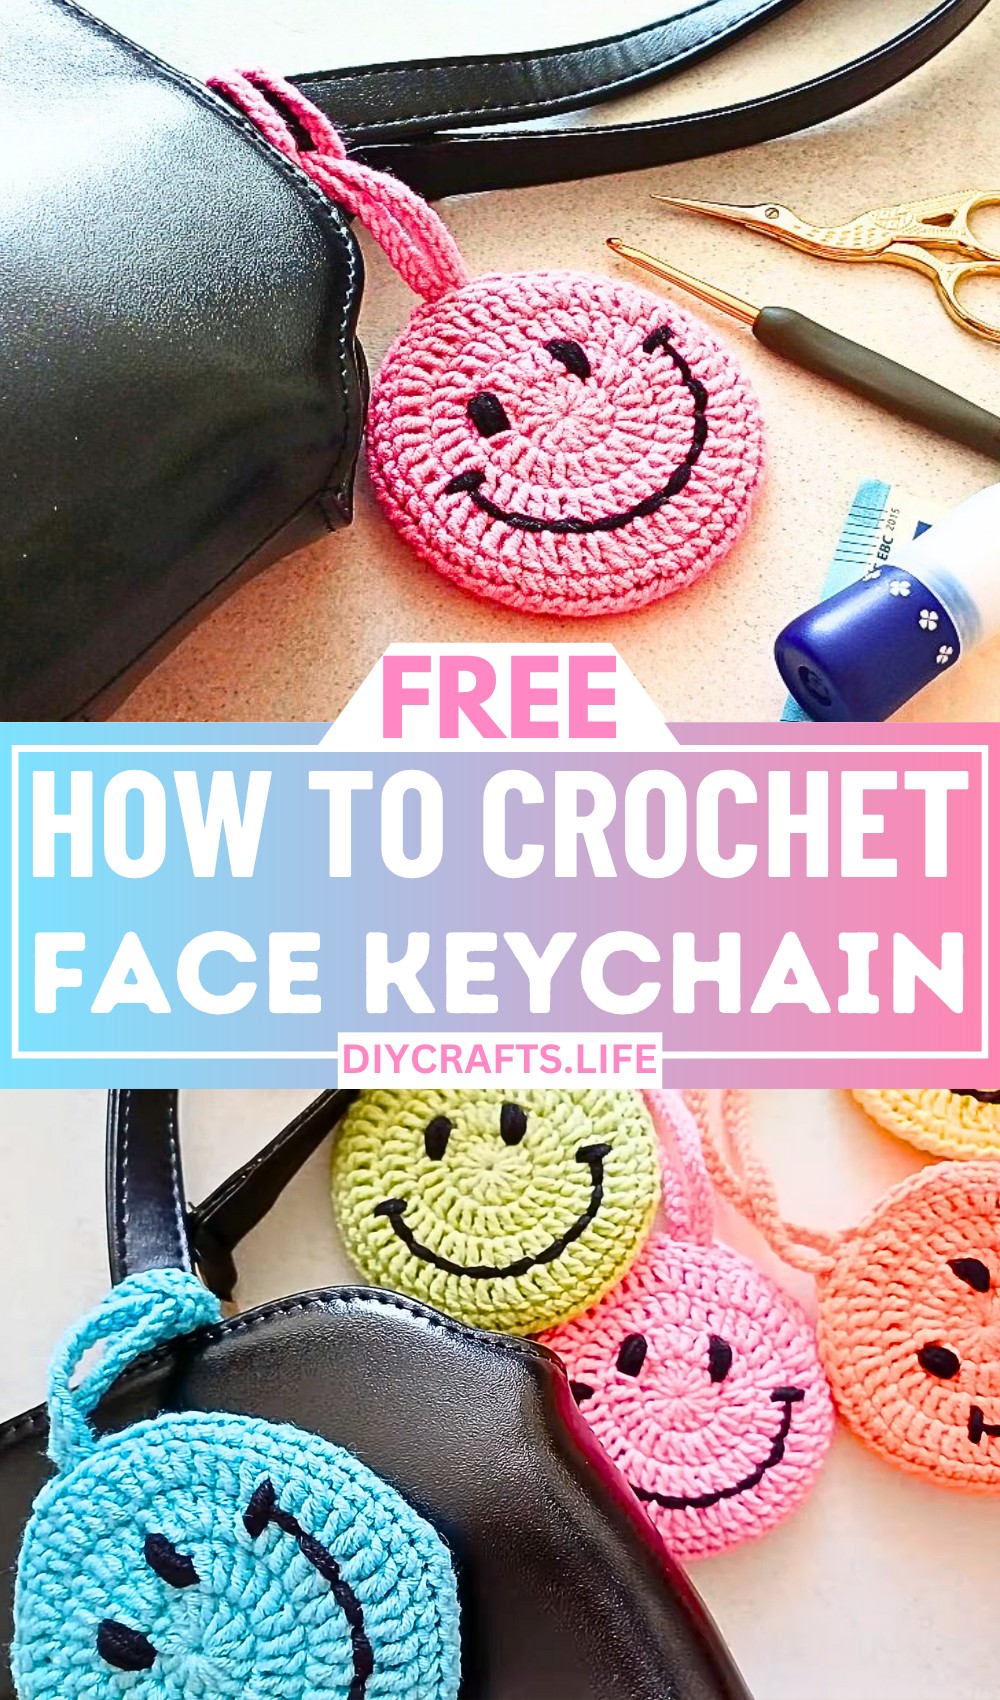
Crochet Smiley Face Keychain
Follow this step-by-step guide to create your smiley face keychain! Start with a magic ring, build layers with chains and double crochets, and finish with neat single crochet detailing. Add eyes and a felt mouth for precision, and it’s complete—rewarding and straightforward.
Credit Poplar Crochet
Materials and Preparation:
To create this adorable crochet smiley face keychain, you'll need:
- Hook: 3mm crochet hook
- Yarn: Acrylic yarn in yellow (for the face), black (for the smile and outline), and white (if adding details to the eyes). Medium-weight yarn works best.
- Felt: Black-and-white felt for creating eyes and the mouth, if preferred over embroidery.
- Additional Tools:
- Yarn needle (for weaving ends and attaching components)
- Scissors
- Fabric glue or hot glue (if attaching felt features)
- Optional: Keychain ring or clasp (to attach your smiley face as a keychain).
Abbreviations and Notes:
Abbreviations:
- MR: Magic Ring
- CH: Chain
- DC: Double Crochet
- SC: Single Crochet
- SLST: Slip Stitch
Notes:
- This pattern uses the magic ring technique to begin the project. If you're unfamiliar with it, consider practicing this ahead of time.
- The pattern involves increasing evenly in each row to create a flat circular base for the face.
- Chain stitches are used to create the keychain connection loop.
- Be sure to keep your tension even to ensure a smooth, round finish for the smiley face.
Gauge, Approximate Size, and Pattern Notes:
- Gauge: No specific gauge is required for this project, but the stitching should be tight enough to keep the stuffing or design secure.
- Finished Size: Approximately 2.5 to 3 inches in diameter (depending on yarn and hook size).
- No Gauge Swatch Required: Since this is a small decorative item, gauge swatches are not necessary.
- Special Techniques: Magic ring for starting the circle base.
Step-by-Step Pattern:
Foundation - Smiley Face Base:
- Start with a Magic Ring (MR): Create a loop and begin working into it.
- Row 1:
- CH 3 (counts as first DC).
- Work 13 DC into the magic ring (total of 14 stitches).
- SLST to close the round.
- Row 2:
- CH 3 (counts as first DC).
- Work 2 DC into each stitch from Row 1 (increasing in every stitch).
- SLST to close the round.
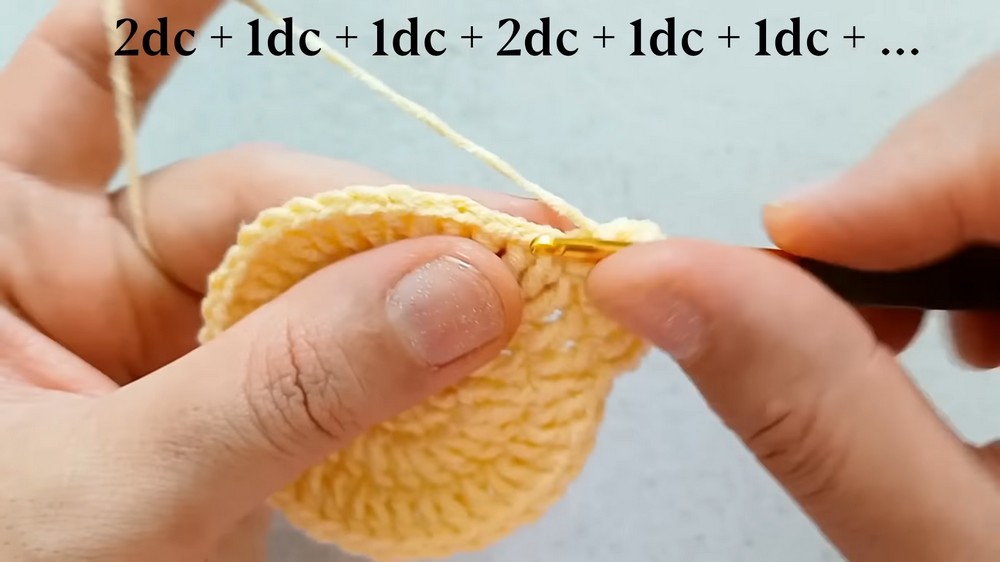
- Row 3:
- CH 3 (counts as first DC).
- Work the following repeat: (2 DC into one stitch, then 1 DC into the next stitch). Repeat around the circle.
- SLST to close the round.
- Row 4:
- CH 3 (counts as first DC).
- Work the following repeat: (2 DC into one stitch, then 1 DC into the following two stitches). Repeat around the circle.
- SLST to close the round.
- Row 5:
- CH 1.
- Work 1 SC into each stitch around the circle for a clean, finished edge.
- SLST to close the round.
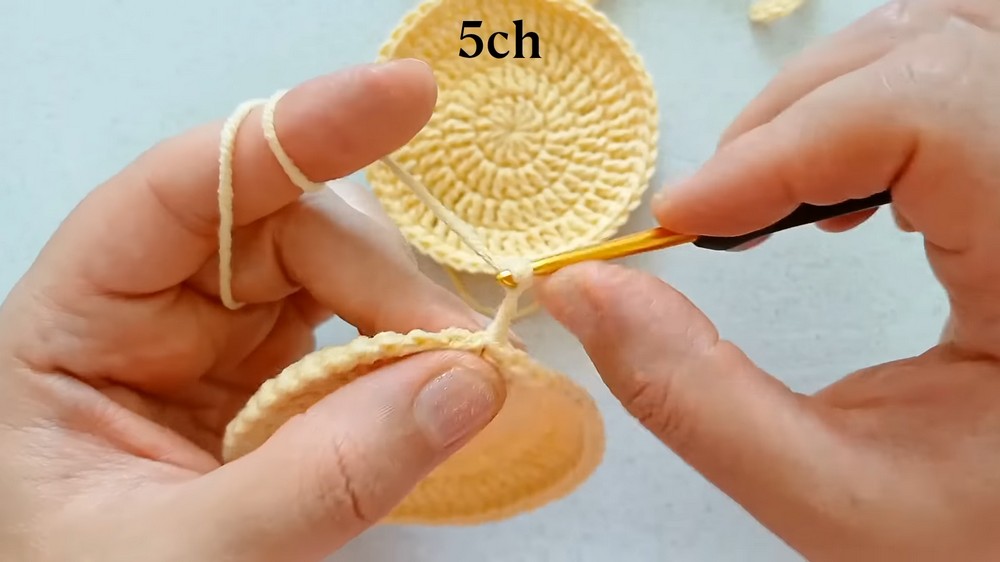
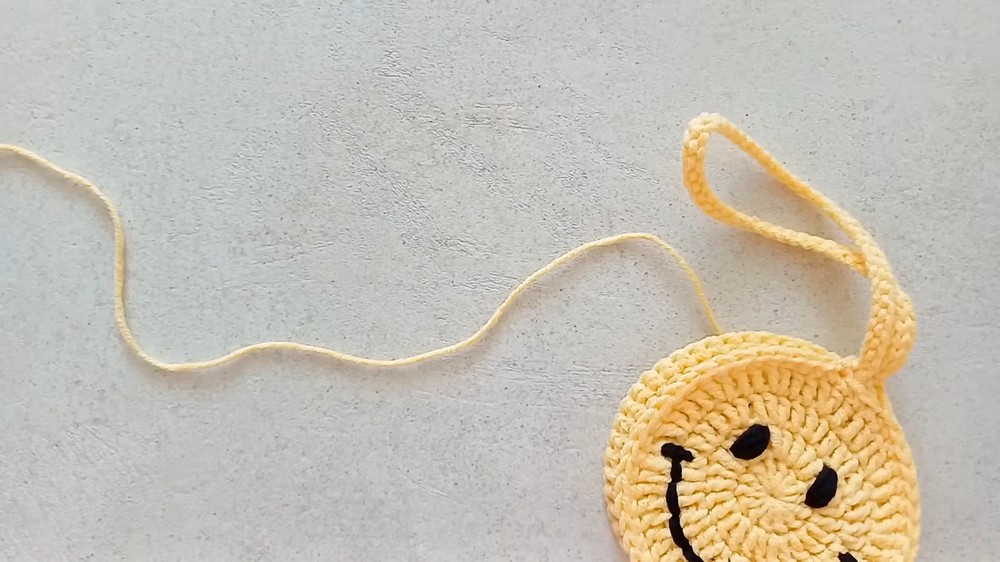
Keychain Loop:
- CH 60 (or adjust the length based on your preference for the loop).
- Starting from the first chain, SLST in each chain back to the circle base.
- Secure the loop with an additional SLST and finish off with CH 1.
Adding Details - Eyes and Mouth:
- Eyes:
- Cut small circles out of black felt and a slightly smaller white circle for highlights.
- Attach using fabric glue or stitch into place using your yarn needle and black yarn.
- Mouth:
- Cut a smile shape from black felt or embroider it directly onto the face using black yarn.
- Weave in any loose ends and attach the keychain ring securely through the crocheted loop.
Finishing Touches:
- Double-check all ends are woven and any glued features are securely placed.
- Use the finished loop to attach the keychain ring or clasp.
- Enjoy your new smiley face keychain!
With these step-by-step instructions, your crochet smiley face keychain will be a fun and cheerful addition to any accessory collection.
Pattern Question
Question: How do you attach the felt eyes and mouth securely?
Answer: Use fabric glue or sew the felt pieces onto the crochet base, ensuring they are firmly in place for longevity.
Conclusion
This crochet smiley face keychain tutorial is a joyful crafting experience, combining straightforward steps with endless creative possibilities. A perfect way to brighten up your accessories with practical and personalized flair.


