Get into the festive spirit with these adorable Crochet Christmas Gnome Box Decorations! Perfect as holiday décor or gift containers, these gnome boxes combine beauty, charm, and functionality. With endless customization options, they’re the perfect blend of style and practicality for any crochet enthusiast.
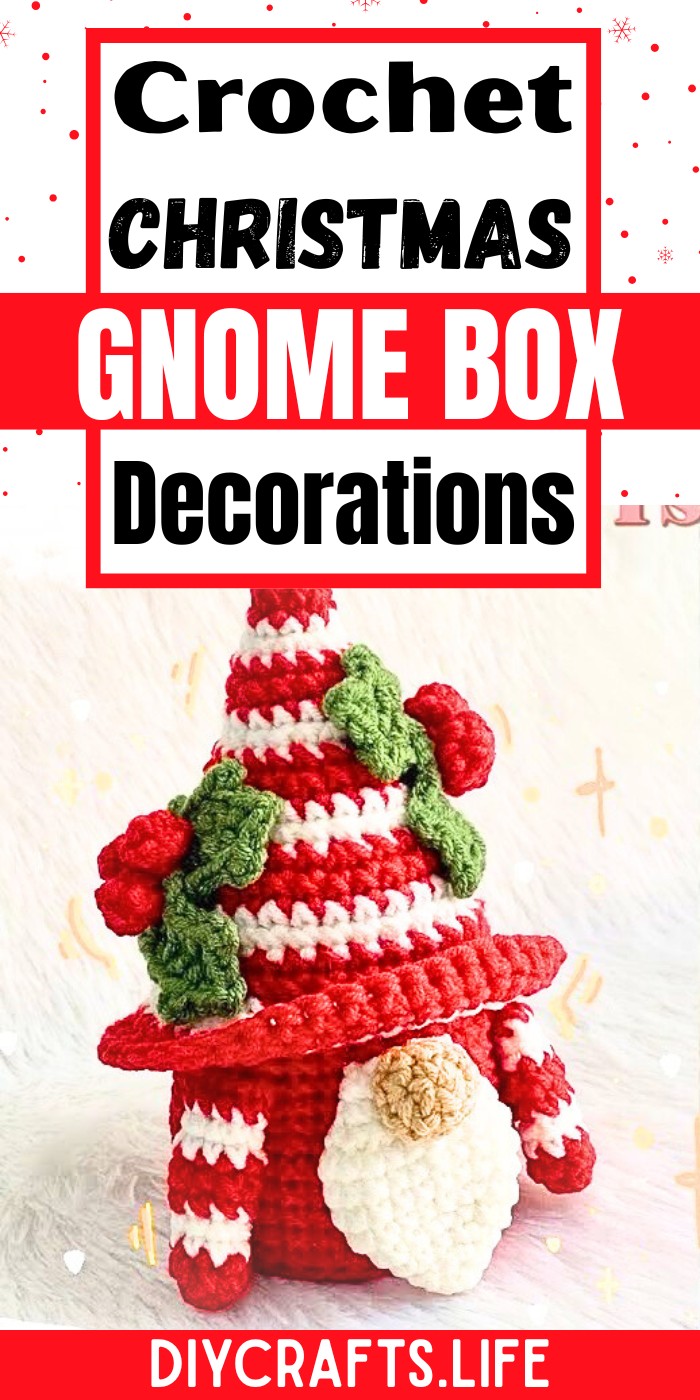
These gnome decorations are more than just cute—they're durable and functional! Use them to hold small gifts, candy, or ornaments, or display them as festive tabletop accents. Designed with sturdy cotton yarn and precise stitches, they provide both long-lasting usability and a delightful holiday charm.
Crochet Christmas Gnome Box Decorations
Creating your own Christmas Gnome Box is easier than you’d think! Whether you’re a beginner or a seasoned crocheter, this project offers creative freedom with endless color possibilities. With its straightforward design and well-defined stitches, it’s a fun, rewarding, and festive craft for anyone to make.
Credit Bua Crochet
Materials and Preparation
To create your Crochet Christmas Gnome Box Decorations, you’ll need the following materials:
- Yarn: Cotton yarn, 2mm thickness (use colors of your choice, commonly red, white, and gray for a festive gnome theme).
- Hook Size: 3mm crochet hook.
- Filling: Polyester fiber for stuffing.
- Base Support: A box or bottle with a diameter of 6cm.
- Additional Tools: Scissors, tapestry needle for sewing, stitch marker for tracking rounds.
- Optional Extras: Beads, buttons, or pom-poms for decoration.

Abbreviations and Notes
Below is the key for abbreviations used in the pattern:
| Abbreviation | Meaning |
|---|---|
| mr | Magic Ring |
| sc | Single Crochet |
| hdc | Half Double Crochet |
| slst | Slip Stitch |
| ch | Chain |
| inc | Increase (work 2 sc in one stitch) |
| dec | Decrease (single crochet decrease) |
| blo | Back Loop Only |
| flo | Front Loop Only |
| sk | Skip |
| picot | Picot Stitch |
Special Notes:
- The pattern is worked in continuous rounds unless specified otherwise. Use a stitch marker to track your rounds.
- Ensure your stitches are tight enough to avoid gaps, especially when stuffing your gnome.
- If you’re new to Magic Rings (mr), you may substitute by chaining 3 and joining into a loop.
Gauge, Approximate Size, and Pattern Notes
- Gauge: Not explicitly required; aim to maintain tight, consistent tension.
- Finished Size: Approximately 14cm (5.5 inches) in height and 9cm (3.5 inches) in width.
- Base Size: The bottle or support base diameter is 6cm.
Special Techniques:
Ensure you can work in blo (back loop only) and flo (front loop only), as they help create shaping and texture for the gnome's beard, hat, and decorations. No gauge swatch is necessary, as slight variations won’t affect fit drastically.
Step-by-Step Pattern
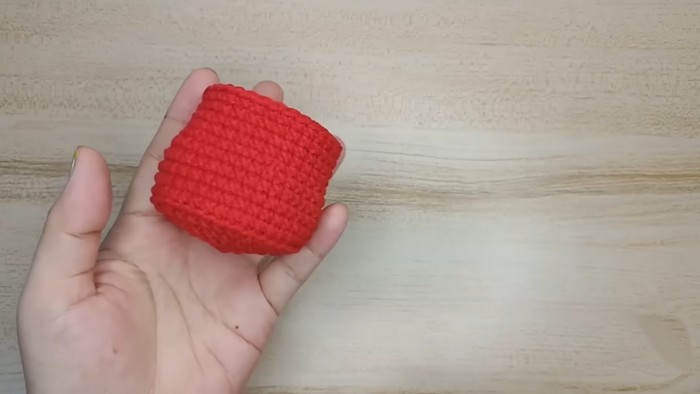
1. Base of the Gnome (Box or Bottle Cover)
- Row 1: Start with a mr, work 6 sc into the ring. (6 sts)
- Row 2: Work 6 inc. (2 sc in each st) around. (12 sts)
- Row 3: (sc, inc) around. (18 sts)
- Row 4: (2 sc, inc) around. (24 sts)
- Continue increasing this way until the circle measures about 6cm in diameter (to fit the base). Stop increasing here and work even sc in each stitch for several rows, forming the cylindrical body of the gnome.
2. Beard (Worked Separately in FLO)
- Attach yarn to the front loops of a row near the bottom of the body.
- Chain 5, then slst back into the same stitch. Continue around the body edge, chaining 5 for each loop and slip stitching to create a fringed beard.

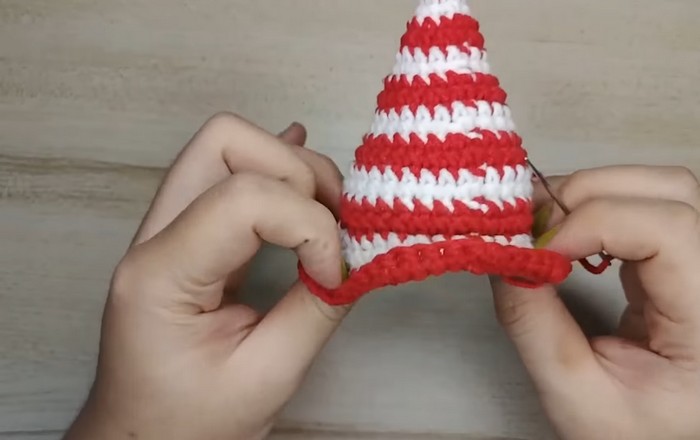
3. Hat
- Row 1: Start with a mr, work 4 sc. (4 sts)
- Row 2: (sc, inc) around. (6 sts)
- Row 3: Work evenly around. (6 sts)
- Row 4: (2 sc, inc) around. (8 sts)
- Continue increasing every few rows (increment sc stitches between increases) until the hat is wide enough to fit snugly over the top of the gnome. Work evenly to add height.
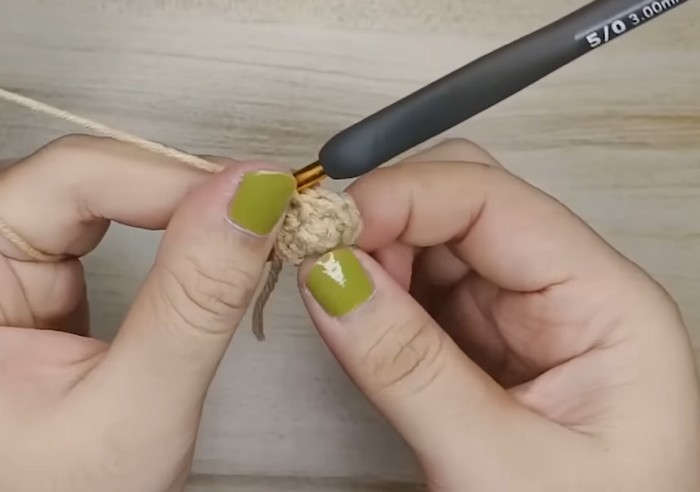
4. Nose
- Row 1: mr, work 6 sc. (6 sts)
- Row 2: Work evenly around in sc. (6 sts)
- Finish off, stuff lightly, and sew onto the gnome, just above the beard.
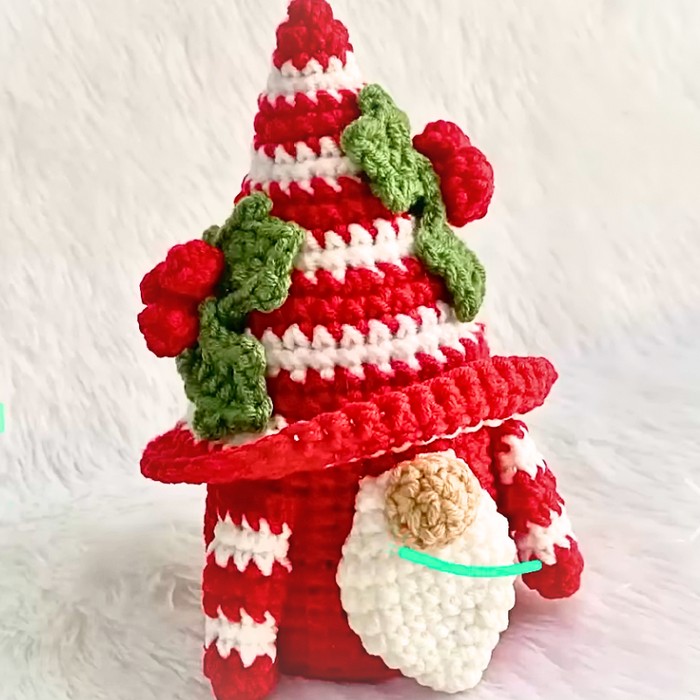
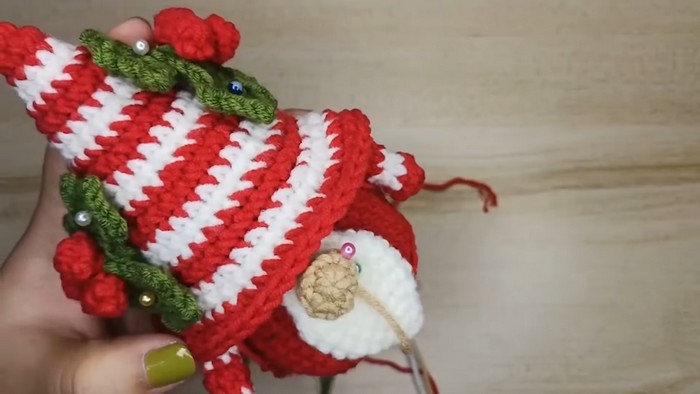
5. Finishing Touches
- Attach the hat securely, slightly tilting it to one side if desired.
- Add a small pom-pom or embellishment to the tip of the hat.
- Embroider details, such as eyes, if desired, or leave the face simple for a classic gnome look.
- Finally, attach the decorated gnome to the top of your box or bottle.
Pattern Question:
Q: Can I use a different yarn or hook size to make these gnome boxes?
A: Yes! While the pattern recommends 2 mm cotton yarn and a 3 mm hook, you can adjust both to achieve different sizes. Just ensure consistency in your chosen materials for the best results.
Conclusion
These Crochet Christmas Gnome Boxes are a wonderful way to combine creativity with holiday fun. With their versatility, charm, and ease of making, they’re a must-try for anyone who loves crochet. Add a touch of handmade magic to your Christmas celebrations today!


