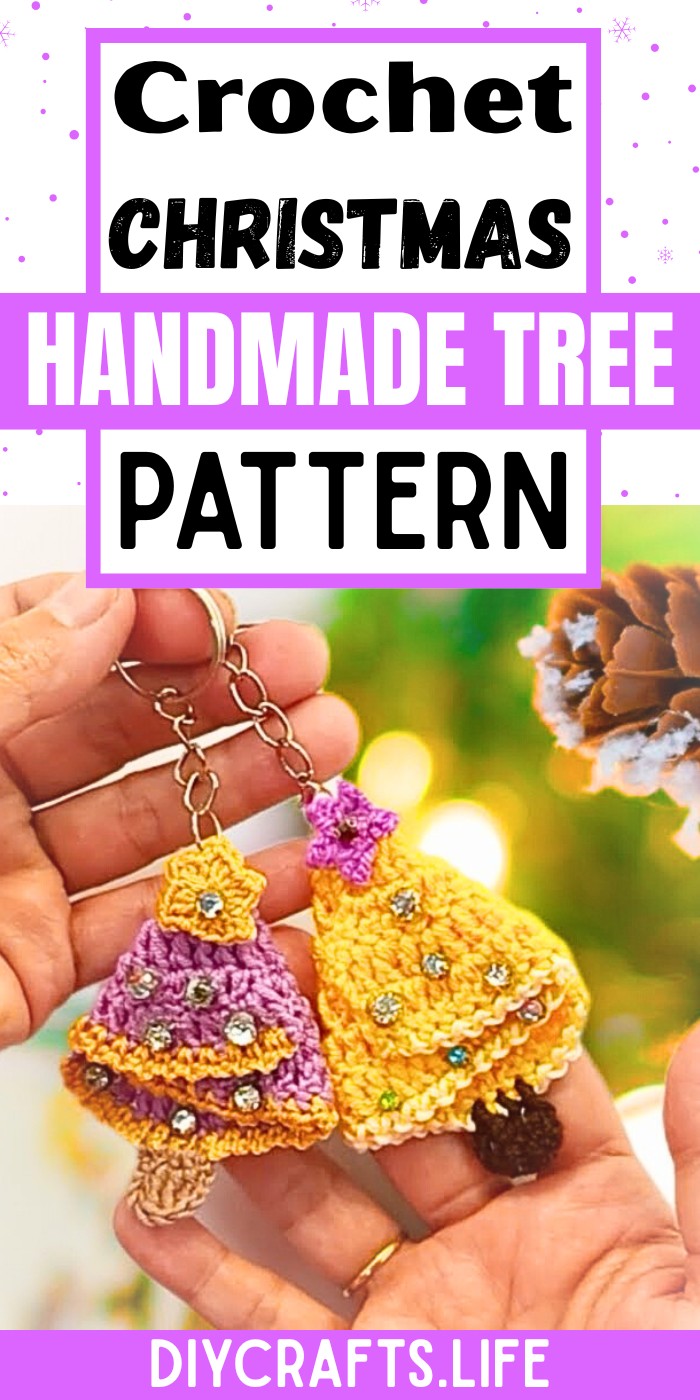
Create the festive charm of the season with a Crochet Christmas Tree! This project adds a delightful handmade touch to your holiday décor. Its beauty, simple design, and versatility make it perfect for decorating tables, gifting, or enhancing your holiday atmosphere.
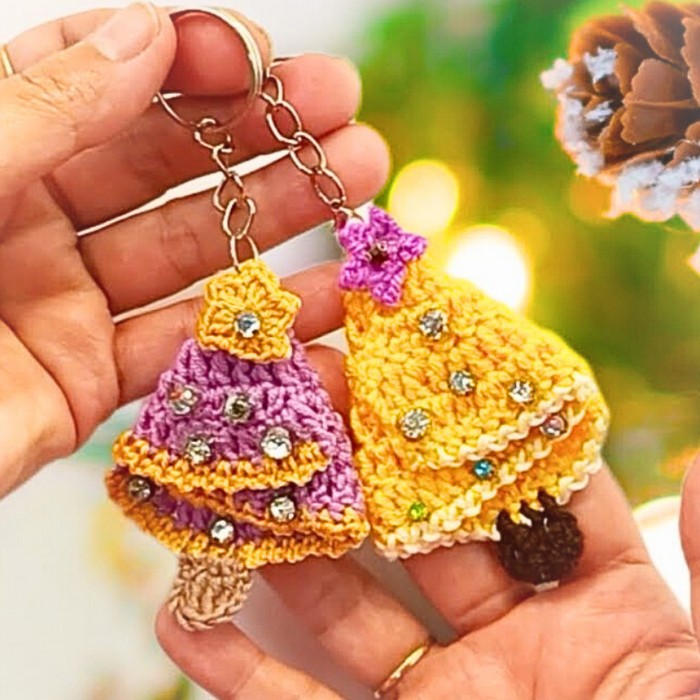
The Crochet Christmas Tree stands out for its durability and timeless appeal. Use it as a centerpiece, a hanging ornament, or a DIY gift for loved ones. Its sturdy design ensures it lasts for multiple seasons, and its cozy charm blends seamlessly with other decorations.
Crochet Christmas Tree
This project is perfect for all skill levels, offering endless opportunities for customization. You can personalize the tree’s color, size, or embellishments, letting your creativity shine. Whether you're a beginner or a pro, this fun and festive project is calming and rewarding to create.
Credit Art of crochet by Rina
Materials and Preparation:
- Yarn Type: Worsted weight yarn in green (main color) and brown (for the trunk).
- Hook Size: US G/6 (4 mm) crochet hook.
- Additional Tools: Scissors, yarn needle, and stitch markers (optional).
- Yarn Weight Requirements: Worsted weight yarn (4 medium).
Abbreviations and Notes:
- MC: Magic Circle
- SC: Single Crochet
- HDC: Half Double Crochet
- DC: Double Crochet
- TR: Treble Crochet
- INC: Increase (2 stitches in the same stitch)
- SL ST: Slip Stitch
- CH: Chain
- ST: Stitch
Pattern Tips:
- Practice making a Magic Circle if unfamiliar; it offers a neater finish for circular projects.
- Use stitch markers to keep track of rounds if needed.
Gauge, Approximate Size, and Pattern Notes:
- Gauge: 14 SC x 16 rows = 4" (10 cm) with 4 mm hook in SC.
- Approximate Size: The finished tree should measure around 10 inches high.
- Special Techniques: Magic Circle for the base, invisible decreases for shaping.
- Gauge Swatch: Not necessary if not fitting to an exact size.
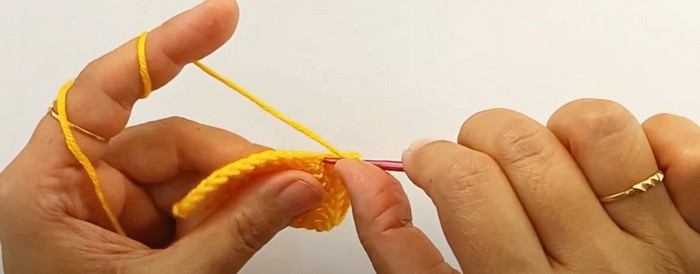
Step-by-Step Pattern:
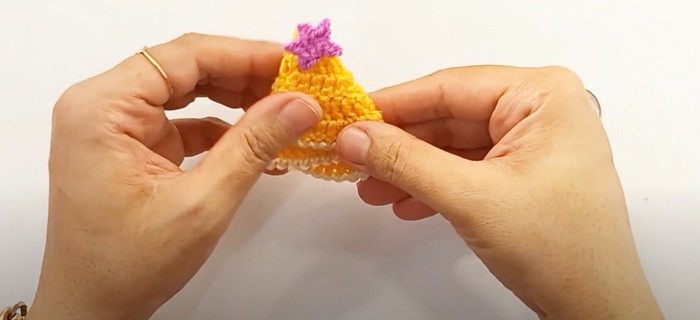
Tree Base
- Round 1: Start with a MC, CH 1, and make 6 SC into the circle. Pull tight to close. SL ST to the first SC. (6 SC)
- Round 2: CH 1, 2 SC in each ST around. SL ST to the first SC. (12 SC)
- Round 3: CH 1, [SC in the next ST, INC in the next ST] repeat around. SL ST to the first SC. (18 SC)
- Round 4: CH 1, [SC in the next 2 STs, INC in the next ST] repeat around. SL ST to the first SC. (24 SC)
- Round 5: CH 1, [SC in the next 3 STs, INC in the next ST] repeat around. SL ST to the first SC. (30 SC)
- Round 6: CH 1, SC in each ST around. SL ST to the first SC. (30 SC)
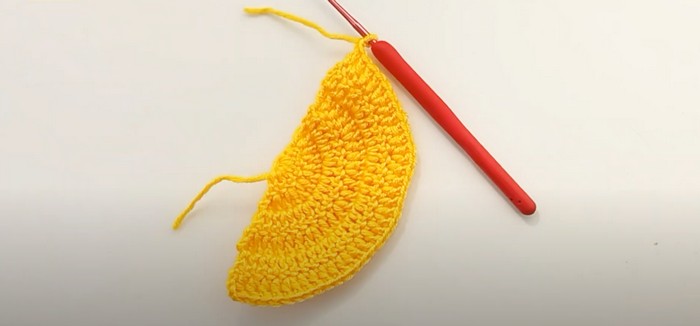
Tree Body
- Round 7: CH 1, [SC in the next 4 STs, INC in the next ST] repeat around. SL ST to the first SC. (36 SC)
- Round 8: CH 1, SC in each ST around. (36 SC)
- Round 9: CH 1, [SC in the next 5 STs, INC in the next ST] repeat around. SL ST to the first SC. (42 SC)
- Round 10: CH 1, SC in each ST around. (42 SC)
Repeat Rounds 9 and 10, increasing by 6 SC each odd-numbered round until the desired height is reached or until the tree body is around 8 inches. End with an even-numbered round.
Tree Tiers
- Work in tiers if preferred:
- First Tier: Attach yarn to the 6th row from the top. CH 1, SC in each ST around. (Up to the 6th row increase SC pattern)
- Second Tier: Attach yarn to the 12th row from the top. CH 1, SC in each ST around. (Up to the 12th row increase SC pattern)
- Continue adding tiers similarly to achieve the desired tree effect.
Tree Trunk
- Round 1: Using brown yarn, start with a MC, CH 1, and make 6 SC into the circle. Pull tight to close. SL ST to the first SC. (6 SC)
- Round 2-8: CH 1, SC in each ST around. SL ST to the first SC. (6 SC)
Assembly
- Attach the trunk to the base of the tree using SC, sewing up any gaps securely.
- Weave in all loose ends.
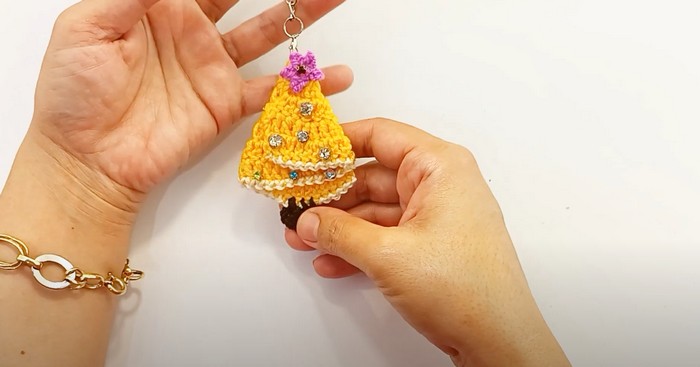
Finishing Touches
- Optionally, decorate your tree with miniature ornaments, pom-poms, or beads.
Enjoy your adorable
Pattern Question
Question: Can I adjust the size of the Crochet Christmas Tree?
Answer: Yes, you can easily adjust the size by changing the yarn weight and hook size or modifying the pattern’s row count to suit your preference!
Conclusion
Crafting a Crochet Christmas Tree is a joyful way to celebrate the holidays. It’s a creative, versatile, and meaningful activity that adds warmth to your festivities. Whether for décor or gifting, this project is sure to brighten the season and bring smiles.


