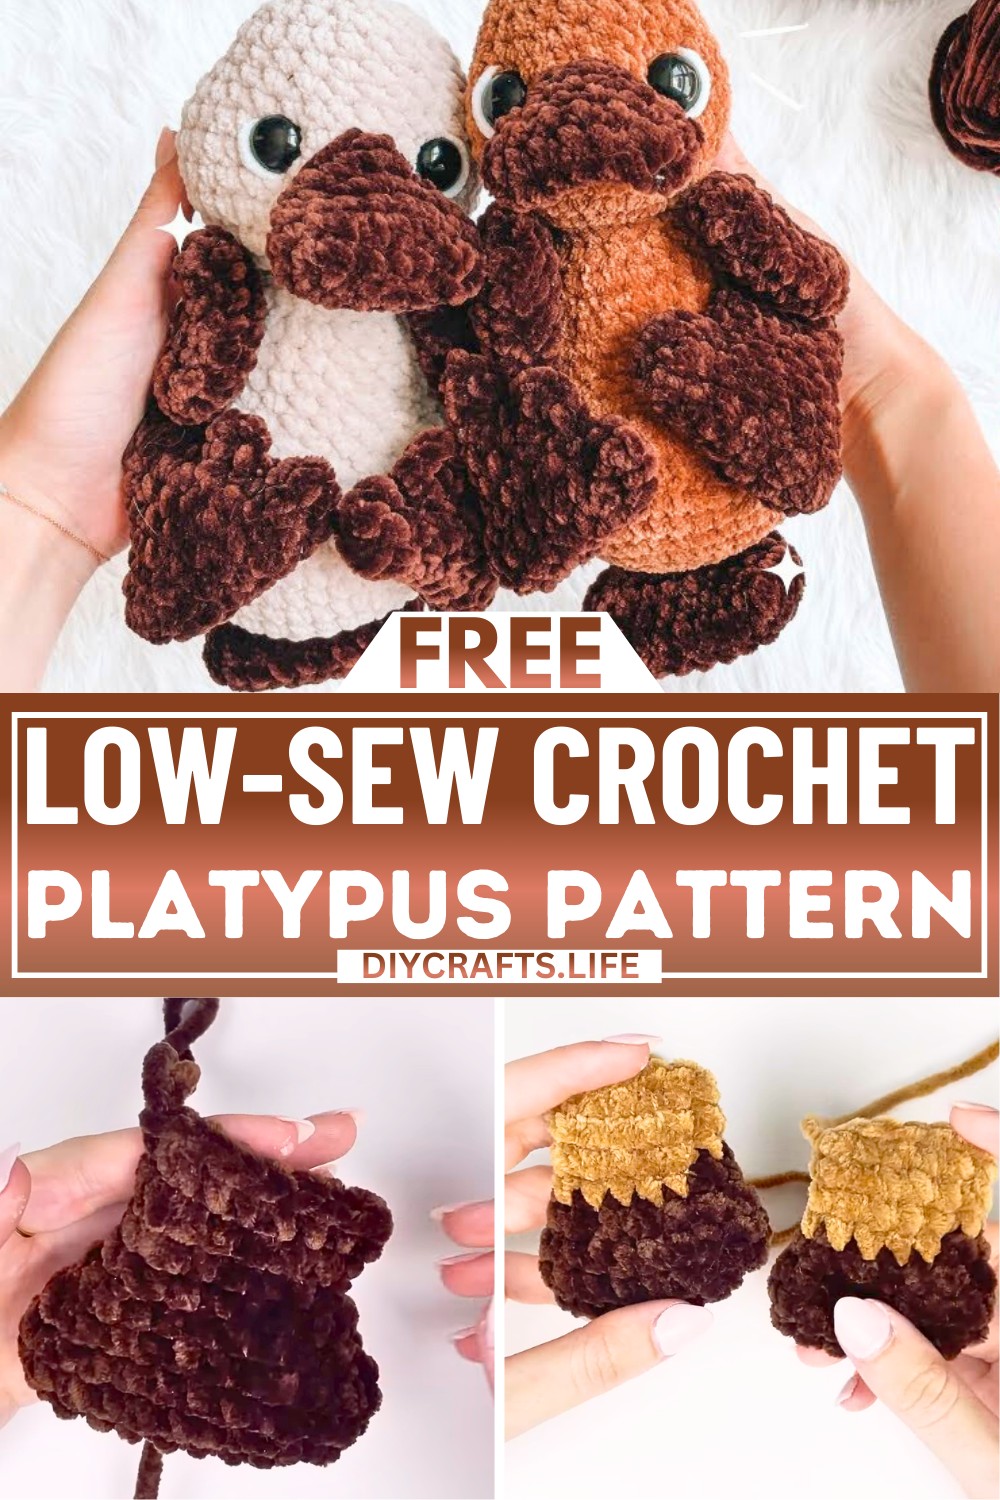
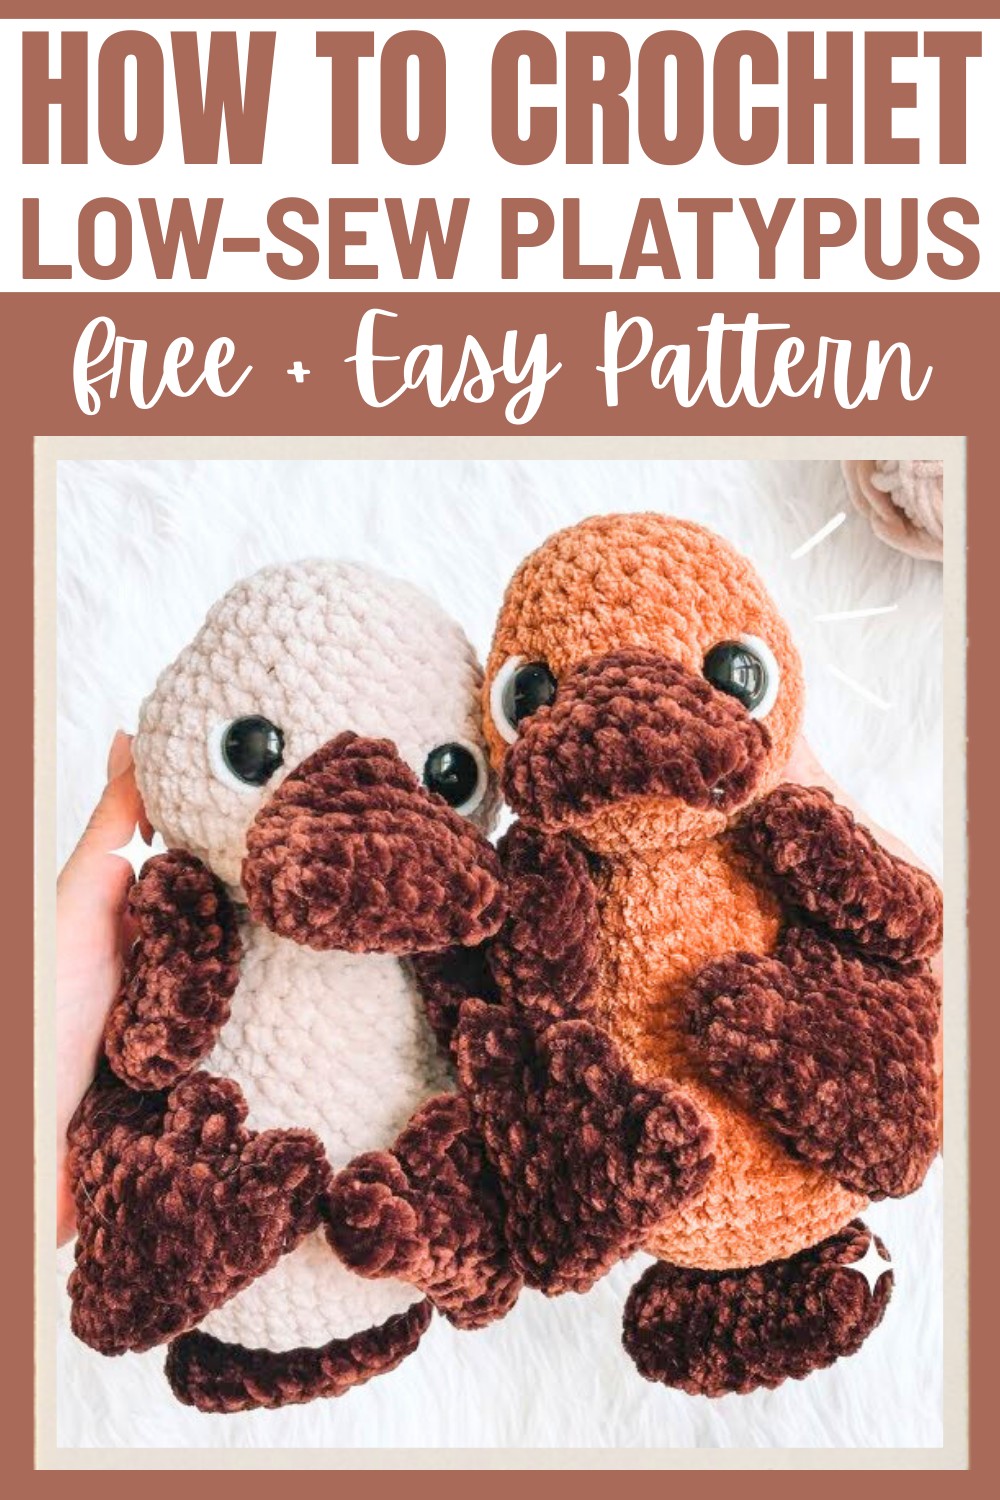
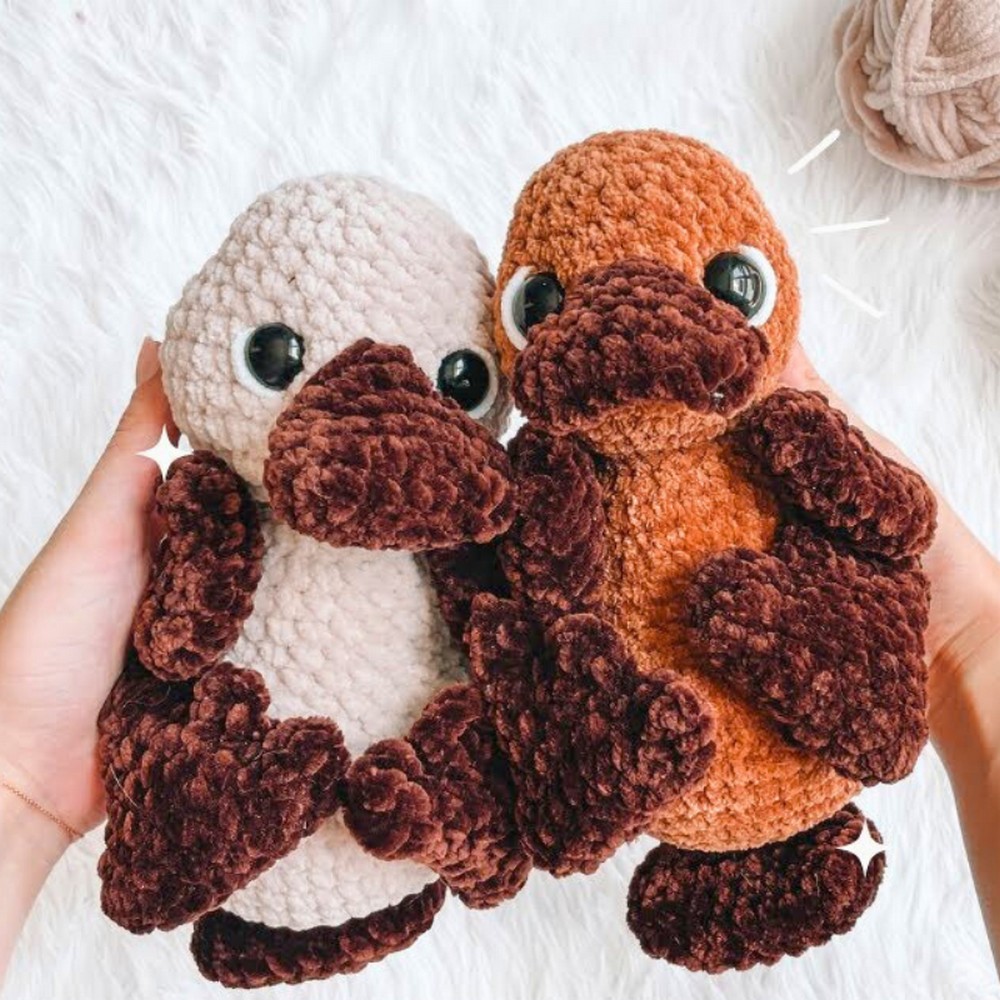
Looking for something adorable to make? Meet the Low-Sew Crochet Platypus, a simple and fun design perfect for all ages! This cute little platypus makes an excellent soft toy for kids, a charming piece of decor for your home, or even a thoughtful handmade gift. Its lovable shape and cuddly size are sure to bring smiles to everyone who sees it.
LOW SEW Crochet Platypus
Unlike many crochet designs, this pattern requires minimal sewing—making it quicker and easier to put together! With just a few simple steps, you can create your very own squishy platypus. Whether you’re a beginner or experienced at crocheting, the easy construction process makes it a joy to create. Watch the following pattern and have fun crocheting an animal that’s equal parts quirky, sweet, and huggable.
Credit Crochet with Kyra
Materials & Tools Needed
- Yarn:
- Premier Parfait Chunky in the color Chocolate (dark brown)
- Ketch Velvet in the color Latte (light brown)
- Scrap piece of white plush yarn
- Hook: 5mm crochet hook
- Notions:
- Stitch marker
- Embroidery needle
- Pair of scissors
- 20mm safety eyes
- Polyfil stuffing
Finished Size & Customization Ideas
- Dimension: Final size depends on yarn tension and hook size but should resemble the size shown in the tutorial (~small plushie).
- Customization Ideas:
- Change yarn colors for a unique platypus (e.g., pastel tones or realistic browns).
- Add embroidered eyebrows or cheek blush details.
- Use larger or smaller safety eyes for different expressions.
Pattern Abbreviations & Terminology
- US Terminology:
- MR = Magic Ring
- SC = Single Crochet
- INC = Increase (2 SC in 1 stitch)
- DEC = Decrease (crochet 2 stitches together)
- SL ST = Slip Stitch
- CH = Chain
- DC = Double Crochet
- TR = Triple/treble Crochet
Step-by-Step Detailed Crochet Instructions
Below, each section of the platypus is detailed step-by-step:
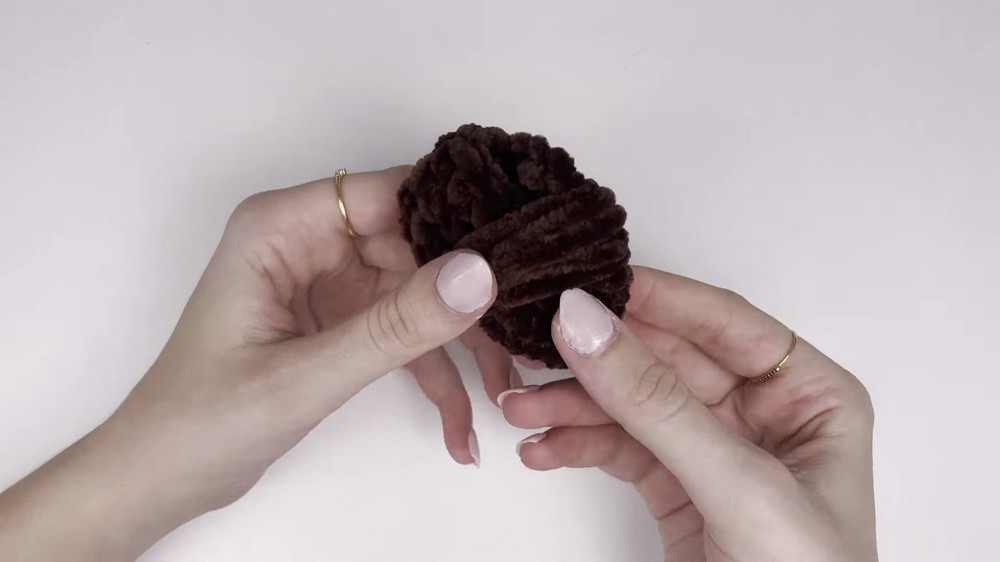
1) Tail
Round 1:
- Use Chocolate yarn to create a slip knot and chain 9.
- Start working in the second chain from the hook:
- SC 1 into the second chain.
- Place a stitch marker in this stitch.
- SC into the next 6 chains.
- In the last chain, make 3 SC into the same stitch (turn the chain onto the other side).
- Continue down the opposite side:
- SC into the next 7 chains.
- In the skipped chain at the beginning, make 3 SC.
- Finish off by making a SL ST in the stitch with your marker.
- Stitch Count: 20 stitches.
Round 2-3:
- SC 20 around both rounds. Use a stitch marker to keep track.
Round 4:
- SC 8, DEC. Repeat this step twice.
- Stitch Count: 18 stitches.
Round 5:
- SC 7, DEC. Repeat this twice.
- Stitch Count: 16 stitches.
Round 6:
- SC 6, DEC. Repeat twice.
- Stitch Count: 14 stitches.
Round 7-8:
- SC 14 in both rounds.
Finishing:
- Fold the end of the tail in half. SC through both sides for 7 stitches.
- Tie off. No tail needed to weave in, as it will be crocheted into the body later.
- Set aside.
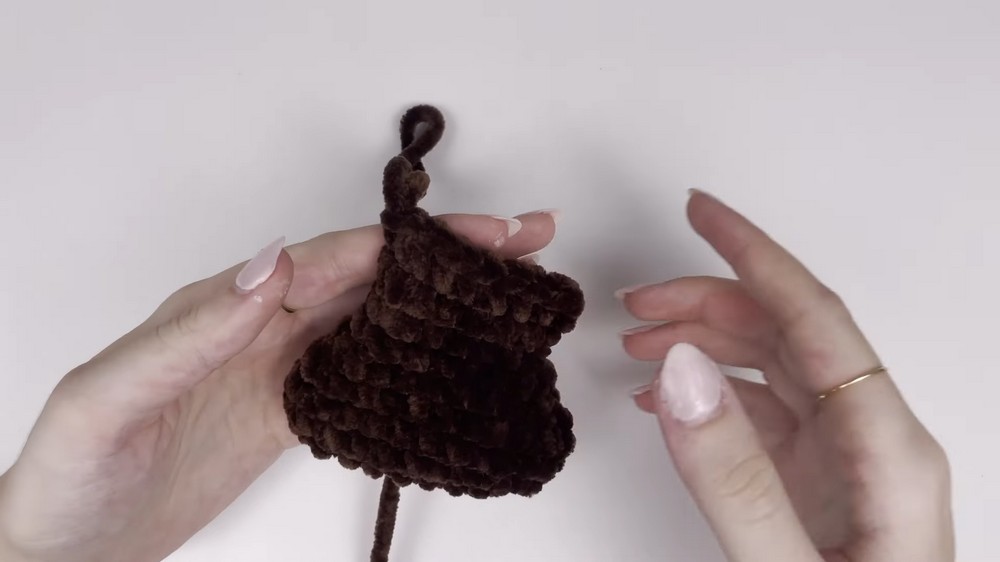
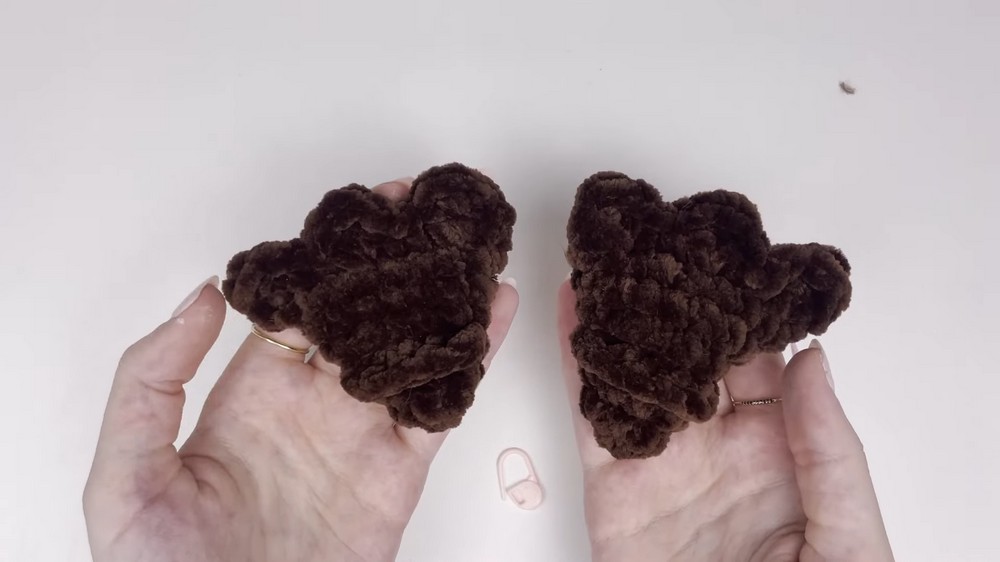
2) Feet
Create 2 feet following the steps below:
Round 1:
- Use Chocolate yarn to make a magic ring with 6 SC.
Round 2:
- [SC 2, INC] x2.
- Stitch Count: 8 stitches.
Round 3:
- [SC 3, INC] x2.
- Stitch Count: 10 stitches.
Round 4:
- [SC 4, INC] x2.
- Stitch Count: 12 stitches.
Round 5:
- [SC 5, INC] x2.
- Stitch Count: 14 stitches.
Round 6:
- [SC 6, INC] x2.
- Stitch Count: 16 stitches.
Round 7:
- SC 16 around.
Finishing:
- Fold the foot in half. Crochet through both layers to create toes:
- 1 DC + 1 TR + 1 DC into the next stitch (creates a single toe).
- SC into the next 2 stitches through both layers.
- Repeat 3 toe bumps in total across the folded edge.
- Tie off and leave a small tail to connect the foot later.
- Add 5 surface crochet stitches along round 4 of the foot for attachment to the body. Tie off.
3) Arms
Round 1:
- Chain 7 using Chocolate yarn.
- SC into the second chain from hook. Place stitch marker.
- SC into the next 4 chains.
- In the last chain, make 3 SC. Turn the chain to work the other side.
- SC 5 into the remaining chains on the opposite side.
- In the skipped chain, make 3 SC.
- SL ST to the stitch marker.
- Stitch Count: 16 stitches.
Round 2-3:
- SC 16 around for both rounds.
Round 4:
- [SC 2, DEC] x4. Tie off and switch to Latte yarn.
- Stitch Count: 12 stitches.
Round 5-7:
- SC 12 using Latte yarn.
Finishing:
- Fold the arm in half. SC across both sides for 6 stitches.
- Tie off and leave a tail for sewing.
- Repeat for the second arm.
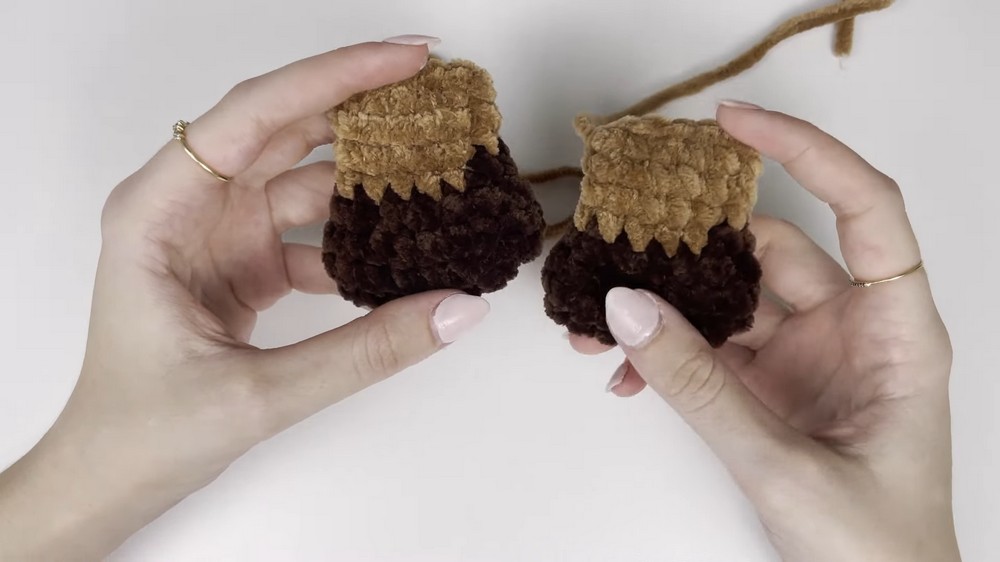
4) Bill
Follow the exact same technique used for arms, but this time:
- Chain 7 as the foundation but work tighter curves near the top edge.
- Switch colors to scrap white yarn at step detailing edges for final shaping.
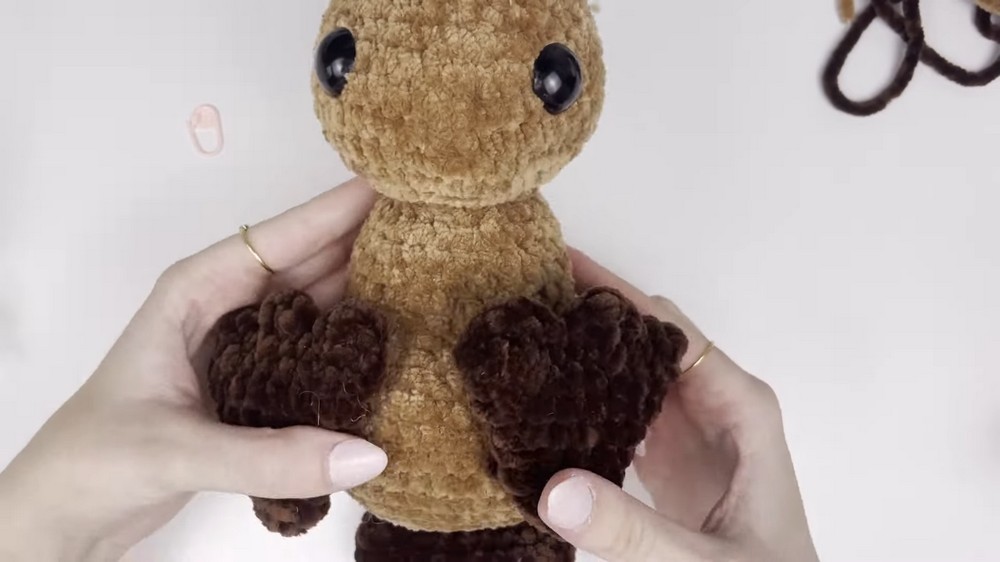
5) Body & Head
Create the body by alternating SC & INC rounds as instructed. Use the following notes:
- Magic Ring, increase rounds (SC and INC stitches) until reaching [42 SC rounds].
- Attach tail and feet during designated rounds (align with body stitches).
- Stuff body and tightly shape neck.
- Add eyes (between rounds 26-27); space them ~7 stitches apart.
- Sculpt face using scrap yarn for detailing.
Finishing Techniques
- Eye shaping: Use light brown yarn for pulling the eyes inward for a dramatic effect. Tie yarn ends securely and tuck excess.
- Detail embroidery: Add scrap white yarn to highlight eye edges.
- Sew components:
- Arms aligned with body sides near toes.
- Bill directly below eyes centers.
Now your adorable platypus is complete!