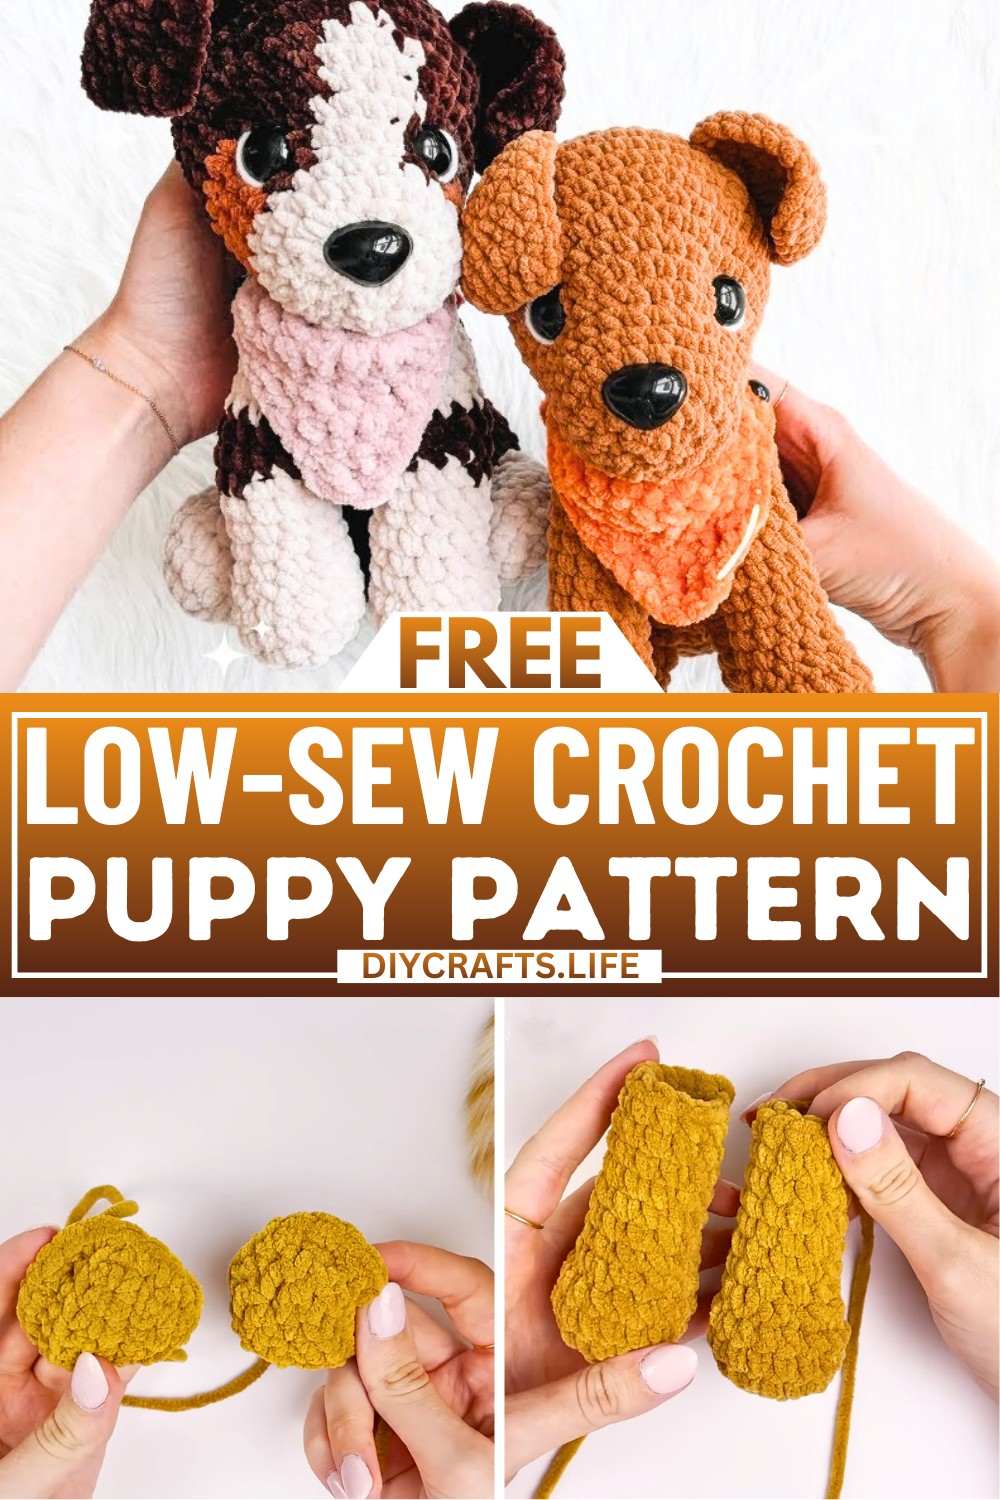
This adorable crochet puppy is the perfect creation! Whether it's a cuddly toy for kids, a thoughtful handmade gift, or a charming display on a shelf, this cute little dog is sure to bring a smile to everyone's face. The best part? It's designed to be a low-sew pattern, making it simpler and fuss-free to put together while still looking absolutely amazing.
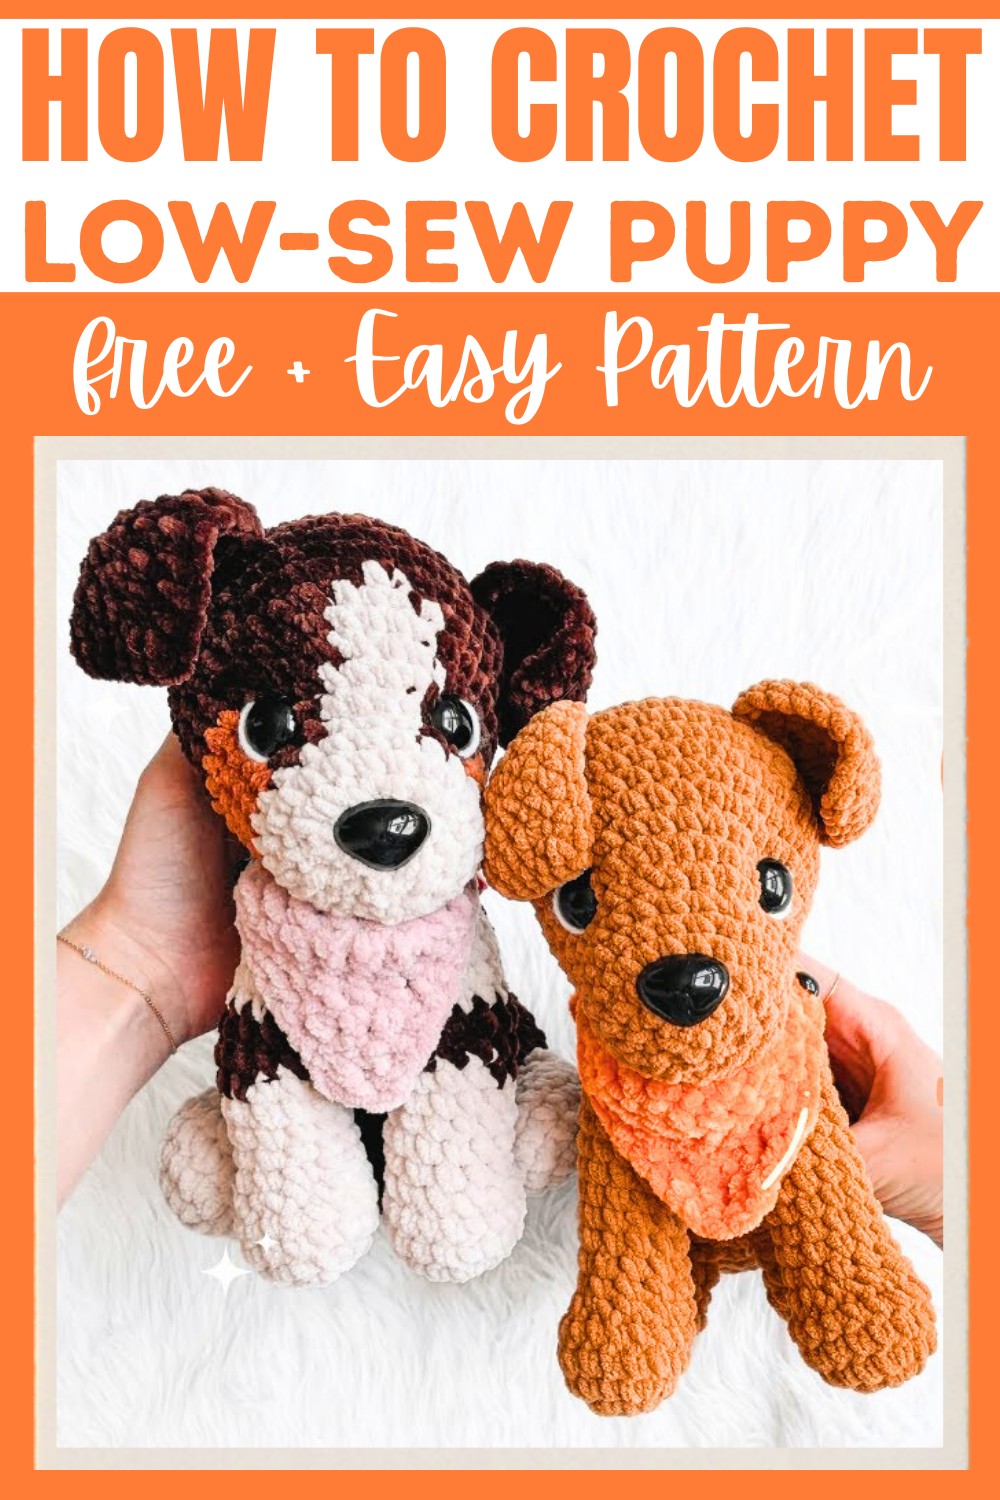
Low Sew Crochet Puppy Pattern
What sets this pattern apart is its versatility. Using basic crochet techniques, you create each part, from its playful legs to floppy ears, and then assemble it with minimal sewing required. You can even add personal touches like different colors or features to make it unique to you! This is a delightful crochet dog piece that beginners or experienced crocheters can enjoy making.
Credit Crochet with Kyra
Materials & Tools Needed
- Yarn: Big Twist Baby Bear in Brown Sugar (or color of your choice) and a scrap piece of white plush yarn.
- Crochet Hook: 5 mm.
- Safety Eyes: Two 20 mm eyes.
- Safety Nose: 26 mm.
- Stuffing: Polyfill stuffing.
- Other Tools Needed:
- Scissors
- Stitch markers
- Embroidery needle
Finished Size & Customization Ideas
- Finished Size: The size of the finished puppy depends on the yarn weight and hook size used. With the specified materials, your finished puppy will measure approximately 8–10 inches tall.
- Customization Ideas:
- Experiment with different yarn colors and styles to create different breeds.
- Add small accessories like a bow, collar, or scarf.
- Modify ear shapes or positions to reflect various breeds.
- Adjust eye placement for a more expressive or cartoon-like look.
Abbreviations & Terminology
- ch: Chain
- sc: Single Crochet
- inc: Single Crochet Increase (2 sc in one stitch)
- dec: Decrease (combine 2 stitches into 1 using sc)
- sl st: Slip Stitch
- MR: Magic Ring
- BLO: Back Loop Only
- FLO: Front Loop Only
- HDC: Half Double CrochetTerminology Note: This pattern uses US crochet terminology.

Step-by-Step Crochet Instructions
Follow the following steps to crochet the Low Sew Puppy. If needed, you can rewind through sections of the tutorial and refer back.
1. Front Legs (Make 2)
- Start with 6 sc in a magic ring. (6 sts)
- Round 2: Inc in each stitch around. (12 sts)
- Round 3: (1 sc, inc) x 6. (18 sts)
- Rounds 4-5: Sc in each stitch around. (18 sts per round)
- Round 6: 6 dec, then 6 sc (12 sts).
- Rounds 7-13: Sc in each stitch around. (12 sts per round)
- Tie off and stuff the leg lightly with polyfill.
- Make a second front leg using the same steps. Set aside for later assembly.

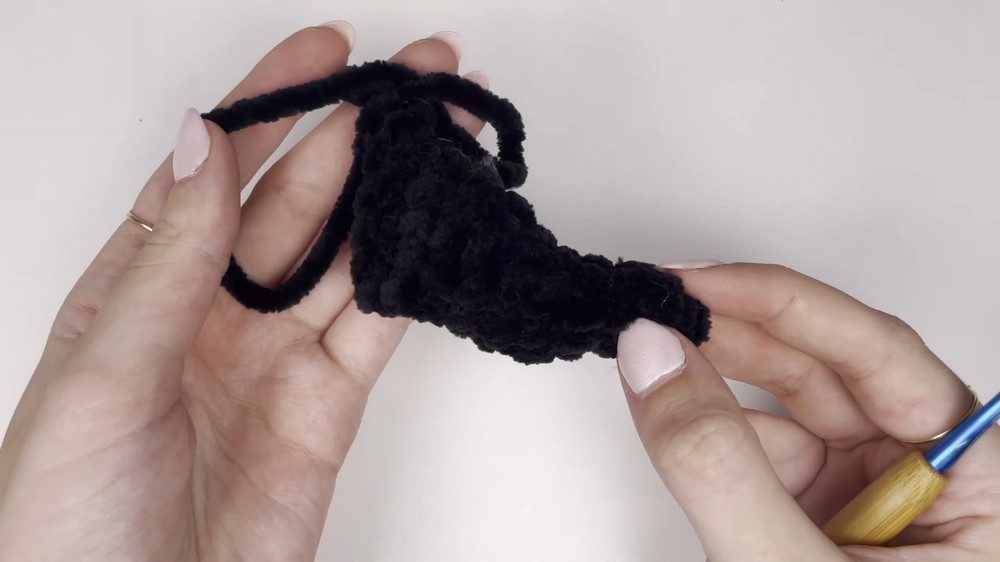
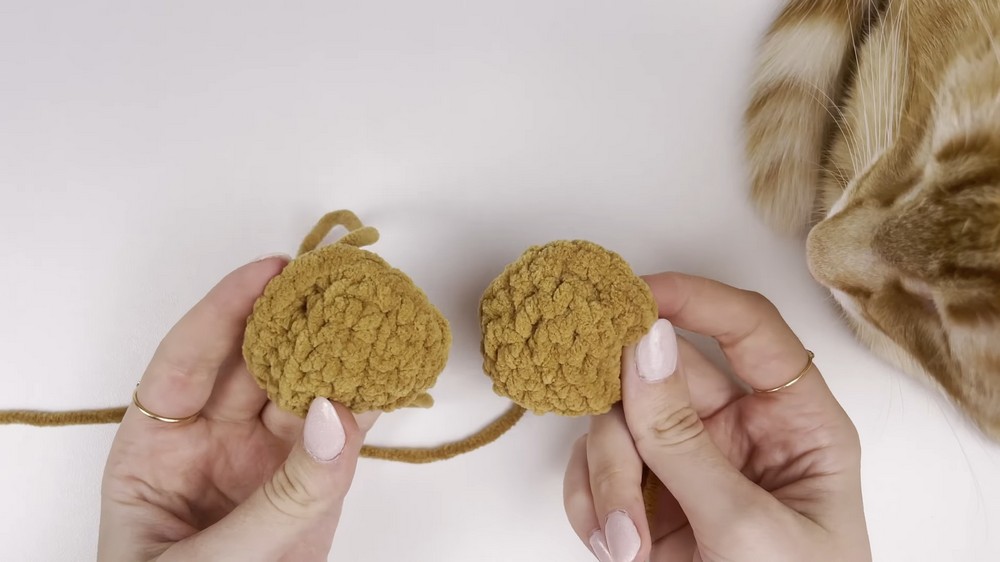
2. Back Legs (Make 2)
- Start with 6 sc in a magic ring. (6 sts)
- Round 2: Inc in each stitch around. (12 sts)
- Round 3: (1 sc, inc) x 6. (18 sts)
- Rounds 4-5: Sc in each stitch around. (18 sts per round)
- Round 6: 6 dec, then 6 sc. (12 sts)
- Lightly stuff the foot and flatten the opening.
- Close the flattened edge using 6 sc across both sides.
- Tip: Insert hook into stitches on both layers to close.
- Make a second back leg using the same steps. Set aside for later assembly.

3. Tail
- Start with 5 sc in a magic ring. (5 sts)
- Rounds 2-3: Sc in each stitch around. (5 sts per round)
- Round 4: (1 sc, inc) x 2, 1 inc. (8 sts)
- Round 5: Sc in each stitch around. (8 sts)
- Round 6: (2 sc, inc) x 2, 2 dec. (8 sts)
- Round 7: (2 sc, dec) x 2. (6 sts)
- Rounds 8-9: Sc in each stitch around. (6 sts per round)
- Flatten the tail and sew it shut with 5 sc through both sides.
- Tie off and trim the yarn. Set aside for later.
4. Ears (Make 2)
- Chain 8.
- Starting from the second chain from the hook, make 7 sc across.
- Row 2: Ch 1, turn, make 7 sc in the front loops only.
- Row 3: Ch 1, turn, Dec in the first 2 stitches, then 5 sc. (6 sts)
- Row 4-7: Continue as follows, decreasing the first stitch of each row after turning:
- Row 4: 5 sc (after 1 dec).
- Row 5: 4 sc (after 1 dec).
- Row 6: 3 sc (after 1 dec).
- Row 7: Decrease 3 remaining stitches together.
- Border Round: Sc around the entire shape to smooth the edges (approx. 20 sts). Add extra stitches or increases at corners as needed.
- Tie off, leaving a tail for sewing. Repeat for the second ear.
5. Head
- Start with 6 sc in a magic ring.
- Round 2: Inc in each stitch around. (12 sts)
- Round 3: (1 sc, inc) x 6. (18 sts)
- Round 4: (2 sc, inc) x 6. (24 sts)
- Round 5: (3 sc, inc) x 6. (30 sts)
- Round 6: (4 sc, inc) x 6. (36 sts)
- Round 7: (5 sc, inc) x 6. (42 sts)
- Rounds 8-10: Sc in each stitch around. (42 sts per round)
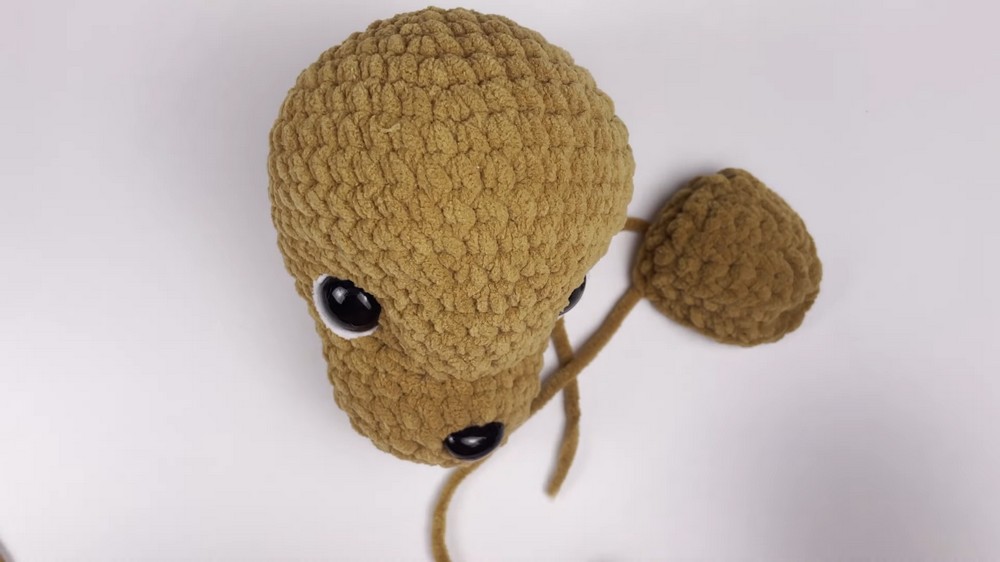
- Start shaping: See video for instructions to:
- Add safety eyes (placed between rounds 13-14, 7 stitches apart).
- Insert and secure safety nose (centered below eyes, between rounds 19-20).
- Decrease face; continue steps from tutorial until finished.
- Stuff the head and neatly close the final opening.
- Add shaping using scrap yarn (refer to tutorial for eye and chin shaping).
6. Body
- Refer to the video for detailed instructions on starting the body and shaping. Key rounds summarized:
- Start with a magic ring and repeat flat increases to create a base.
- Shape the body with decreases and increases while attaching back legs and tail directly during rounds.
- Front legs are attached using a similar technique for a low sew finish.
- Finalize body size to complement the head dimensions.
- Stuff the body thoroughly and lightly reshape using your hands.

7. Assembly
- Attach head to body:
- Use the long yarn tail from the body to securely sew the head in place.
- Stitch evenly around for a clean appearance and avoid gaps.
- Secure ears: Sew ears symmetrically on the head. Position them as floppy or perked up, according to your desired look.
Finishing Touches
- Add tiny white yarn accents under the eyes for a "puppy dog" eyed effect.
- Ensure all additional yarn ends are tucked neatly within the head/body.
- Adjust proportions and final shaping of legs, tail, and head by tightening or loosening seam stitches.
Let me know if you'd like further clarification on any steps!