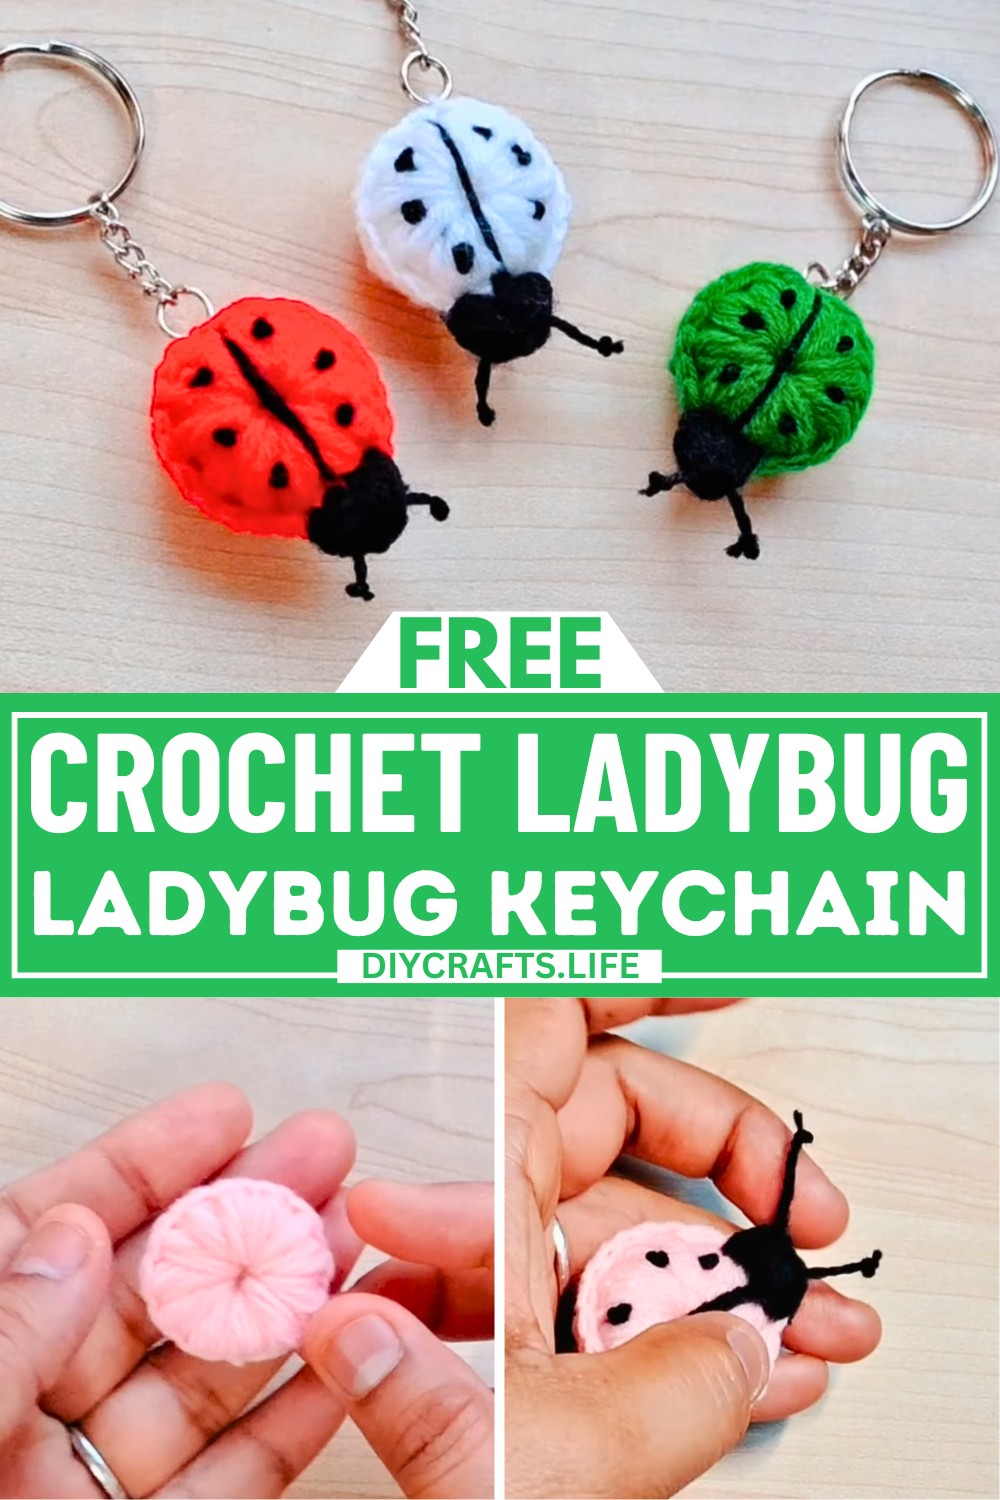
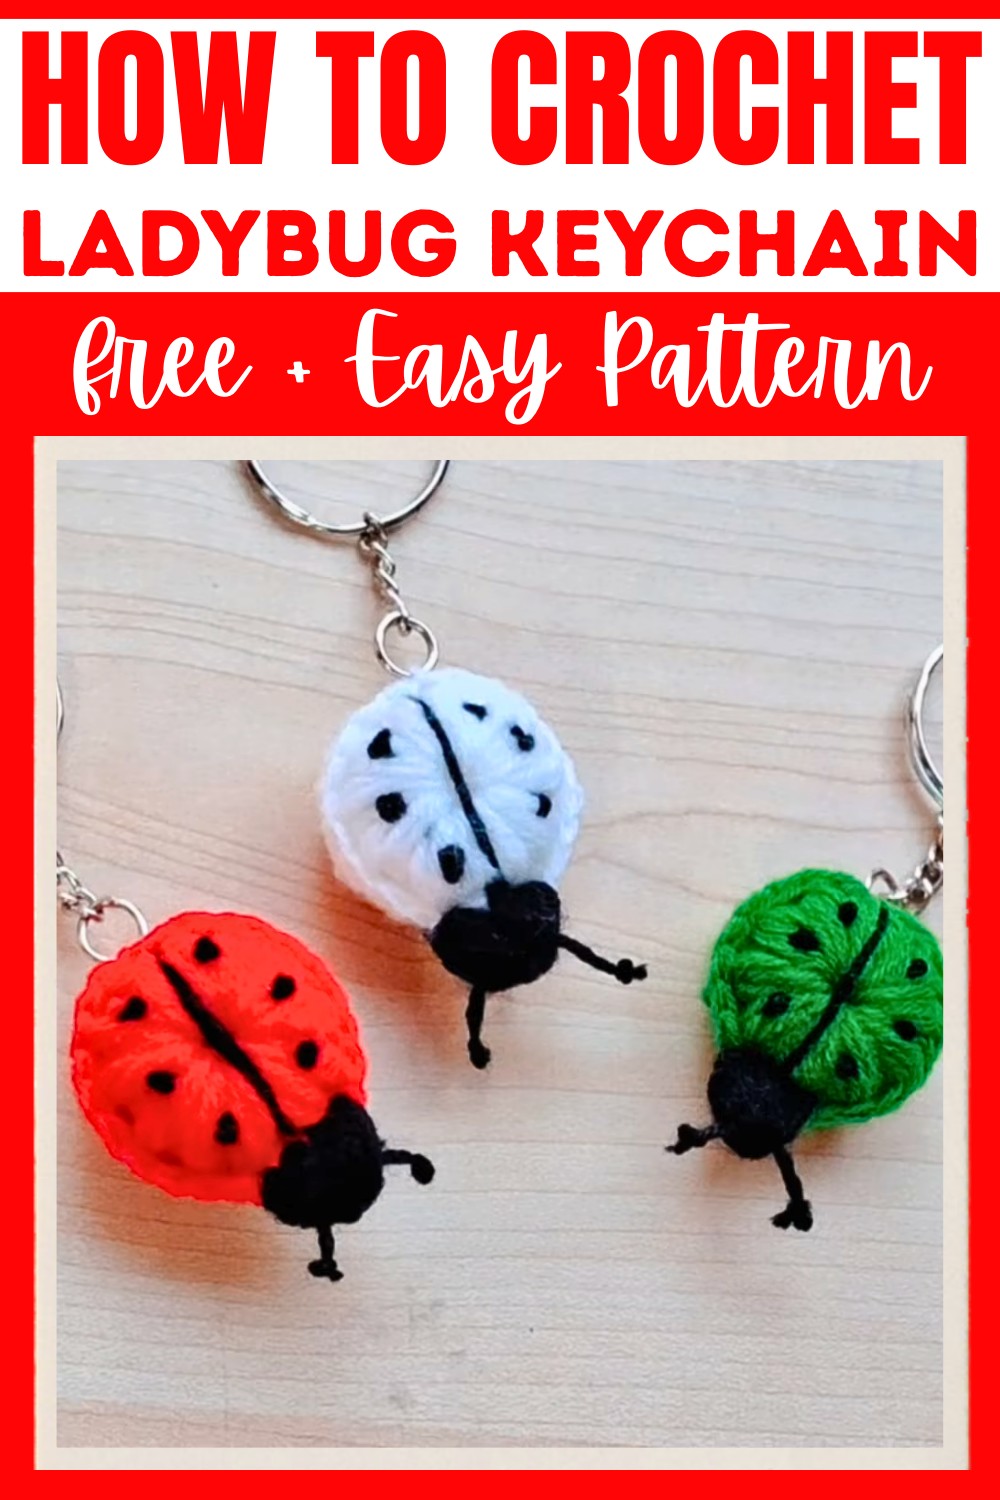
Looking for something adorable and fun to make? This crochet ladybug keychain is the perfect idea! Its cute design makes it a special little item that can brighten your day. Whether you use it as a keychain, a hair clip, or a decorative pin, it’s versatile and easy to customize.
No matter your skill level, you can make this ladybug in just minutes! The following step-by-step instructions are clear and beginner-friendly, allowing you to focus on enjoying the process. With colorful yarn and minimal effort, you’ll have an adorable crocheted ladybug that’s great for personal use or as a thoughtful handmade gift.
Credit Nitya Uphaar
Materials & Tools Needed
To crochet the ladybug keychain, you’ll need:
- Yarn:
- 4-ply acrylic yarn in Pink (Body) and Black (Head & Details) (or substitute colors of your choice).
- Hook:
- 2.5 mm crochet hook. Choose a size appropriate for your yarn weight for neat stitches.
- Keyring: For attachment.
- Needle: For embroidery and finishing.
- Scissors: To cut yarn cleanly.
Finished Size & Customization Ideas
- Size: Approximately palm-sized, depending on the yarn weight and hook size used.
- Customization Ideas:
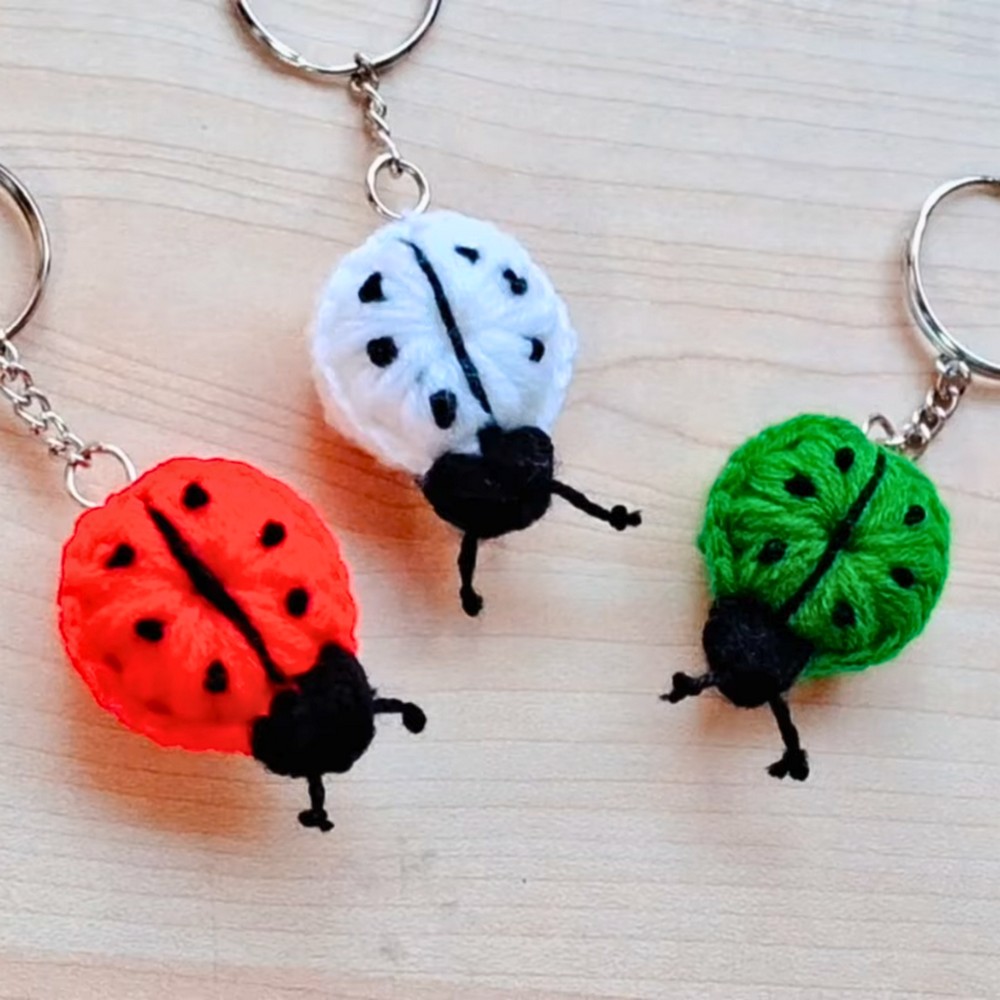
- Use different body colors (e.g., red, purple, or yellow) for variety.
- Add embellishments like beads or glitter thread.
- Apply this pattern to make hair clips, pins, or decorative magnets instead of just a keychain.
Pattern Abbreviations & Terminology
This pattern uses US crochet terminology:
- Ch: Chain
- Sl St: Slip Stitch
- YO: Yarn Over
- Puff Stitch: Pull up loops multiple times into a cluster of stitches (as described below).
- Single Crochet (SC): Insert hook, YO, pull through, YO, pull through both loops.
Step-by-Step Detailed Crochet Instructions
Follow this guide to crochet your ladybug:
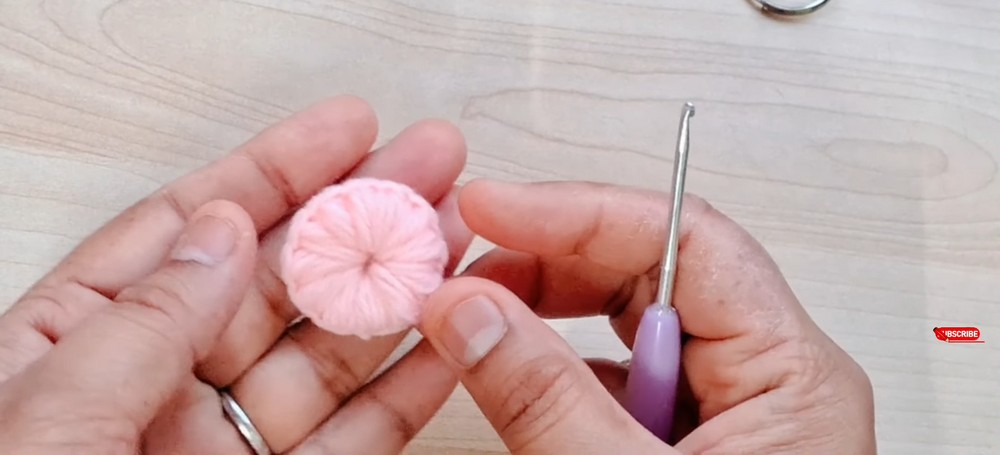
1. Ladybug Body (Two Parts)
- Start with the Magic Ring:
- Take the pink yarn. Wrap it twice around your two fingers and cross the thread behind. Insert the hook into the ring, pull up the working thread, and make 1 chain to secure the ring.
- Puff Stitches in the Magic Ring:
- Puff Stitch:
- YO, insert hook into the ring, pull up a loop (3 loops on hook).
- Repeat 4 more times (until you have 11 loops on the hook altogether).
- YO and pull through all 11 loops. Secure with 1 chain.
- Make 12 puff stitches within the magic ring.
- Puff Stitch:
- Pull the Magic Ring Closed:
- Pull the loose end of the yarn to tighten the center. Secure the ring by tying a knot at the back.
- Finish and Make a Second Piece:
- Join the last puff stitch to the first with a sl st in the topmost chain of the first puff stitch.
- Cut yarn, leaving a tail for weaving in. Weave in ends.
- Make the second body piece in the same way but do not cut the yarn on the second piece.
- Join the Two Body Parts:
- Place both body pieces with the wrong sides facing each other.
- Use the working yarn from the second piece to join the two.
- Work 1 single crochet in each stitch around, picking up stitches from both pieces to close them together.
- Slip stitch to the first SC, cut yarn, and secure ends at the back.
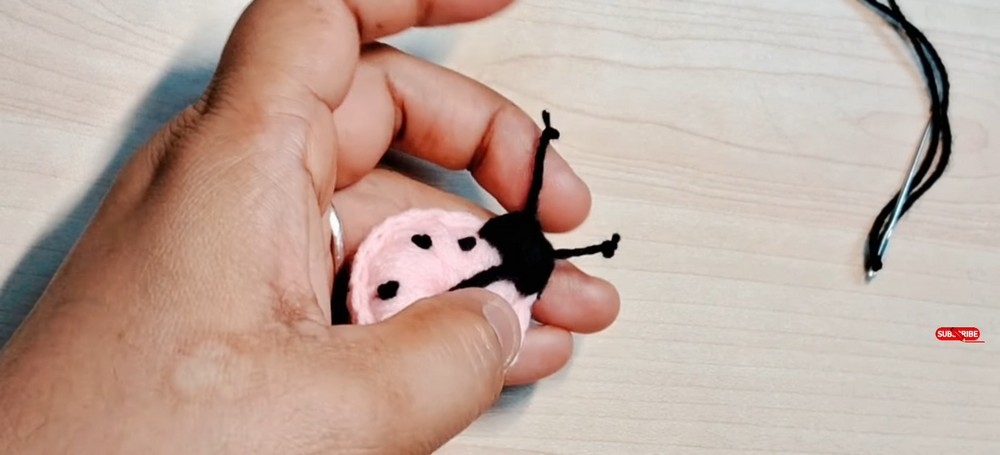
2. Ladybug Head
- Take the black yarn and create a slip knot.
- Choose 4 stitches on the front of the body for the head.
- Work partial puff stitches in each of the four stitches:
- For each stitch, YO 3 times when creating the puff.
- After working ONE puff stitch in all 4 stitches, YO and pull through all loops on the hook. Secure with 1 chain.
- Cut the working yarn, leaving a tail.
- Use a needle to pull the tail to the back. Tie the thread securely and weave in ends to create a neat round head.

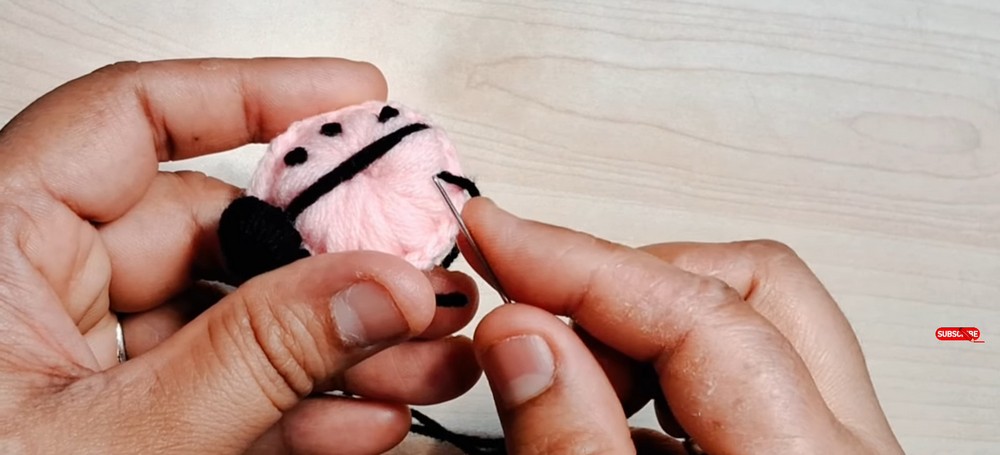
3. Detailing the Ladybug
Center Line (Back Division):
- Thread black yarn in the needle.
- Embroider a straight line from the middle of the head to the bottom of the body (dividing the puff stitches into halves).
- Consider embroidering two lines of yarn on top of each other to make the dividing line stand out more. Tie the thread securely at the back.
Dots on the Body:
- Create three dots on each side of the center line (6 dots total).
- Use black thread to create dots by:
- Pulling the needle from the center puff stitch out.
- Tying 3 small knots in the same place to form a single dot.
- Repeat for all 6 dots. Tie and weave in ends securely at the back.
4. Antenna
- Use black thread again for the antenna.
- Tie 3 knots at the end of the thread to create a dot (the end of the antenna).
- Insert the needle near the top of the head and pull the thread to the other side. Leave the thread loose to create a curve for the antenna.
- Tie 3 knots at the other side, leaving symmetrical lengths for both antennae.
5. Attach Key Ring
- Use part of the body to attach a key ring. Secure it on the back or near the head as desired.
- You can also sew the keyring through both body pieces for added durability.
Finishing Notes
- Secure all loose threads and weave them in neatly.
- Cut away any extra threads for a clean finish.
- Optional: Shape the body lightly to ensure it’s symmetrical.