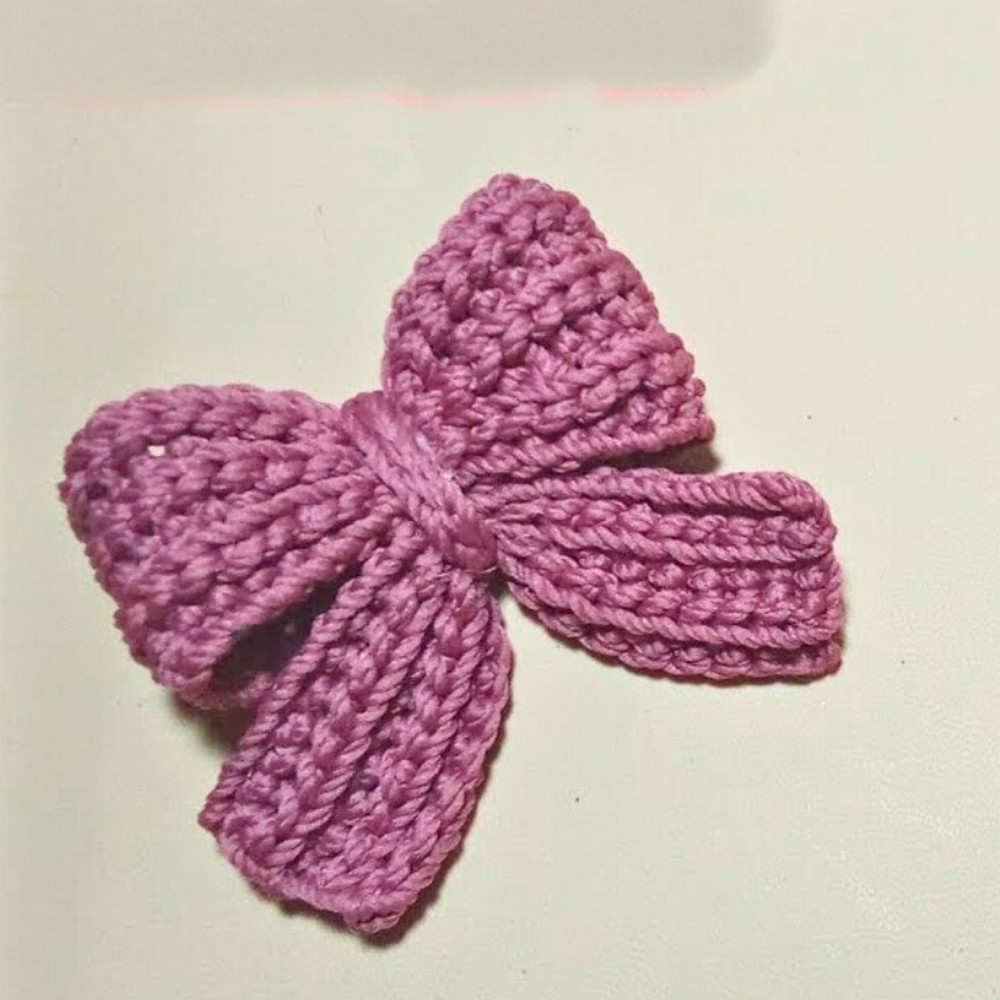
Add a touch of handmade charm to your accessories with this adorable crochet bow tie. Perfect for keychains, hair clips, and beyond, it's both stylish and functional. With its compact design and versatility, this crochet project is a delightful way to showcase your creativity and elevate your accessorizing game!

This crochet bow tie is more than just pretty; it's practical, durable, and versatile! Whether used as a decorative keychain, a chic hair accessory, or an elegant handmade touch for gifts, its design shines. Crafted with sturdy stitches, it can withstand daily use while maintaining its appeal.
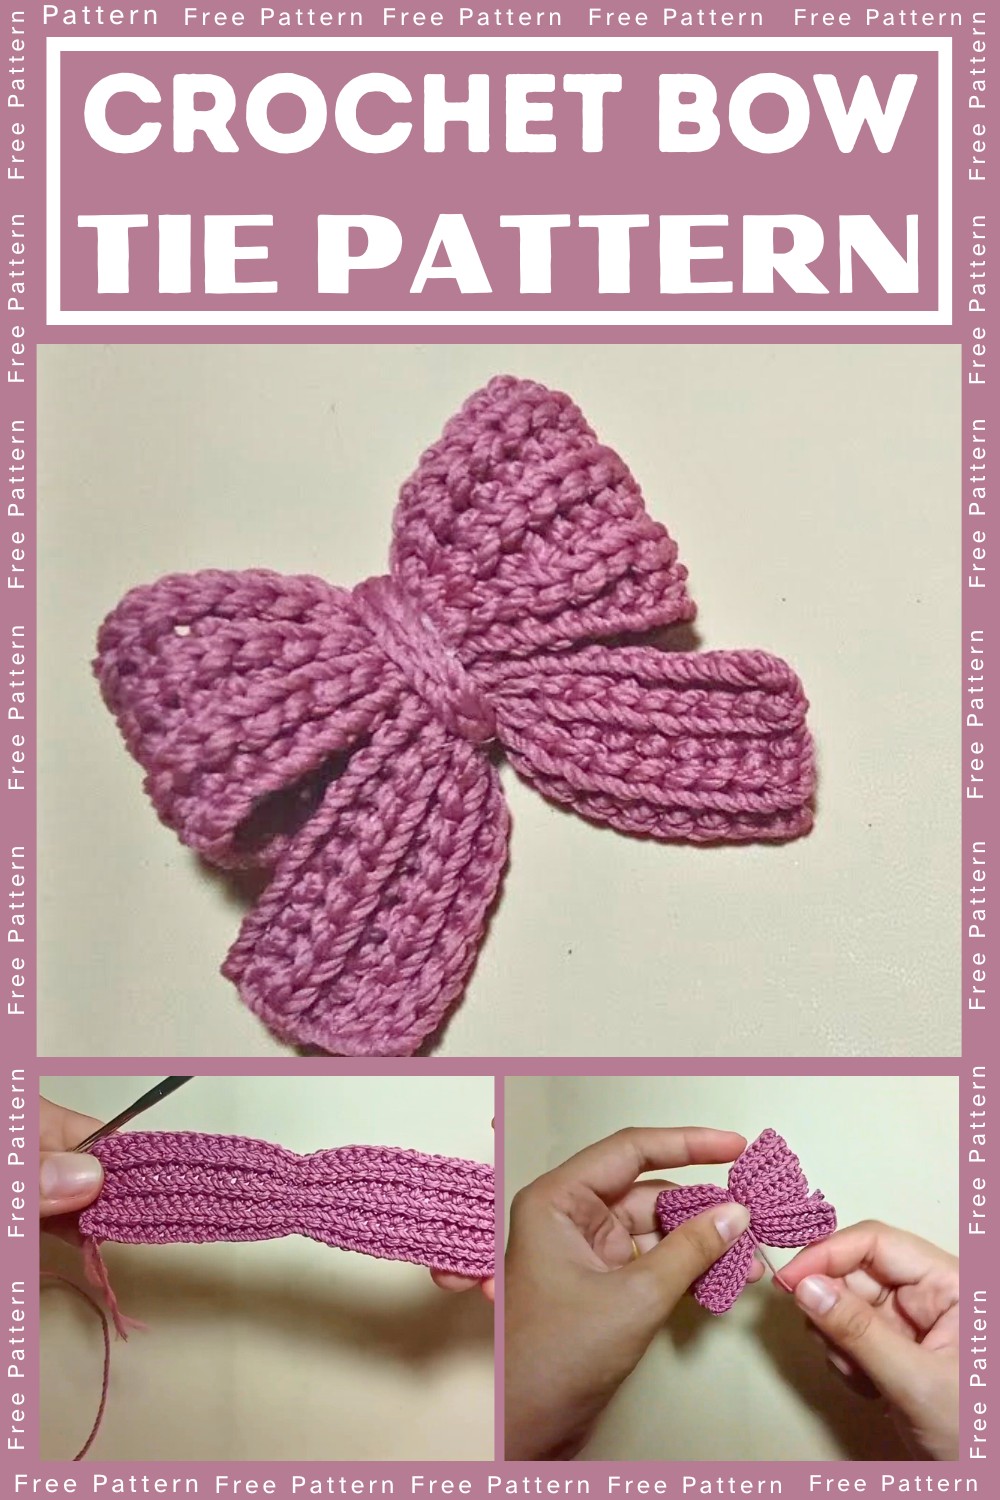
Stylish Crochet Bow Tie Tutorial
This bow tie crochet project is ideal for beginners and seasoned crafters alike. With a straightforward pattern that's easy to customize, it encourages creativity. Make it in various colors to match outfits, occasions, or seasons! If you're new to crafting, this is a perfect starter project.
Materials and Preparation
For this crochet bow tie, you’ll need:
- Yarn Type: Medium-weight or worsted yarn (choose your preferred color).
- Hook Size: 4.0mm (US G/6) crochet hook.
- Additional Tools: Scissors and a yarn needle for weaving in ends.
- Optional: Keychain clip or hairclip attachment, if intended for those accessories.
Ensure your yarn weight and hook size match if you want the correct finished size.
Abbreviations and Notes
- Abbreviations Used:
- CH = Chain
- SL ST = Slip Stitch
- YOSL ST = Yarn Over Slip Stitch (slip stitch with yarn-over)
- Back Loop Only (BLO) = Insert hook into back loop of stitch for stitch work
Pattern Notes:
- The pattern uses YOSL ST, which adds texture and dimension to the bow. Practice this stitch if unfamiliar.
- The bow is worked in rows, with alternating BLO stitches for added texture.
- The bow is composed of several separate pieces that are stitched together at the end.
Gauge, Approximate Size, and Pattern Notes
- Gauge: Exact gauge isn’t required, but the stitches should be tight enough that the bow holds its shape.
- Approximate Size:
- Bow dimensions: About 3.5 inches wide and 2 inches tall (without attachments).
- Center band: About 1 inch wide.
- Special Techniques: Back Loop Only (BLO) is used throughout the pattern for texture. Gauge swatches aren’t necessary unless adjusting size.
Step-by-Step Pattern
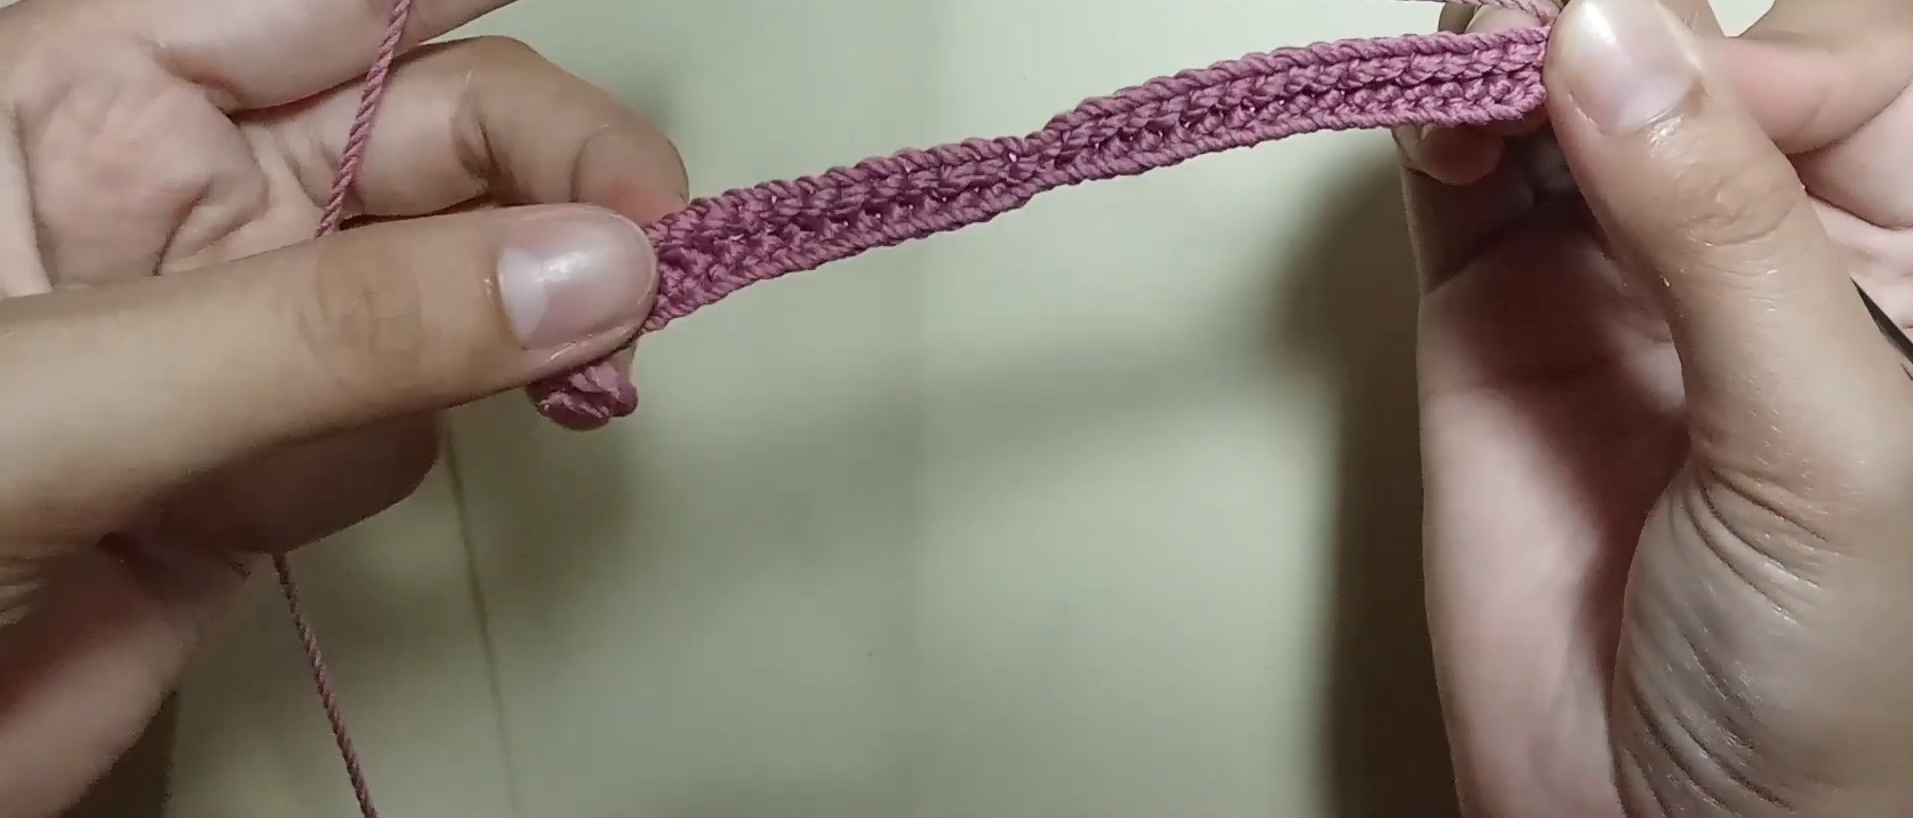
Main Bow Body
- Foundation Row:
- Make a slip knot and create 35 CH (foundation chain).
- Row 1:
- Skip the first CH.
- Make 1 SL ST in the next CH.
- Then, make 1 YOSL ST in the next 15 CH.
- Make 1 SL ST in each of the next 2 CH.
- Make 1 YOSL ST in the next 15 CH.
- Finish the row with 1 SL ST in the last CH.
- CH 1 and turn.
- Row 2:
- Working BLO: Make 1 SL ST in the first stitch.
- Make 1 YOSL ST in the next 15 ST.
- Make 1 SL ST in the next 2 ST.
- Make 1 YOSL ST in the next 15 ST.
- Finish the row with 1 SL ST in the last stitch.
- CH 1 and turn.
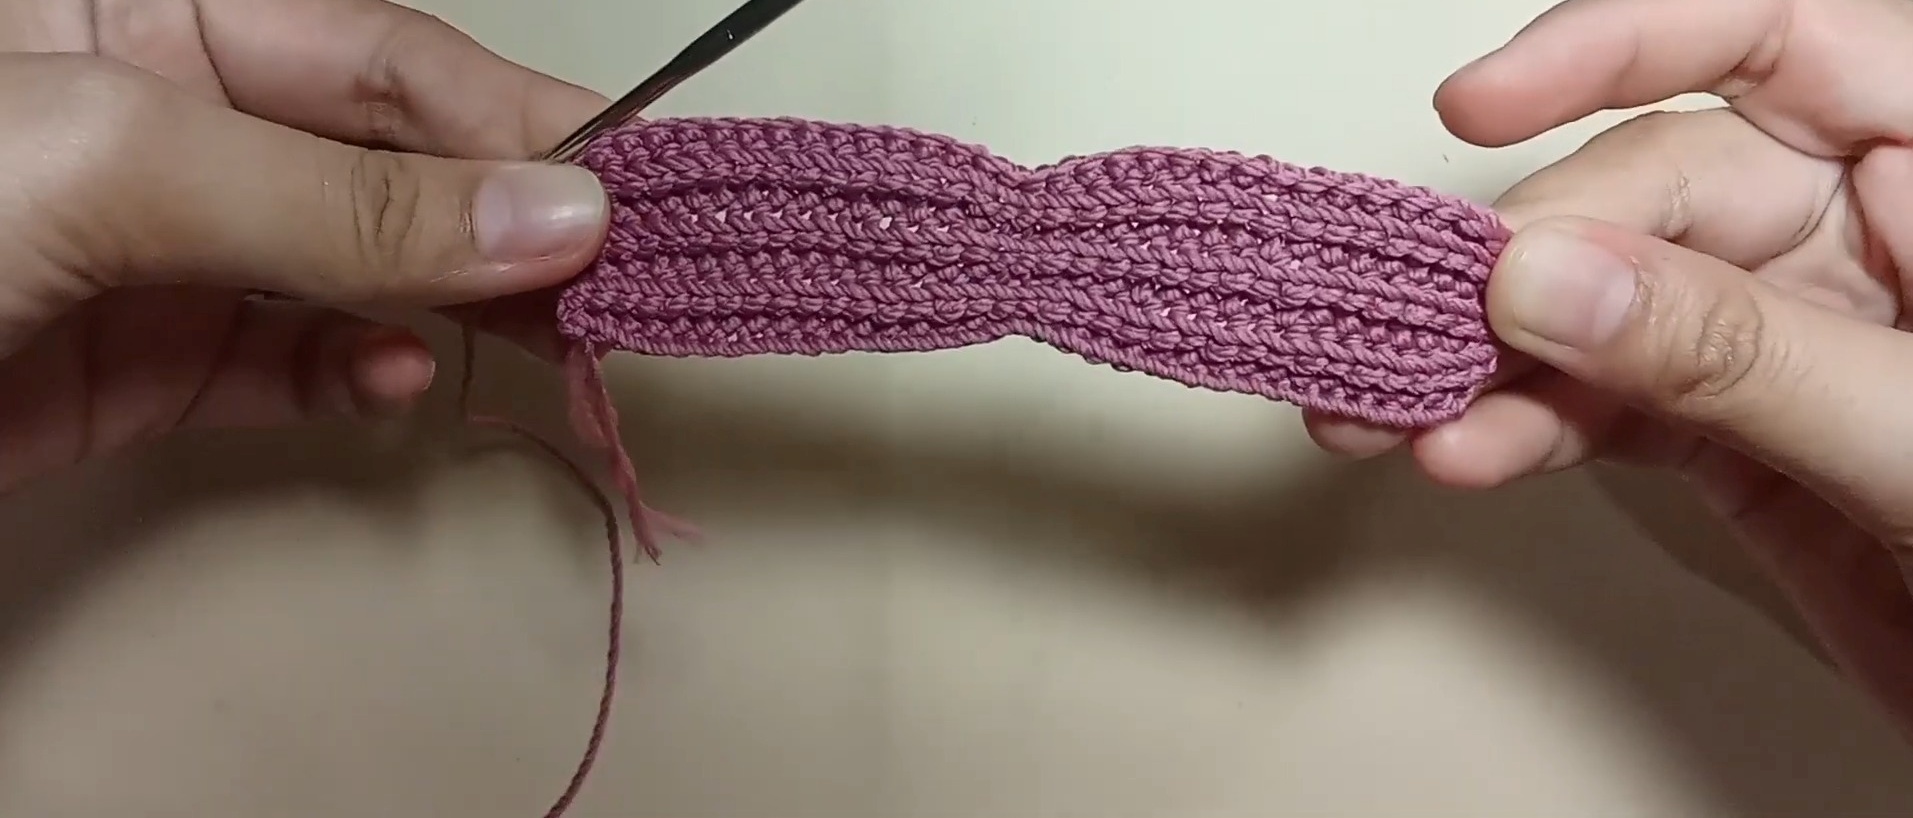
- Rows 3–7:
- Repeat the formula from Row 2, working in BLO for textured rows.
- Fasten off and weave in ends.
Center Band
- Foundation Row:
- Make a slip knot and create 12 CH.
- Row 1:
- Skip the first CH.
- Make 1 SL ST in each of the next 11 CH.
- CH 1, then cut the yarn after securing.
Second Bow Section
- Foundation Row:
- Make a slip knot and create 21 CH.
- Row 1:
- Skip the first CH.
- Make 1 YOSL ST in the next 9 CH.
- Make 1 SL ST in the next 2 CH.
- Make 1 YOSL ST in the next 9 CH.
- CH 1 and turn.
- Row 2:
- Working BLO: Make 1 YOSL ST in the next 9 ST, then 1 SL ST in the next 2 ST, followed by 1 YOSL ST in the final 9 ST.
- Rows 3–5:
- Repeat the formula from Row 2, working in BLO for textured rows.
- Fasten off and weave in ends.
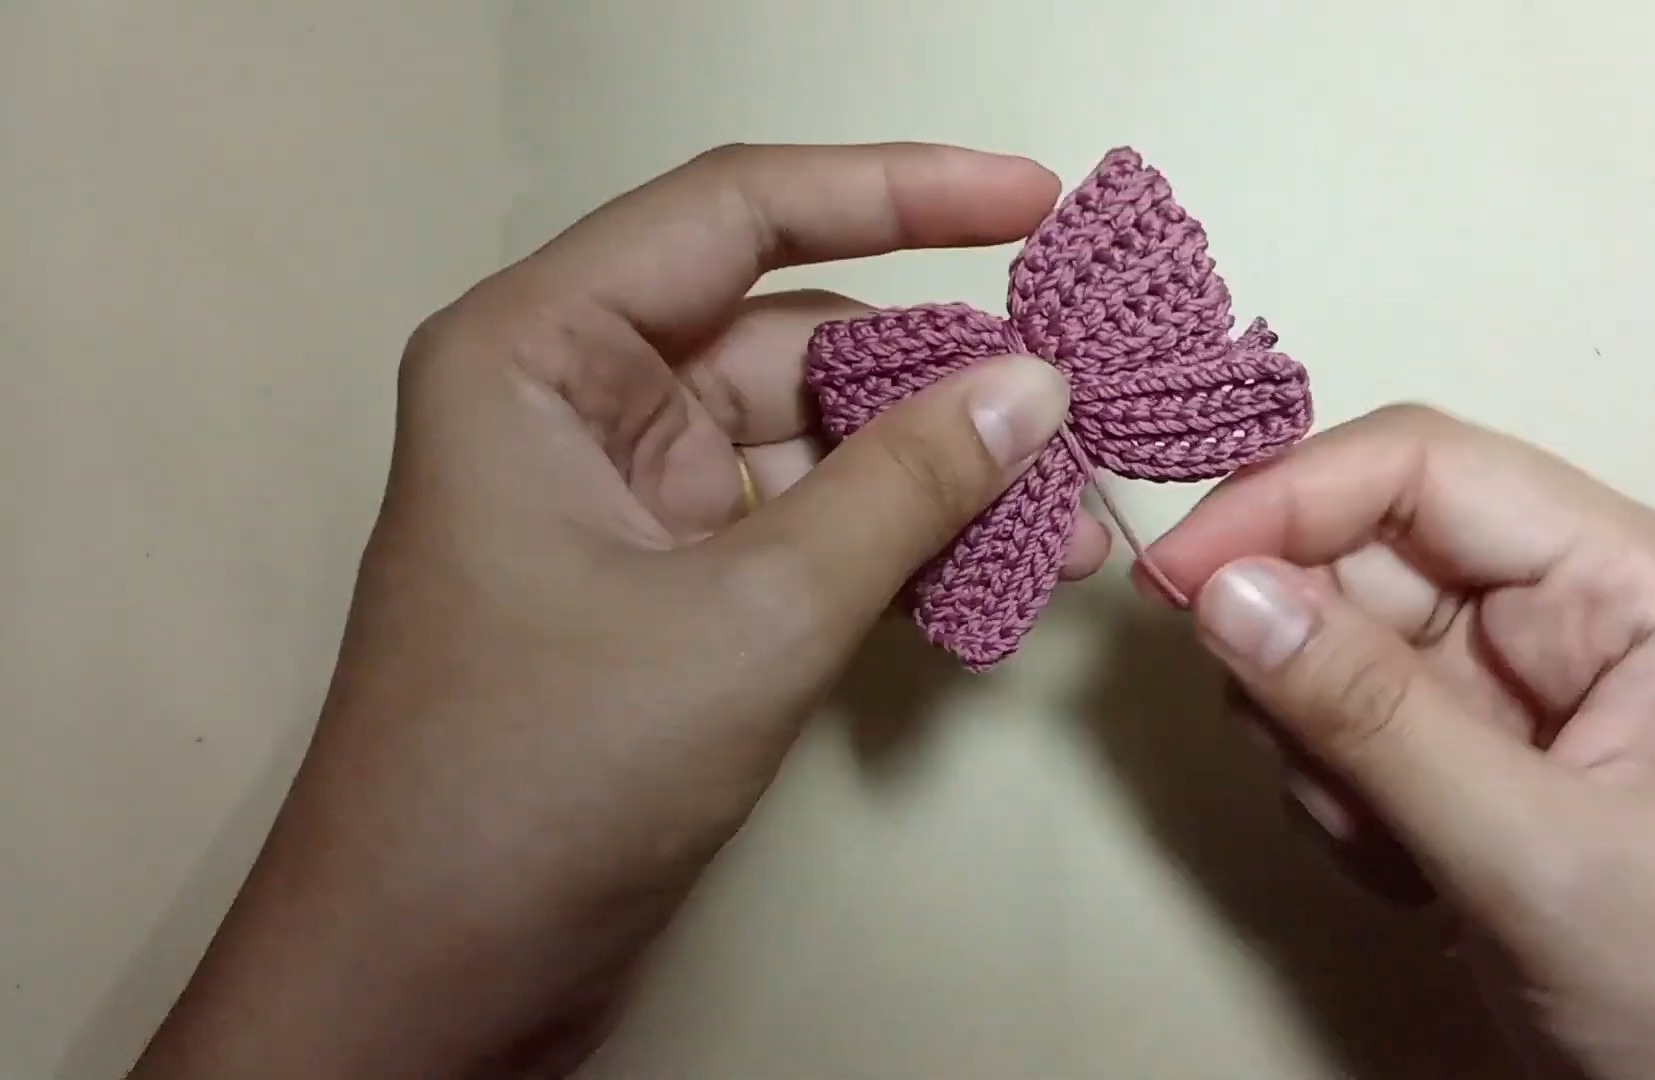
Assembly
- Bow Assembly:
- Fold the bow body (from Rows 1–7) to create the two layered sections. Shape the bow as desired.
- Attach Center Band:
- Wrap the center band tightly around the middle of the folded bow. Secure with a few stitches or hot glue.
- Optional Accessories:
- Attach a keychain clip or hairclip to the back using stitches or glue as needed.
Finishing Touches
Trim any excess tails, shape the bow neatly, and enjoy your handmade crochet bow, perfect for adding charm to keychains, hair clips, or other accessories!
Pattern Question
Q: How do I ensure consistent tension in my stitches throughout the project?
A: Keep a relaxed grip on your hook and yarn, ensuring even loops while crocheting. If your stitches feel tight or loose, adjust your grip slightly until the tension evens out.
Conclusion
Crocheting a bow tie is an enjoyable project that blends practicality and style. Whether for keychains, hair accessories, or thoughtful gifts, this versatile creation is quick, easy, and rewarding. Start crafting today, and let your imagination guide you toward endless possibilities!


