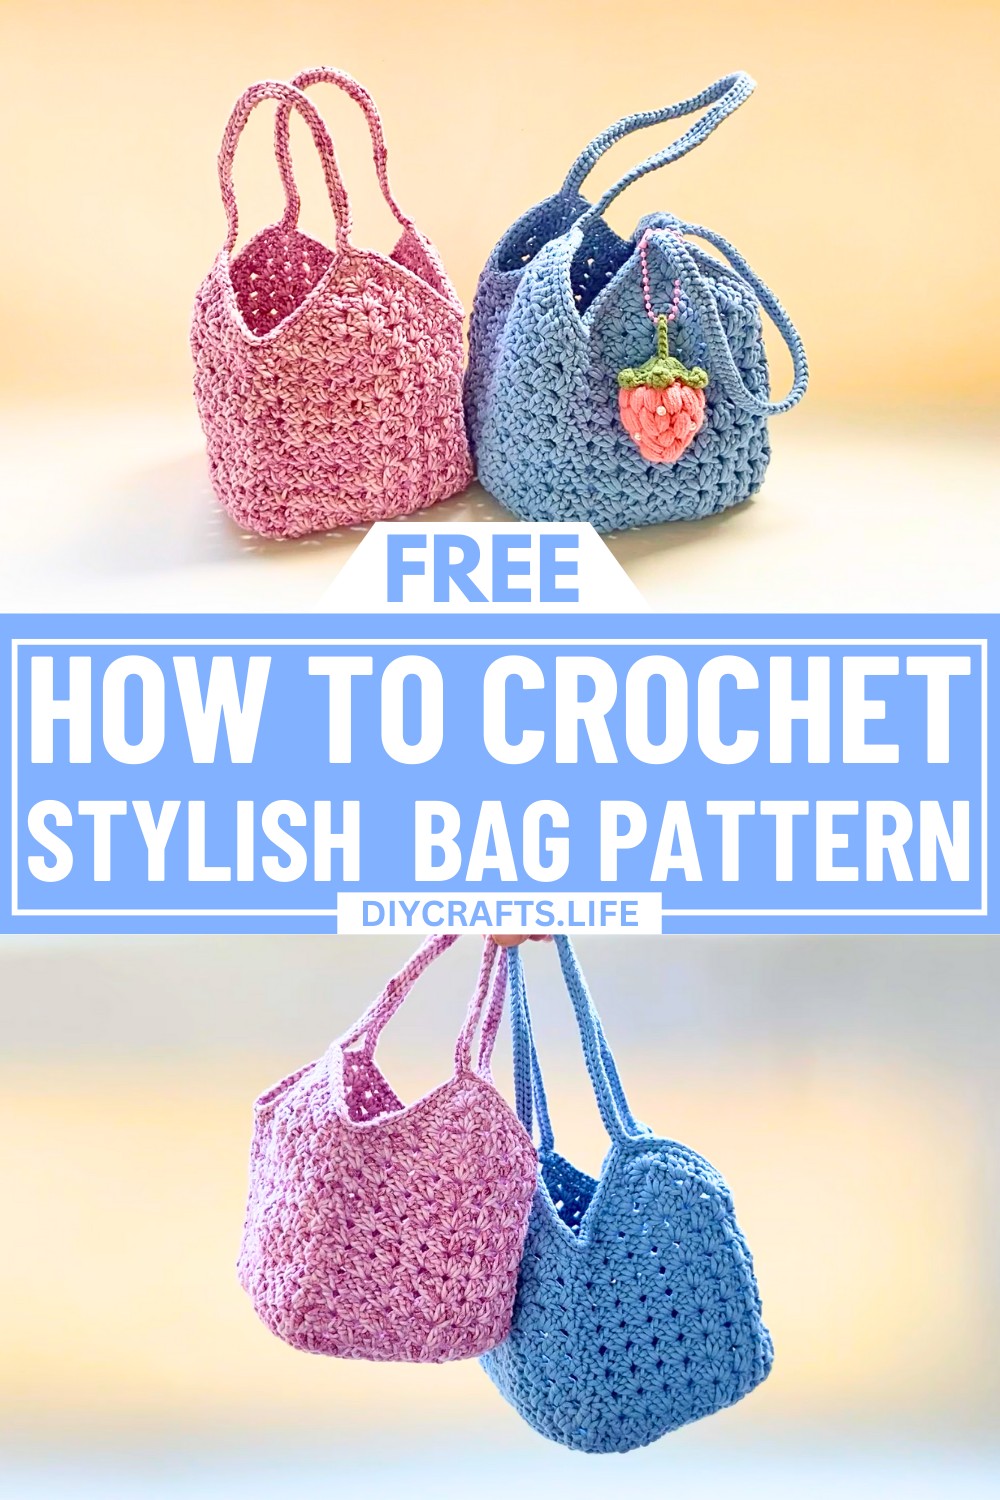
Transform a simple piece of yarn into a statement of style with this crochet bag pattern. Imagine carrying a bag that radiates charm and reflects a handcrafted beauty that you won't find in store-bought designs. From casual outings to adding a touch of creativity to your everyday wardrobe, this bag blends elegance and function effortlessly while letting you express your individuality.
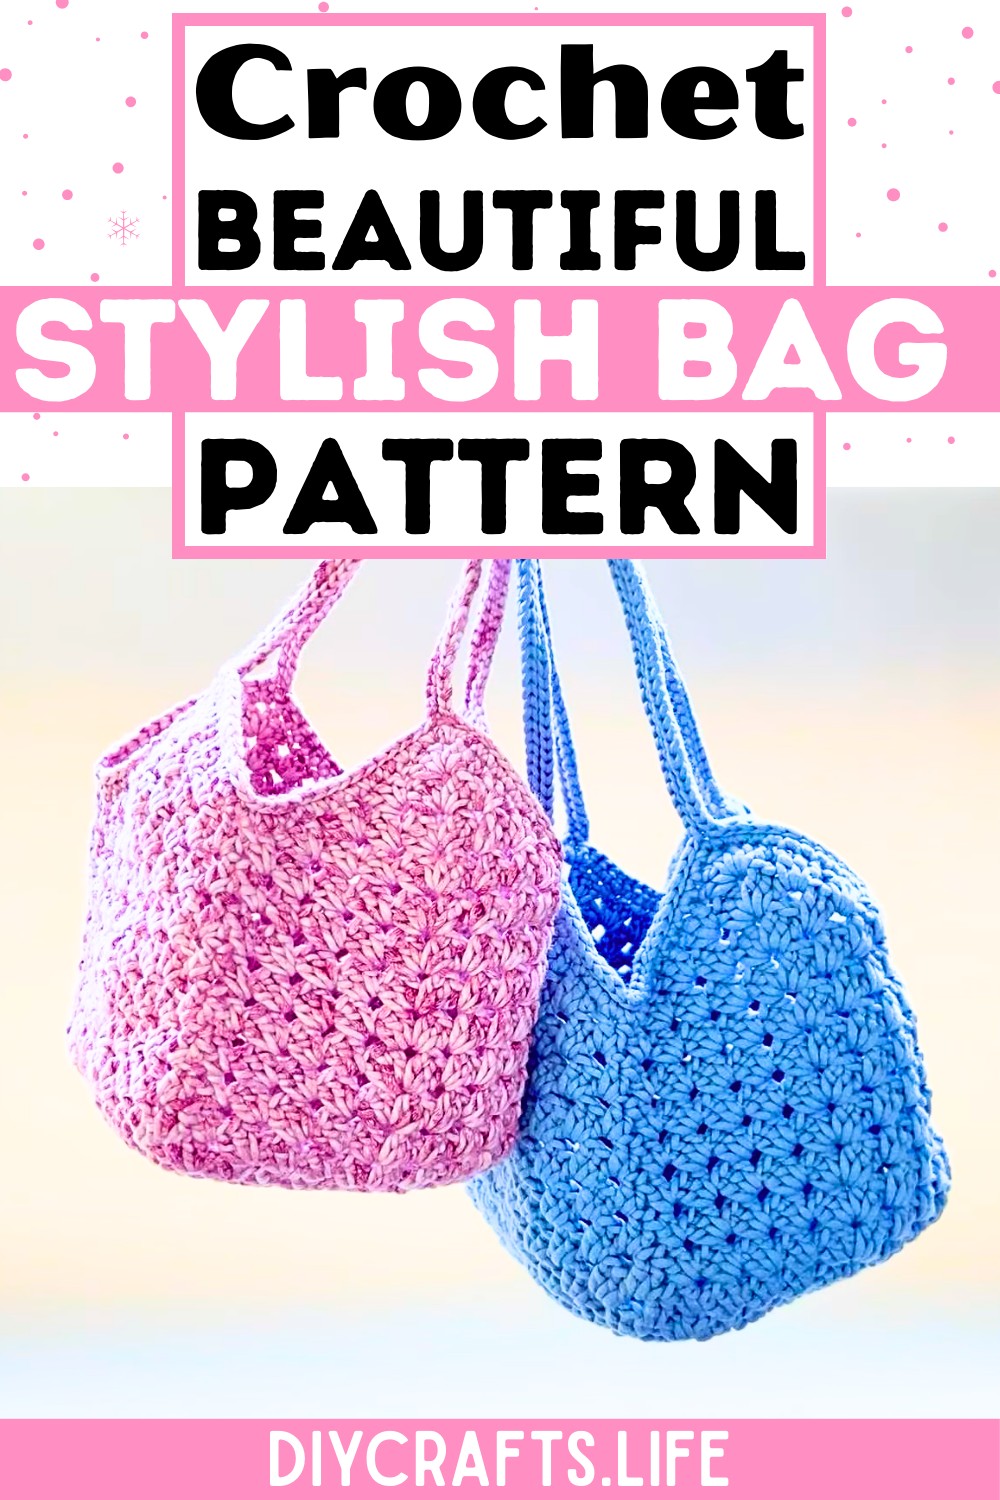
This crochet bag is designed with thoughtful details that elevate it beyond a typical project. Featuring a sturdy but stylish structure, the pattern merges practicality with artistic flair. The customizable size and texture options make this design suitable for any occasion, giving you the freedom to create a piece that perfectly matches your personal taste and needs. Perfect for both beginners and seasoned crocheters, this bag balances simplicity with sophistication, making it a true standout.
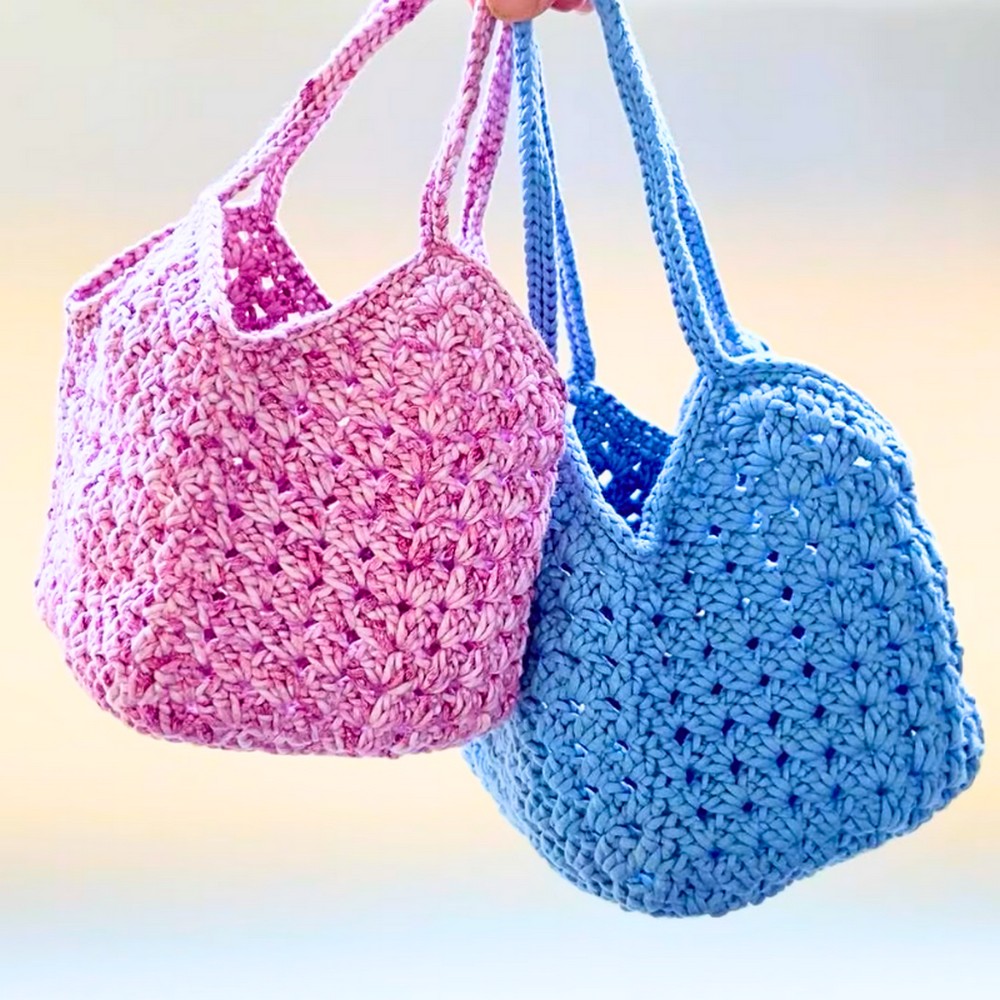
Credit CrochetandCoffee
Materials & Tools Needed
Here is a list of materials you will need to make the crochet bag, with helpful details:
- 3.0 mm Crochet Hook: Ideal hook size to work with tube yarn for tight and sturdy stitches.
- 2.5 mm Tube Yarn: This is a thicker, cord-like yarn that provides structure and durability for the bag. Choose your preferred color(s) for a personalized design.
- Tapestry Needle: Used to weave in the ends after finishing the crochet piece.
- Scissors: For cutting the yarn at various points.
Finished Size & Customization Ideas
- Approximate Size: The finished bag’s size will vary based on how many rows you choose to crochet. For 9 rounds, you will get a medium-sized bag. The number of rounds can be adjusted as desired.
- Customization Ideas:
- Adjusting the Size: To make a larger or smaller bag, work an odd number of rounds (e.g., 5, 7, 9, 11, and so on).
- Change Yarn Weight: Use a lighter or thicker yarn for a smaller or bulkier bag. For thinner yarn, use an appropriately sized crochet hook.
- Longer or Shorter Straps: You can easily customize the strap length by chaining more or fewer stitches when forming the handles.
- Color Changes: Use a single yarn color or switch colors between rounds for a striped or color-blocked effect.
Pattern Abbreviations & Terminology
The pattern uses standard US crochet terms:
- ch: Chain
- dc: Double Crochet
- hdc: Half Double Crochet
- sc: Single Crochet
- st: Stitch
- sl st: Slip Stitch
- dc-dec: Double Crochet Decrease
Step-by-Step Detailed Crochet Instructions
Below is a detailed breakdown of how to create this beautiful crochet bag:
Base of the Bag
- Magic Loop Start:
- Create a magic loop and chain 3 (counts as the first dc).
- In the magic loop, work: 3 dc, ch 2, 3 dc, ch 2.
- Repeat: (3 dc, ch 2, 3 dc) until the loop is filled. Pull the yarn tight to close the loop.
- Join to Complete Round 1:
- Finish the round by joining with 1 hdc (half double crochet) in the 3rd chain of your starting chain 3.
Building Up the Bag Base
- Round 2:
- Chain 3.
- Work 2 dc in the first chain space.
- Work 3 dc, ch 2, 3 dc into each of the corner chain spaces.
- Work 3 dc into each additional chain space.
- Finish the round with a hdc in the 3rd chain of the starting chain 3.
- Rounds 3 and 4:
- Repeat the steps from Round 2. At the corners, continue working (3 dc, ch 2, 3 dc).

Shaping the Bag (Increasing the Height)
- Continue Rounds Until Desired Height:
- Repeat the pattern for an odd number of total rounds (e.g., 5, 7, 9, or 11 rounds) to ensure symmetry.
- For every round, the corner spaces will be (3 dc, ch 2, 3 dc), and the side spaces will be 3 dc.

Creating the Handles and Edges
- Start the Handles:
- Chain 1, then work 2 single crochet stitches into each chain space.
- Work 50 chains (or more, depending on your desired strap length) to form the first handle.
- Skip an equal number of stitches to position the handle and continue with 2 sc stitches.
- Repeat for Second Handle:
- After working around the second side of the bag, chain 50 (or match the length of your first handle). Skip the appropriate number of stitches to align the second handle, and complete the round with single crochets.
- Reinforce the Handles:
- Slip stitch into the first stitch after the handle, and then slip stitch across every stitch and chain (including the handle chains).
- Continue this process around the entire bag to ensure the handles are strong and durable.

Finishing Touches
- Final Edging:
- After slip-stitching in the handles, chain 1 and work 1 sc into each stitch of the edging for an even finish.
- End with a final slip stitch to tie off the yarn.
- Weave in Ends:
- Use a tapestry needle to neatly weave in any loose ends. Trim excess yarn.

Additional Tips
- For a structured base, you could insert a flat piece of cardboard or plastic at the bottom before completing the bag.
- Experiment with accessories! Add a button closure, tassels, or even a zipper for added functionality.
- This pattern can also be adapted for a smaller coin purse by working only 3-5 rounds for the base.