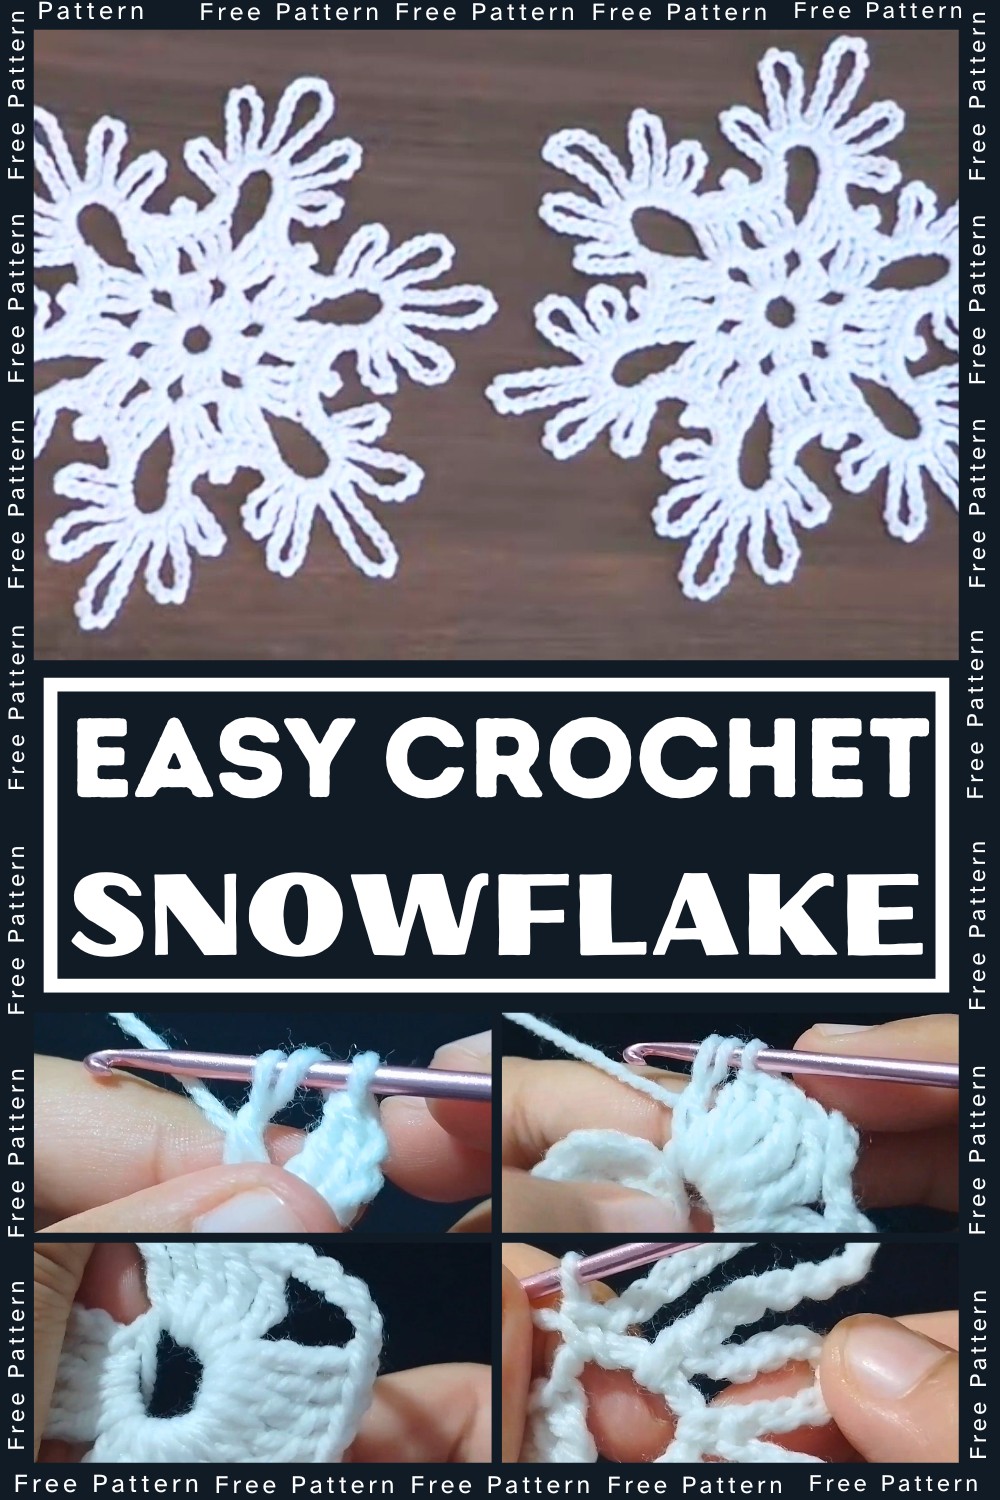
Transform your yarn into a stunning snowflake that’s not only eye-catching but functional and versatile! This delicate crochet project evokes the charm of winter and is perfect for decorating your home, creating holiday gifts, or adding a personal touch to your craft collection.
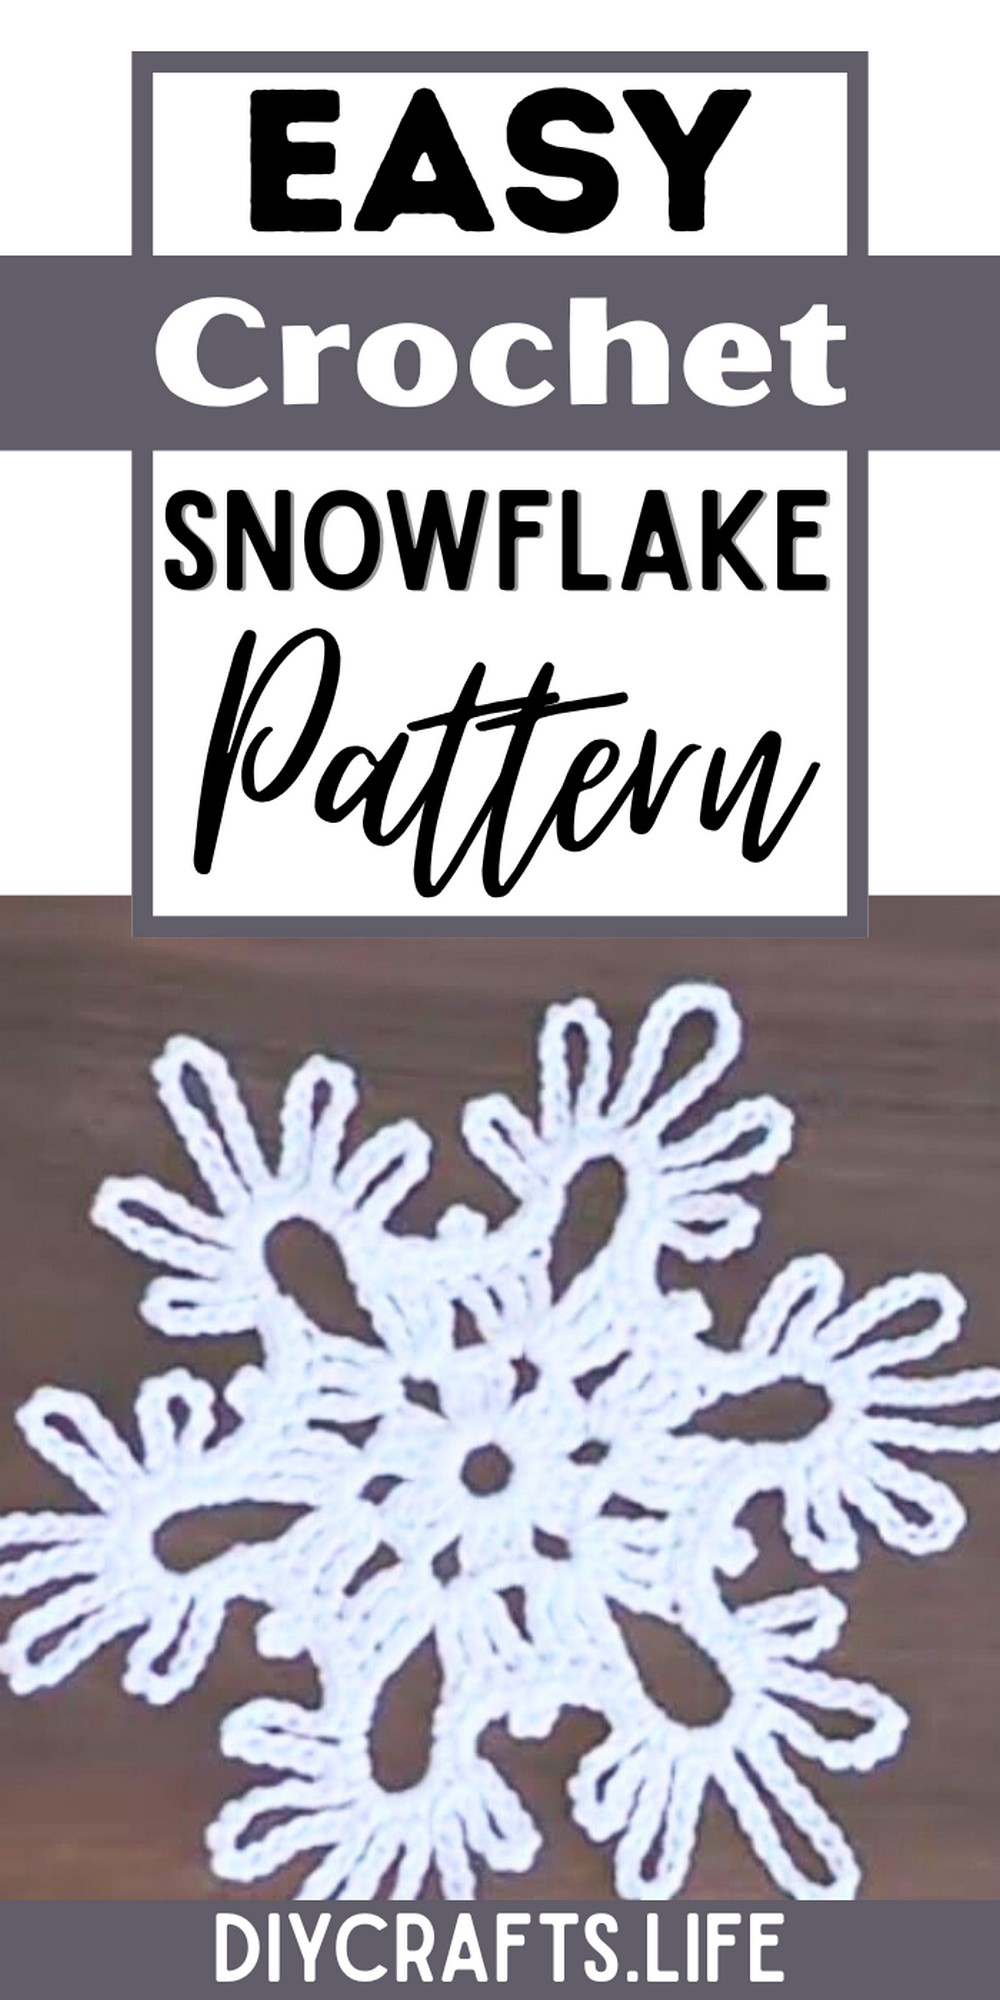
This snowflake crochet pattern is both durable and elegant, thanks to its intricate design and sturdy construction. Perfect for ornaments, coasters, or garland, its versatility is unmatched. Add sparkle with different yarns for a festive look or enjoy its timeless simplicity.
Crochet a Beautiful Snowflake Pattern
Whether you’re a beginner or an experienced crocheter, this snowflake pattern suits all skill levels! The step-by-step tutorial allows for creative customizations using your preferred yarn colors and textures, making every finished piece uniquely yours.
Materials and Preparation
- Yarn Type: Lightweight cotton yarn
- Hook Size: 3.5 mm or appropriate size for your yarn
- Additional Tools: Scissors, tapestry needle
- Yarn Weight Requirements: Lace weight or lightweight yarn
Abbreviations and Notes
Abbreviations:
- CH: Chain
- SC: Single Crochet
- DC: Double Crochet
- SL ST: Slip Stitch
- TR: Treble Crochet
Notes:
- Ensure your stitches are consistent for even snowflake edges.
- Blocking your finished snowflake can help maintain its shape.
- Use a contrasting color for a more striking look.
Gauge, Approximate Size, and Pattern Notes
Gauge:
Gauge is not critical for this pattern, but if you want a specific size, a gauge swatch can be helpful.
Approximate Size:
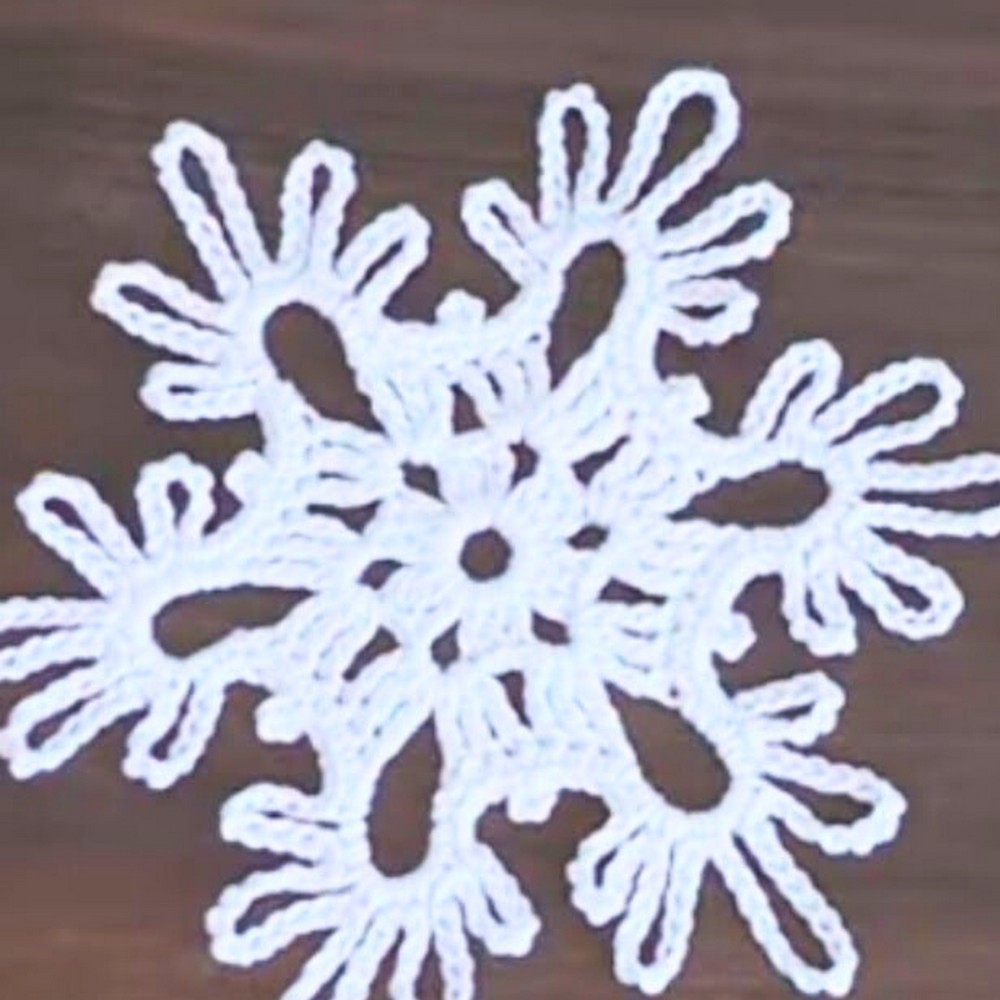
Finished snowflake measures approximately 5 inches in diameter.
Pattern Notes:
- Special techniques include picot for pointed edges.
- A gauge swatch is not necessary unless a specific finished size is required.
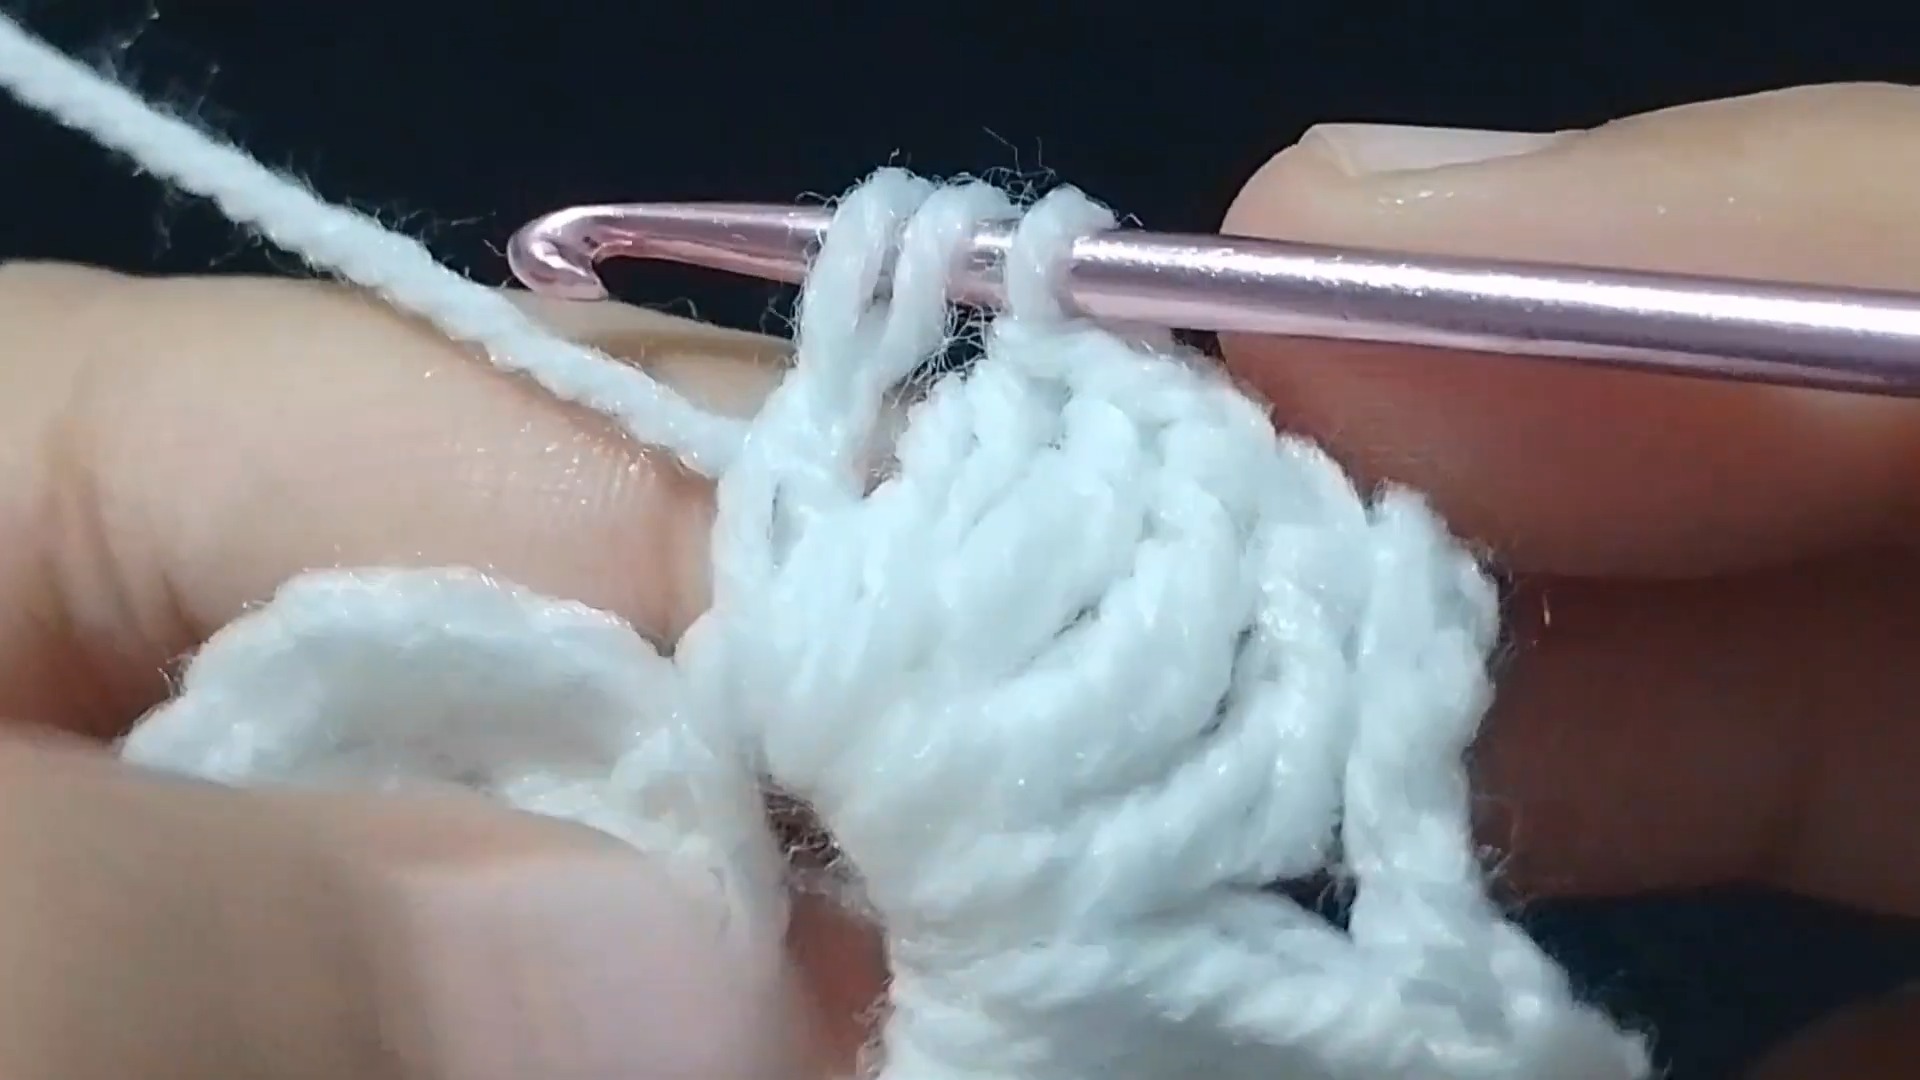
Step-by-Step Pattern
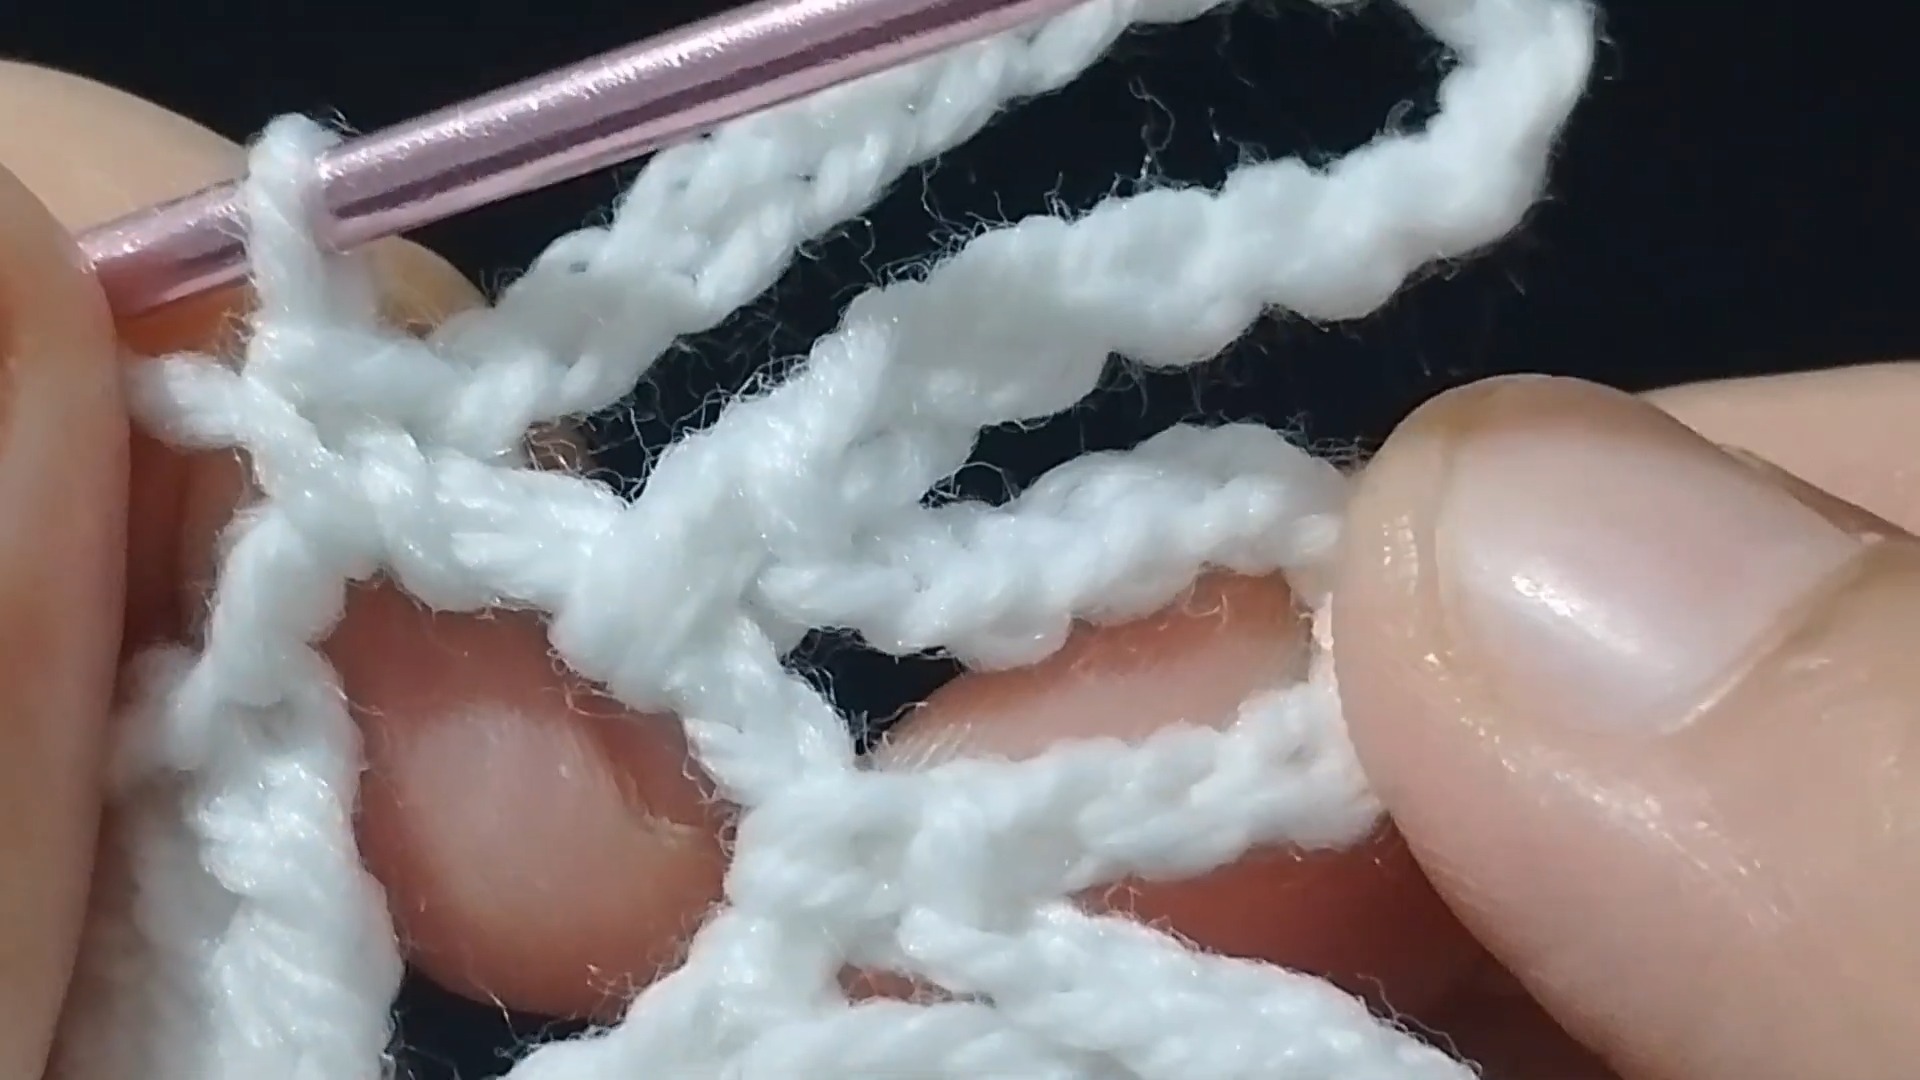
Step 1: Foundation Ring
- CH 6, join with SL ST to form a ring.
Step 2: Round 1
- CH 3 (counts as 1 DC), DC into ring.
- CH 1, *2 DC into ring, CH 1. Repeat from * 5 more times. You should have 6 pairs of DC separated by CH 1.
- Join with SL ST to top of starting CH 3.
Step 3: Round 2
- SL ST into next CH 1 space.
- CH 1, *1 SC, CH 3, 1 SC in the next CH 1 space. Repeat from * 5 more times.
- Join with SL ST to first SC.
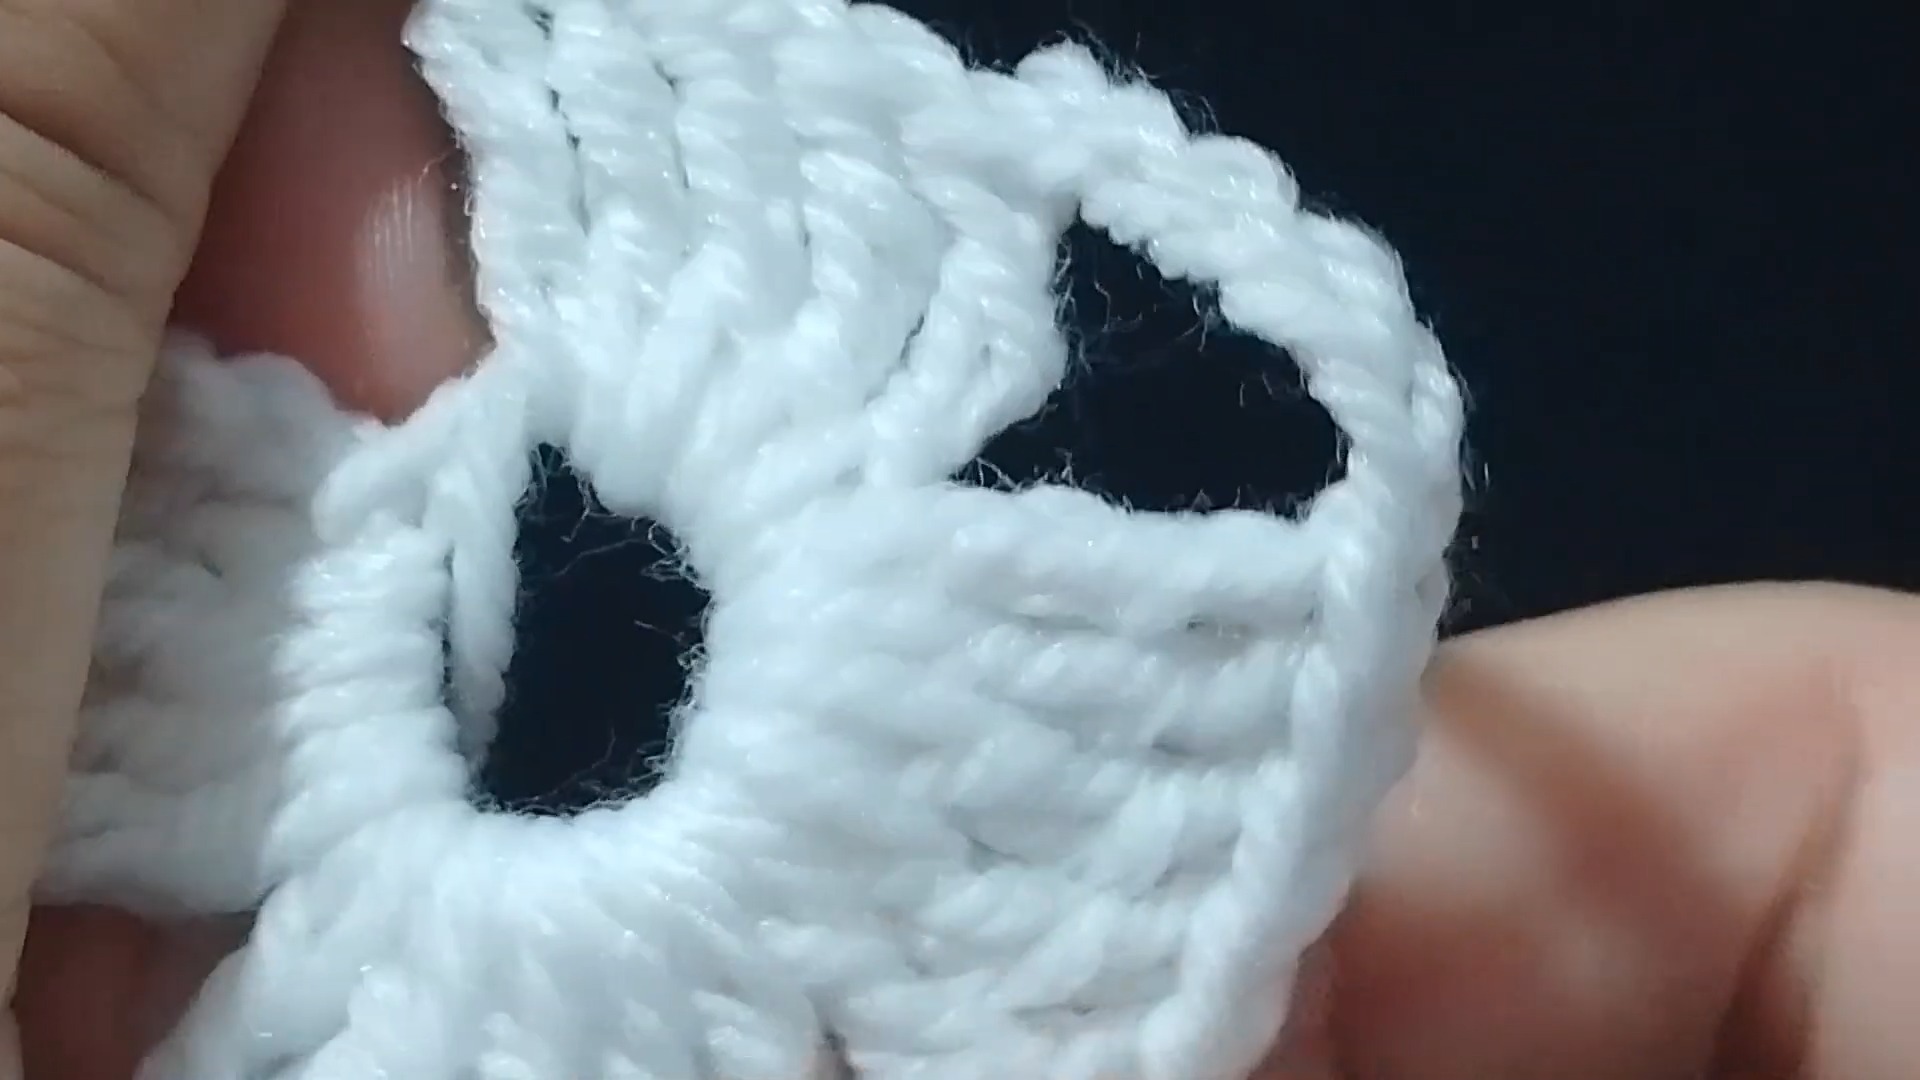
Step 4: Round 3
- SL ST into next CH 3 space.
- CH 3 (counts as DC), 2 DC into same space.
-
- CH 3, 3 DC into next CH 3 space. Repeat from * 5 more times.
- Join with SL ST to top of starting CH 3.
Step 5: Round 4
- SL ST into next DC.
- CH 3 (counts as DC), CH 3, 1 DC into same stitch.
-
- SL ST into next DC, CH 3, SL ST into next DC. CH 3, 1 DC into next *DC
- CH 3, repeat from * around.
- Join with SL ST at the top of starting CH 3.
Step 6: Round 5 (Tip formation)
- SL ST into next CH 3 space.
- CH 1, 1 SC into same space.
-
- CH 5, SL ST into 2nd CH from hook (picot formed), CH 3, SC into next CH 3 space. Repeat from * around.
- Join with SL ST to first SC.
Step 7: Finishing
- Fasten off and weave in ends with a tapestry needle.
- Block your snowflake to maintain its shape and use it for decorations or gifts.
Pattern Question
Question: Can this snowflake be made with different types of yarn?
Answer: Absolutely! While thinner yarns like thread create delicate, intricate snowflakes, thicker yarns can result in bold designs. Adjust the hook size as needed for best results.
Conclusion
Crocheting this snowflake pattern is a delightful and creative experience perfect for winter crafts! Its charm, usability, and adaptability make it a hobby project worth exploring. Start now and enjoy the satisfaction of creating something enchanting.


