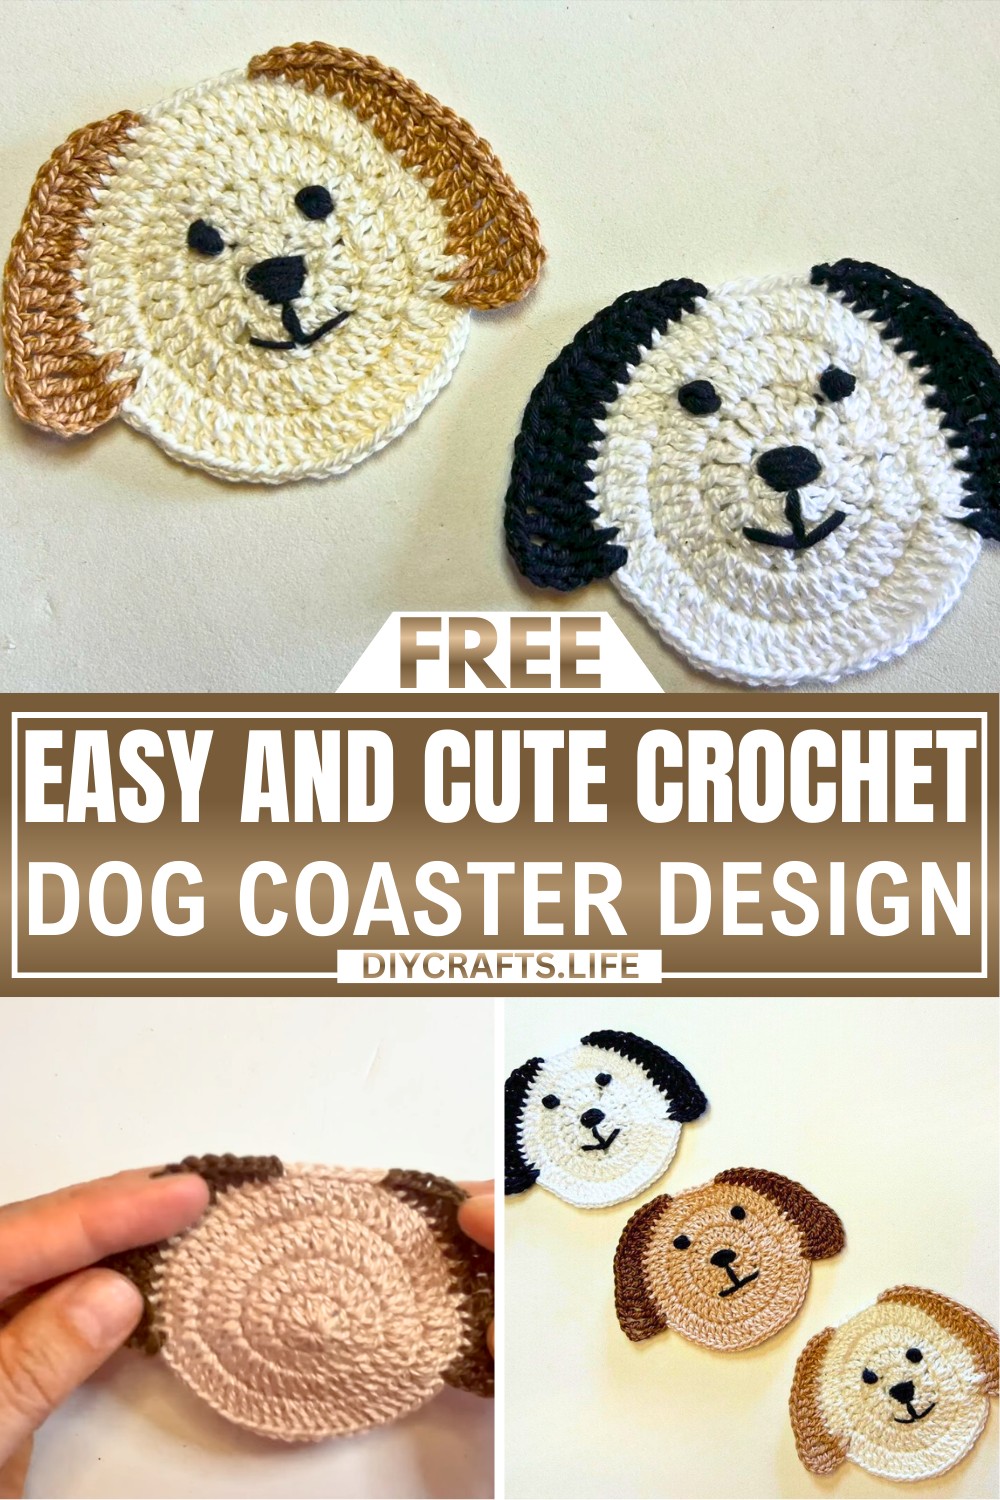
Crochet Dog Coasters are adorable little creations perfect for adding personality to your table or workspace. Shaped like a friendly puppy, these crochet coasters are not just practical but also decorative, bringing a happy touch to your home. They are lightweight, easy to make, and can be customized in different colors to match your style. Whether you're protecting your surfaces from hot cups or looking for a sweet handmade gift idea, this little pup will surely make anyone smile!
Crochet Dog Coaster Pattern
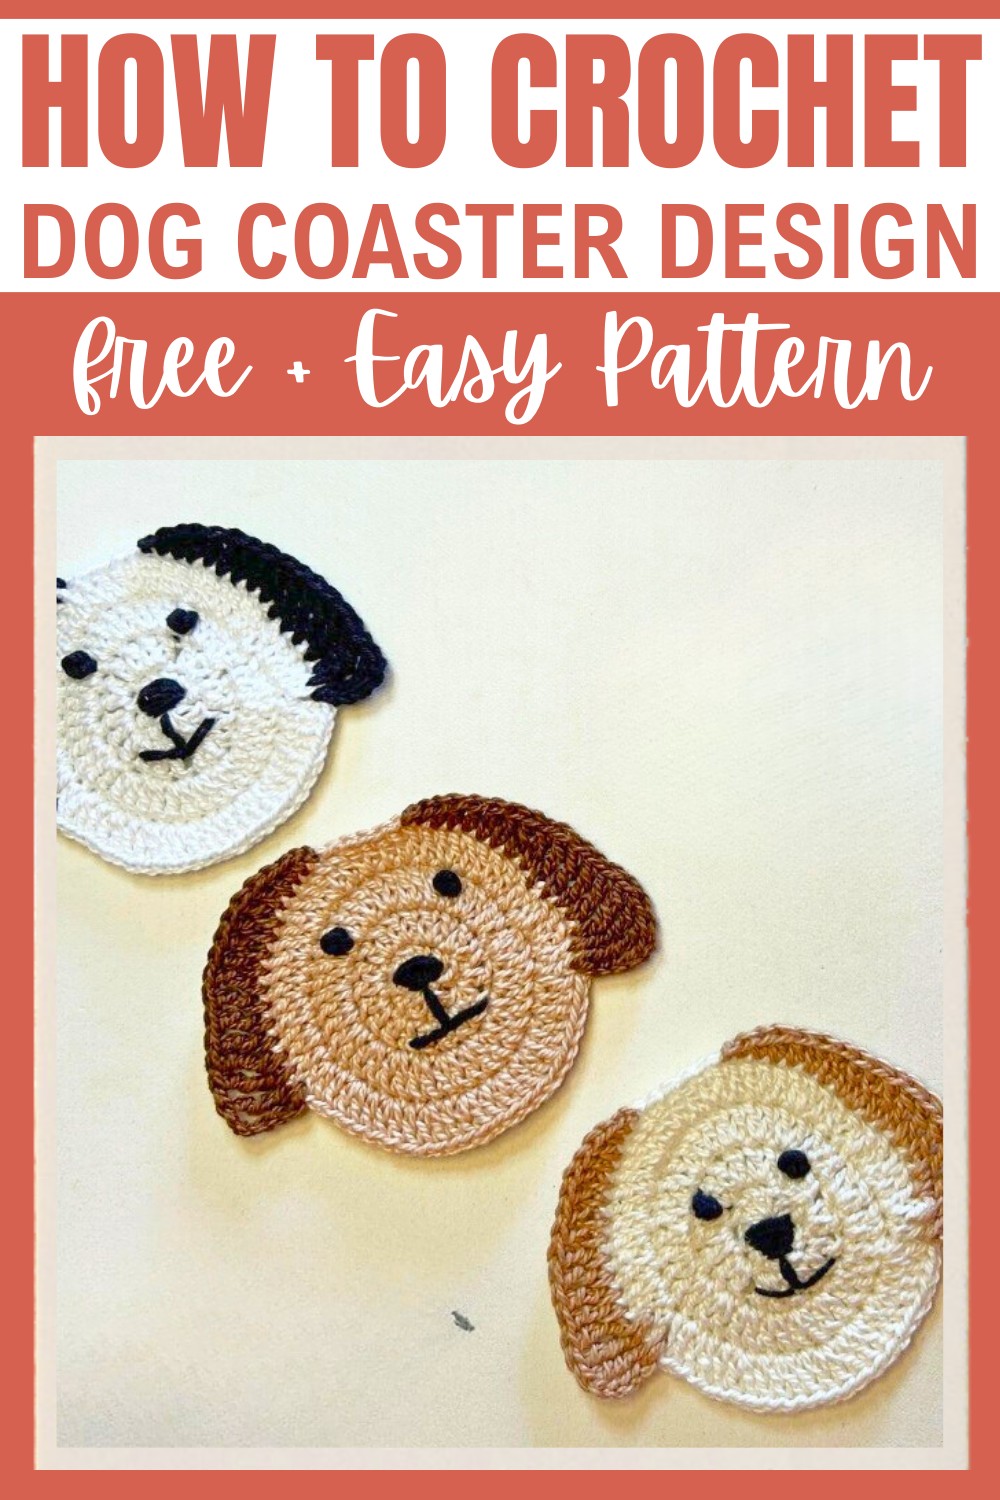
You only need a few materials and basic crochet skills to make these coasters. Using cotton yarn, a hook, and some simple techniques, you’ll create a round base for the face and adorable little ears. Details like the eyes and nose can be sewn on to give it that playful doggy character. The process is straightforward, so it’s a wonderful project for beginners and kids wanting to try crochet for the first time. Plus, with so many colors to choose from, the creative possibilities are endless!
Credit Hook & Loop Crochet Tutorials
Materials & Tools Needed
- Yarn: 5 different shades of 100% cotton yarn (or your choice of colors for the coaster and details)
- Crochet Hook: 2 mm crochet hook
- Additional Tools: Scissors and a tapestry needle
Finished Size & Customization Ideas
- Size: The finished coaster size will depend on your yarn and hook choice. Using a 2 mm crochet hook and cotton yarn, the coaster is typically small and perfect for holding cups, glasses, or small items.
- Customization Ideas:
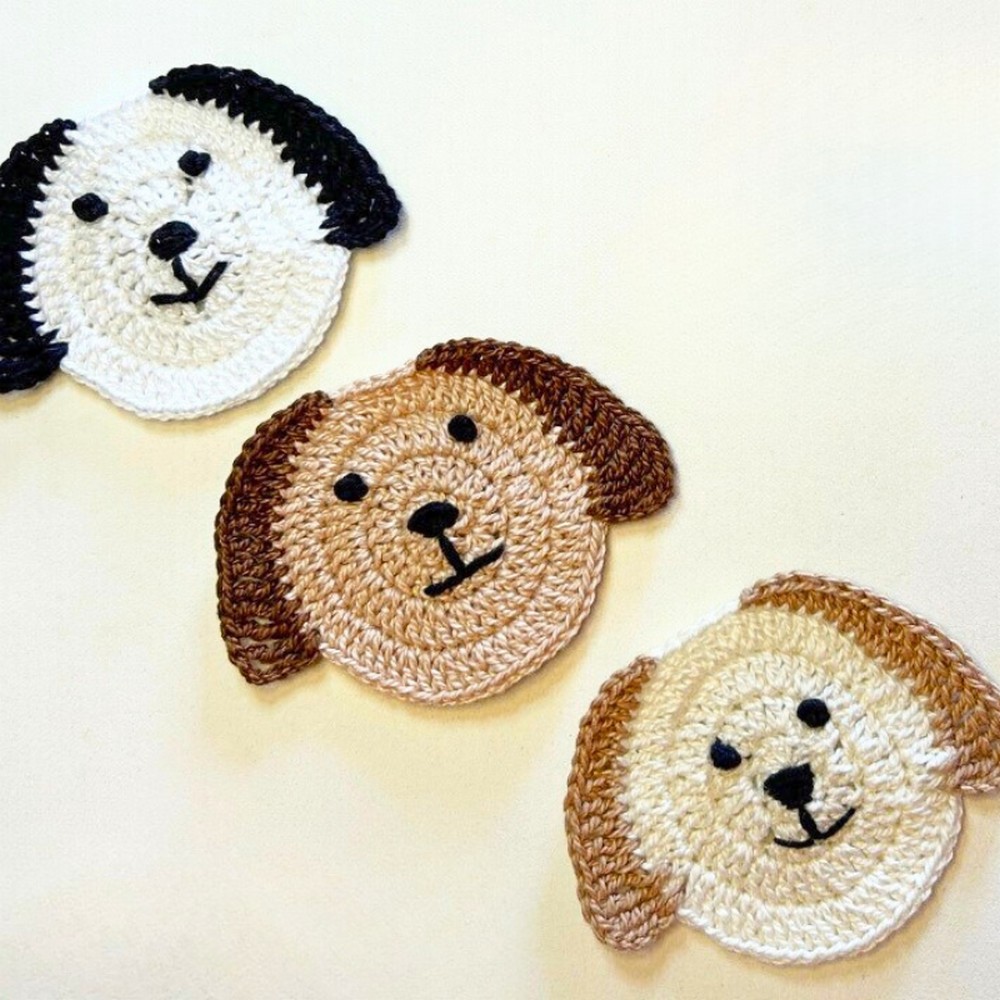
- Use contrasting colors for different parts of the coaster (e.g., distinct ear or face shades).
- Add embellishments (like small beads for eyes instead of French knots).
- Create matching sets with variations of dog breeds by adjusting fur color and ear shapes.
Step-by-Step Crochet Instructions
Below is the breakdown into detailed steps for the coaster's head, ears, and face:
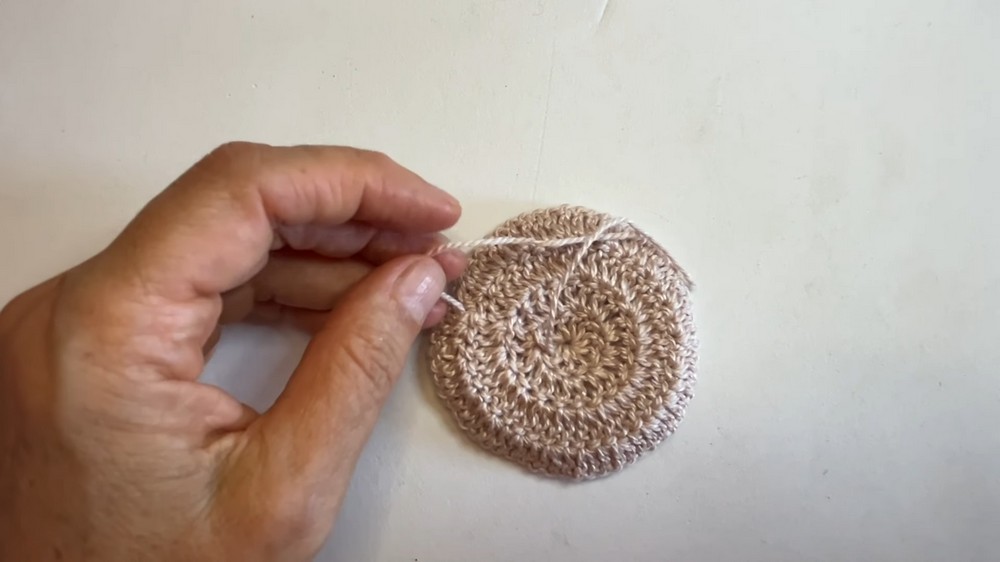
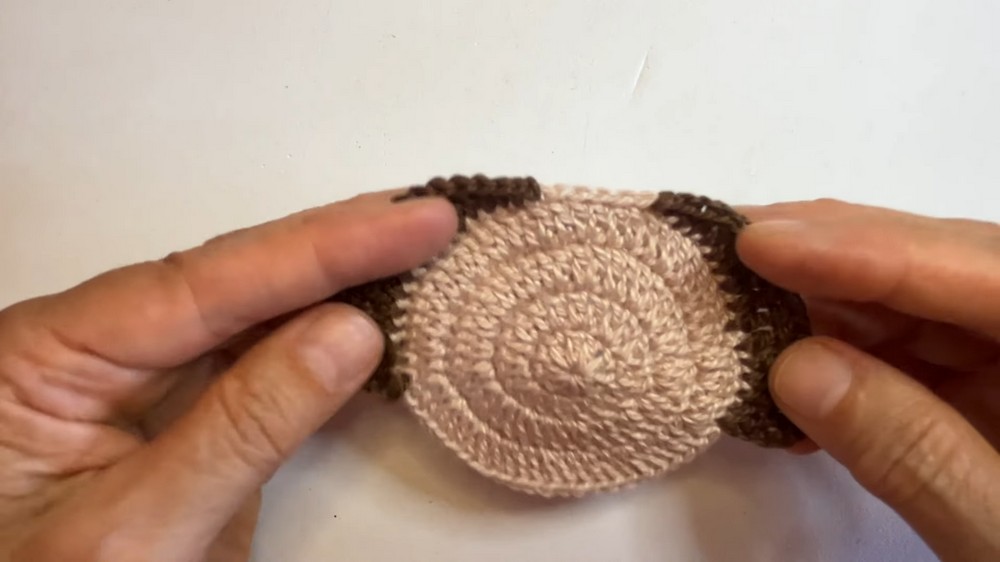
Crochet the Base (Dog Head)
- Round 1:
- Create a magic ring.
- Chain 3 (these chains count as the first double crochet, or dc).
- Work 9 double crochets (dc) into the magic ring.
- Slip stitch (sl st) into the top of the chains to join.
(You should have 10 stitches in total.)
- Round 2:
- Make a fake dc and then work an additional 1 dc in the same stitch.
- Work 2 dc into each stitch around for a total of 20 stitches.
- Join with a slip stitch (sl st).
- Round 3:
- Start with a fake dc and add 1 dc in the same stitch.
- Continue working 2 dc into each stitch around the entire circle for a total of 40 stitches.
- Slip stitch (sl st) to join.
- Round 4:
- Begin with a fake dc followed by 1 dc in the same stitch.
- Continue the pattern: 1 dc, then 2 dc in the next stitch, alternating all the way around the circle.
- This round increases the stitch count to 60 stitches total.
- Finish with a slip stitch (sl st), chain 1, cut the yarn, and weave in the tails using a tapestry needle.
Add the Ears
- The dog's ears are added around the “head” you’ve crocheted.
- First Ear:
- Insert your hook into a double crochet post (front edge of the circle).
- Pull up a loop of yarn and slip stitch (sl st) to secure.
- Chain 4.
- Work the following stitches into the same stitch and its surroundings:
- 1 double treble (dtr) into the same stitch.
- 1 dtr into the dc post.
- 1 dtr through both loops.
- Next, crochet the following sequence:
- 4 treble (tr)
- 4 extended double crochet (edc)
- 2 double crochet (dc)
- 1 half double crochet (hdc)
- 1 single crochet (sc), 1 slip stitch (sl st)
- Chain 1, pull up the yarn, cut it, and secure.
- Skip 4 stitches on the head and slip stitch into the 5th stitch to begin the second ear.
- Second Ear:
- Repeat the process on the opposite side:
- Begin with 1 sc, 1 hdc, 2 dc, 4 edc.
- Continue with 4 tr, 1 dtr, 1 dtr into the dc post, 1 dtr into the dc post.
- Chain 4, slip stitch into the same stitch to finish.
- Pull up the yarn, cut it, and secure.
- Repeat the process on the opposite side:
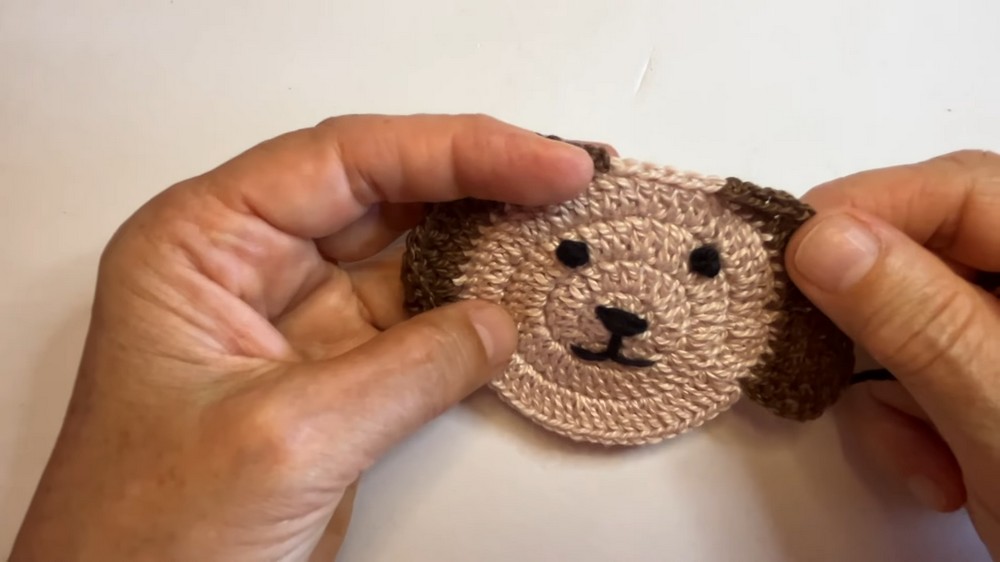
Add Facial Features (Nose, Eyes, Muzzle)
- Use a neutral or dark color yarn to sew on the facial details.
- Eyes: Use the French Knot method:
- Pass your needle through to the front of the fabric where the eyes should go.
- Wrap the thread around the needle twice and insert it back close to where you began.
- Tighten to create small, round knots for each eye.
- Nose and Muzzle:
- Use a tapestry needle and yarn to embroider the nose and mouth area to your liking. Alternatively, crochet or applique small details to sew onto the head.
Finishing Details
- Weave in Tails: Once all elements are crocheted or embroidered, use a tapestry needle to weave in any remaining loose ends securely.
- Blocking (Optional): If your coaster feels slightly uneven, gently block it by dampening it slightly, pinning it down to shape, and letting it dry flat.
- Customization: Try creating coasters in various colors to match different dog breeds or fit specific themes!