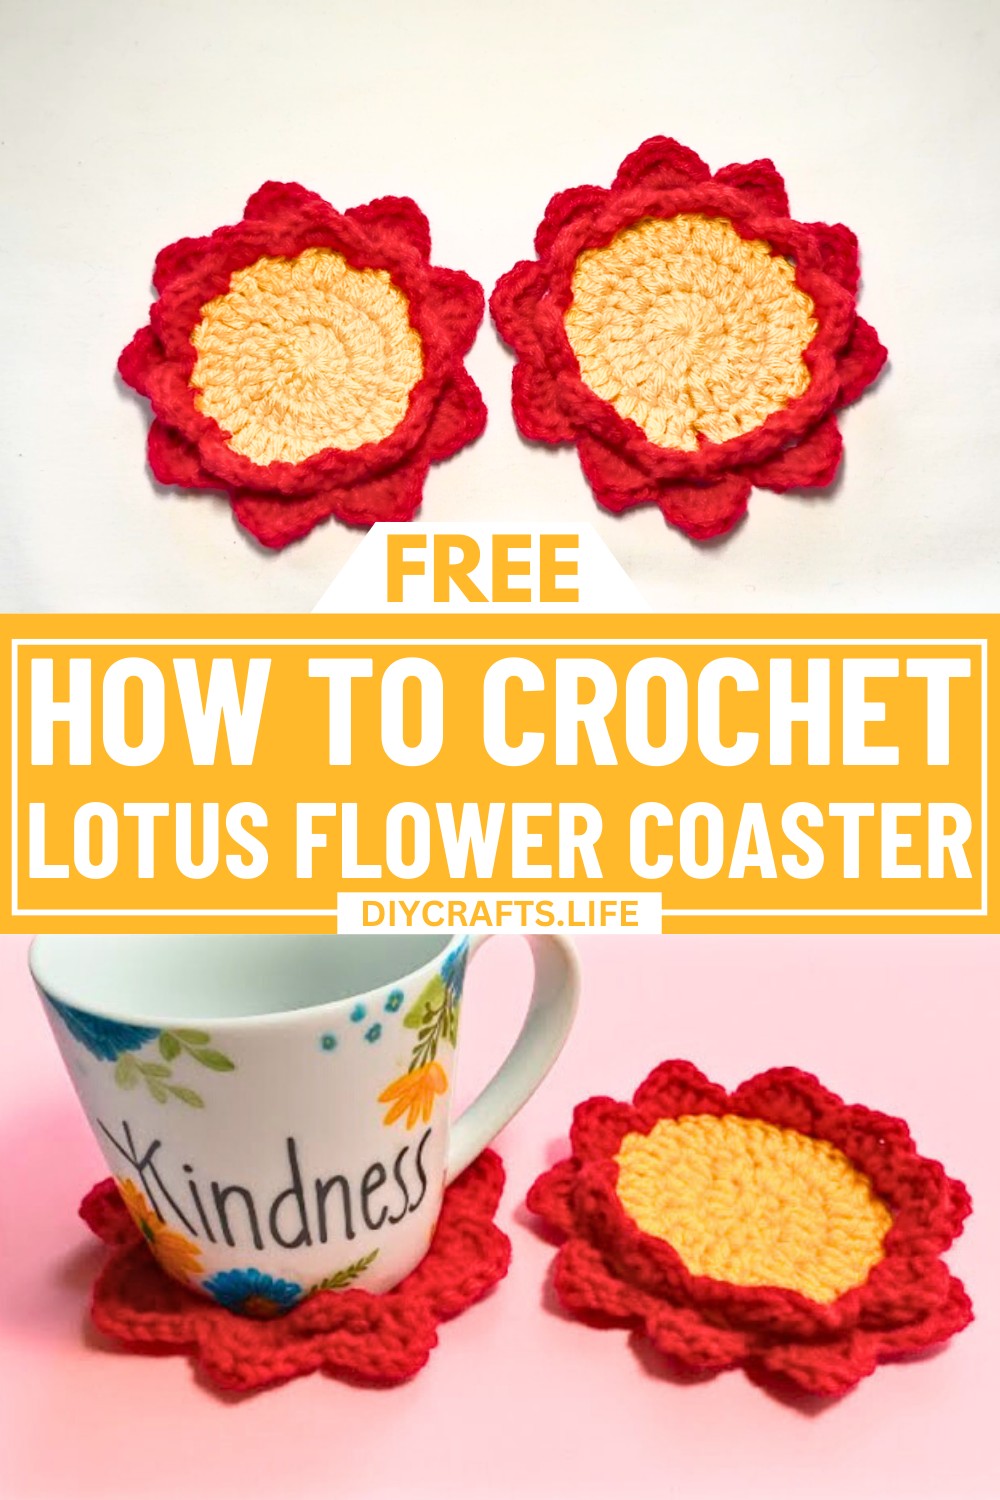
Let your creativity bloom with the charm of the crochet lotus flower coaster – a design that radiates elegance and simplicity. This pattern captures the serene beauty of a blooming lotus, giving your table setting a delicate yet vibrant touch. Whether you pair it with your morning coffee or a cozy tea moment, this coaster brings a soft and artistic charm into your daily rituals.
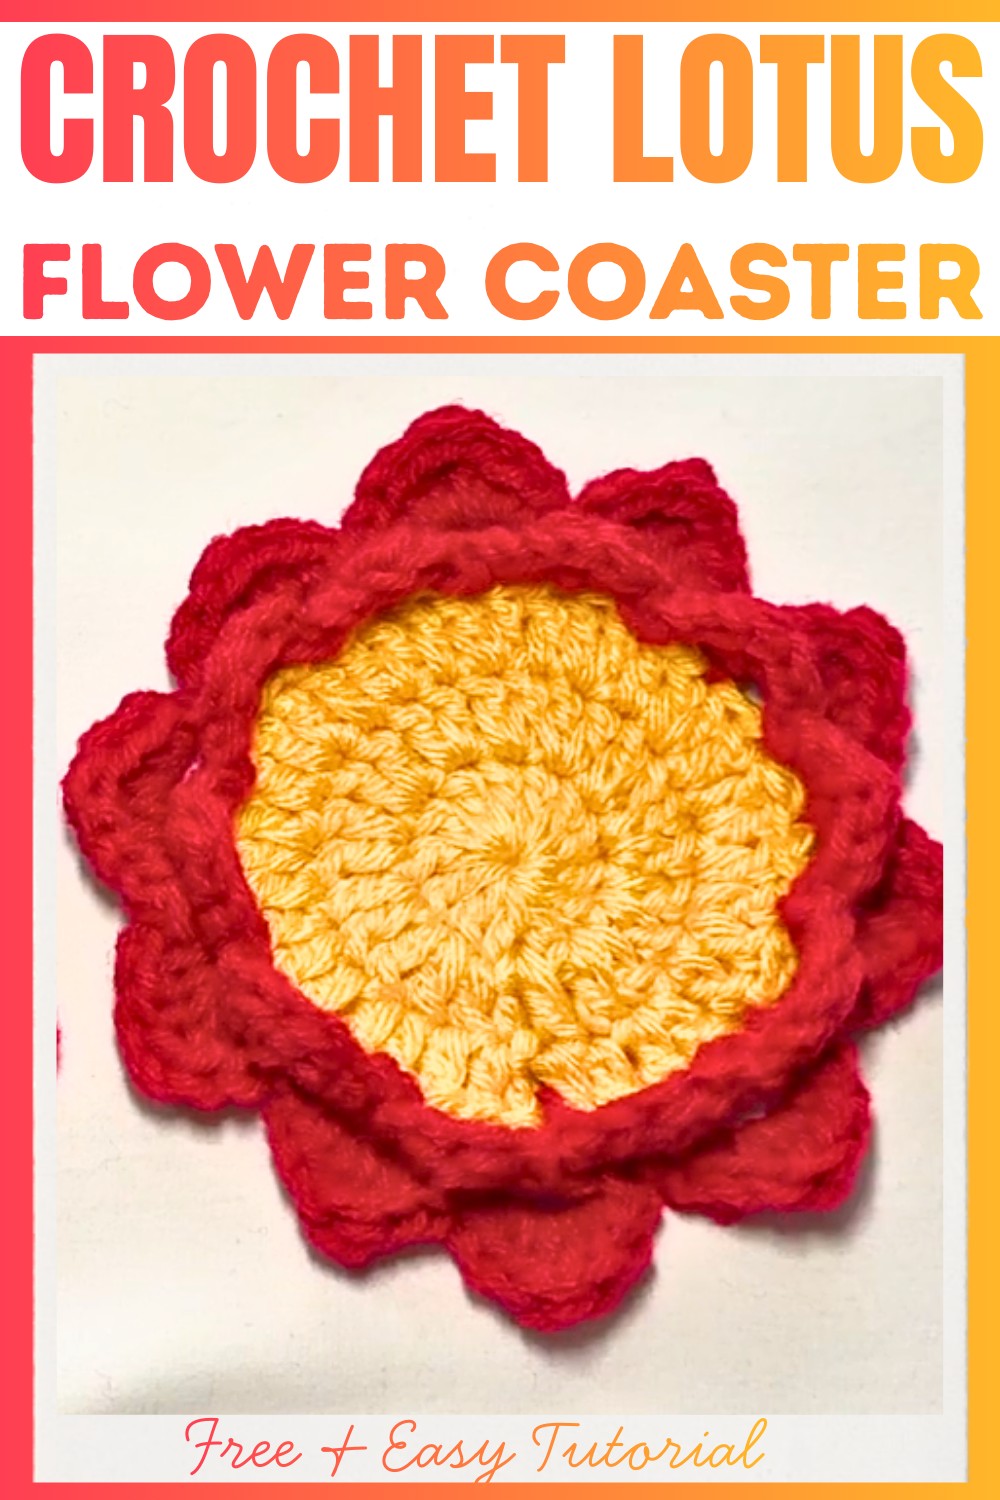
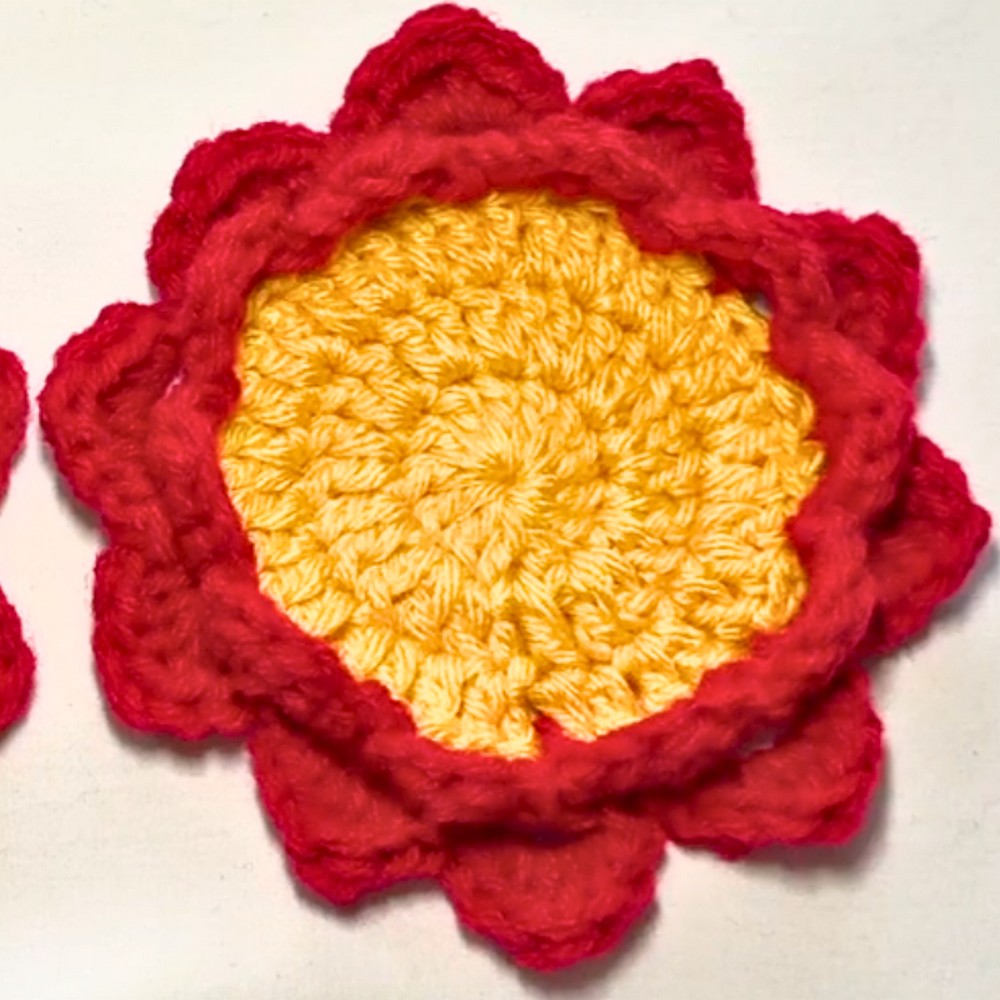
This lotus flower coaster stands out for its intricate layers, creating a stunning 3D effect that mimics the layering of real petals. The combination of smooth curves and precise stitches makes for a balanced and pleasing design. Not only is it a beautiful decoration, but it’s also highly functional and durable. You can choose the colors to match your style, bringing a truly personal touch to the piece. This design is perfect for gifts, home decor, or a creative addition to your craft collection.
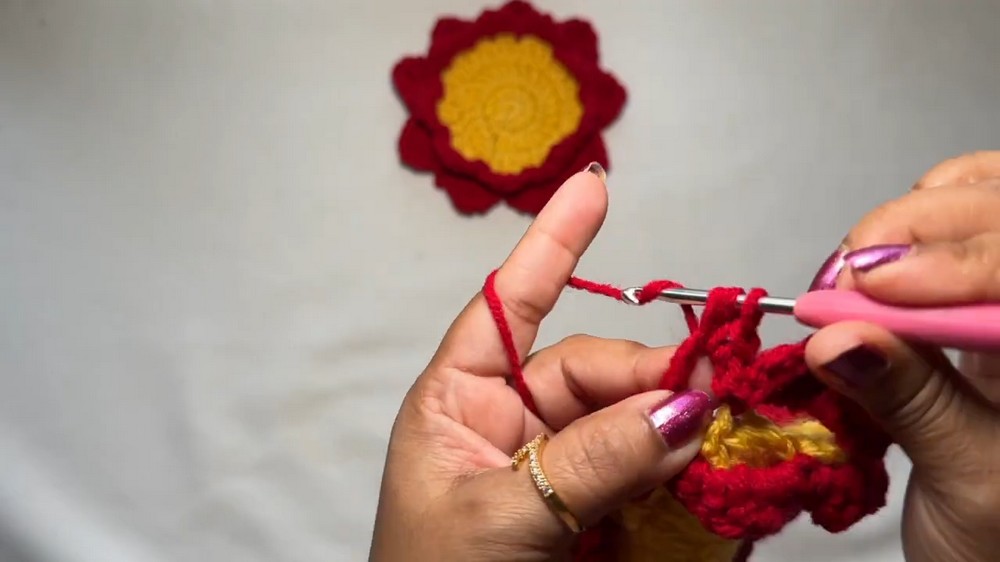
Credit MAMA’S CRAFT
Materials & Tools Needed
- Yarn:
- Two colors are required for the coaster:
- Base layer: Use one color for creating the base.
- Petals: Use a contrasting color (e.g., red) for the petal details.
- Choose a cotton or acrylic medium-weight yarn. Lightweight or thinner yarn can also work but will result in a smaller coaster.
- Two colors are required for the coaster:
- Crochet Hook:
- 3.5 mm crochet hook (adjust size based on your yarn choice for tighter or looser stitches).
- Other Tools:
- Scissors (for cutting yarn).
- Yarn needle or tapestry needle (for weaving in ends and securing the project).
Finished Size & Customization Ideas
Approximate Size:
- Using medium-weight yarn and a 3.5 mm hook, the coaster should be approximately 4–5 inches in diameter. However, sizing may vary depending on tension and yarn type.
Customization Ideas:
- Size Adjustments:
- Use thicker yarn and a larger hook for a bigger coaster.
- Use thinner yarn and a smaller hook for a more delicate and smaller coaster (ideal for decorative purposes).
- Style Adjustments:
- Color Combinations: Experiment with different colors for the base and petals to match your decor. For example, mix pastel shades for a soft look or bright colors for a vibrant effect.
- Layered Design: Add a third layer of petals or alternate petal colors for a multi-colored lotus.
- Adapt as a Wall Hanging: Add a crochet loop to the top petal or stitch multiple pieces together as wall art.
Pattern Abbreviations & Terminology
- Stitches Used (US Terms):
- Ch = Chain
- St = Stitch
- Sl st = Slip Stitch
- Sc = Single Crochet
- Hdc = Half Double Crochet
- Dc = Double Crochet
- Tr = Triple (or Treble) Crochet
- MR = Magic Ring
- Other Terms:
- Round = A completed circular row.
- Space = Open areas created by chains.
Step-by-Step Detailed Crochet Instructions
Base Instructions (Rounds 1–3):
- Round 1:
- Begin with a magic ring (MR).
- Chain (ch) 3 (counts as the first double crochet).
- Work 12 double crochets (dc) into the magic ring.
- Pull the ring tight to close the loop.
- Join with a slip stitch (sl st) in the top of the first ch-3.
- Total stitches: 12.
- Round 2:
- Ch 2 (counts as the first dc).
- In the same stitch, make 1 dc.
- Work 2 dc into each stitch around (increase).
- Join with a sl st in the top of the first ch-2.
- Total stitches: 24.
- Round 3:
- Ch 2 (counts as the first dc).
- In the same stitch, make 1 dc.
- In the next stitch, make 1 dc (no increase).
- Repeat the pattern: 2 dc, 1 dc around.
- Join with a sl st in the top of the first ch-2.
- Total stitches: 36.
- Fasten off the yarn and securely weave in the ends.
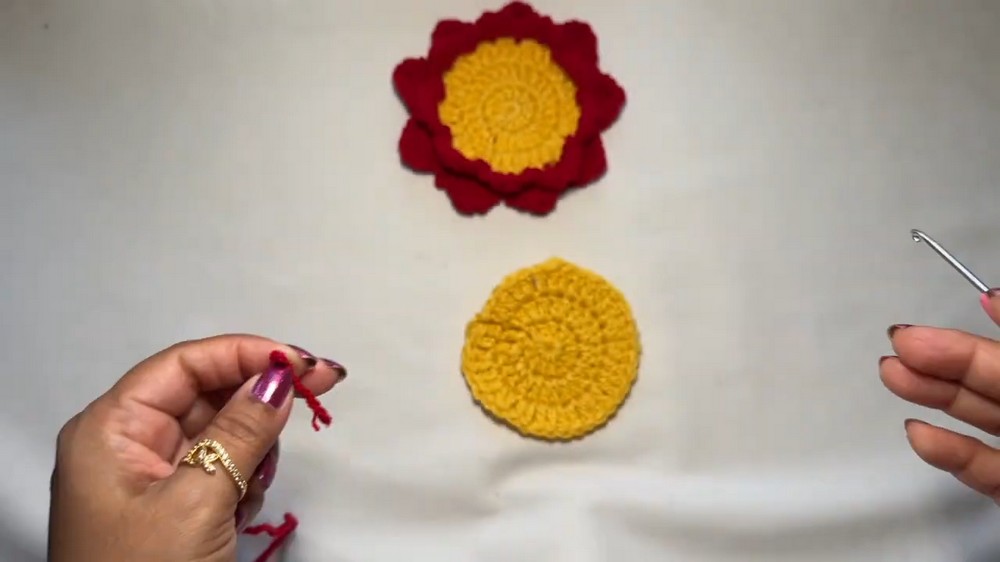
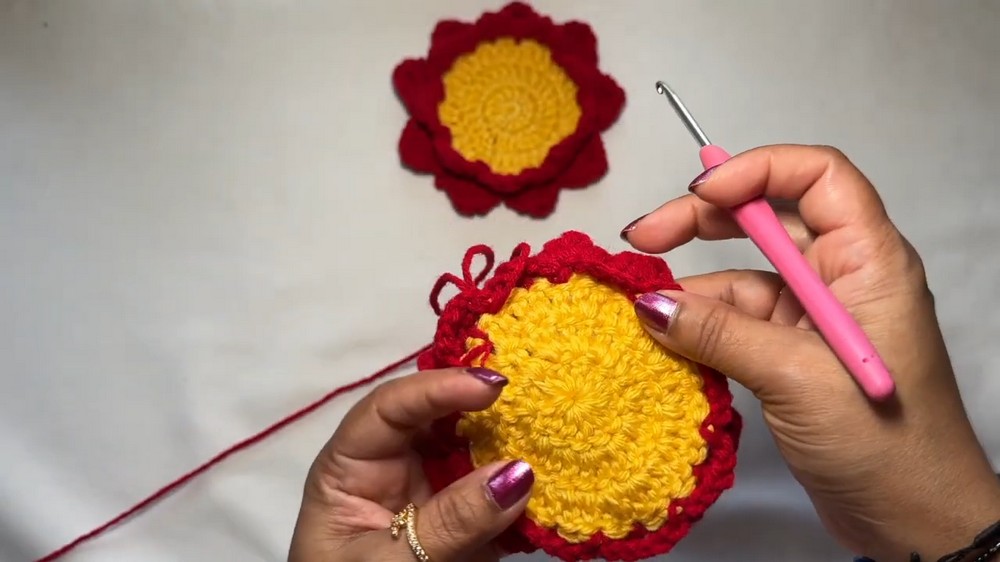
Petals (First Layer):
- Attach the second color yarn to the coaster.
- Join yarn with a sl st into any stitch.
- Chain (ch) 4, then skip 3 stitches.
- Sl st into the next stitch.
- Repeat the pattern around: ch 4, skip 3 stitches, sl st into the next stitch.
- After completing the round:
- Join with a sl st into the base of the first ch 4 space.
- You will now have eight chain loops (ch-4 spaces) around the coaster.
- Create the petals:
- For each ch-4 space:
- Sl st into the loop.
- Ch 1.
- Work the following stitches into the loop:
- 1 sc,
- 1 hdc,
- 1 dc,
- 1 hdc,
- 1 sc.
- Ch 1, then sl st to secure.
- Repeat for all eight loops to create eight petals.
- For each ch-4 space:
Petals (Second Layer – Back Petals):
- Flip to the backside of the coaster.
- Locate the space between the petals of the first layer.
- Ch 5, then skip one stitch and sl st into the next.
- Repeat around, creating loops (ch-5 spaces) behind the first-layer petals.
- You will have eight ch-5 loops forming the base for the second layer of petals.
- Create the larger petals:
- For each ch-5 space:
- Sl st into the loop.
- Ch 1.
- Work the following stitches into the loop:
- 1 sc,
- 1 hdc,
- 1 dc,
- 1 tr,
- 1 dc,
- 1 hdc,
- 1 sc.
- Ch 1, then sl st to secure.
- Repeat for all eight loops to form the second layer of petals.
- For each ch-5 space:
Finishing Steps:
- Once all second-layer petals are complete, join with a final sl st at the base of the first petal.
- Finish by fastening off the yarn.
- Weave in all loose ends using a yarn needle to secure.
- Block your coaster (if needed) to flatten the petals and enhance the final shape.
Final Notes
- Adjustments: If you'd like a third layer of petals, repeat the "back petals" technique with ch-6 spaces to create larger petals in another color.
- Care & Maintenance: Use cotton yarn if you plan to wash these coasters regularly, as they will absorb heat and spills efficiently.
With this step-by-step guide, you can create a decorative and functional lotus flower coaster for yourself or as a gift. Enjoy your crafting! 🌸