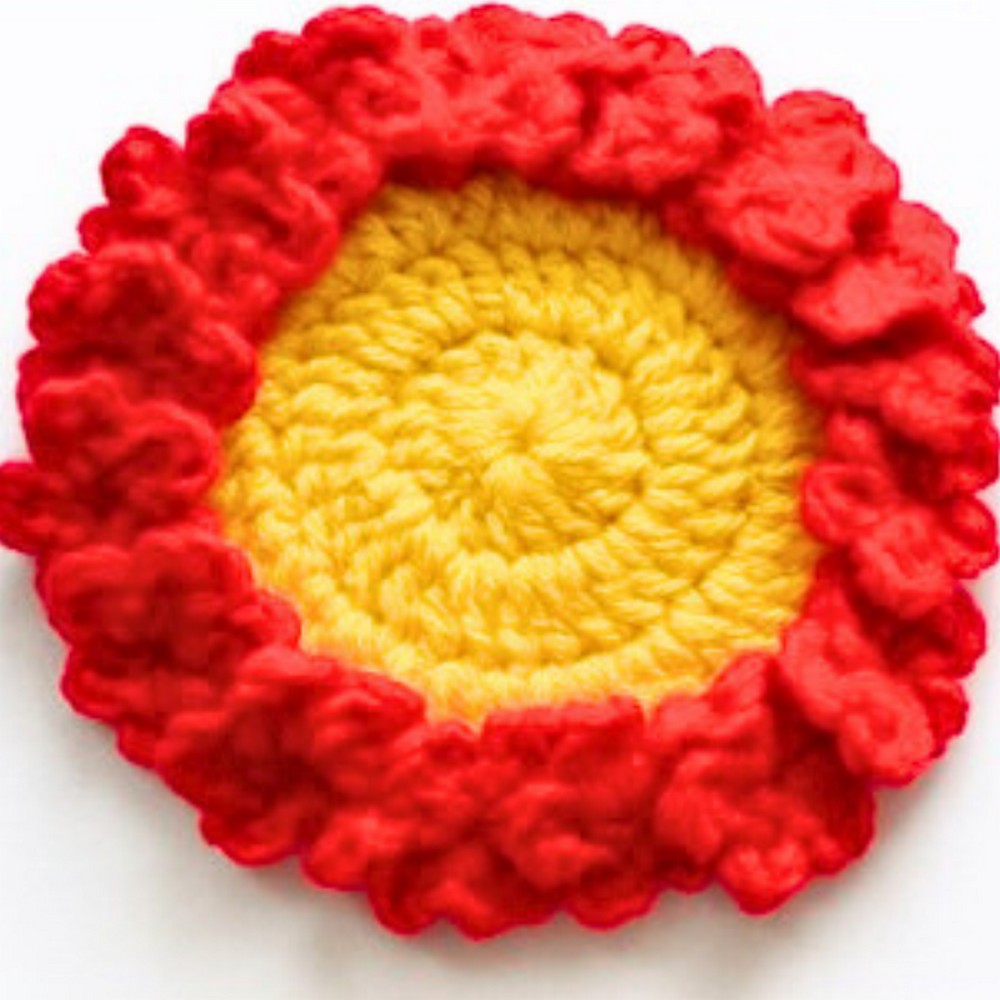
Bring a touch of nature to your home with a stunning crochet flower coaster that’s as vibrant as a garden in full bloom! This design radiates charm with its delicate floral pattern and vibrant blend of colors. Perfectly crafted to adorn your coffee table or brighten up your workspace, this floral coaster transforms everyday spaces into cheerful corners of creativity.

This crochet pattern is truly special, combining elegant design with an easy-to-follow structure. The coaster features a circular base surrounded by dainty petals, creating intricate little flowers that seem to bloom right out of the yarn. With the freedom to use any color combination, it becomes a canvas for your imagination—perfect for matching it with home décor or gifting to loved ones. Whether you’re adding a pop of color or a handmade touch to your table, this flower coaster is the perfect blend of creativity and functionality.
Credit MAMA’S CRAFT
Materials & Tools Needed
To create the crochet flower coaster, ensure you have the following materials:
- Yarn: Two colors of yarn (e.g., one for the base and one for the flowers). You may use cotton yarn for a sturdy and absorbent coaster. Experiment with DK weight or medium-weight yarn for a balanced size.
- Crochet Hook: 6mm hook (or any hook size suitable for your yarn).
- Scissors: For cutting yarn when switching colors or finishing the project.
- Tapestry Needle: Optional, for weaving in ends neatly.
Finished Size & Customization Ideas
- Approximate Finished Size: Based on the provided instructions, the coaster generally finishes at around 4–6 inches in diameter when using medium-weight yarn and a 6mm hook.
- Customization Ideas:
- Size Adjustments:
- To make a larger coaster, use thicker yarn (e.g., chunky weight) paired with a larger hook (e.g., 7mm–8mm).
- To create a smaller coaster, use lightweight yarn (e.g., sport weight) paired with a finer hook (e.g., 4mm–5mm).
- Style Variations:
- Change color combinations for the base and petals. Vibrant hues work well for a lively effect, or pastel tones for a softer appearance.
- Add more rounds for the base circle to create bigger coasters, or reduce some rounds for a smaller one.
- Additional Embellishments: Sew small beads or sequins in the flower centers for added decoration.
- Size Adjustments:
Pattern Abbreviations & Terminology
This pattern uses US crochet terminology.
- ch: Chain
- dc: Double Crochet
- sc: Single Crochet
- sl st: Slip Stitch
- st(s): Stitch(es)
- MR: Magic Ring
Step-by-Step Crochet Instructions
This guide explains each round clearly, from the base to the flower edging.
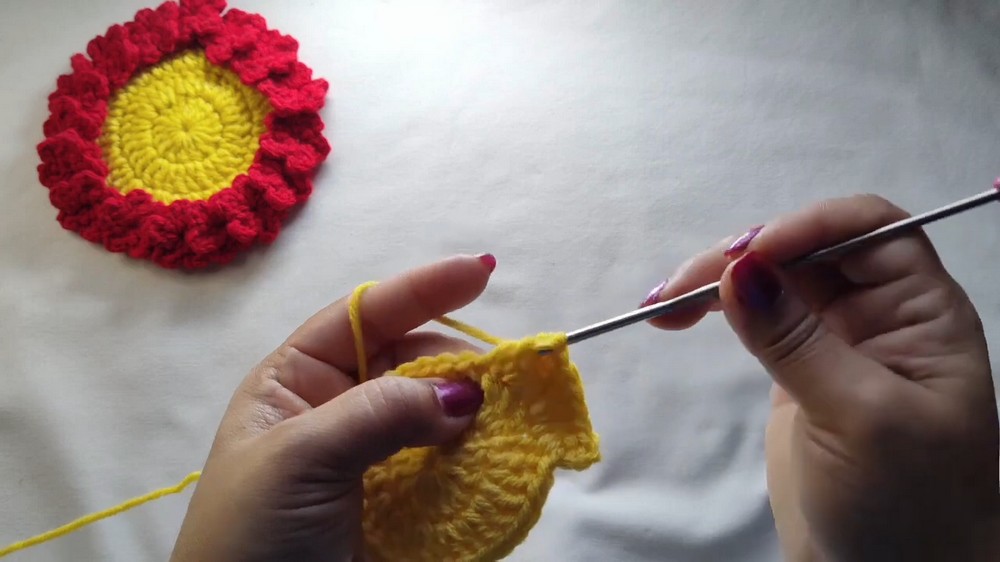
Base (Rounds 1–3):
- Round 1:
- Start with a Magic Ring (MR).
- Chain 3 (counts as the first double crochet).
- Work 14 dc into the MR (total of 15 dc including the initial ch-3).
- Tighten the ring by pulling the tail.
- Slip stitch (sl st) into the top of the beginning ch-3 to close the round.
- Round 2:
- Chain 3 (counts as 1 dc).
- Work 1 dc in the same stitch.
- Work 2 dc in each stitch around (increase in every st).
- Total of 30 dc.
- Slip stitch into the top of the beginning ch-3.
- Round 3:
- Chain 3.
- Work 1 dc in the same stitch.
- In the next stitch, work 1 dc.
- Follow a pattern:
- 2 dc in one stitch, 1 dc in the next stitch.
- Repeat this pattern around the circle.
- Total of 45 dc.
- Slip stitch into the top of beginning ch-3 to close the round.
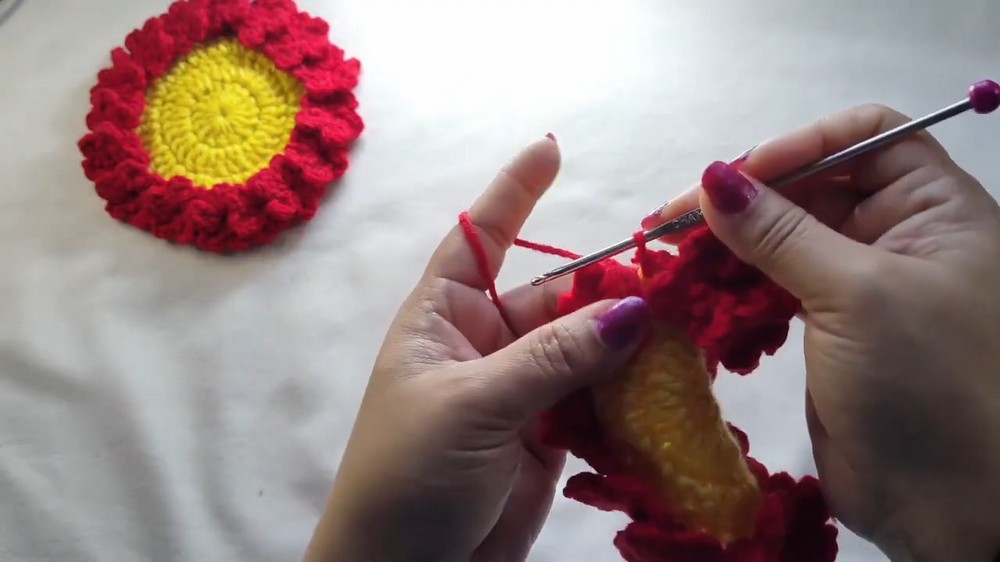
Flower Edging (Rounds 4 & Beyond):
- Color Change:
- Cut the yarn and fasten off your base color.
- Join your flower color yarn by pulling it through any stitch of the base circle.
- Round 4: Petal Formation:
- Chain 5. Skip 2 stitches, and in the 3rd stitch:
- Work 1 dc, chain 2, then sl st into the same stitch.
- This forms 1 petal.
- Repeat for 5 petals in total:
- Chain 2, 1 dc in the same st, chain 2, sl st in same st.
- After the 5th petal, chain 2 and sl st into the next stitch.
- Chain 5. Skip 2 stitches, and in the 3rd stitch:
- Continue Flower Pattern Around the Coaster Edges:
- Chain 5. Skip 2 stitches, and in the 3rd stitch, repeat the petal formation sequence:
- Chain 2, 1 dc, chain 2, sl st into same stitch.
- Continue this pattern around the entire outer edge of the coaster.
- Create individual flowers encircling the base by skipping 2 base stitches between each flower.
- Chain 5. Skip 2 stitches, and in the 3rd stitch, repeat the petal formation sequence:
- Final Step:
- After completing the last petal of the final flower, chain 2 and sl st into the starting stitch.
- Fasten off and weave in all loose ends using a tapestry needle.
Finishing Touches
- Block the coaster gently to ensure it lies flat. Simply dampen it lightly and pin it to shape on a blocking mat, allowing it to dry fully.
- Admire your vibrant and elegant flower coaster!
By following these instructions, you’ll have a beautiful flower coaster perfect for home decor, gifting, or brightening up your table!