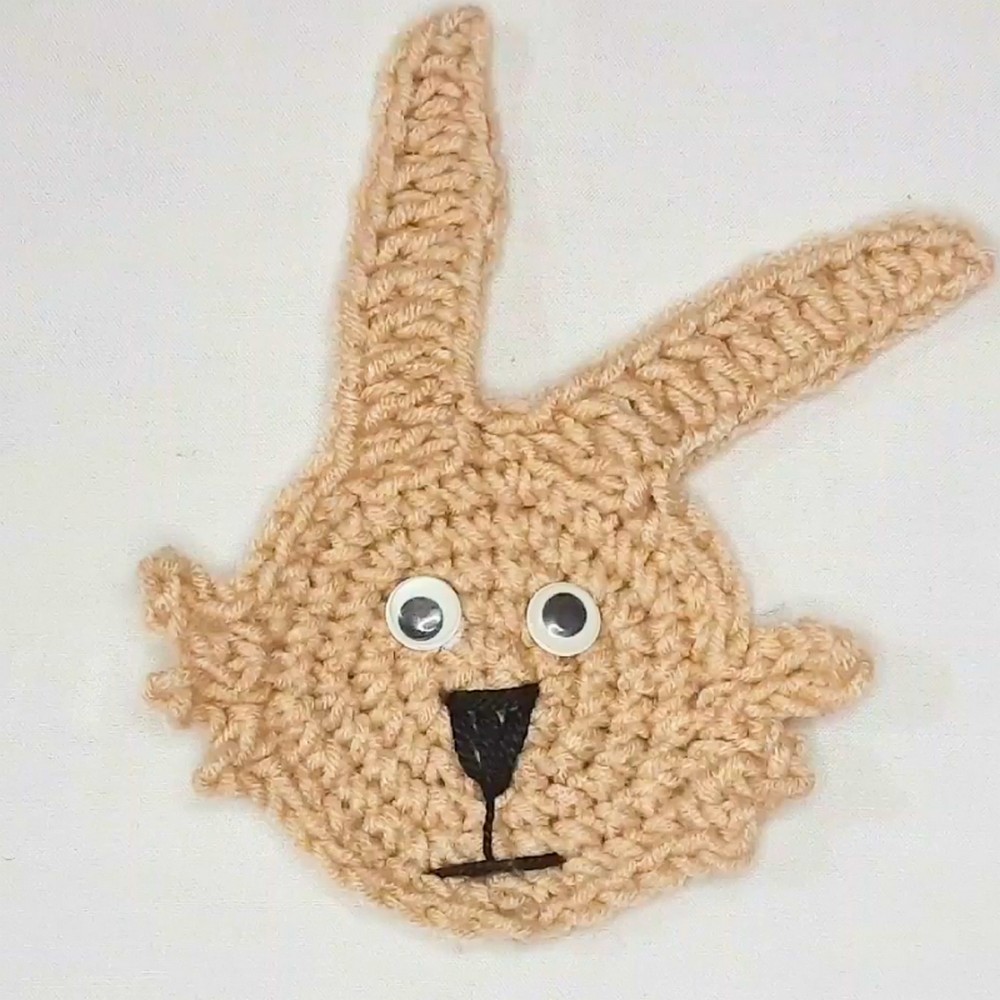
This adorable crochet bunny applique is perfect for adding a touch of cuteness to your creations. Whether it’s decorating bags, baby blankets, hats, or even customizing clothing, this bunny design makes any handmade item look extra special. It’s small, simple to make, and absolutely delightful!
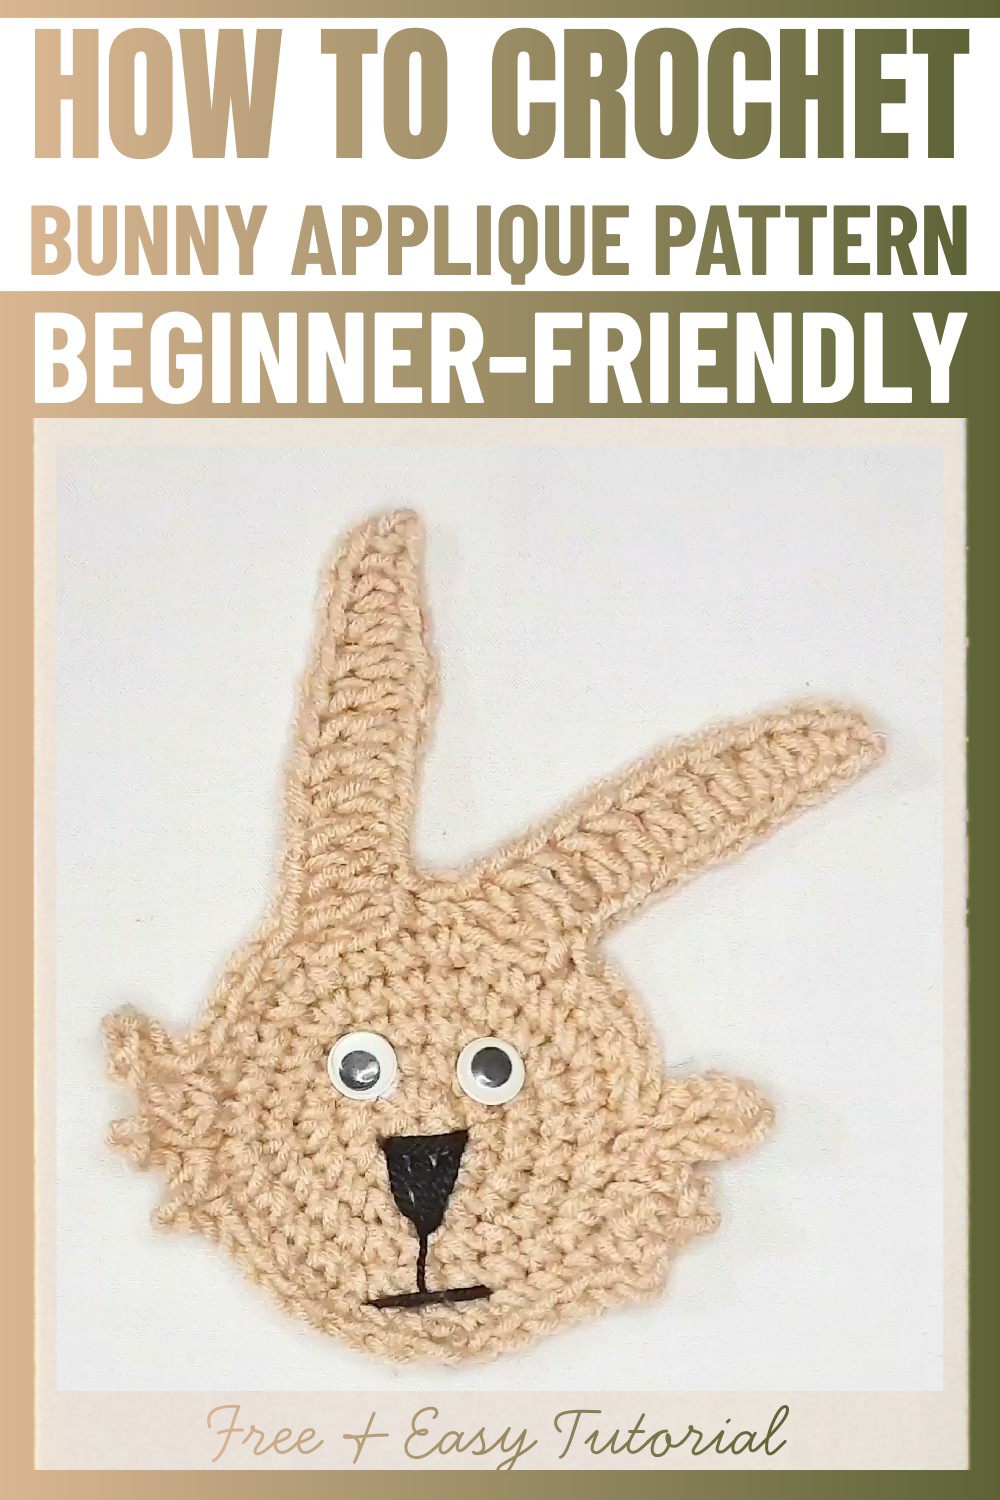
You don’t need a lot of materials to make this bunny applique – just some yarn in soft colors, a crochet hook, and optional items like googly eyes or buttons for a fun finish. In just a few steps, you’ll shape adorable features like the bunny’s ears, face, and tiny smile. The best part? You can easily personalize it with different colors or embellishments to match the theme of your creation.
Try making one or a few to brighten up your favorite items. It’s fun to create and even more exciting to see these bunnies bring charm wherever they go!
Credit Vima's Crochet
Materials & Tools Needed
- Yarn
- Main Color: Beige-colored medium weight (4) acrylic yarn (Hobby Store Yarn in Beige Powder).
- Black Yarn: Thin lightweight (1) black yarn for details (nose, mouth). Alternatively, use embroidery floss.
- Hook
- 5 mm Crochet Hook: Suitable for the medium-weight yarn.
- Accessories
- Googly Eyes (optional): Attach using fabric glue for added cuteness. You can substitute with black or deep blue buttons.
- Fabric Glue: To secure googly eyes if used.
- Additional Tools
- Scissors
- Yarn needle for weaving ends and adding details (nose/mouth).
- Pins (optional for positioning).
Finished Size & Customization Ideas
Approximate Size:
Using the suggested materials and hook size, the bunny applique measures approximately 4-5 inches tall (inclusive of the ears).
Customization Ideas:
- Adjusting Size:
- Use thicker yarn and a larger hook for a larger bunny (e.g., bulky-weight yarn with a 6 mm hook).
- For a smaller bunny, opt for lightweight yarn and smaller hook sizes (e.g., lace-weight yarn and a 2.5 mm hook).
- Color Variations:
- Experiment with bright pastels for a fun twist (e.g., pink/purple for spring vibes).
- Use multicolor or ombre yarn for a unique look.
- Style Tweaks:
- Add a bow tie under the bunny’s chin for extra decoration.
- Use eyelash yarn or embroidery details for a textured fur effect.
Pattern Abbreviations & Terminology
- Ch: Chain
- SC: Single Crochet
- HDC: Half Double Crochet
- SL ST: Slip Stitch
- Inc: Increase (work 2 SC into the same stitch)
- St: Stitch
Step-by-Step Detailed Crochet Instructions
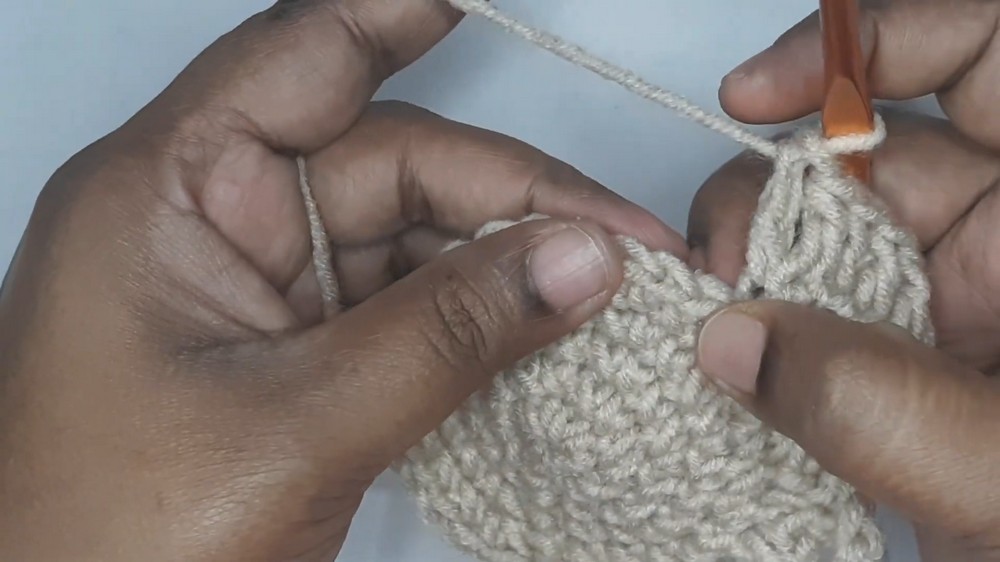
Base Circle (Body)
- Round 1:
- Create a magic circle or slip knot.
- Ch 1, then work 6 SC in the magic circle.
- Pull the tail to close the circle.
- SL ST into the first SC to join.

- Round 2:
- Ch 1.
- Work 2 SC into each stitch (total: 12 SC).
- SL ST to join the round.
- Round 3:
- Ch 1.
- Alternate: 1 SC in the first stitch, 2 SC in the next stitch, repeat around. (total: 18 SC).
- SL ST to join.
- Round 4:
- Ch 1.
- Alternate: 2 SC in the first two stitches, then 2 SC in the next stitch, repeat around (total: 24 SC).
- SL ST to join.
- Round 5:
- Ch 1.
- Alternate: 3 SC in 3 stitches, then inc (2 SC in one stitch), repeat around (total: 30 SC).
- SL ST to join.

Legs & Arms (Pico Elements of the Body)
- Start Chain Body Shape
- After joining Round 5, Chain 3. SL ST into the stitch for a pico shape element.
- SC in the next stitch.
- Second Limb:
- Chain 5 and SL ST into the same space. SC into the next stitch.
- Third Limb:
- Chain 7 (for a longer limb).
- SL ST into the same space. SC into the next stitch.
Ears
- First Ear:
- In the designated spot, Chain 11 (to shape ear).
- Turn and work backwards:
- Skip first chain, SC in second chain, HDC in next two chains.
- Work 8 DC onward into remaining chains. Finish ear.
- Skip 2 stitches, SC in the next stitch to anchor the ear.
- Second Ear:
- Repeat the steps for Ear 1: Chain 11, work it back similarly (1 SC, 2 HDC, 8 DC).
- Skip 2 stitches to SC and anchor the ear.
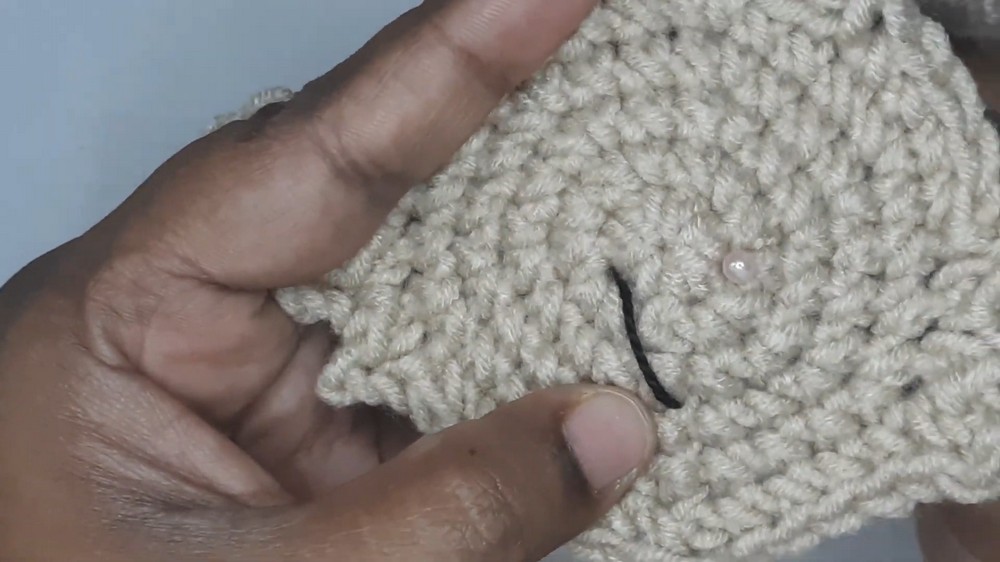
Facial Details (Nose & Mouth)
- Nose:
- Use black or thin yarn/floss for embroidery.
- Mark the second and third rounds with pins as guides. Begin creating a V-shaped nose, filling it with repeated stitches for neatness.
- Mouth:
- Skip one stitch below the nose. Create a curved smile using embroidery, moving from the center outward.
Attaching Eyes
- Position googly eyes or buttons above the nose.
- Attach using fabric glue or sew buttons.

Finishing Touches
- Weave in all loose ends securely using a yarn needle.
- Trim excess yarn.
- For appliqué use, leave a long tail for sewing onto items like bags, hats, or clothing.


